Backup a running Raspberry Pi over the network
For the longest time I've been looking for a way to backup my Raspberry Pi's over to the network, to an easy to restore format. But every solution I've looked at has come up short. This post details a solution that works very well. Best of all, it makes incremental backups after the first one!
I have several Raspberry Pi's in hard to reach places, and the hardest one of all is INSIDE my generator. I really don't want to have to take off the 9 bolts and open the generator to do a backup. And local backups to a USB drive won't work either, as the flash drive will be in the same horrible hot location as the Pi.
In this post I will detail backing a Raspberry Pi running Raspbian OS up over the work to an SMB share on my TrueNAS server. The backups are in an IMG format you can instantly write to a new flash drive, and boot right up. You can use this guide to really back them up anywhere, as long as you can point to a folder on your Pi, you can back up to it. So if you are not using TrueNAS, don't worry, you can still use the second half of this guide and just adapt it to your needs. If you are running Ubuntu on your Pi, you can also follow this guide, with some tweaks.
If you are not using TrueNAS, skip this section.
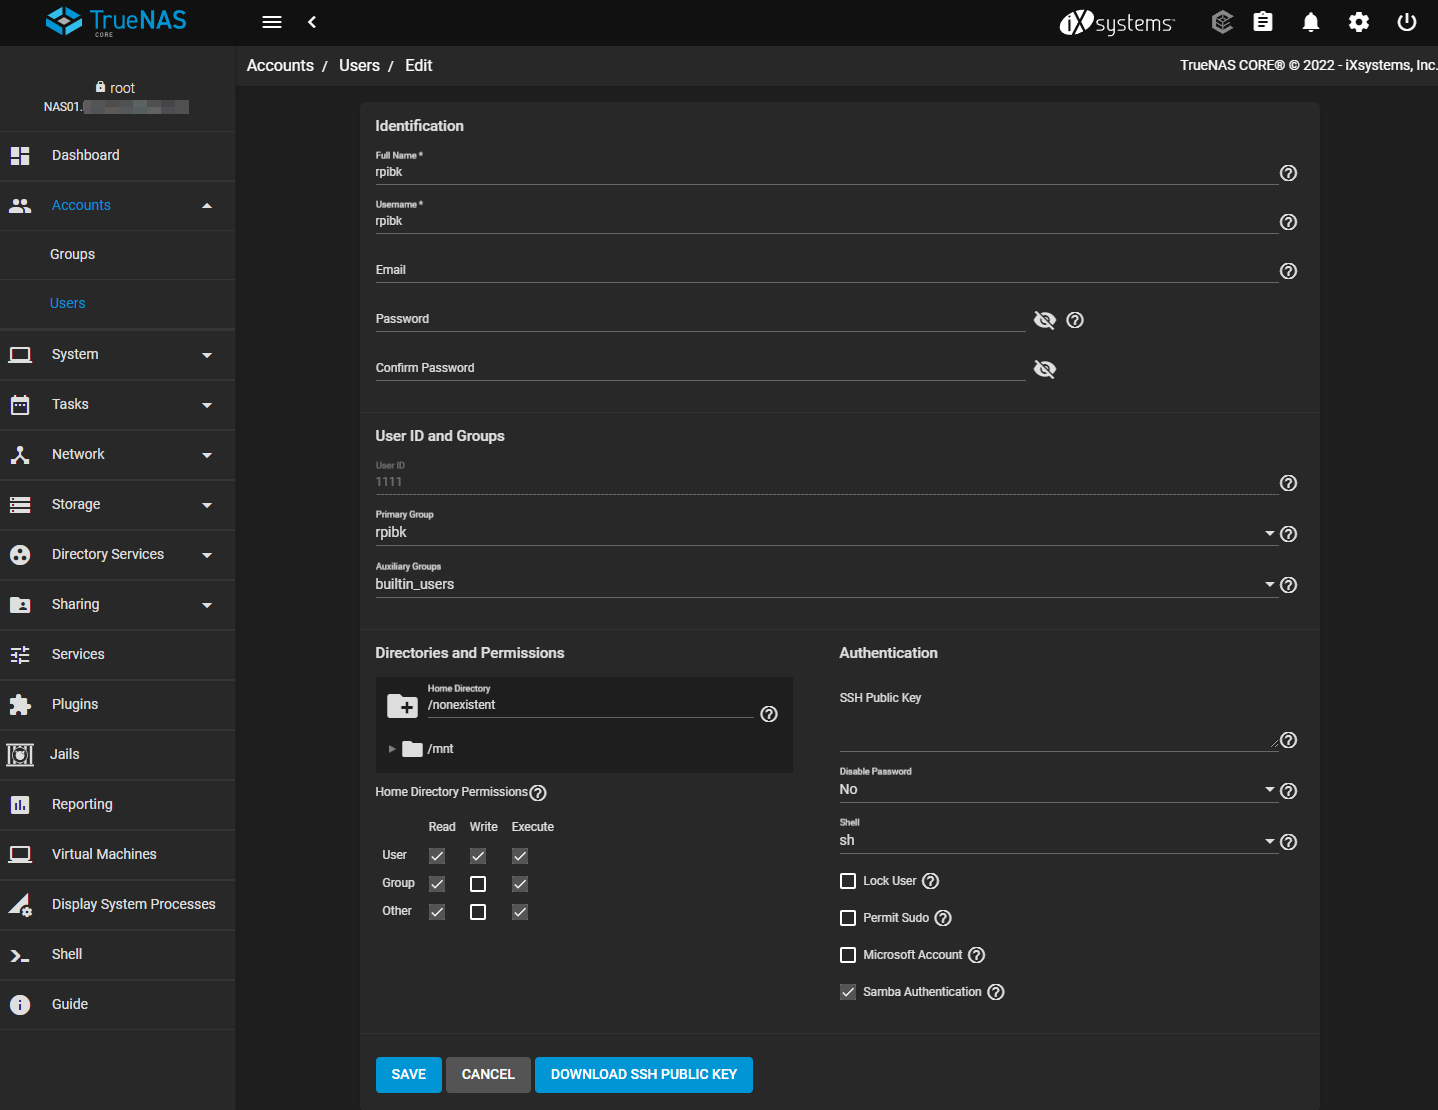
First, I created a new user account that will be used for the SMB Share. I called mine rpibk
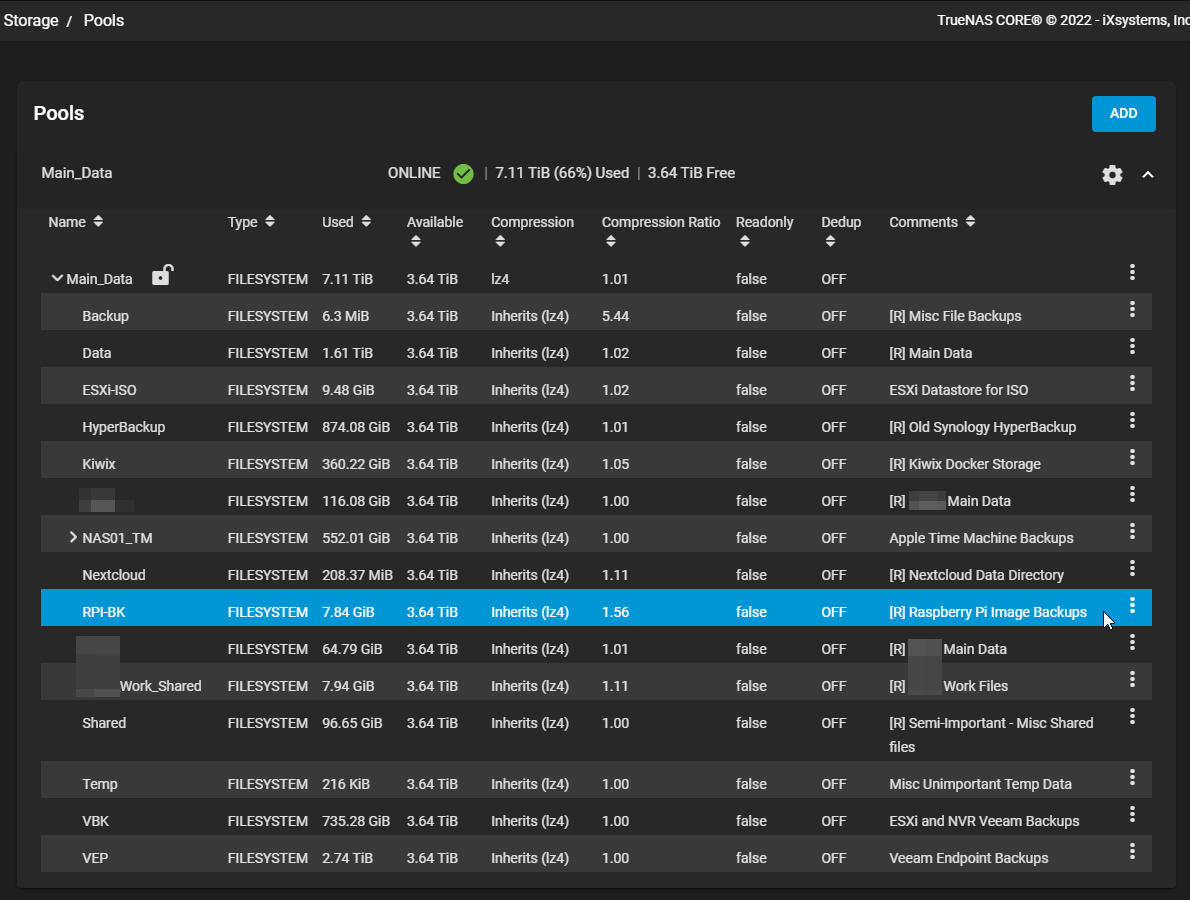
Then, I created a new dataset for the Pi backups. I didn't use an existing folder, as I wanted some custom snapshot rules and replication.
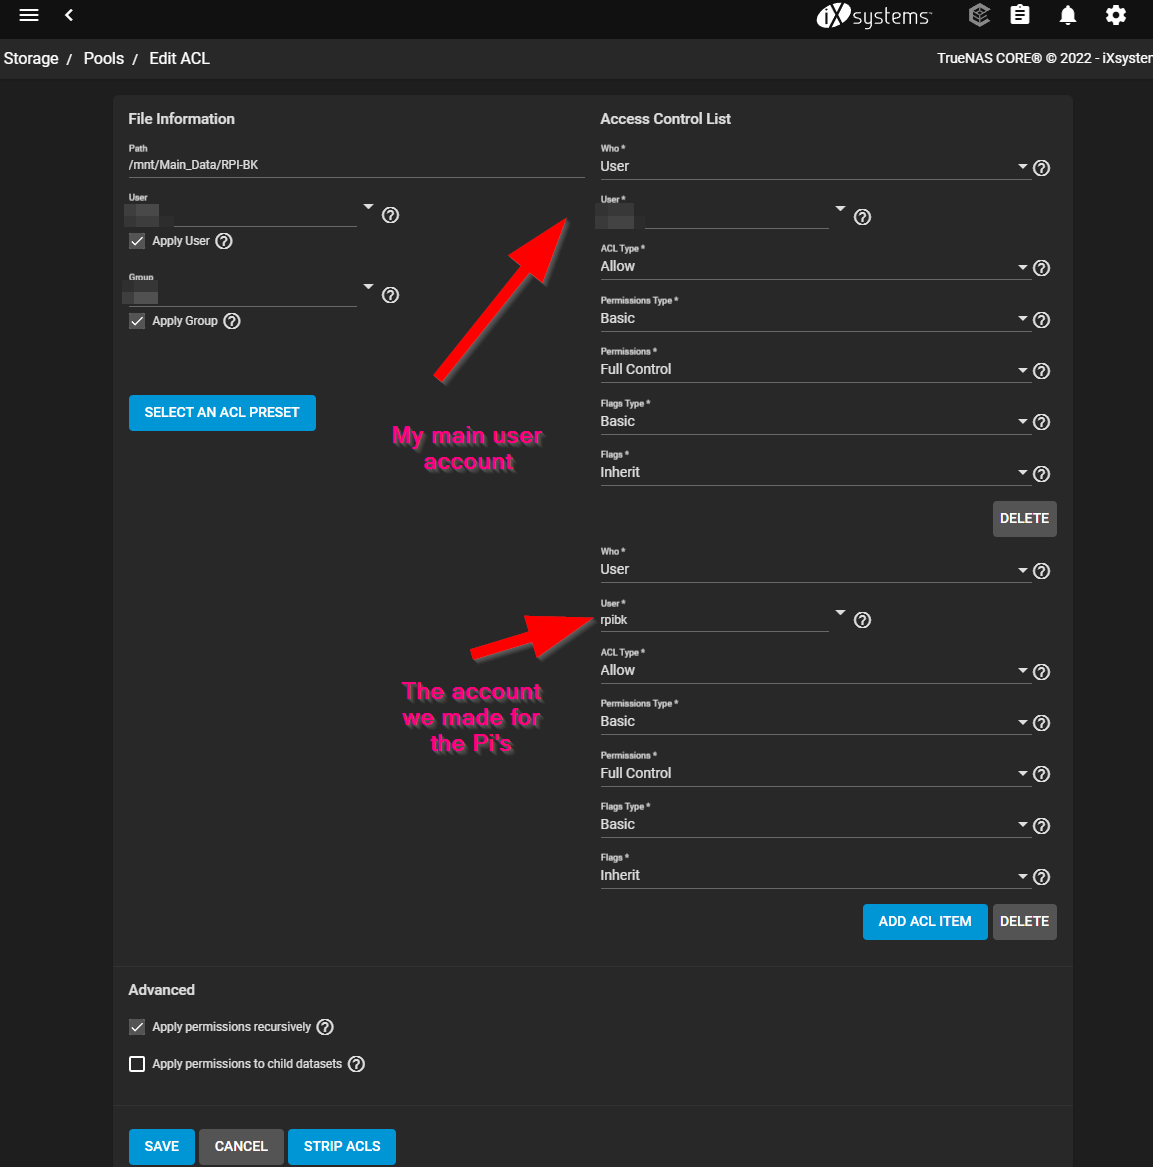
Then I set the permissions of that dataset with an ACL. I gave my main user account full control, as well as the user we made for the Pi's
Then I went over to sharing, and made an SMB share with the default permissions. We don't need to mess with the ACL, as the dataset ACL takes care of that

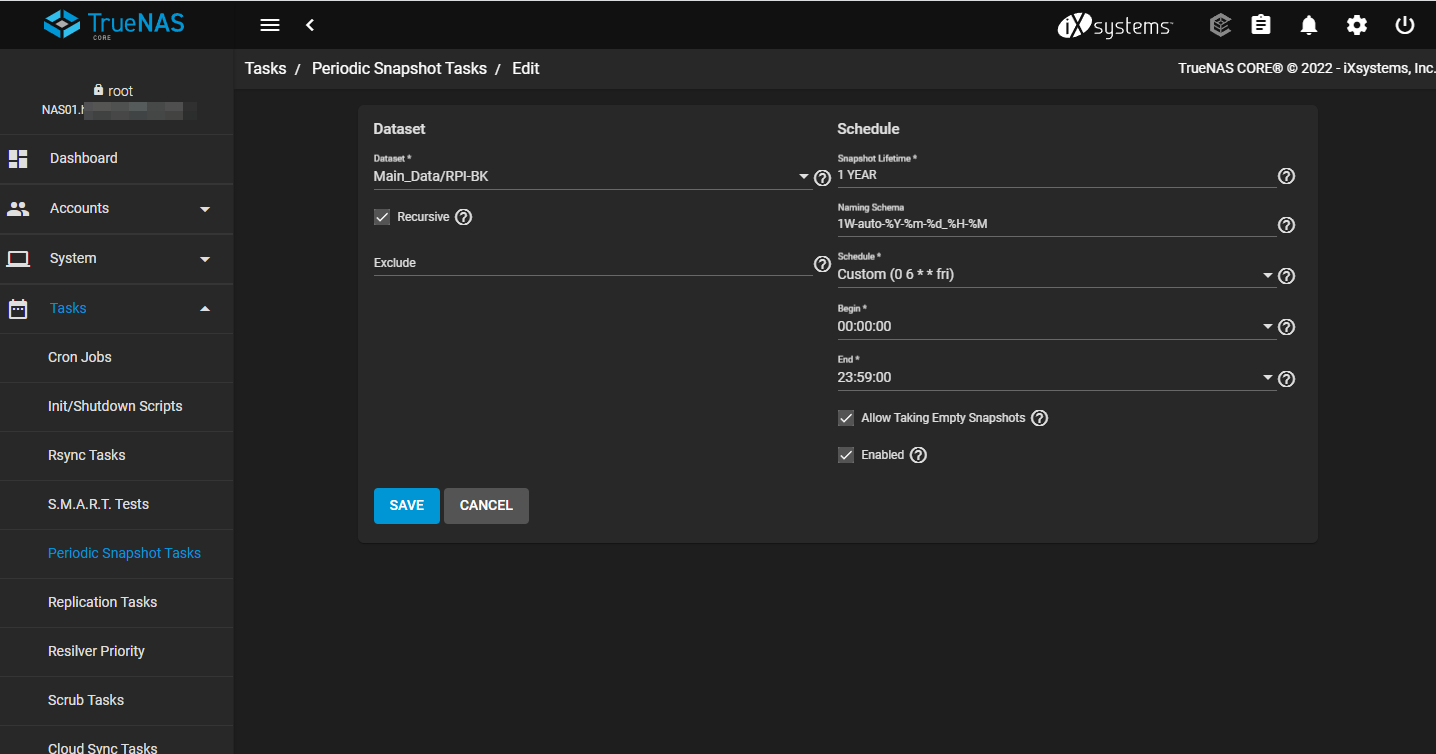
I want to protect these backups with snapshots, and replication. So I created a snapshot to be made at 6AM every Friday and be kept for 1 year. The data on these Pi's doesn't move very often, so I am not concerned about disk space. I also will only be backing them up weekly, so that's why the snapshot is weekly. If you want to do it more frequently, you can.
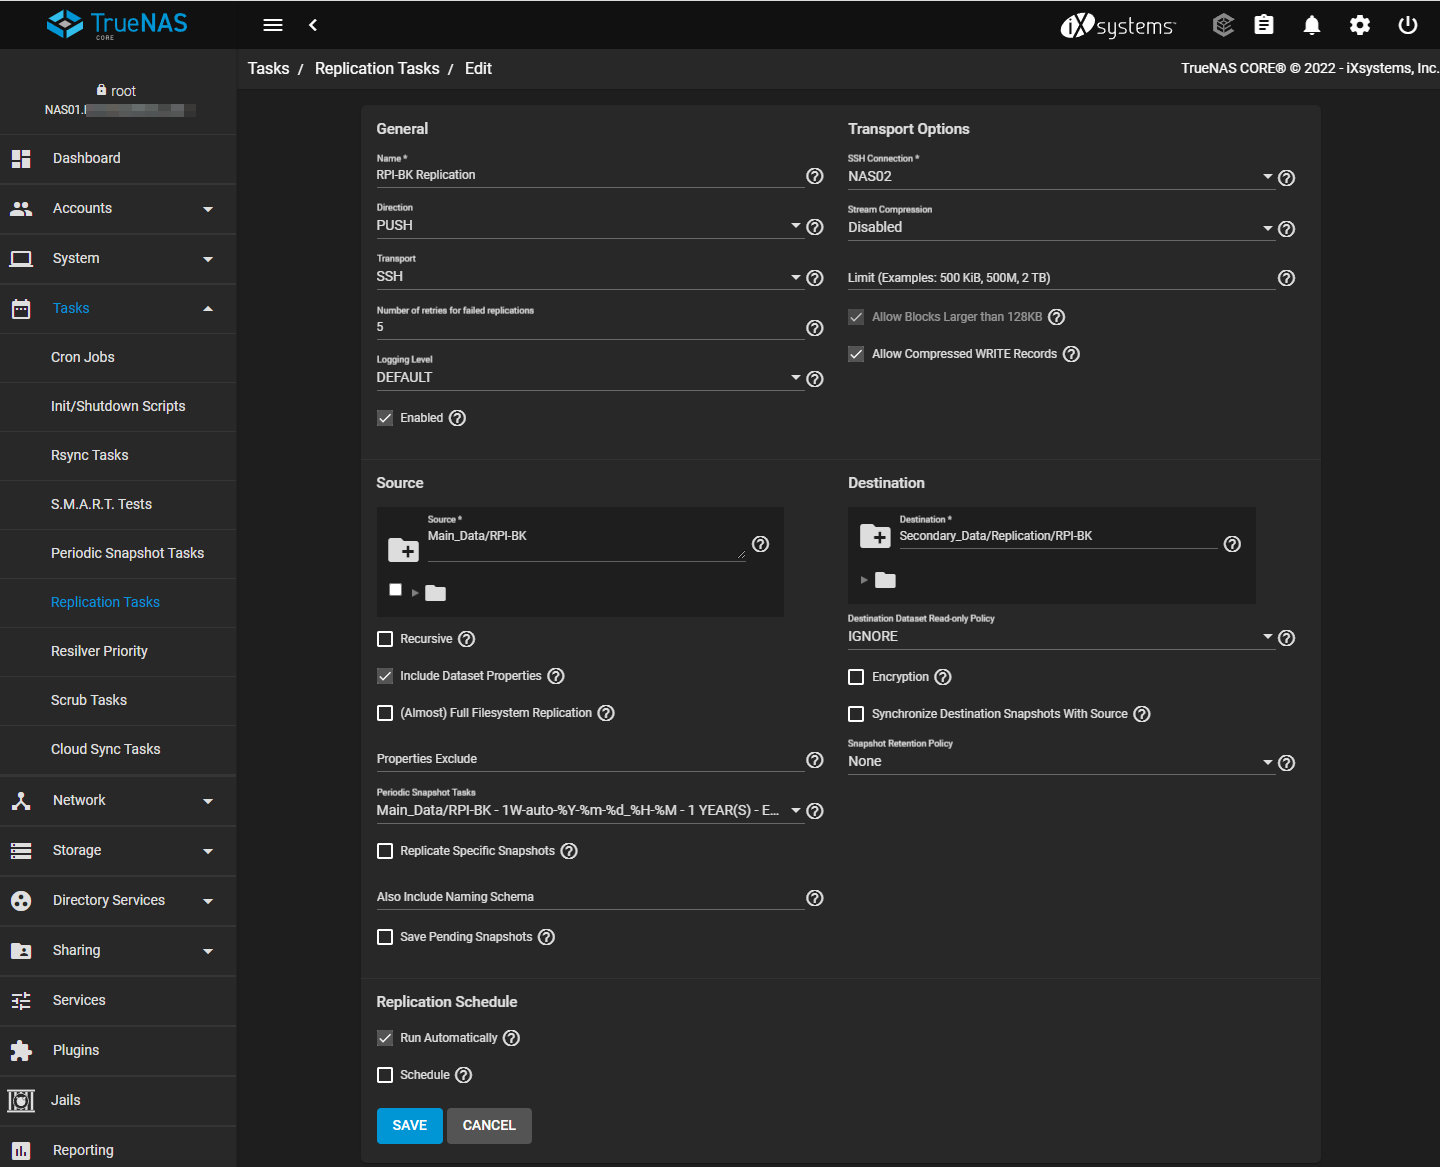
Then I setup replication from my primary NAS, to my secondary NAS
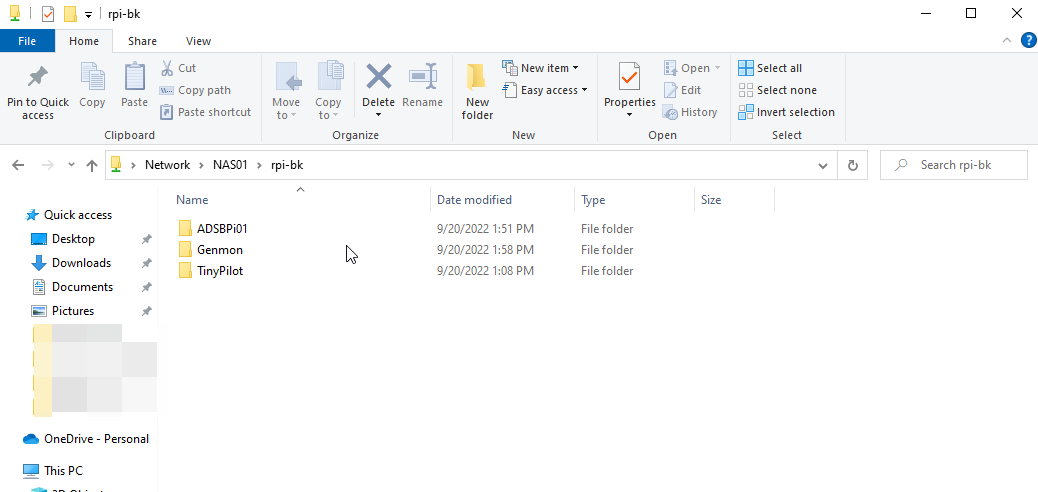
With the TrueNAS config out the way, I went into the share on my PC and made some folders for each of the Pi's I will be using
Now we can move onto the Pi. Connect via SSH to your Pi, and get ready to paste/type in some commands
I usually mount my shared drives in /media/. I don't know why, but I've been doing it that way for over 10 years, so I will keep doing it. First I will create 2 directories. One for the Pi Backups, and one to store a credentials file for the TrueNAS SMB share we will be mounting
sudo mkdir /media/pibk
sudo mkdir /media/Credentials
Now we need to set the permissions on the pibk folder we created
sudo chown -R myusername:myusername /media/pibkNow we can create a credentials file for the future SMB share. Do
sudo nano /media/Credentials/.pibkThen, enter your credentials in this format. Remember to replace your username and password. Or use mine... But that would be weird.
username=rpibk
password=7hNPcNjvDzq6NJHzt!!CzdrJxGZ2Q
This is what it should look like

Do control + X and press Y to save.
Now, look to see what your UID is, do
cat /etc/passwdHere you can see, I'm 1001
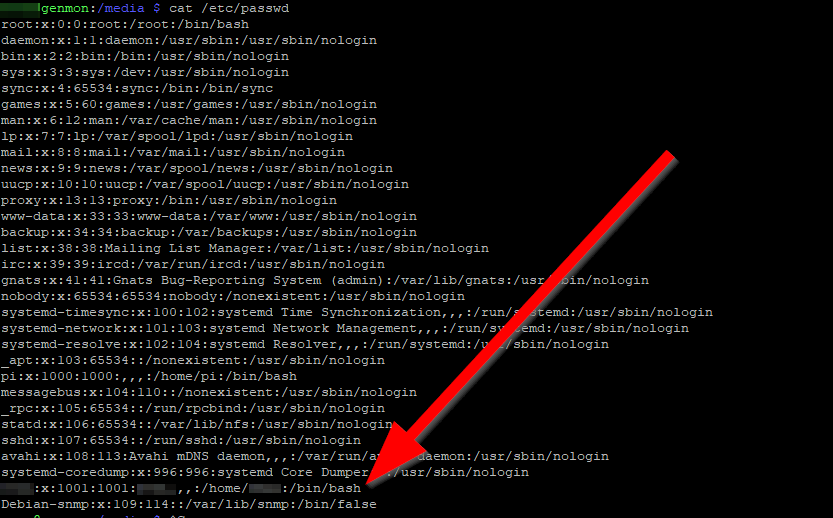
Note that down. Now lets write the line to get into /etc/fstab. I'll break down what you want to change
//10.0.0.11/rpi-bk/Genmon /media/pibk cifs rw,credentials=/media/Credentials/.pibk,uid=1001,gid=1001,file_mode=0660,dir_mode=0770,vers=3.0,iocharset=utf8,x-systemd.automount 0 0
The first part is
//10.0.0.11/rpi-bk/GenmonChange that to the location of your share including the subfolder if you are using one
/media/pibkThe above is the location we want to mount the share. In this case its the folder we created earlier
credentials=/media/Credentials/.pibkFurther along is this section which looks for credentials, change it if you located your credential file somewhere else.
uid=1001,gid=1001This part is so that my main user account can see the files, change it to whatever UID and GID your account was (I bet its either 1000 or 1001)
From there, you can leave the rest the same, or customize it further.
Now, do
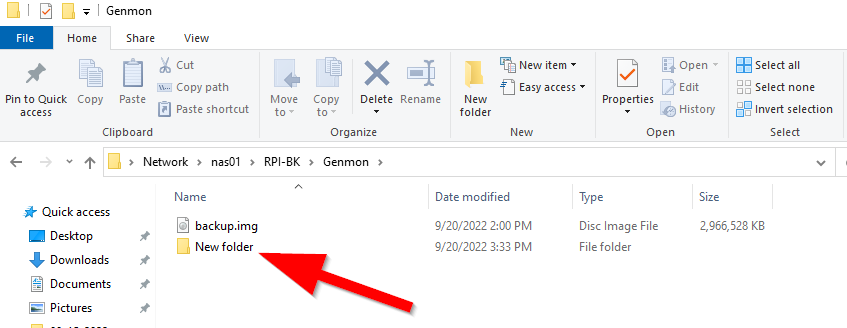
sudo mount -aThat should mount that folder. If you want to test it, make a folder in there from your PC, and see if we can see it from the Raspberry Pi (Ignore the backup file, we'll get there)
And change directory in SSH to that folder, and see if its there
cd /media/pibk
ls- al
You should see your folder

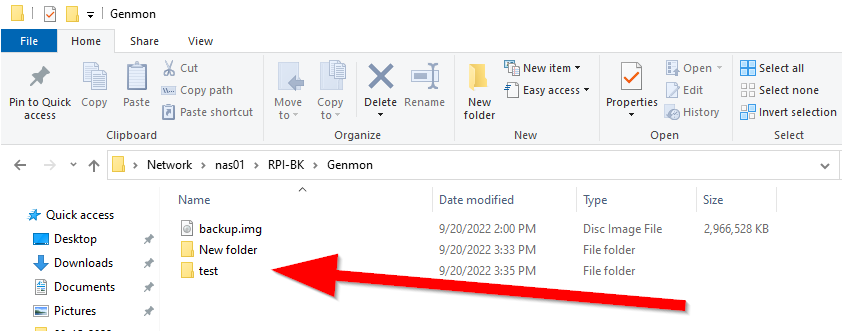
Next lets see if its writable by making a test folder, do:
mkdir testAnd what do you know, you can see it from your desktop
Now we have a working SMB share that mounts itself on boot. We can move on to actually backing up the Pi.
I am heavily leveraging existing commands from THIS post from nerd-tech.net
 Dan
Dan
And we are using "Image File Utilities" from this forum post
 Thu Aug 01, 2019 9:12 pm
You can pretty much paste these in as is, I'll tell you when we need to change anything.
cd ~/ && wget -O image-files.zip "https://files.networkprofile.org/s/ZebFWQKqra7LgJr/download/image-files.zip"mkdir -p ~/image-files && mv ~/image-files.zip ~/image-files && cd ~/image-files && sudo apt install unzip && unzip ~/image-files/image-files.zip && rm ~/image-files/image-files.zip
sudo chown root:root ~/image-files/image* && sudo chmod +x ~/image-files/image*
sudo mkdir -p /usr/local/bin/ && sudo mv ~/image-files/* /usr/local/bin/ && sudo mv /usr/local/bin/README.txt /usr/local/bin/image-readme.txt
Now, do the following just to launch the application, this is so that it can prompt us to install gdisk
sudo image-backupHit Y when prompted. When its finished it will say "Image File to Create?" Just do Control + C to get out of it

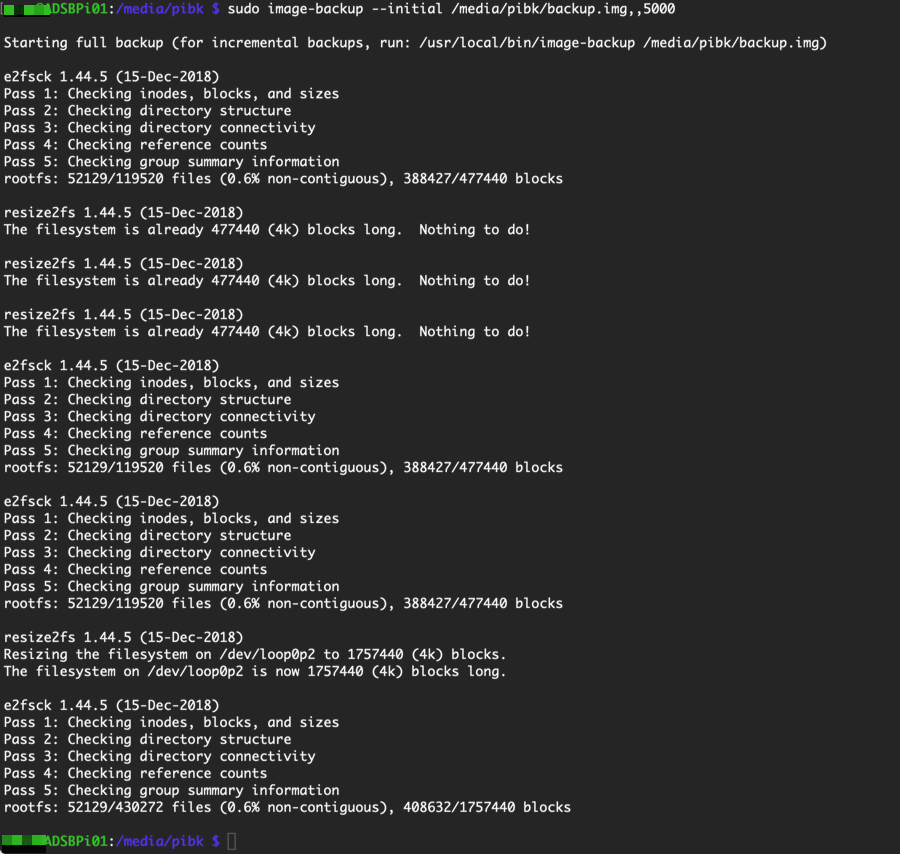
Now, we can actually make a backup! Do the following to make the first backup. After this one completes, we won't use --initial. In this run we will also add 5000MB of additional space in the image for future changes
sudo image-backup --initial /media/pibk/backup.img,,5000You will see it run
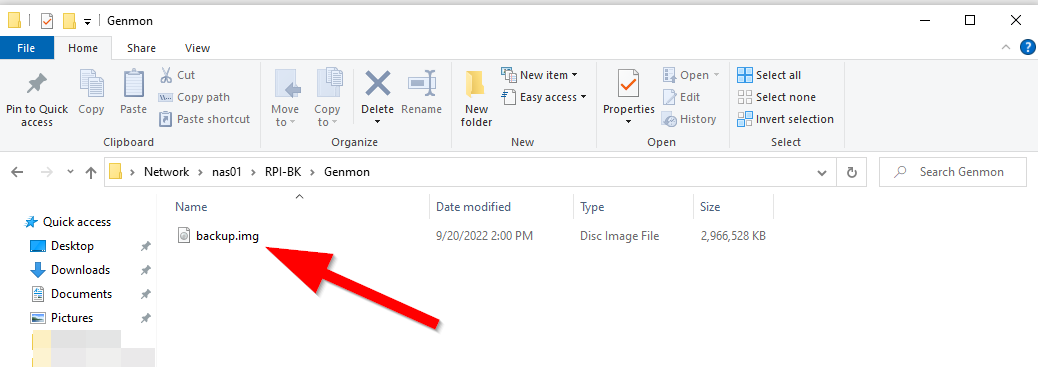
Once its done, verify the file exists in the share
Now, we can setup recurring backups. I just want to do a weekly backup, so that's what we will configure. We need to add a cron entry for this
sudo crontab -eAnd I will enter the following, which will do an incremental backup at 3am every Friday morning
# Incremental Raspberry Pi for every Friday at 3am
0 3 * * 5 /usr/local/bin/image-backup /media/pibk/backup.img
If Friday morning does not work for you, edit the schedule. To generate a cron schedule, you can use this handy website
Now just save and exit with Control - X and hit Y to save
You are done! But now you need to test it
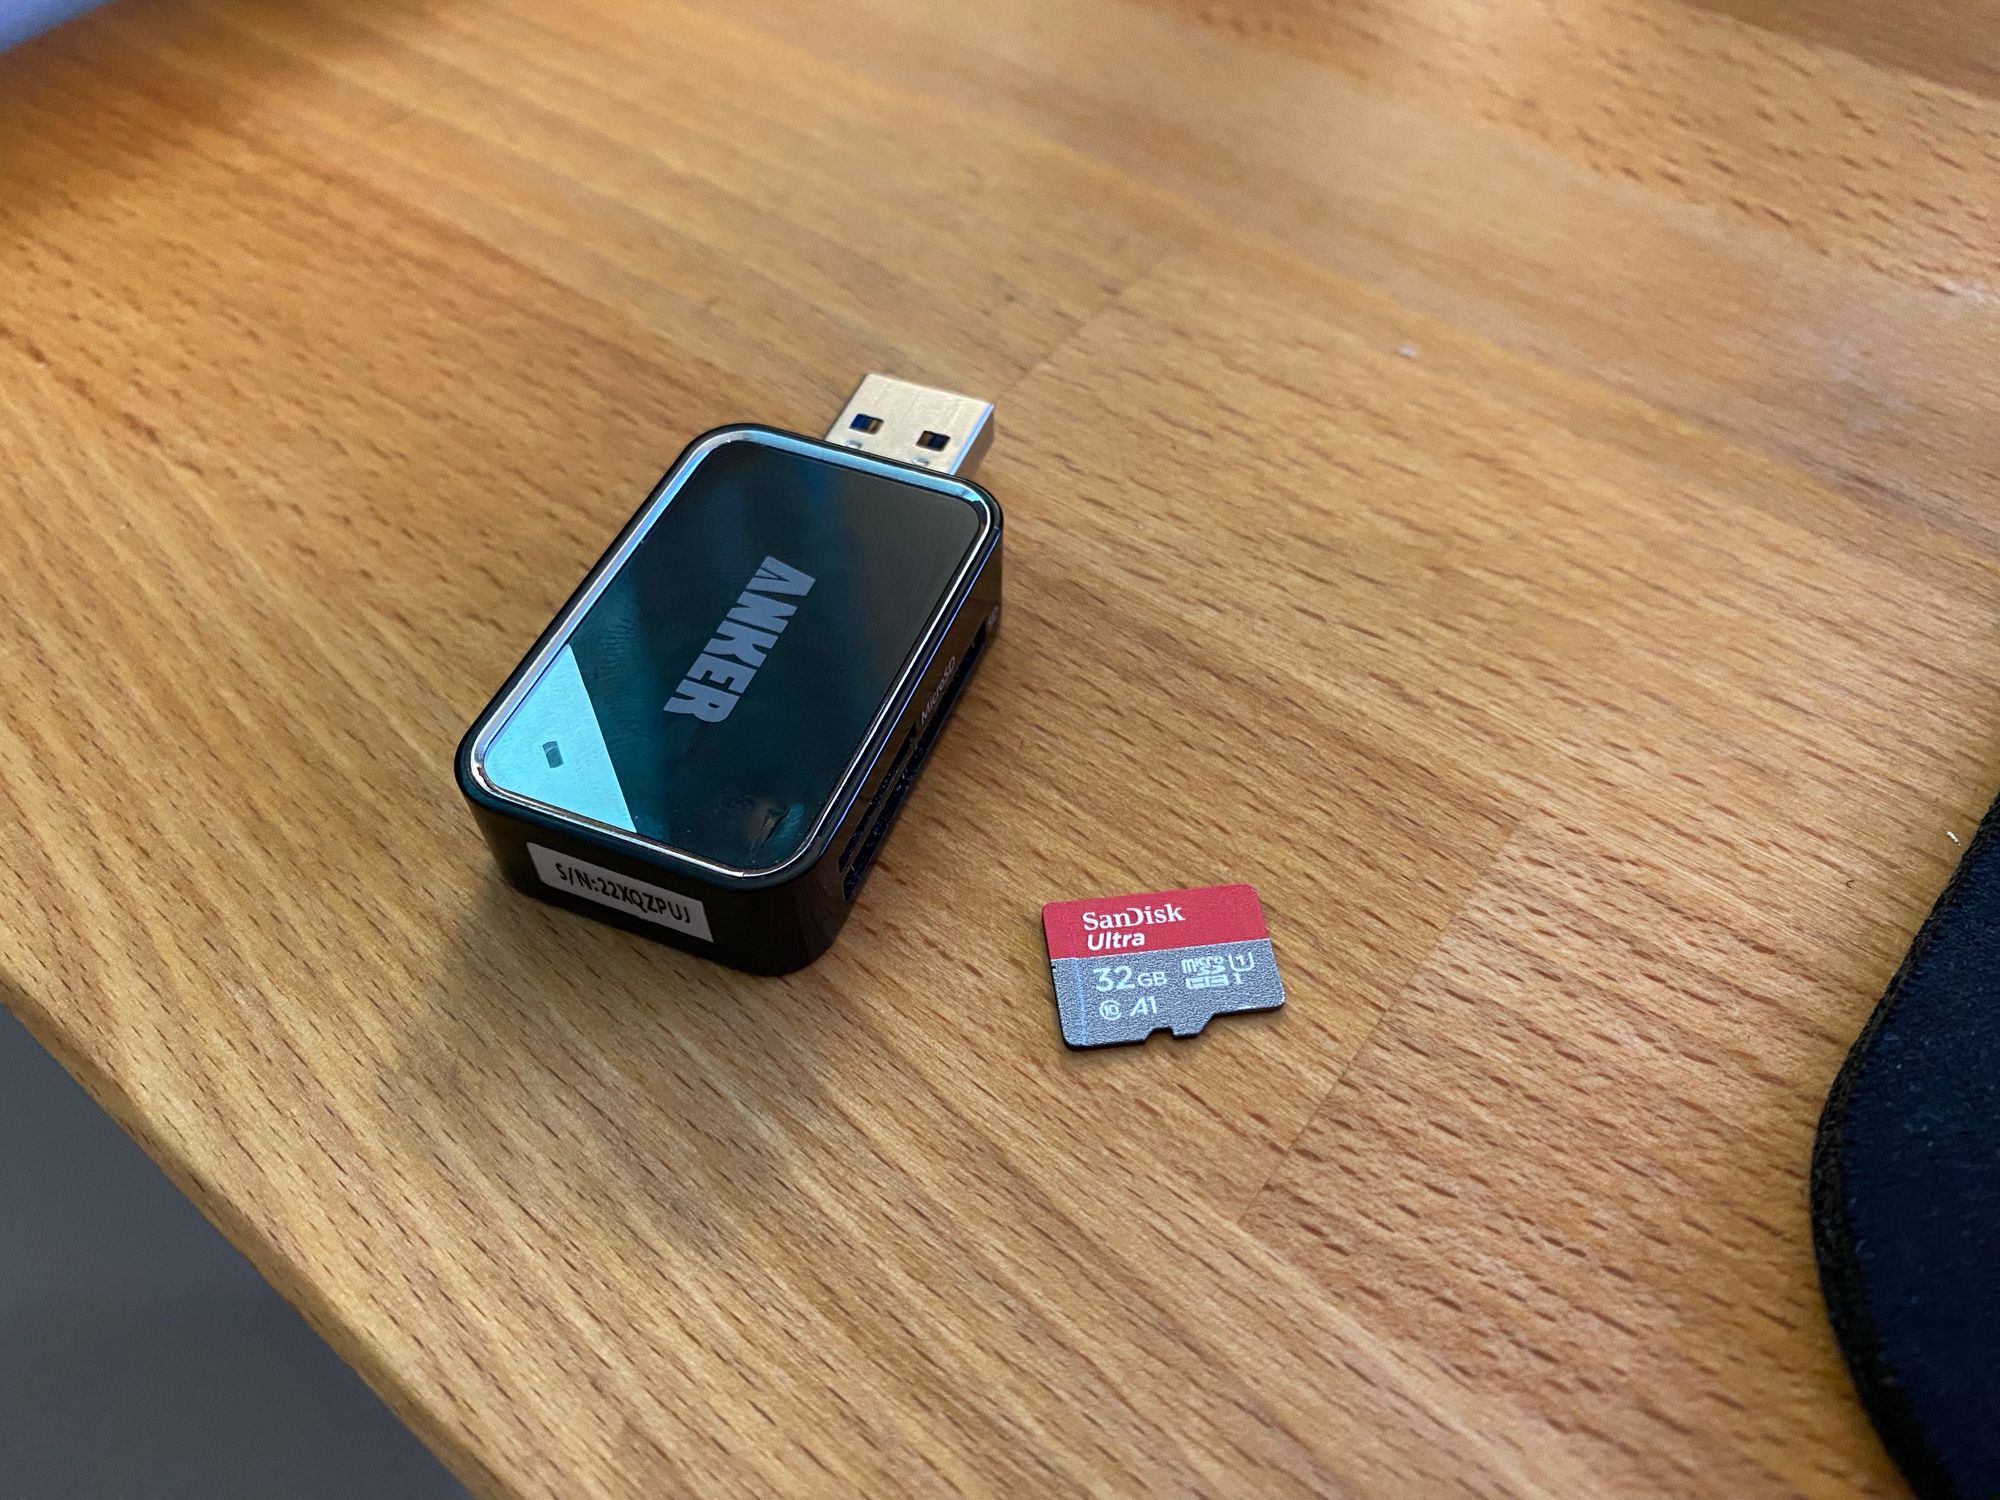
I grabbed a spare MicroSD card and a USB adapter to restore the image to.
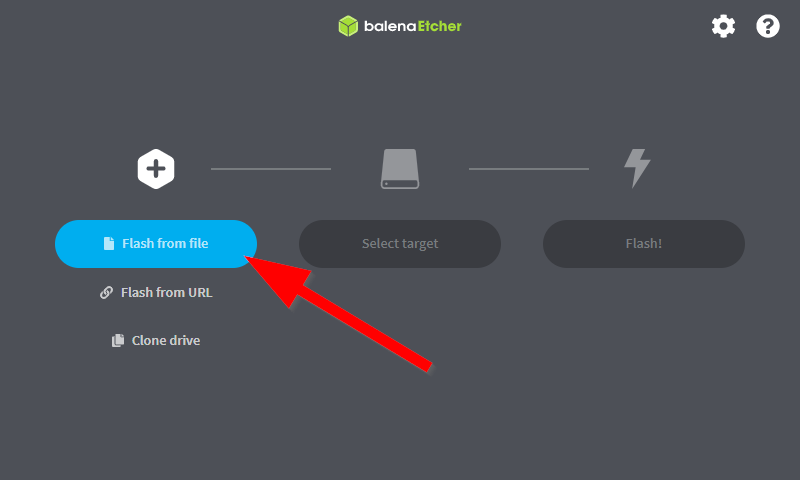
Then I used belnaEtcher to write the IMG to the SD card
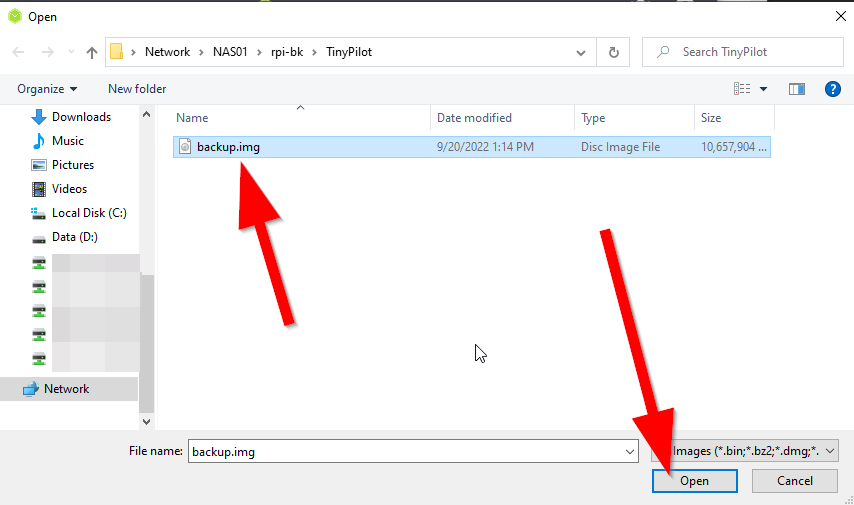
Hit Flash From File, and browse to the share
Now just select the image file
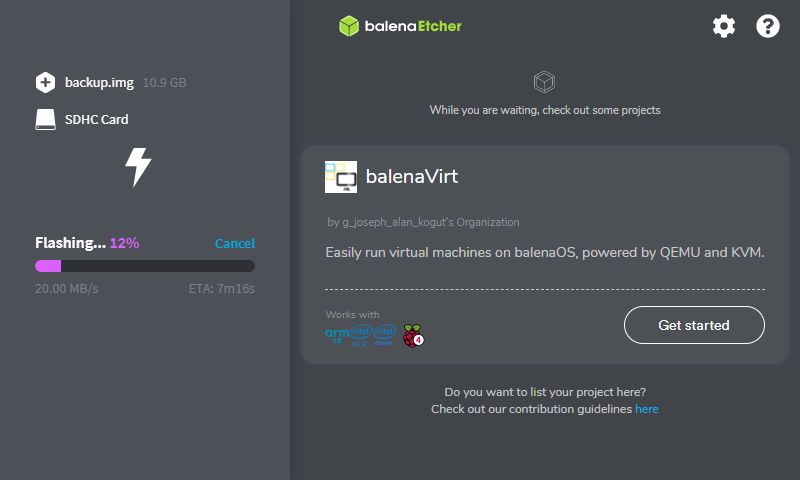
Mine wrote with no problems
I turned off the Raspberry Pi with
sudo haltThen took the old SD card out, and put the new one in. Sure enough, it booted up without issue. I did the same to swap back to the original card.
Done! Now you have a reliable backup solution for your Raspberry Pi's