Garage Compressed Air Setup

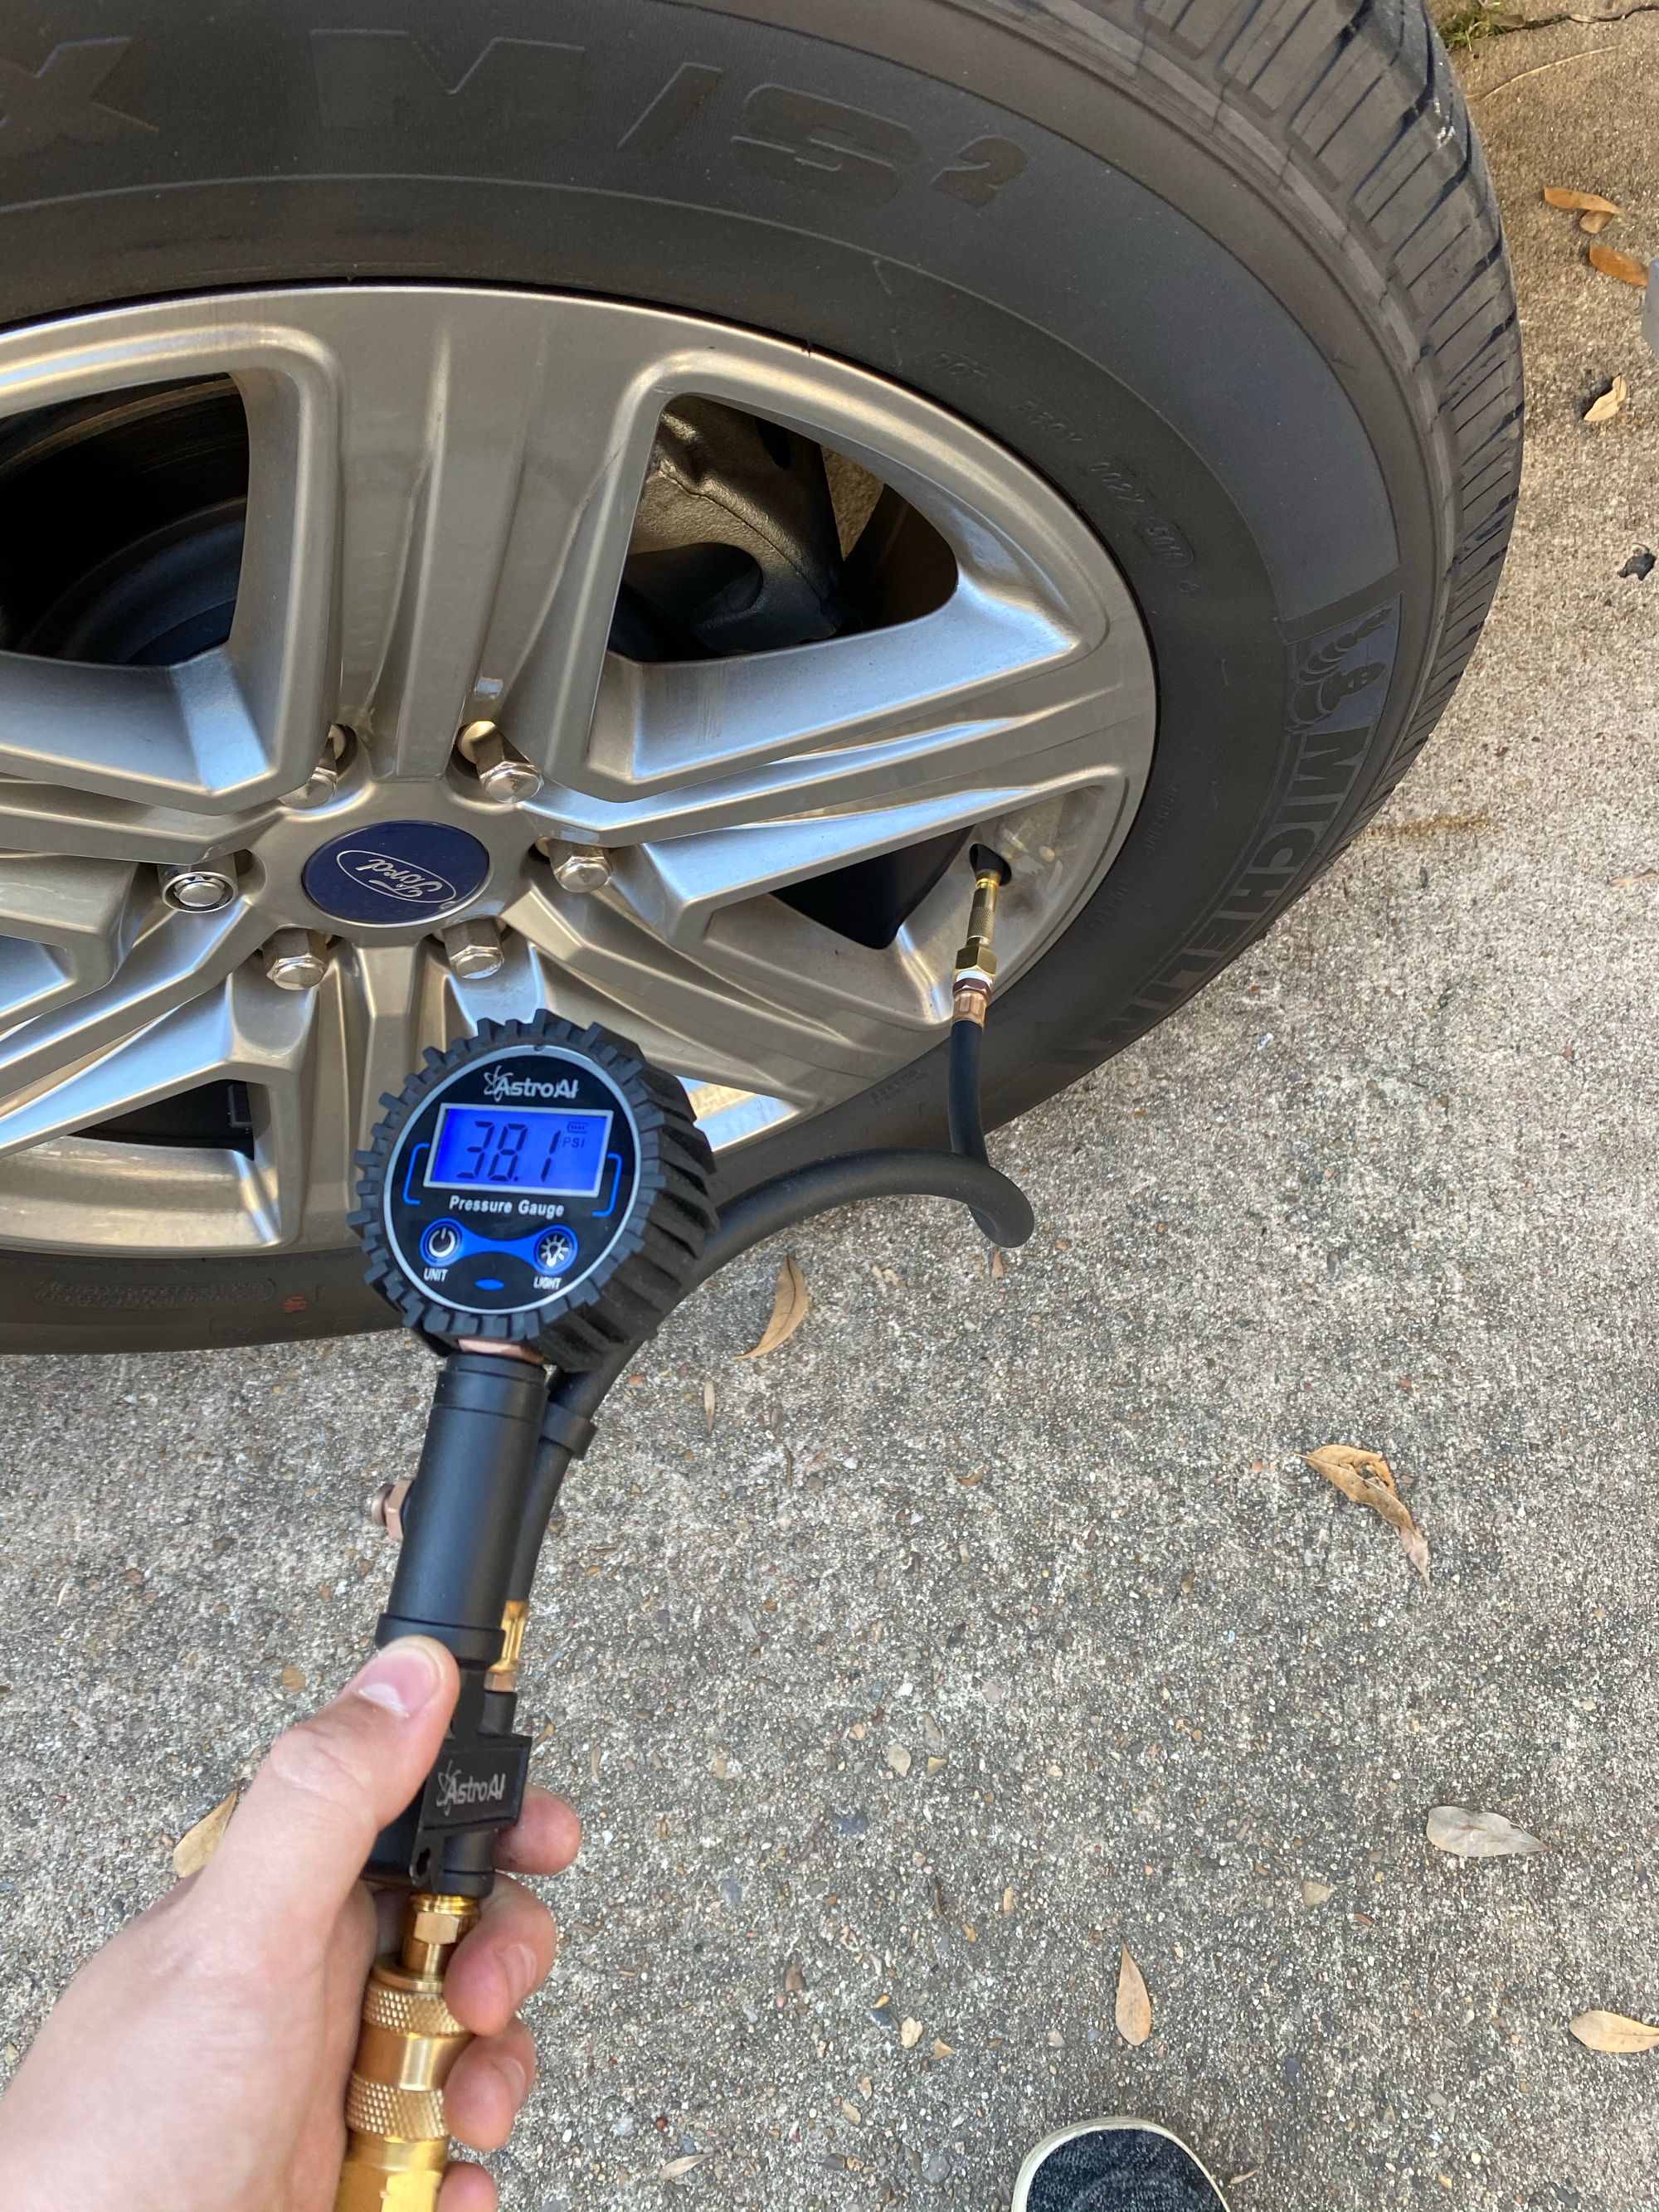
I find myself needing compressed air for nail and staple guns, filling up tires, blowing out dust and other stuff, and I was sick of using my small and loud Pancake compressor each time.
Here is my solution to this issue, it involves a 50ft auto-retracting air hose reel mounted to my ceiling, and a nice quiet 26 gallon compressor. Below is a full list of all the stuff I used to complete this project. You can substitute items where you feel fit. A lot of this stuff, especially the wood and fasteners are just what I had on hand
Full Parts list if you want to replicate my setup:
- Milton V Style Couplers MNPT (Brass) x 2 (Link) - To upgrade the stock ones on the compressor
- Milton V Style Plug FNPT (Steel) x 1 (Link) Includes the below too - To attach to the lead in hose to the reel
- Milton V Style Couplers FNPT (Brass) x 1 - For the end of the Dewalt hose. Don't worry, these V syte fittings are backwards compatible with normal M style
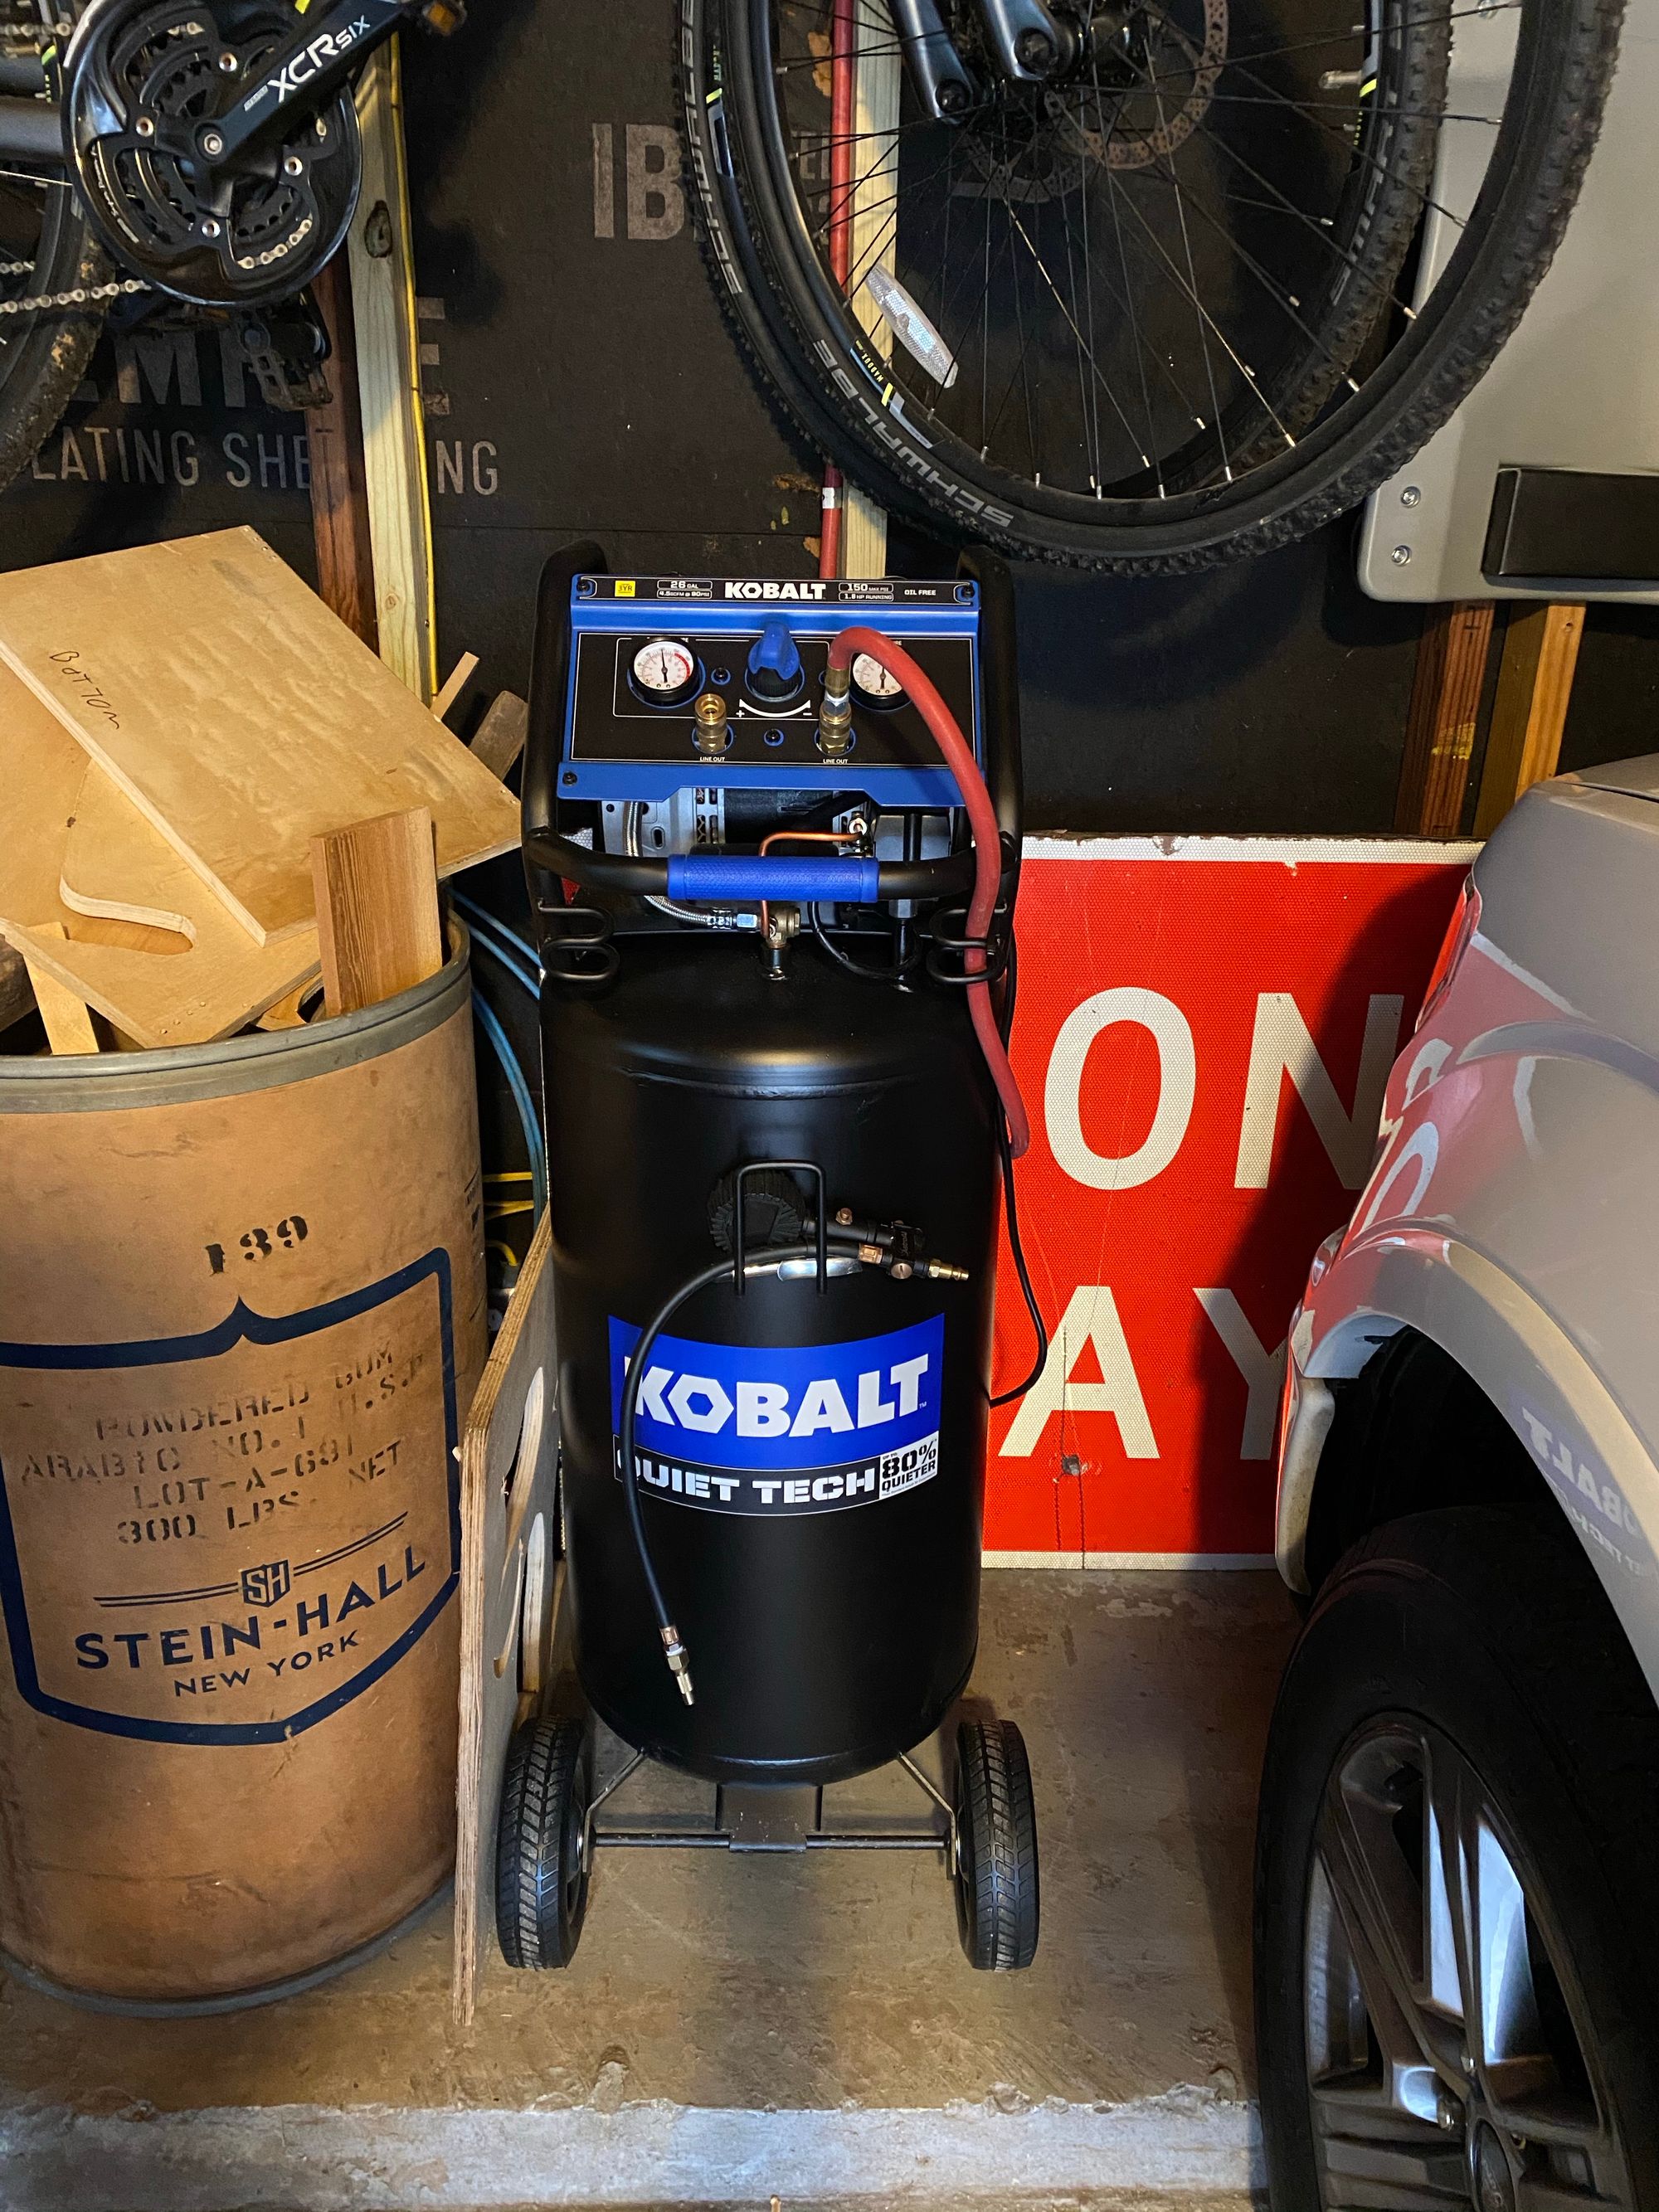
- Kobalt Quiet Tech 26 Gallon Compressor (Link)
- Teflon Tape (Link) - For sealing all the threaded connections
- Goodyear 3/8" Rubber air Hose - 15ft (Link) - This is to go from the compressor to the reel. The reel comes with a hose, but it was way too short for me
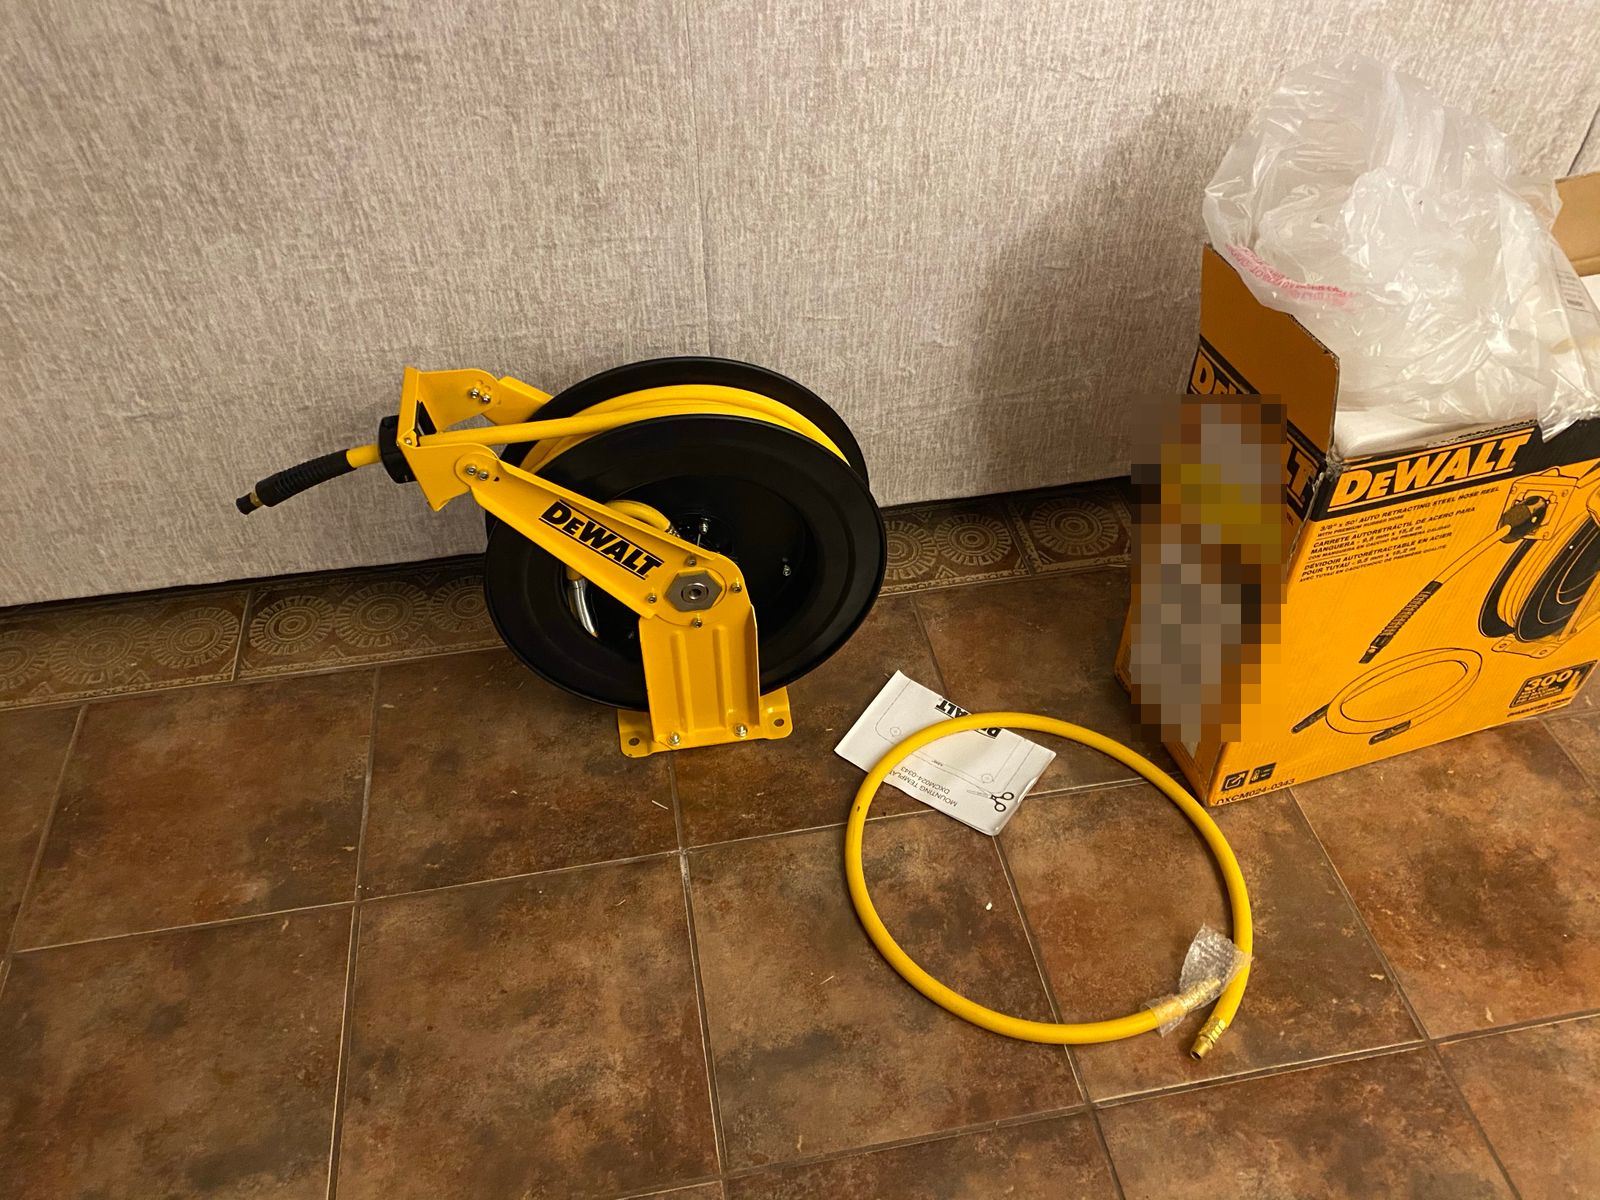
- DeWalt 50ft Air hose Reel with Rubber hose (Link)
UPDATE October 2023! DO NOT BUY the DeWalt hose reels. My hose failed after just 3 years, and you can't replace the hose as its a propriety fitting on the other end! Even worse, they don't sell them. So unless you hack on a new hose somehow or splice it, you need to trash the entire thing.
Full Fasteners List (These you can adjust based on your setup, but these are exactly what I used)
- SPAX #10 x 3 in. T-Star Plus Drive Flat-Head screws x 8 (Link) - These are for connecting the 2x4 backers that the reel screws into, into the 2x6's that connect to the joists
- SPAX #10 x 2-1/2 in. T-Star Plus Drive Washer / Wafer Head x 4 (Link) - These are used to connect the 2x6's to the joist along with the lags. These could probably be skipped. They are 2-1/2 so they don't poke through the joist. The wafer head is so its harder to drive too far and go through the joist, and they seem to get a better clamp on the wood.
- SPAX #8 x 1-1/4 in. Wafer Head T-STAR+ x 4 (Link) - These are what I had on hand to attach the plywood to the 2x4 backers. Just use whatever you have on hand, as these literally hold zero load.
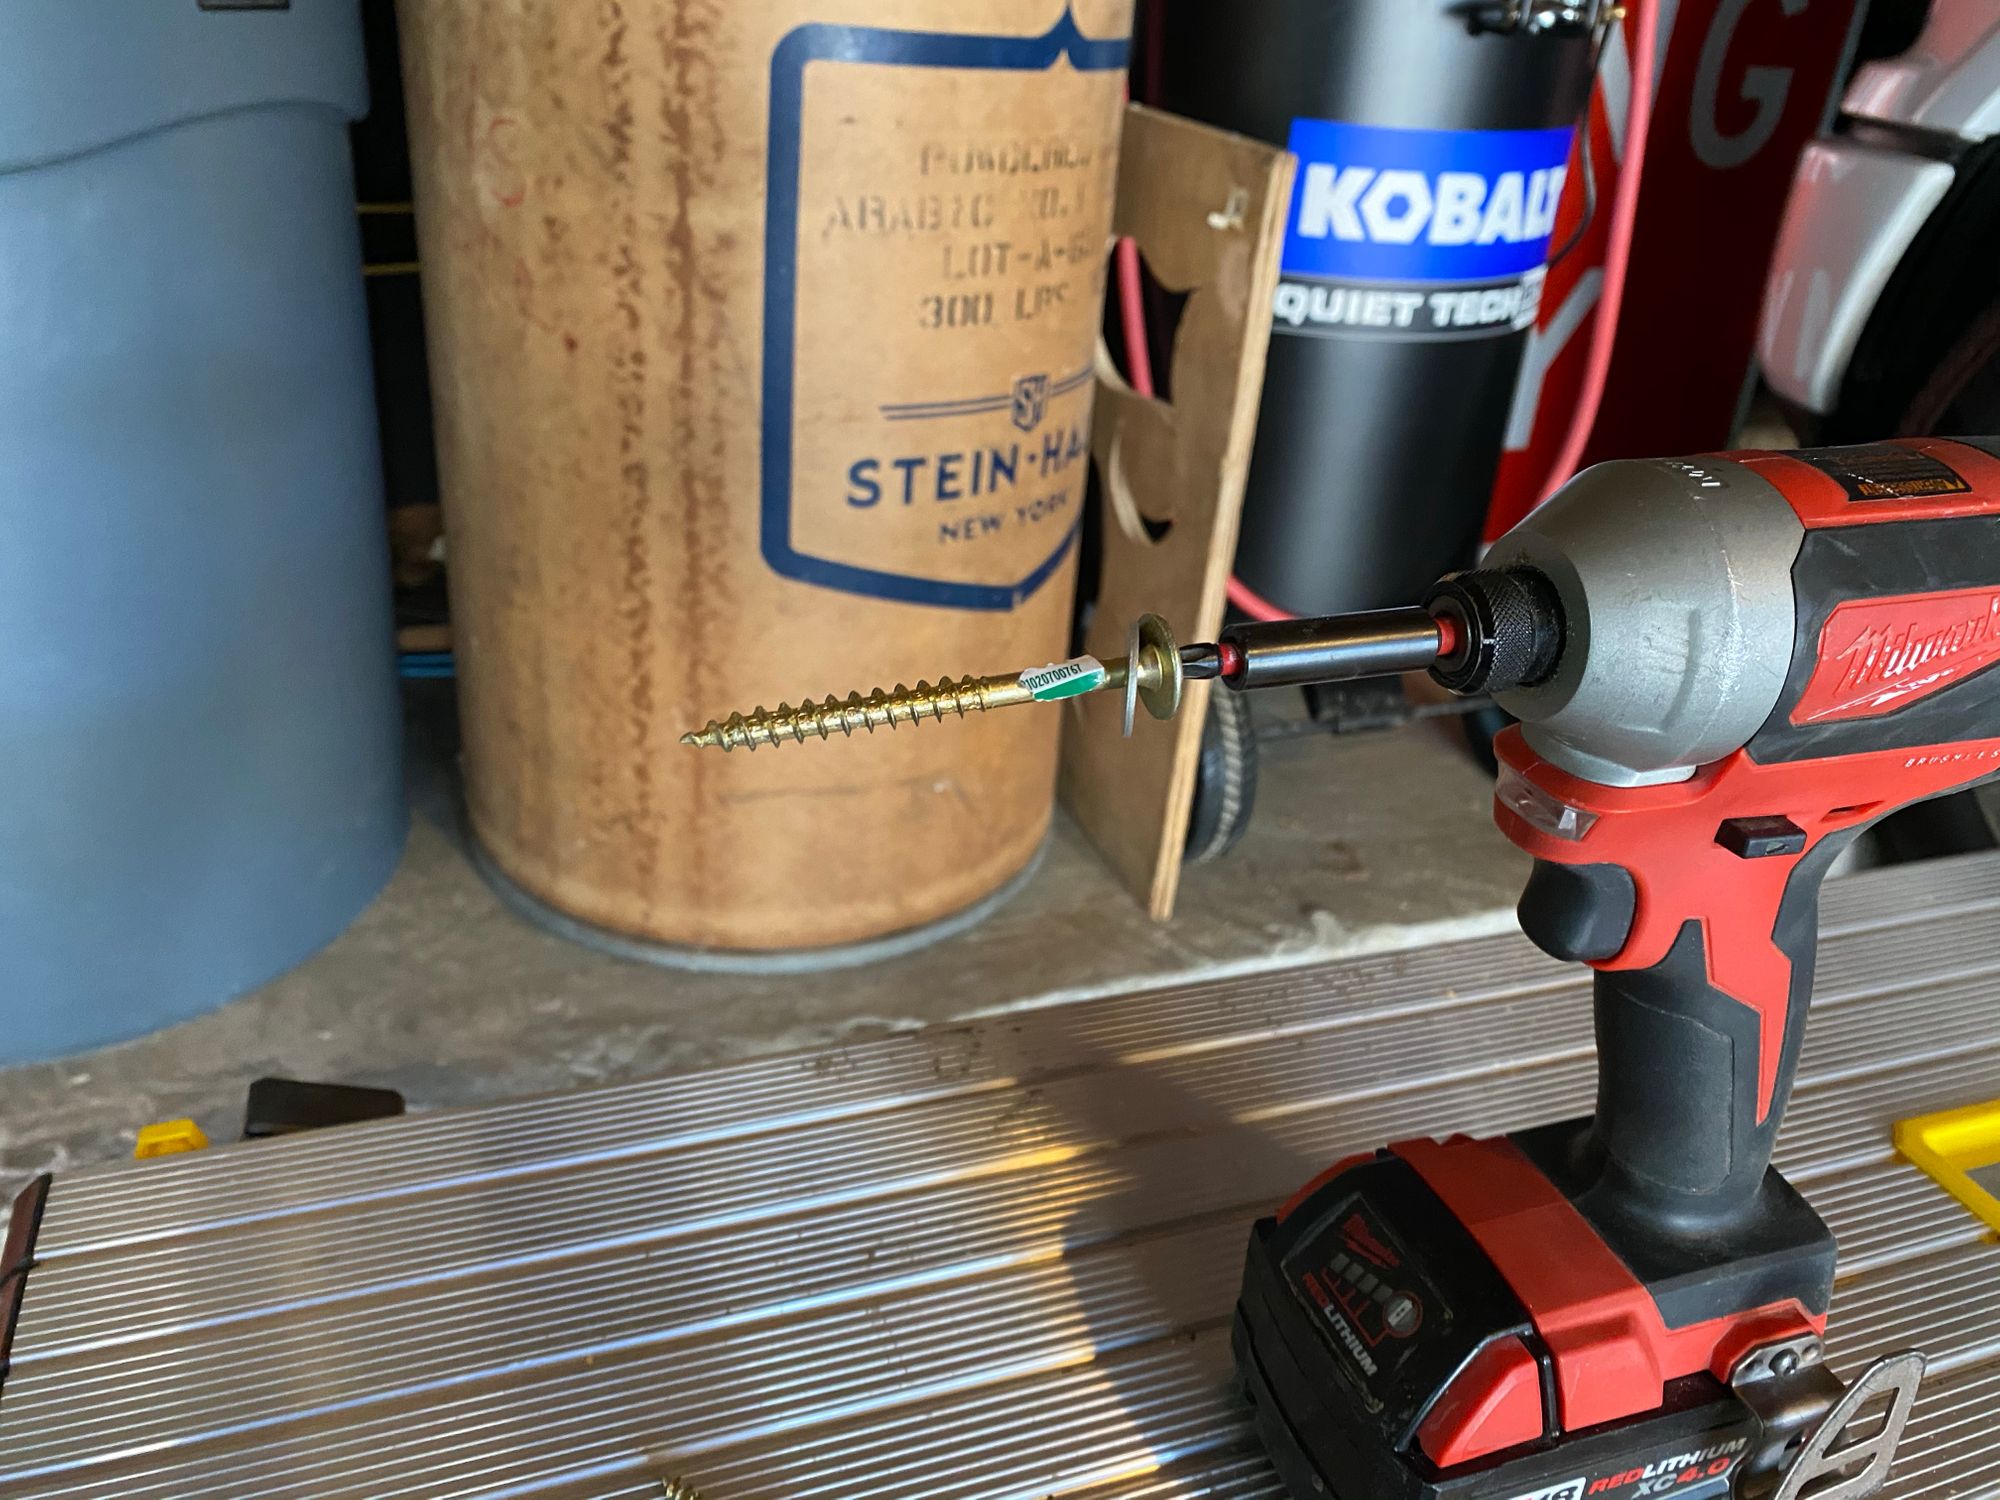
- SPAX 1/4 in. x 3 in. Torx Powerlag T-Star Drive Washer Head x 4 (Link) - These are for attaching the 2x6's to the joists. Note, you need to use the washers I'll link later on otherwise there is a small possibility they might poke through the joist ever so slightly
- SPAX 1/4 in. x 2 in. Powerlag Hex Drive Washer Head Zinc Coated Lag Screw x 4 (Link) - These are for attaching the hose reel to the wood. Also requires a washer
- 1/4 in. Galvanized Flat Washer x 8 (Link) - These are used for all of the Lags
- 3/4 in. x 100 ft. 28-Gauge Galvanized Pipe Hanger Strap (Link) - This is what I used to attach the hose to the studs, I keep this stuff because it has all sorts of uses. If you want to attach the hose to the wood a different way, go for it.
Here is a list of the lumber I used
- Scraps of 2x6 (Could substitute for 2x4)
- Scraps of 2x4 (Could use 2x6)
- Scrap of 3/4 Plywood (Could use whatever, or just skip it all together)
Here is the list of tools I used
- Drill with small drill bit to pre-drill for screws
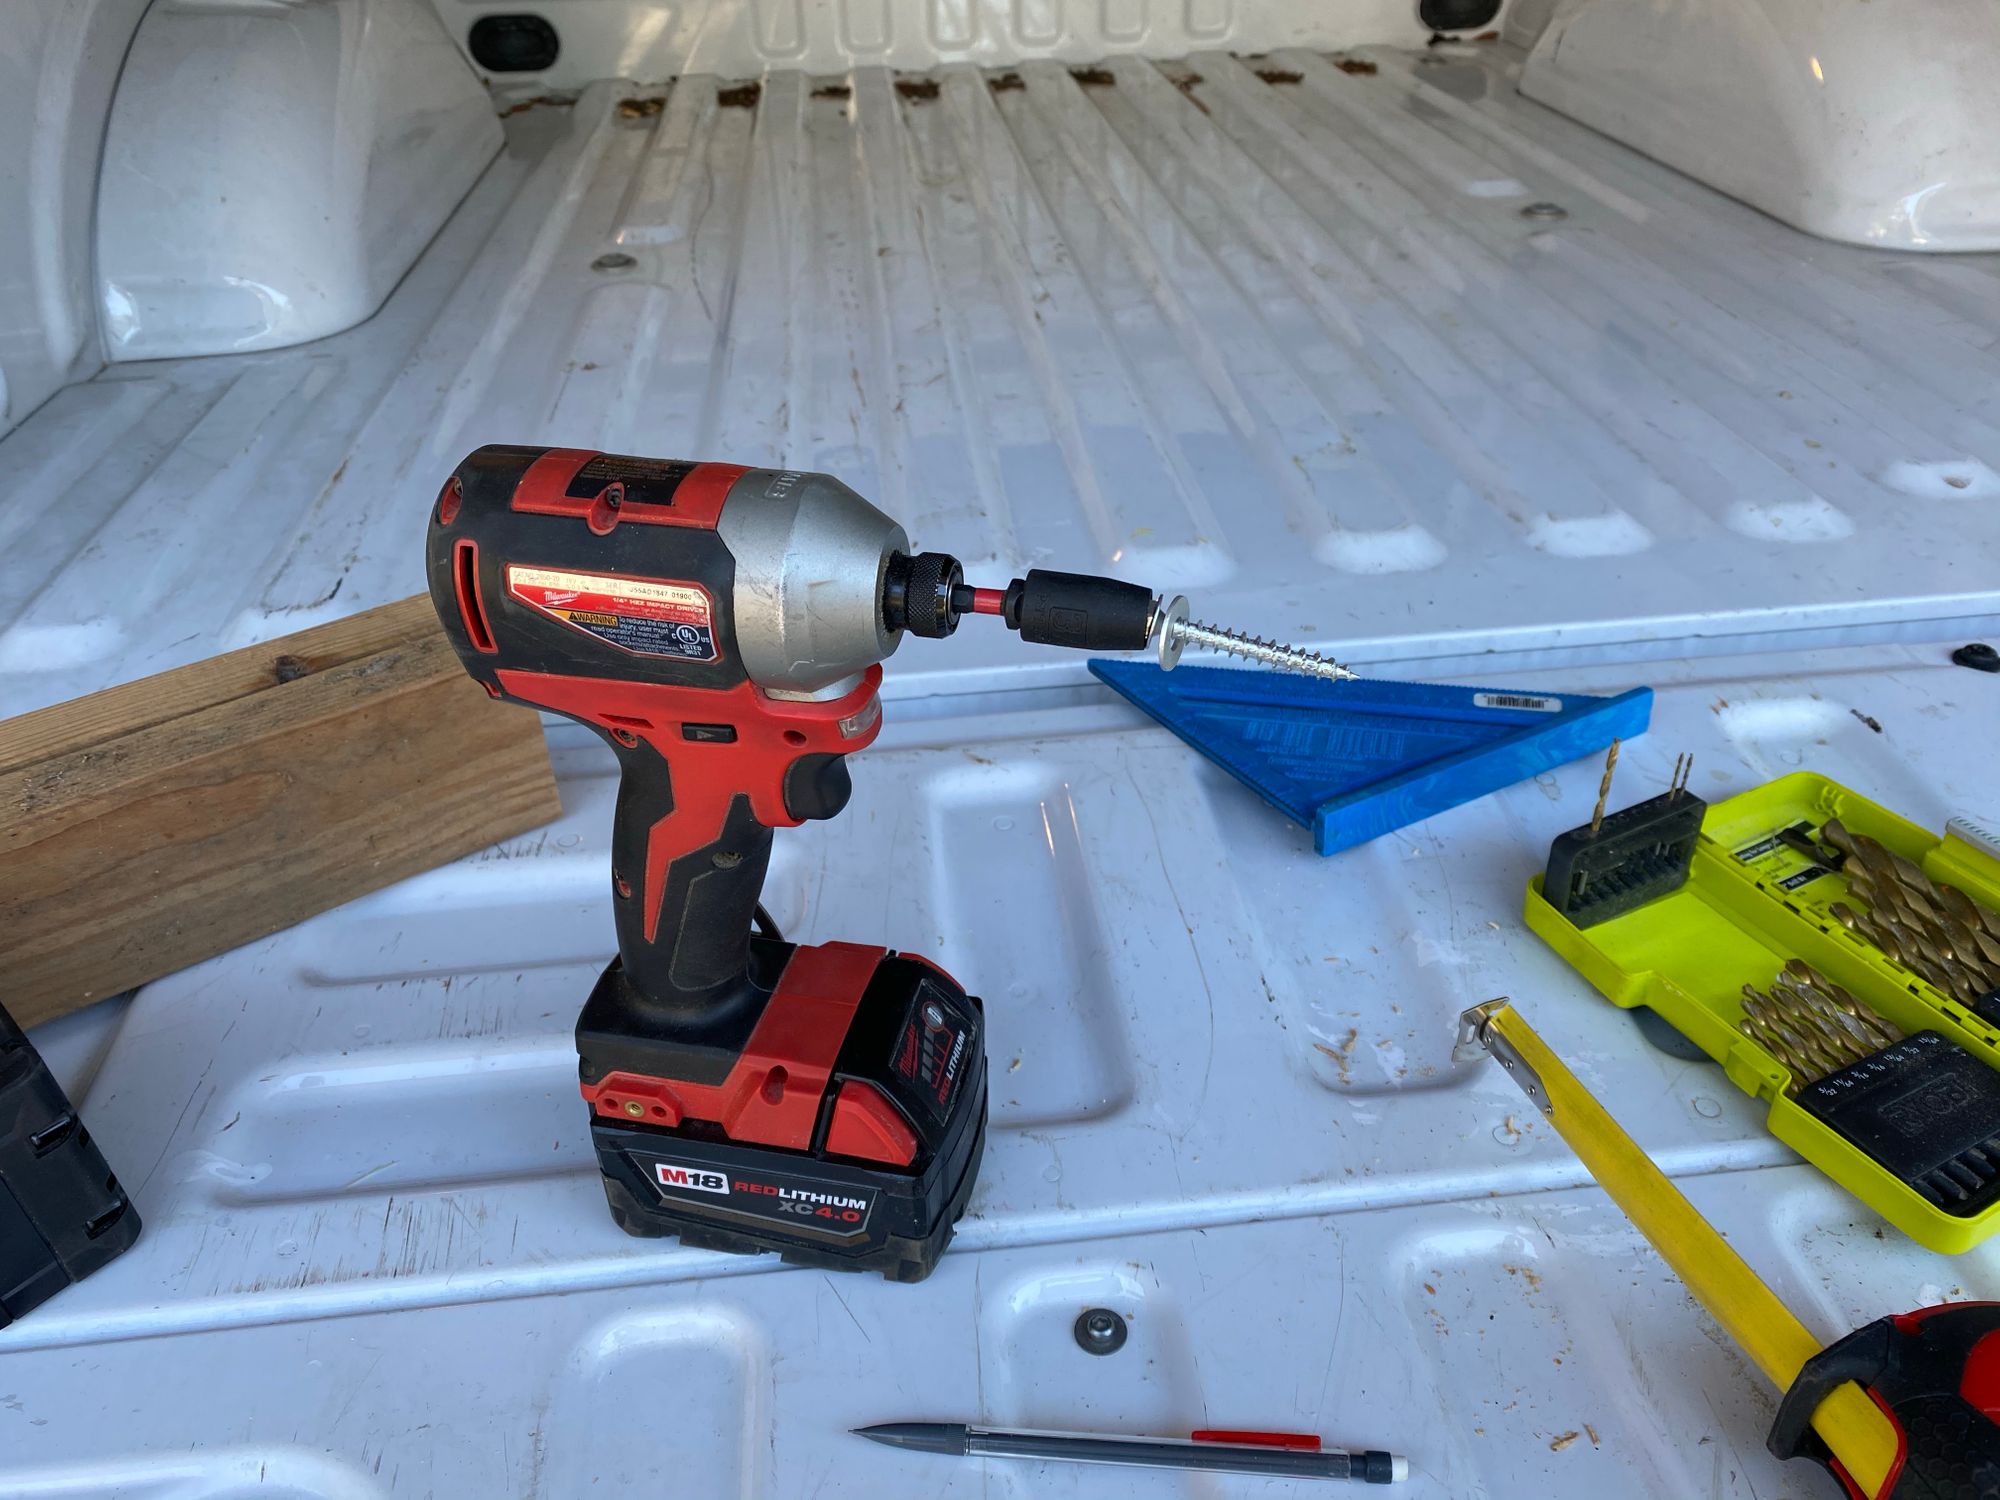
- Impact Driver with T30 TORX Bit and SPAX T-Star Bit (One is included with each box of screws, its a T20)
- Saw of some kind to cut the wood, I used a circular saw. You could use a table saw, mitre saw, hand saw, Sawzall, whatever.
- Level to make sure its level
- Tape Measure for measuring
- Pencil to mark the wood
- Wrenches or Adjustable Wrenches for attaching fittings to hoses
- Speed Square for making square cuts in the wood
- A Clamp or a friend, to hold the wood in place while you attach it to the joist
- 3/8 Impact socket to attach the lags used to hold the reel
- Spade Bit or hole saw to drill a 1 inch hole for the hose to run through the top plate of your wall
And here is some pictures along the way, its very simple
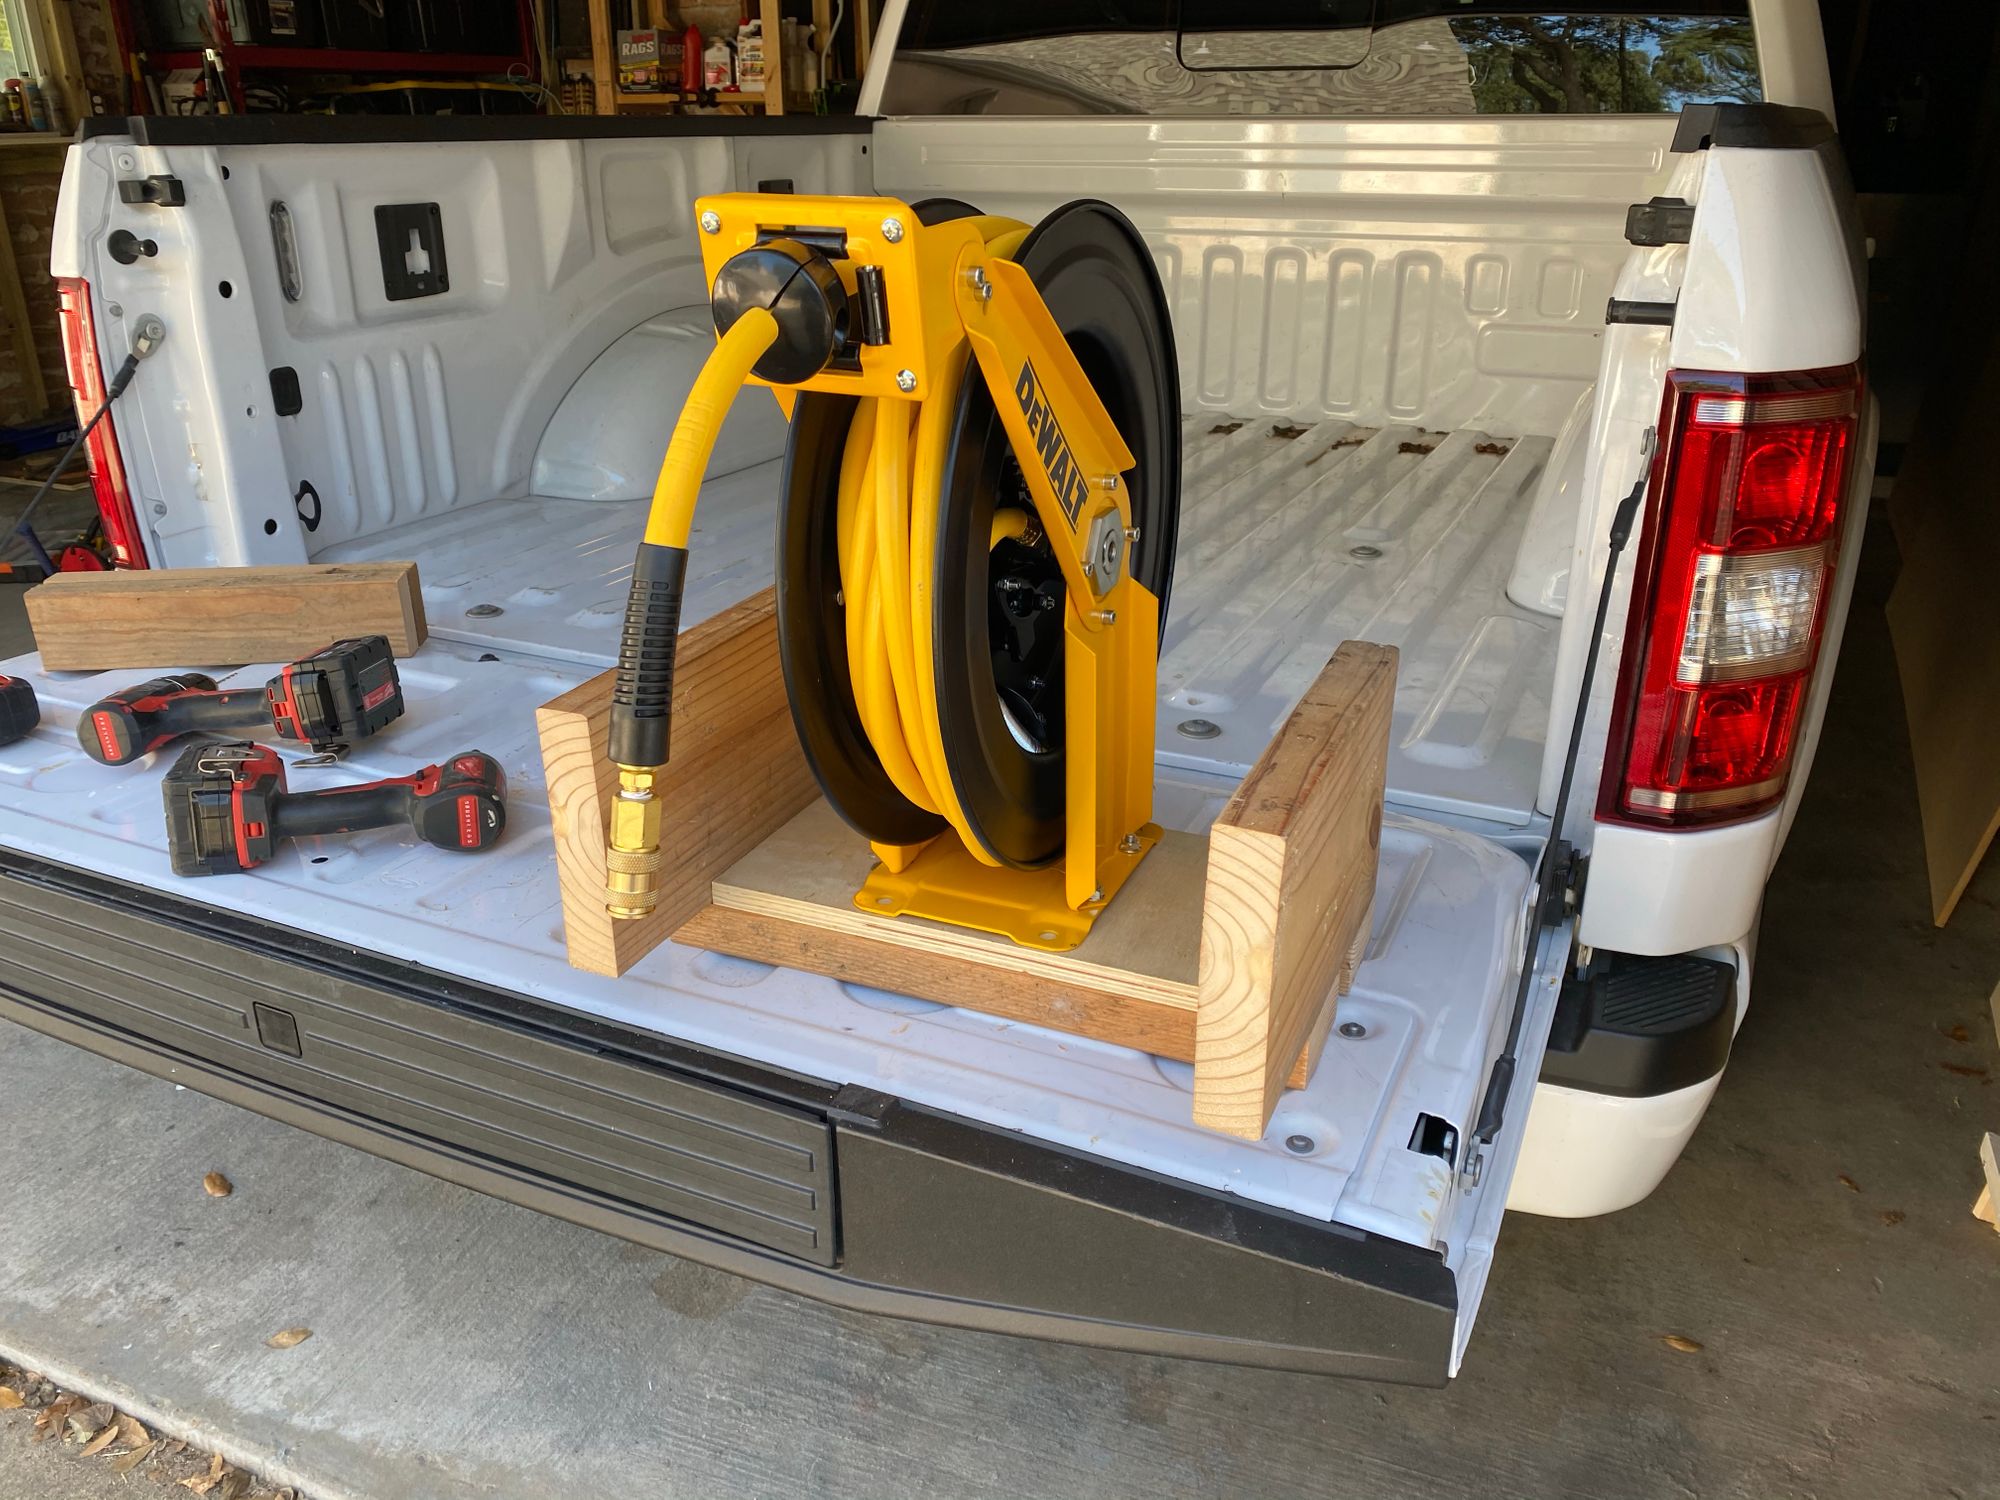
Here is the hose reel out the box, it comes completely assembled. I could not use the included lead in hose as its too short
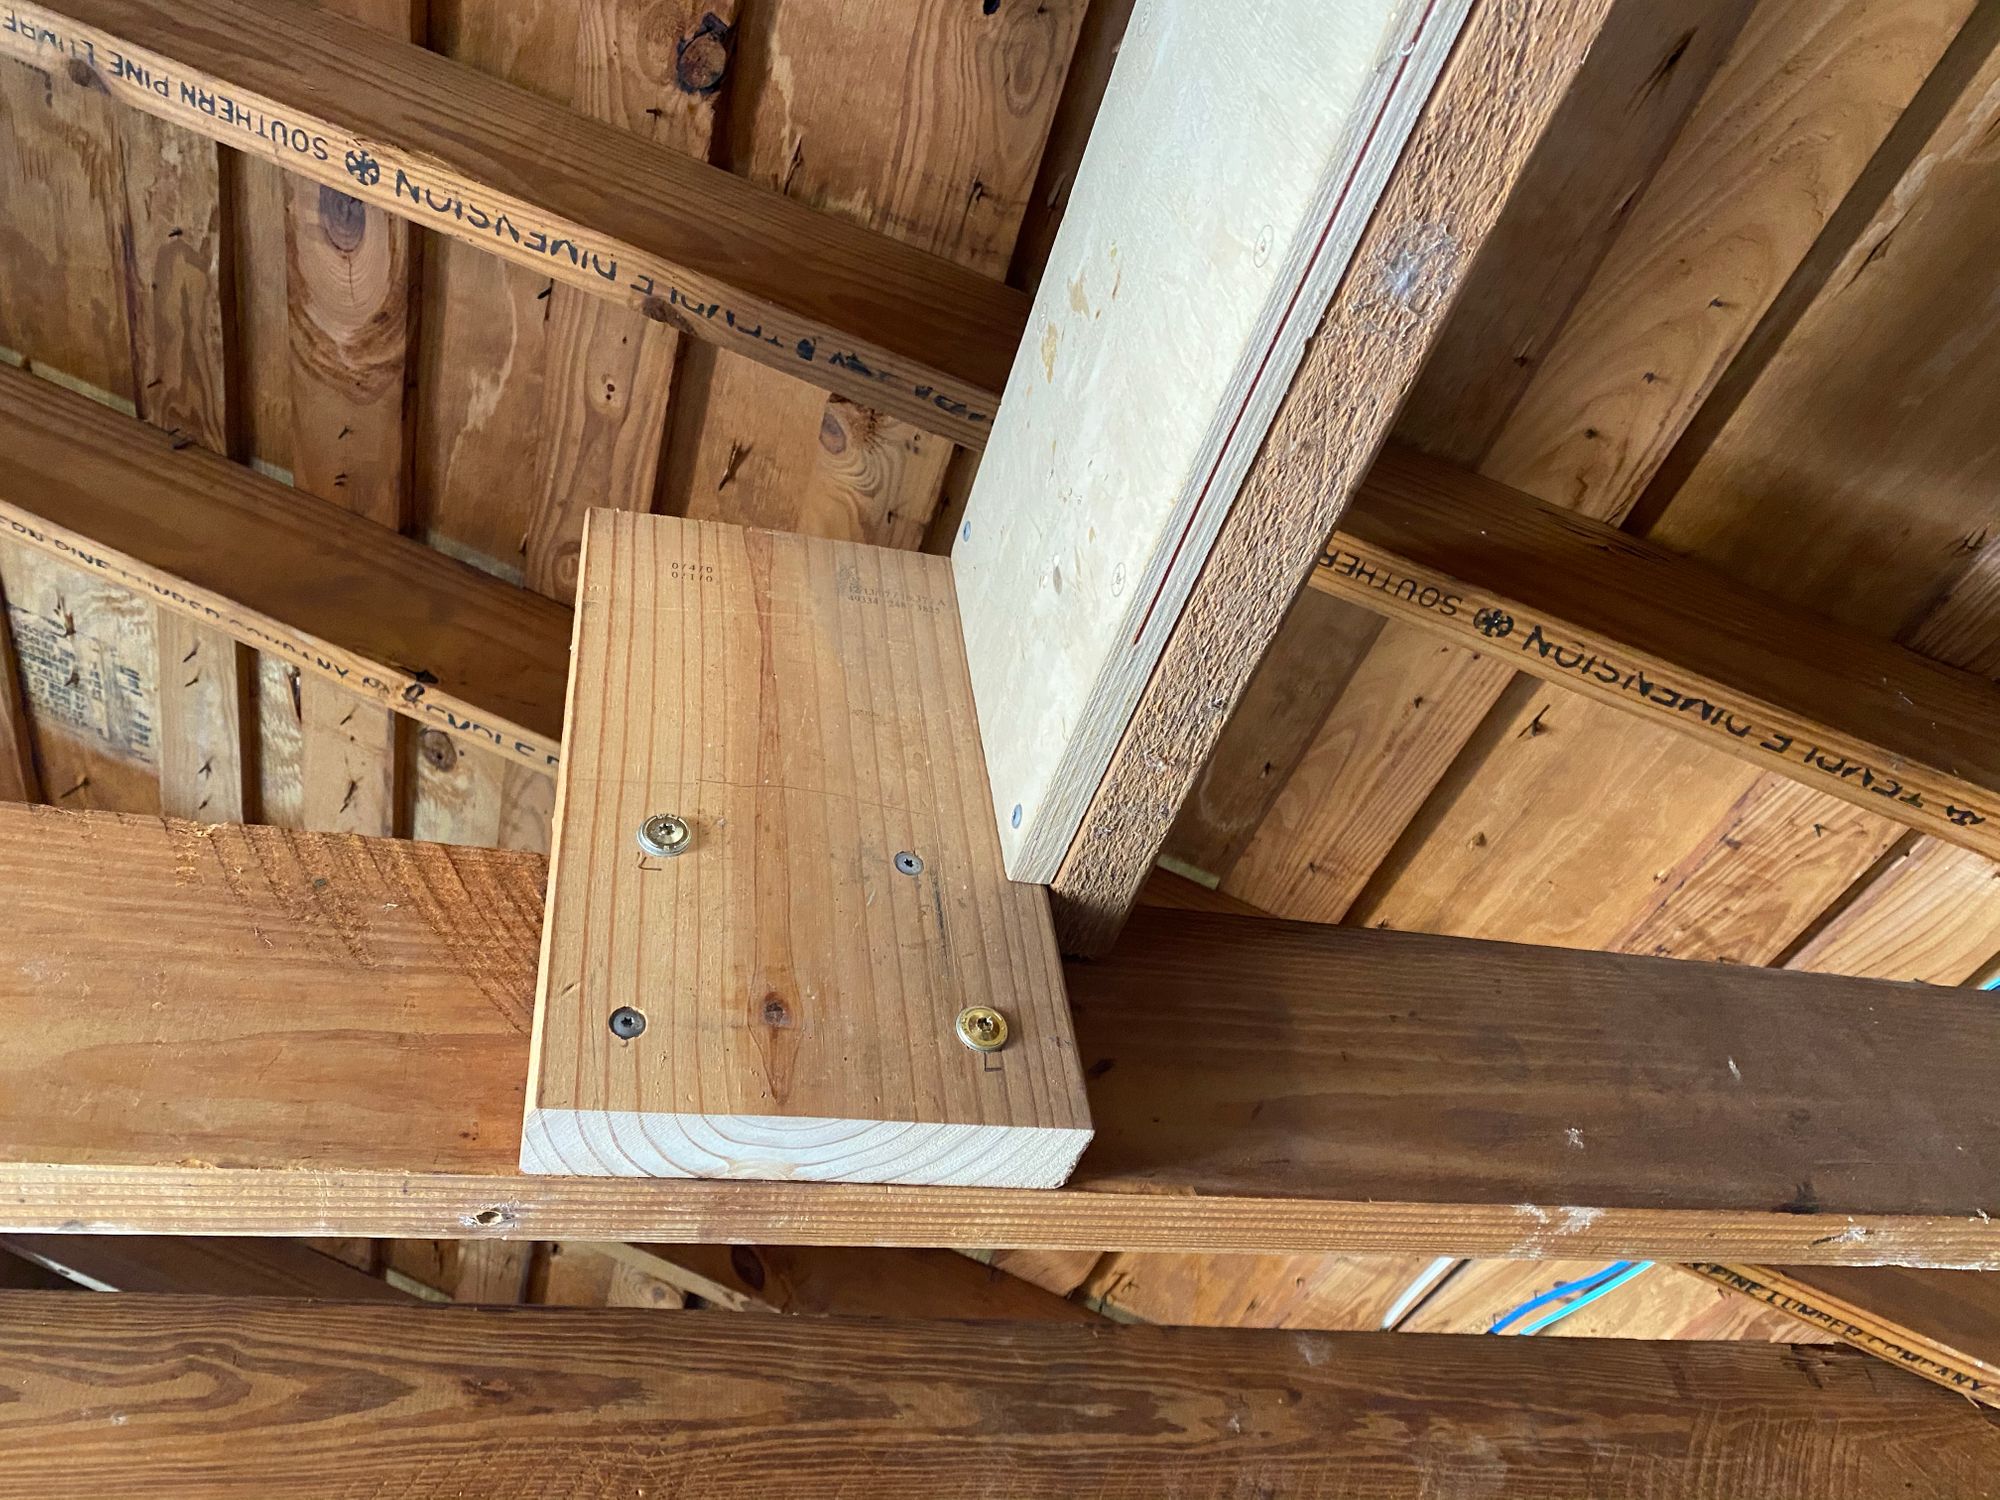
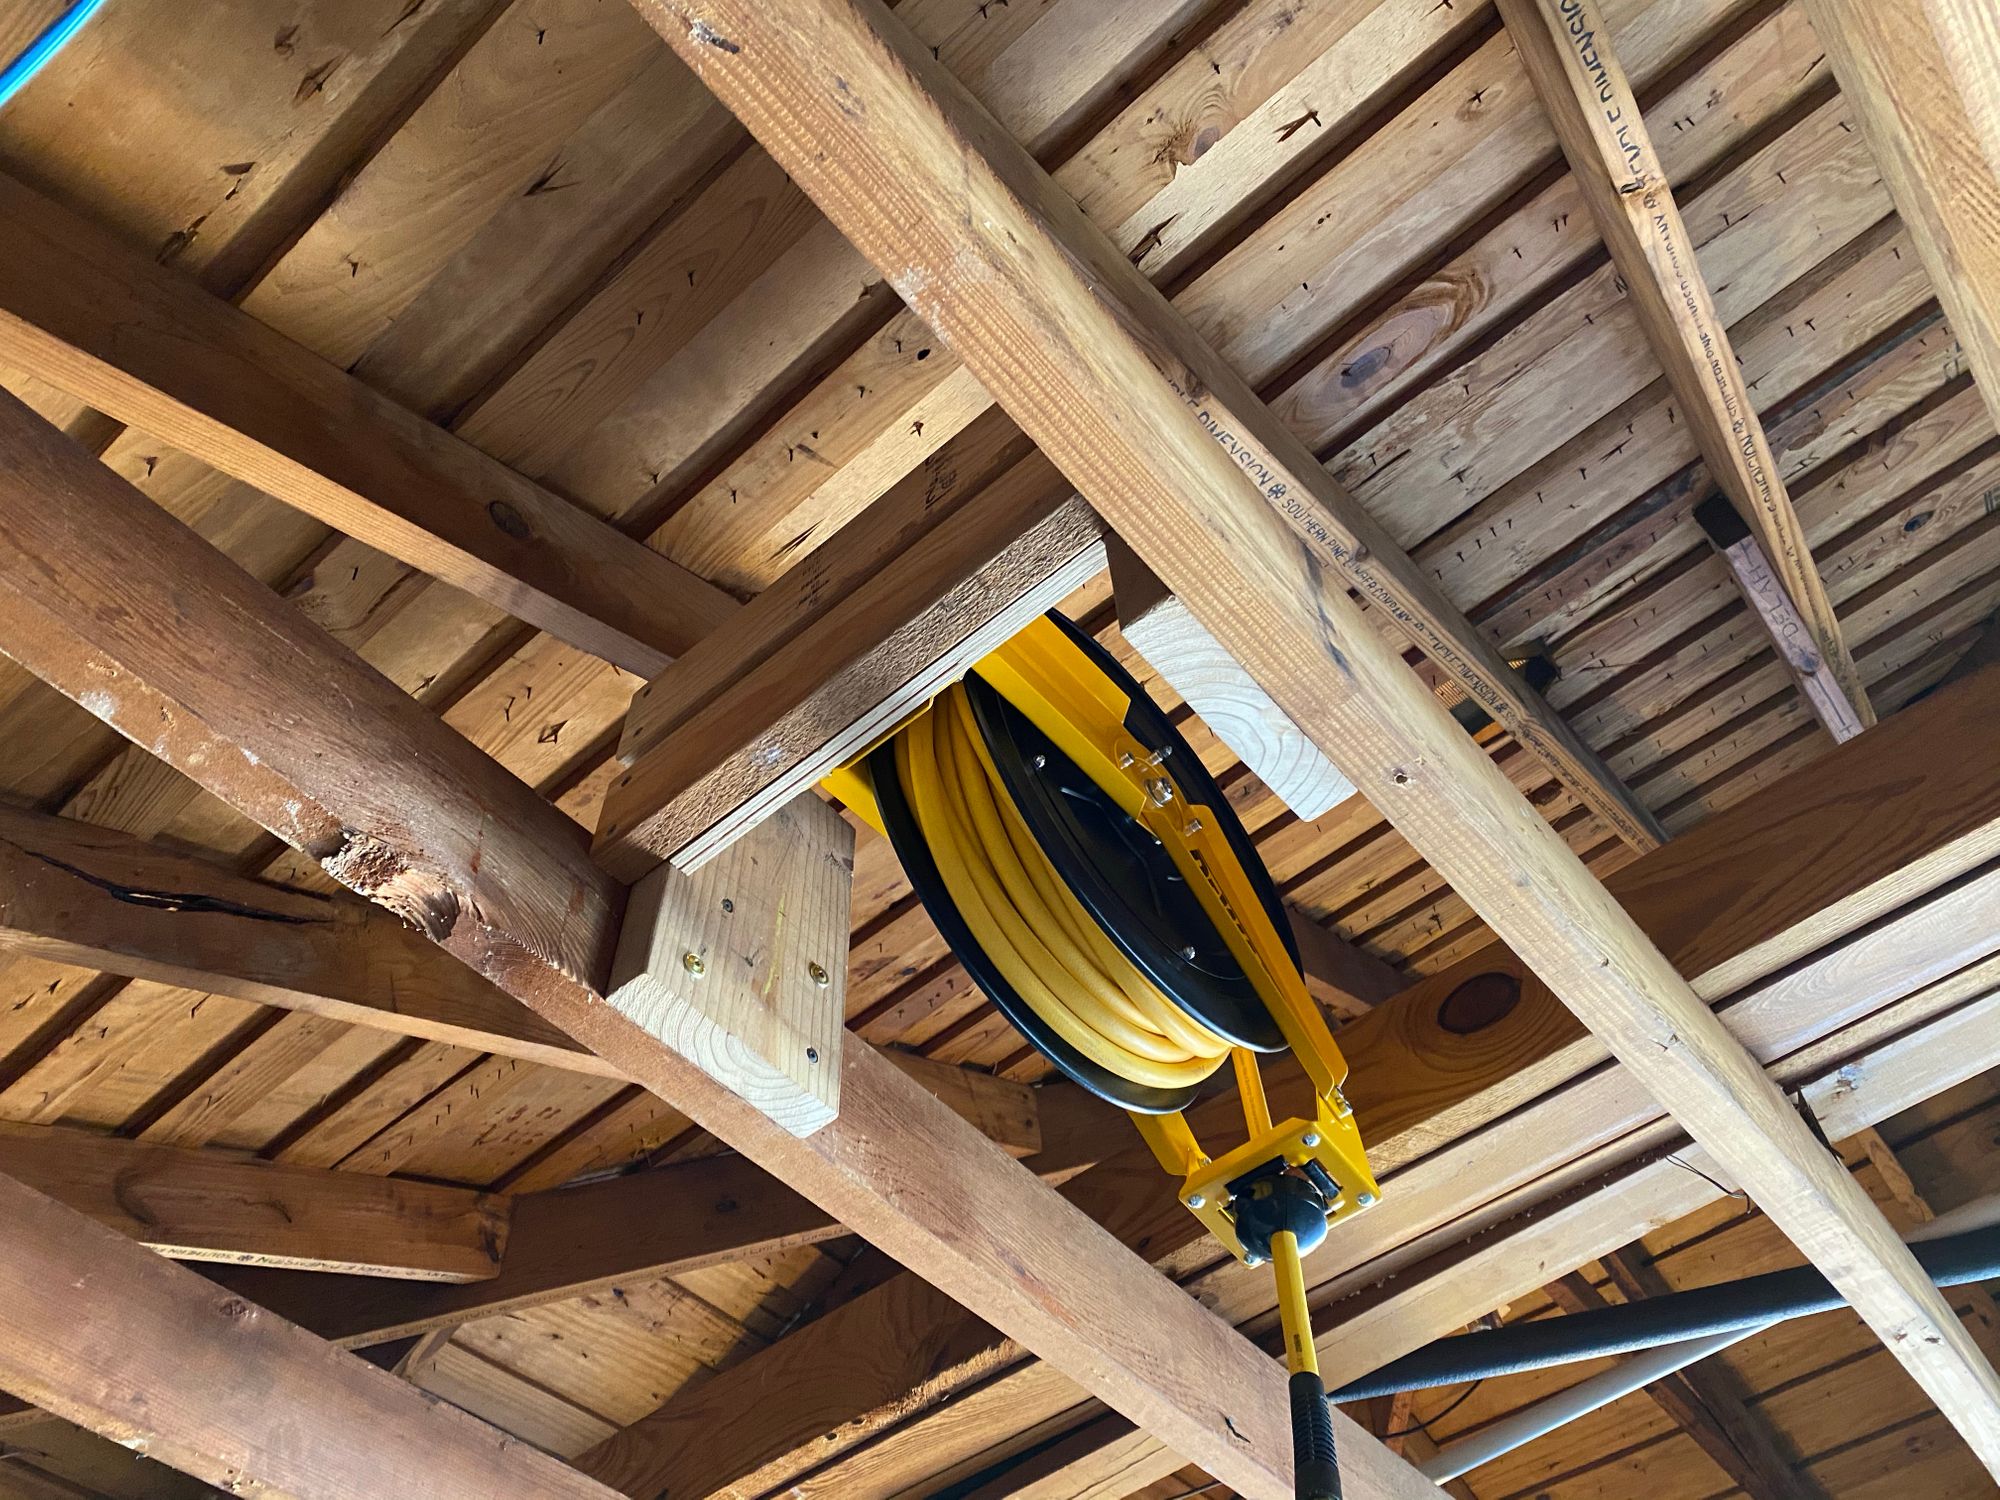
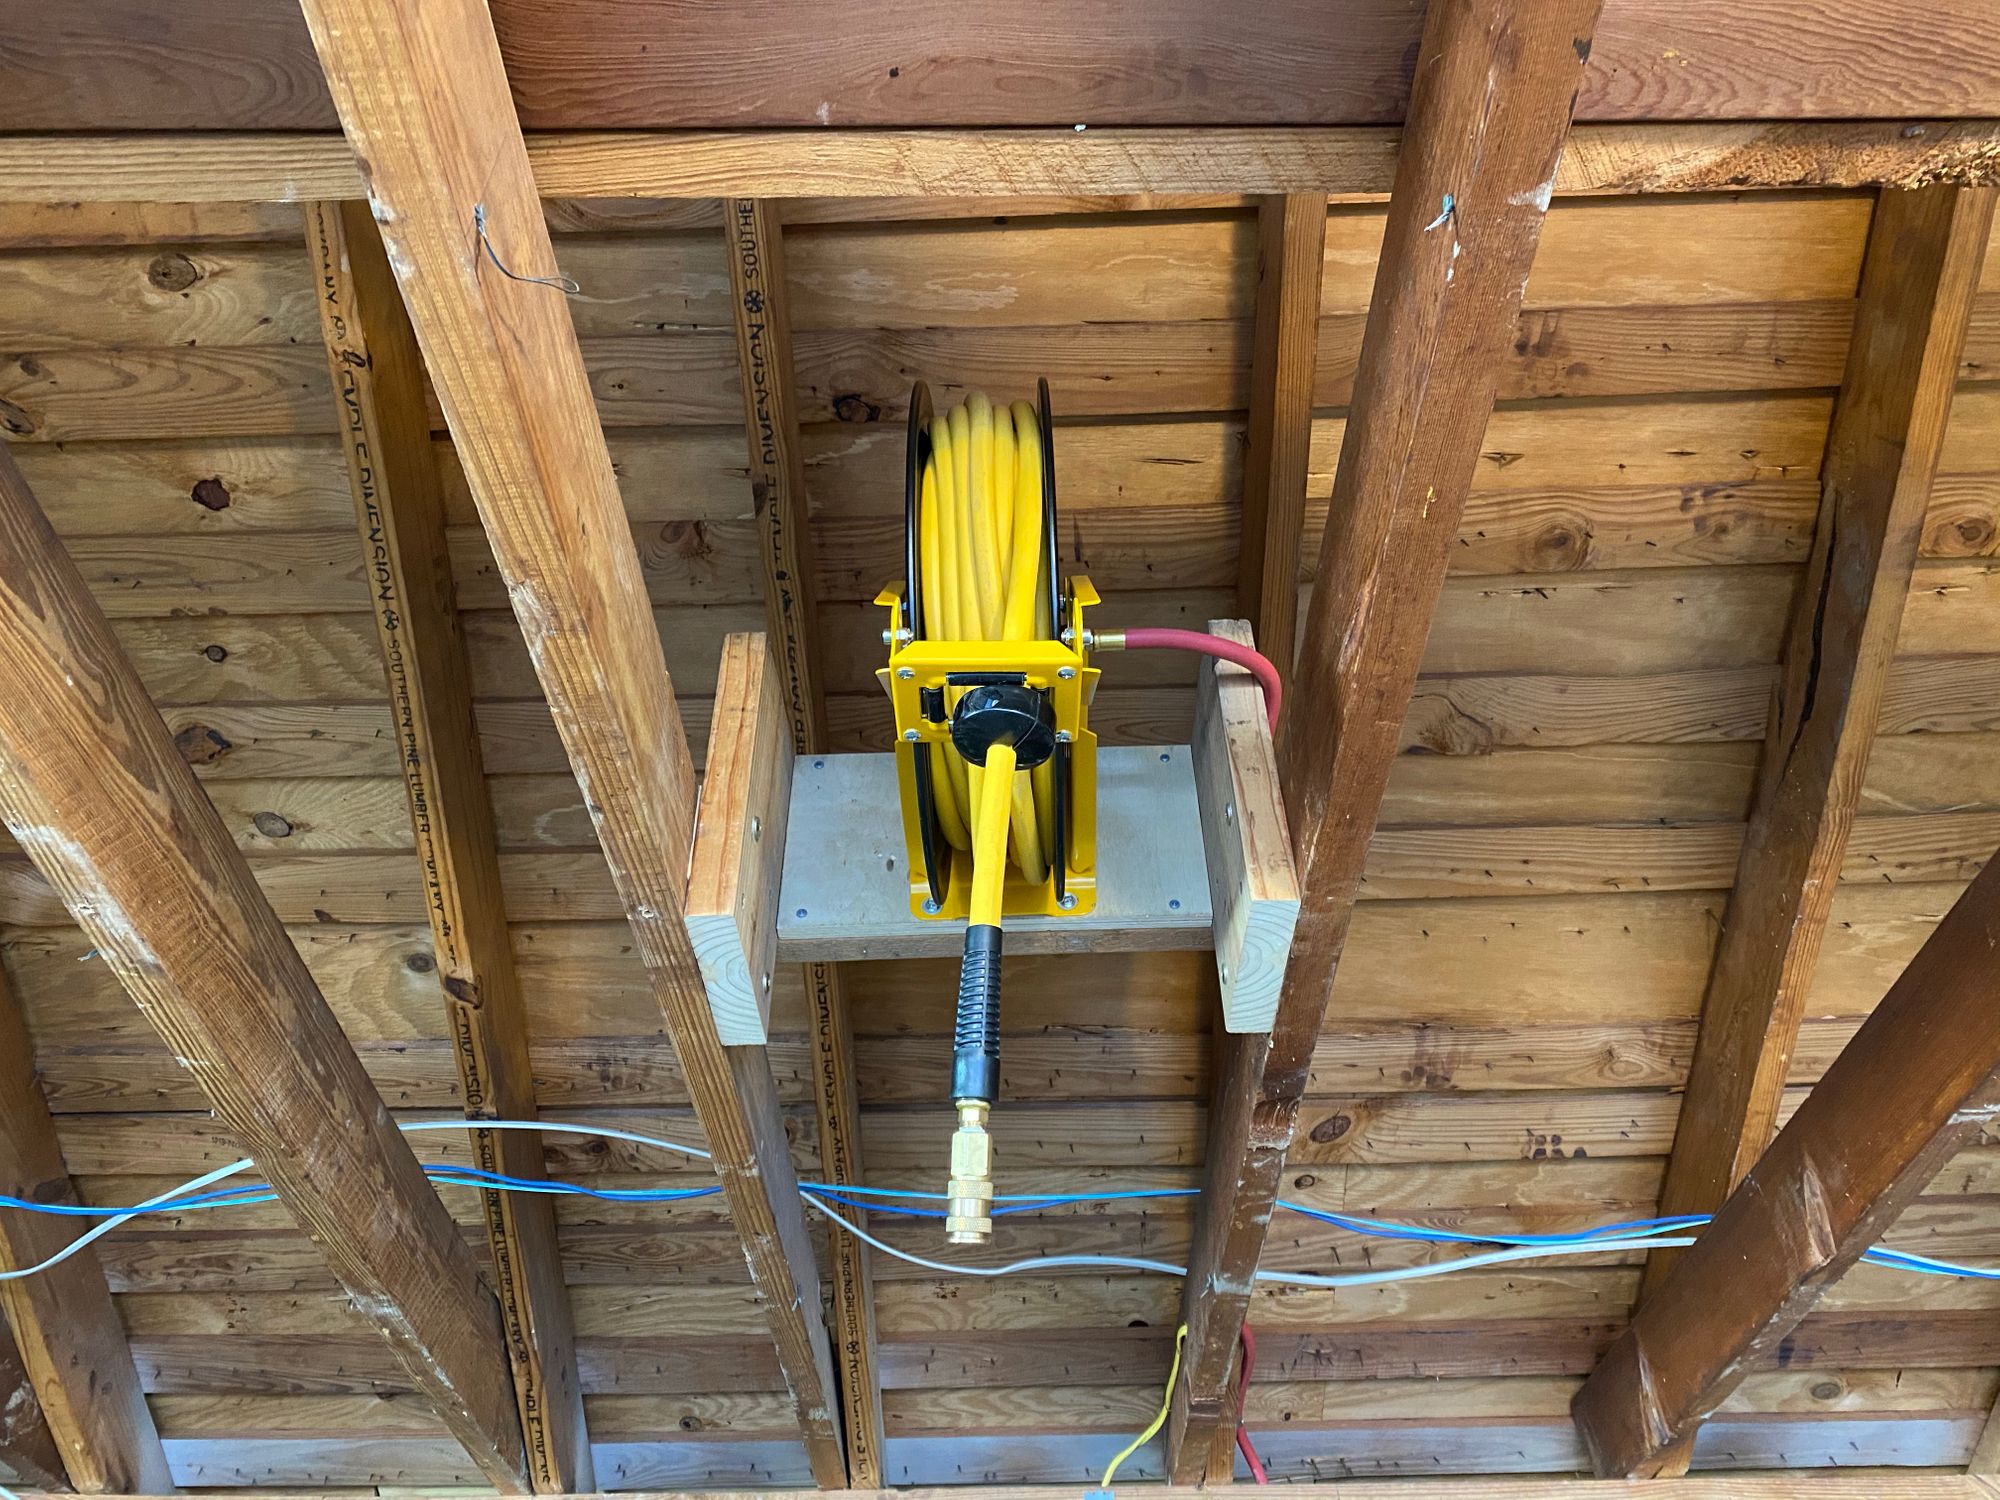
For the mount I measured between two joists, and then made a structure to attach the reel. I used 2x4 and 2x6 scraps I had laying around. Make sure to space them so the holes on the reel line up with them
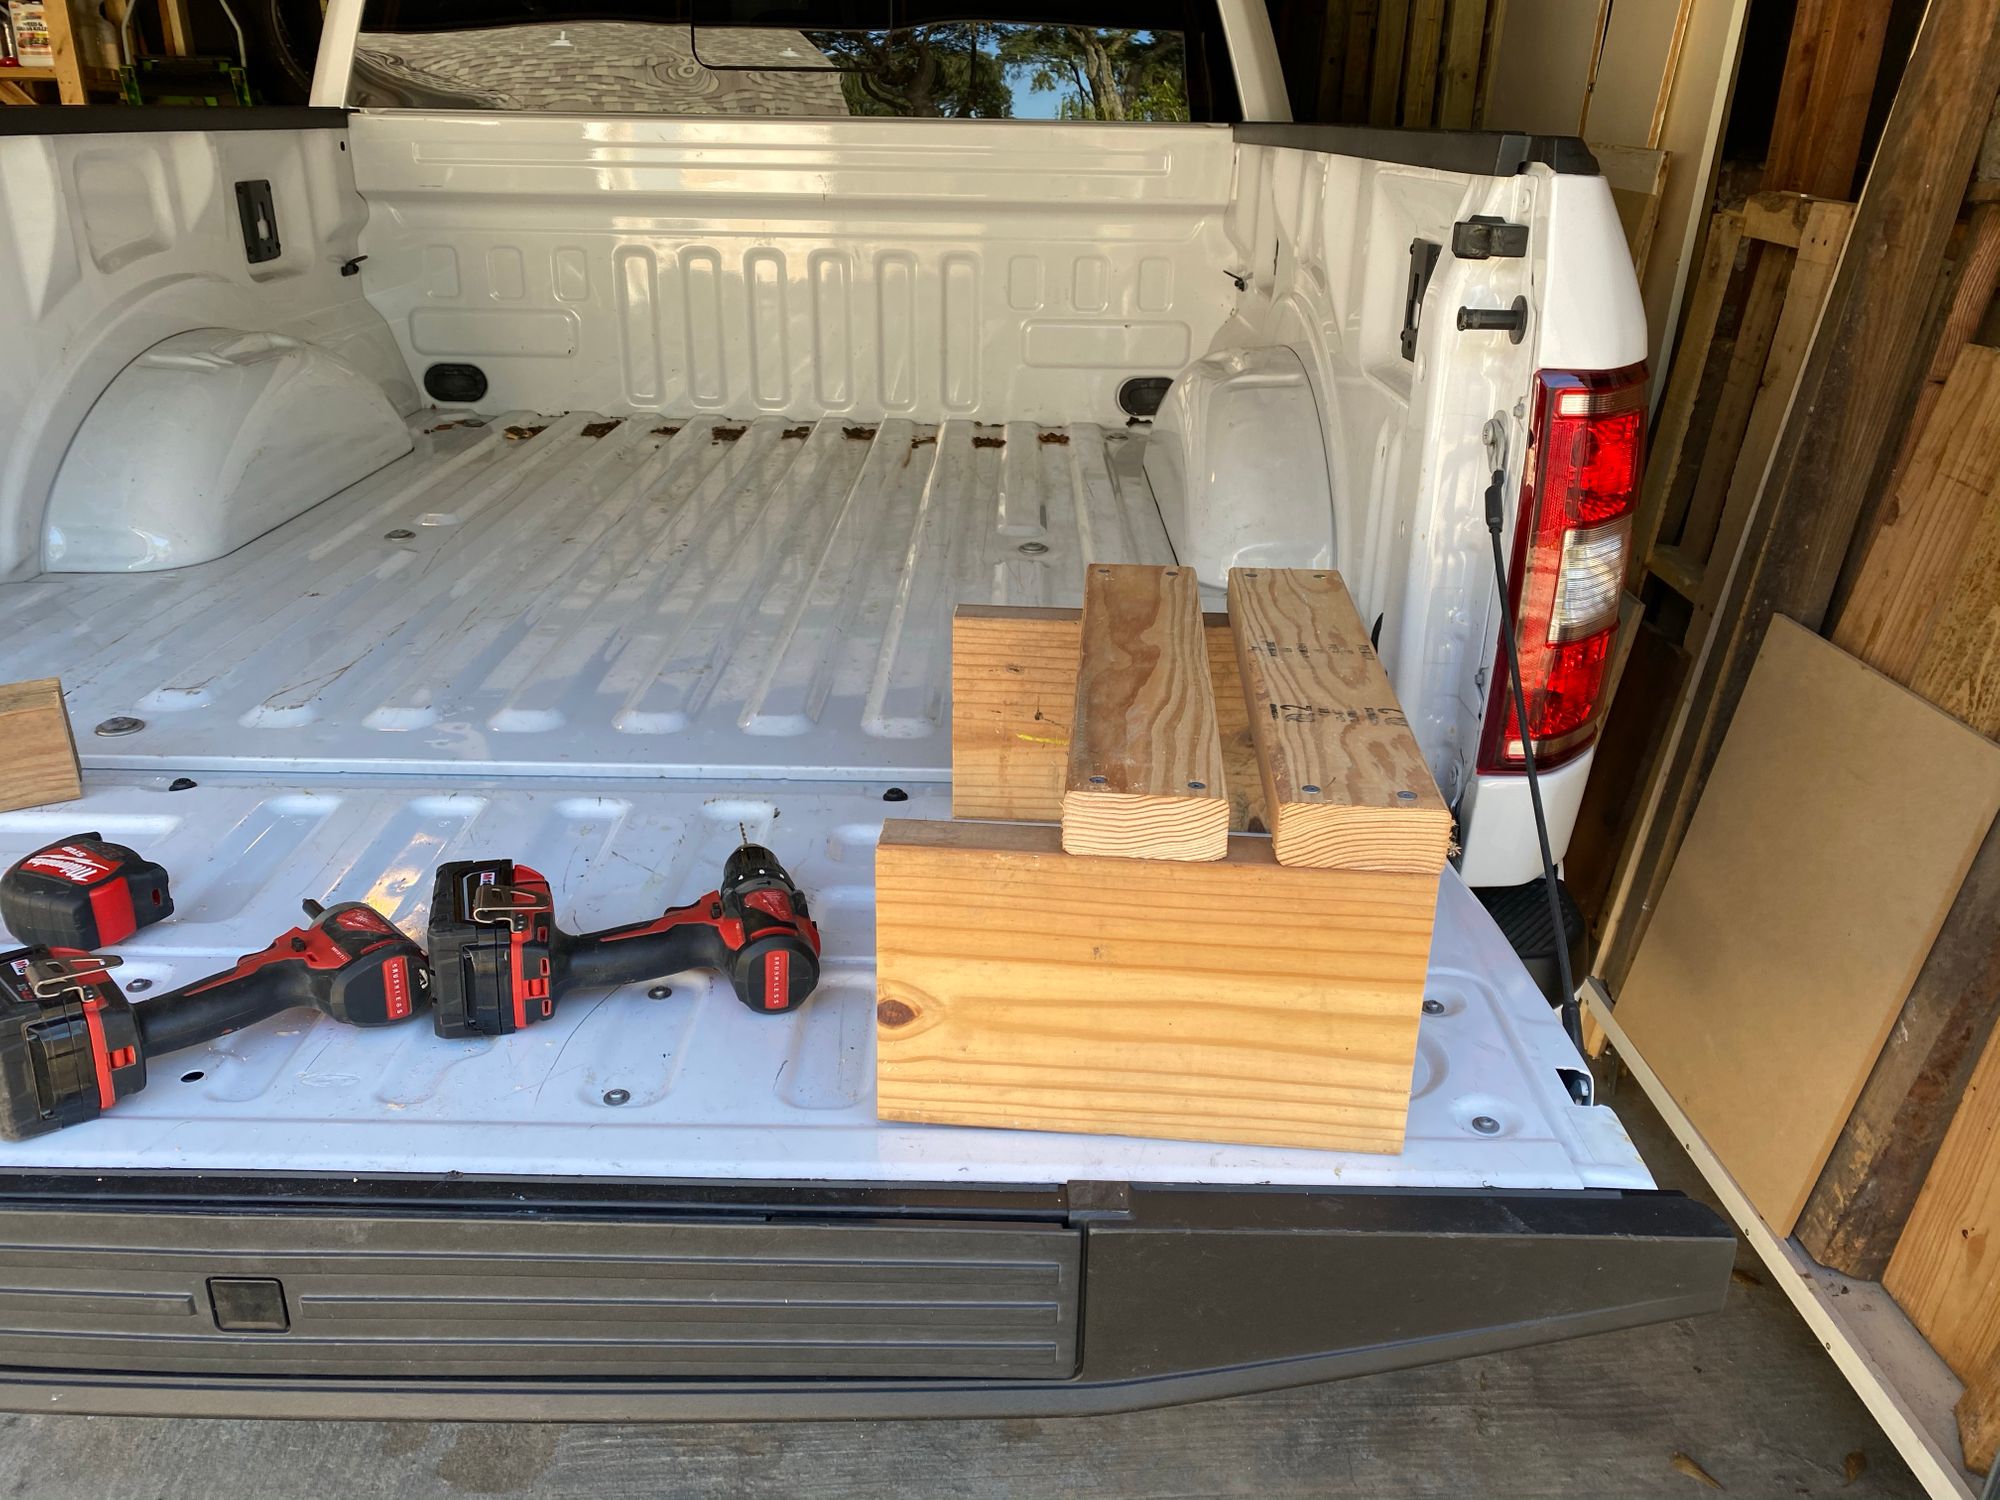
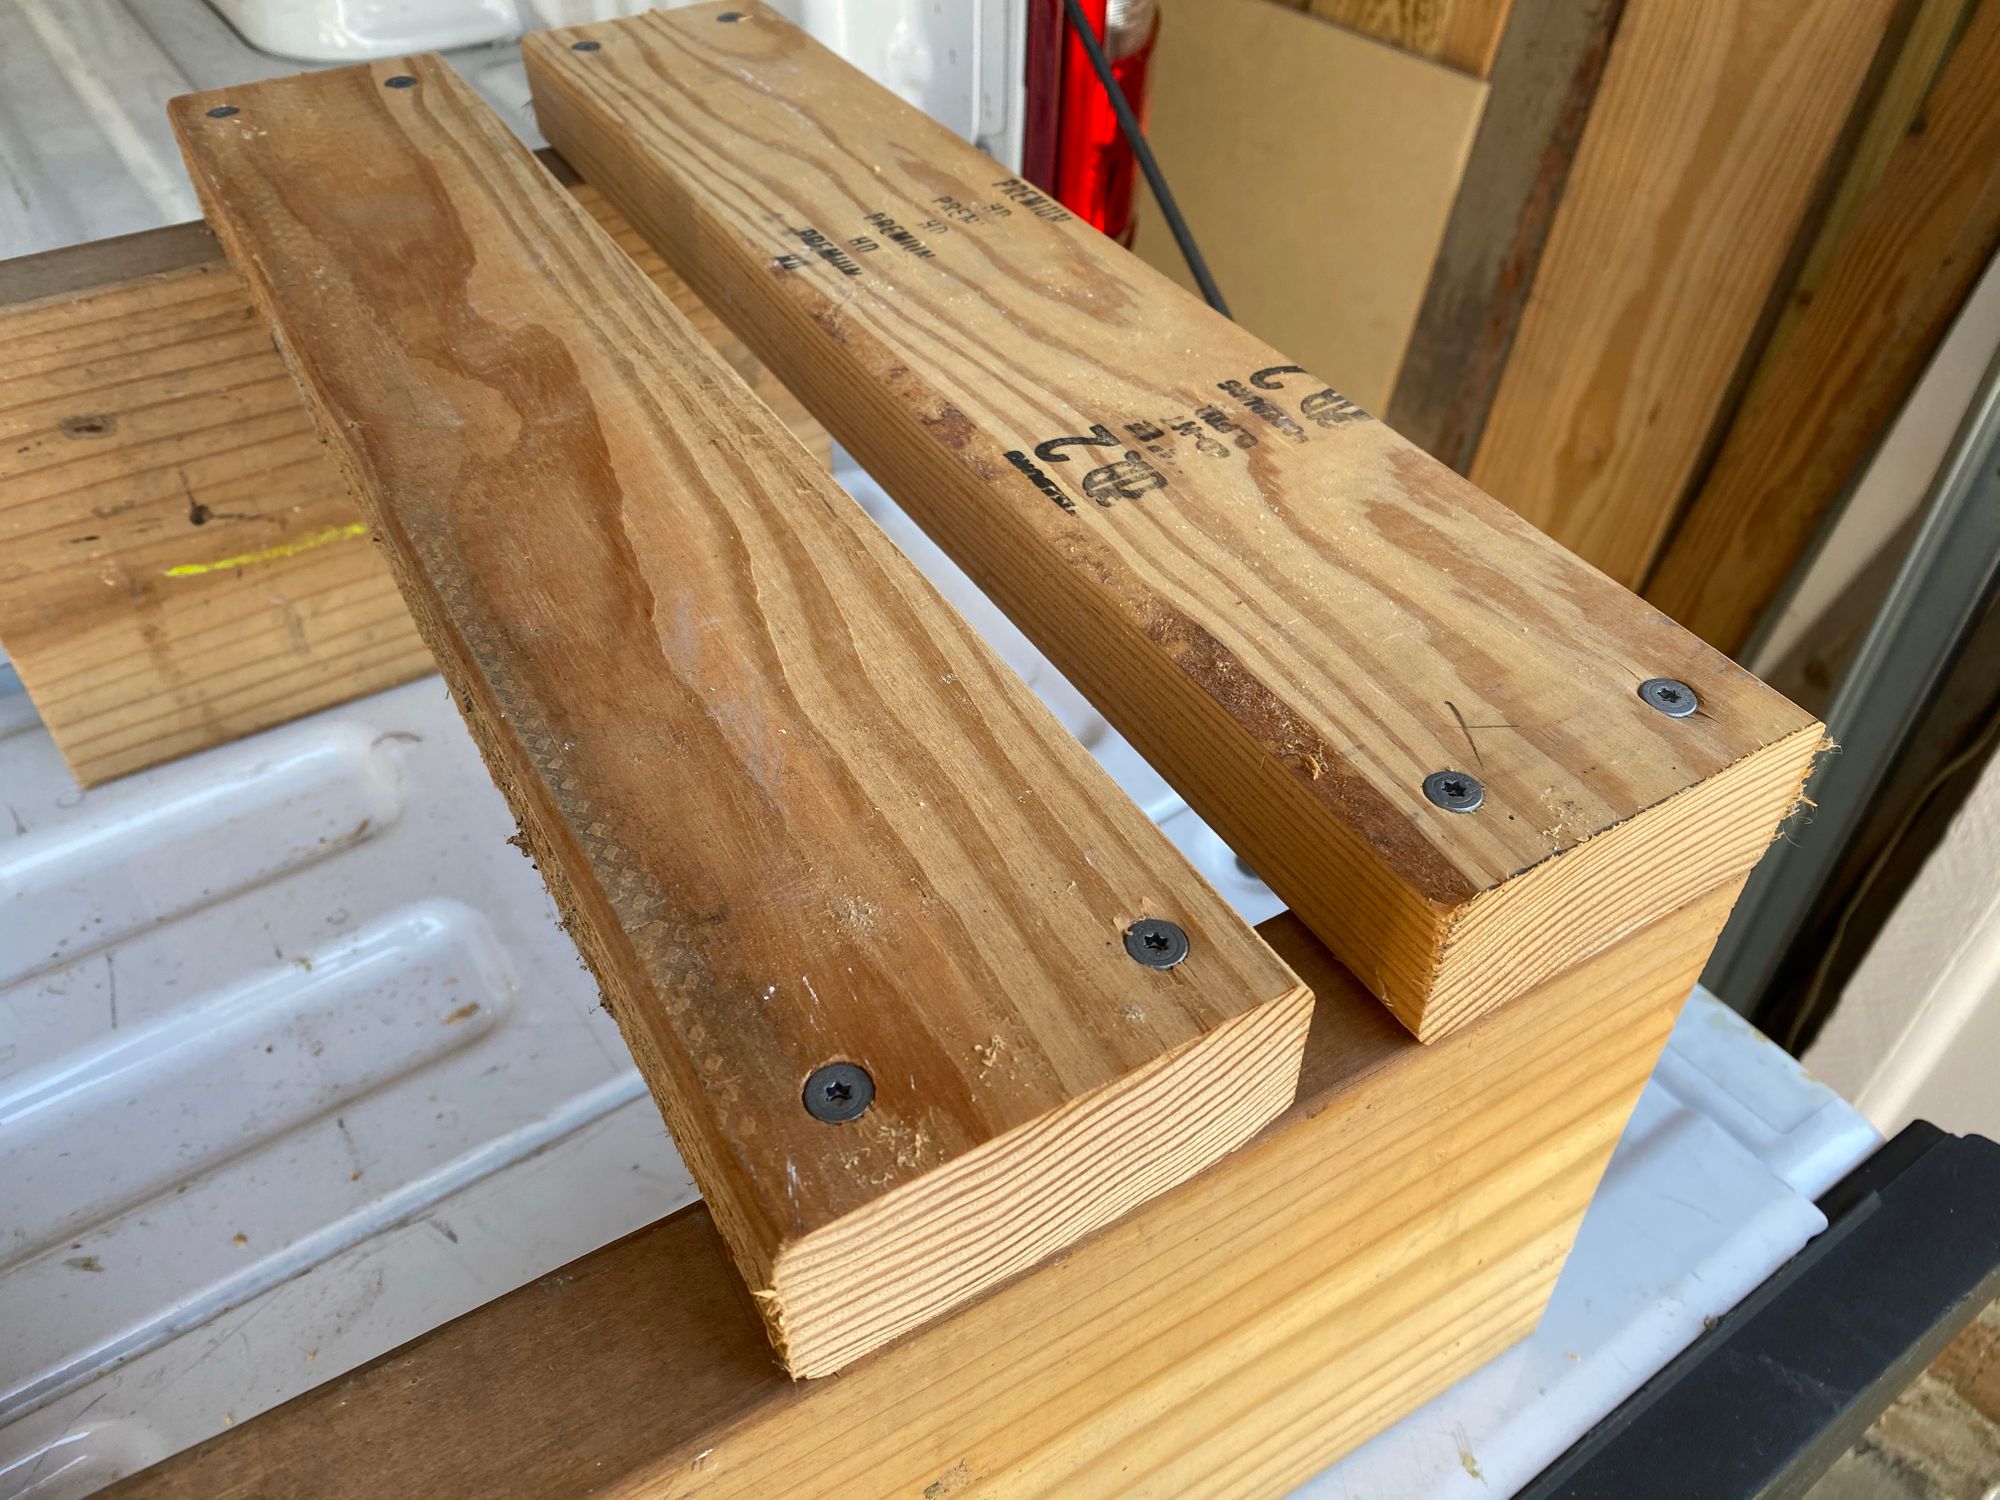
Then I found a scrap of plywood to go inside, on top of the 2x4's. This makes it look nicer, and gives me some extra meat for the lags so they don't blow through the end of the 2x4's. Here is a test fit. Perfect
Then I just used some short screws to attach the plywood to the 2x4's, and I marked and drilled the location of the screws for the lags that will hold the reel on, onto the plywood
I held it in the joists with some clamps to get it leveled so I could screw it in on my own
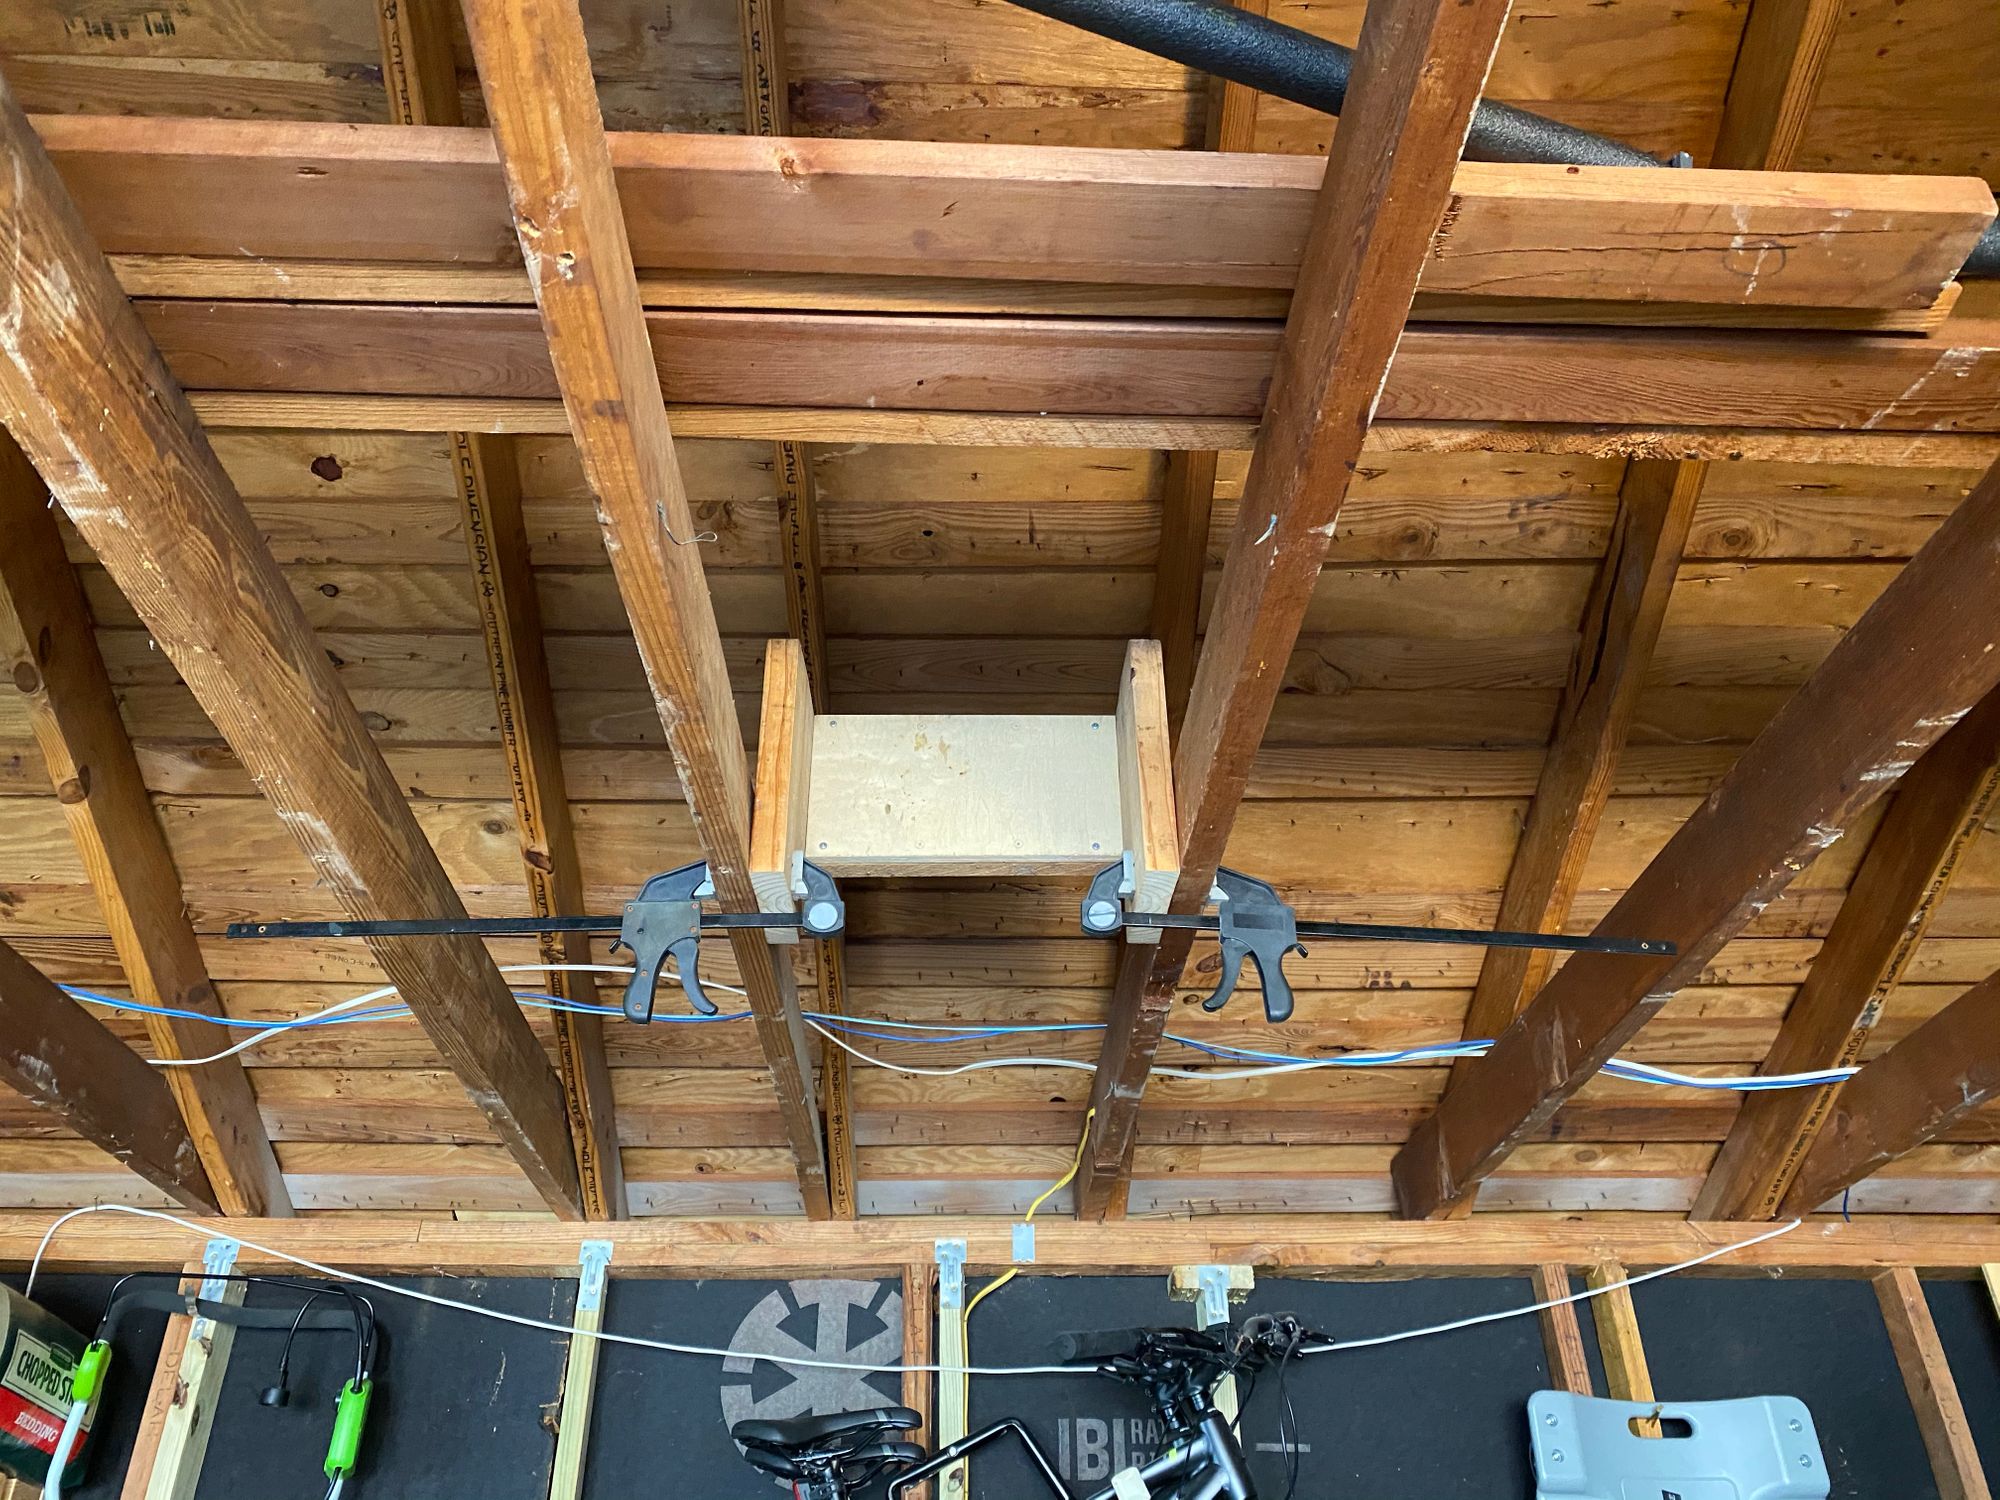
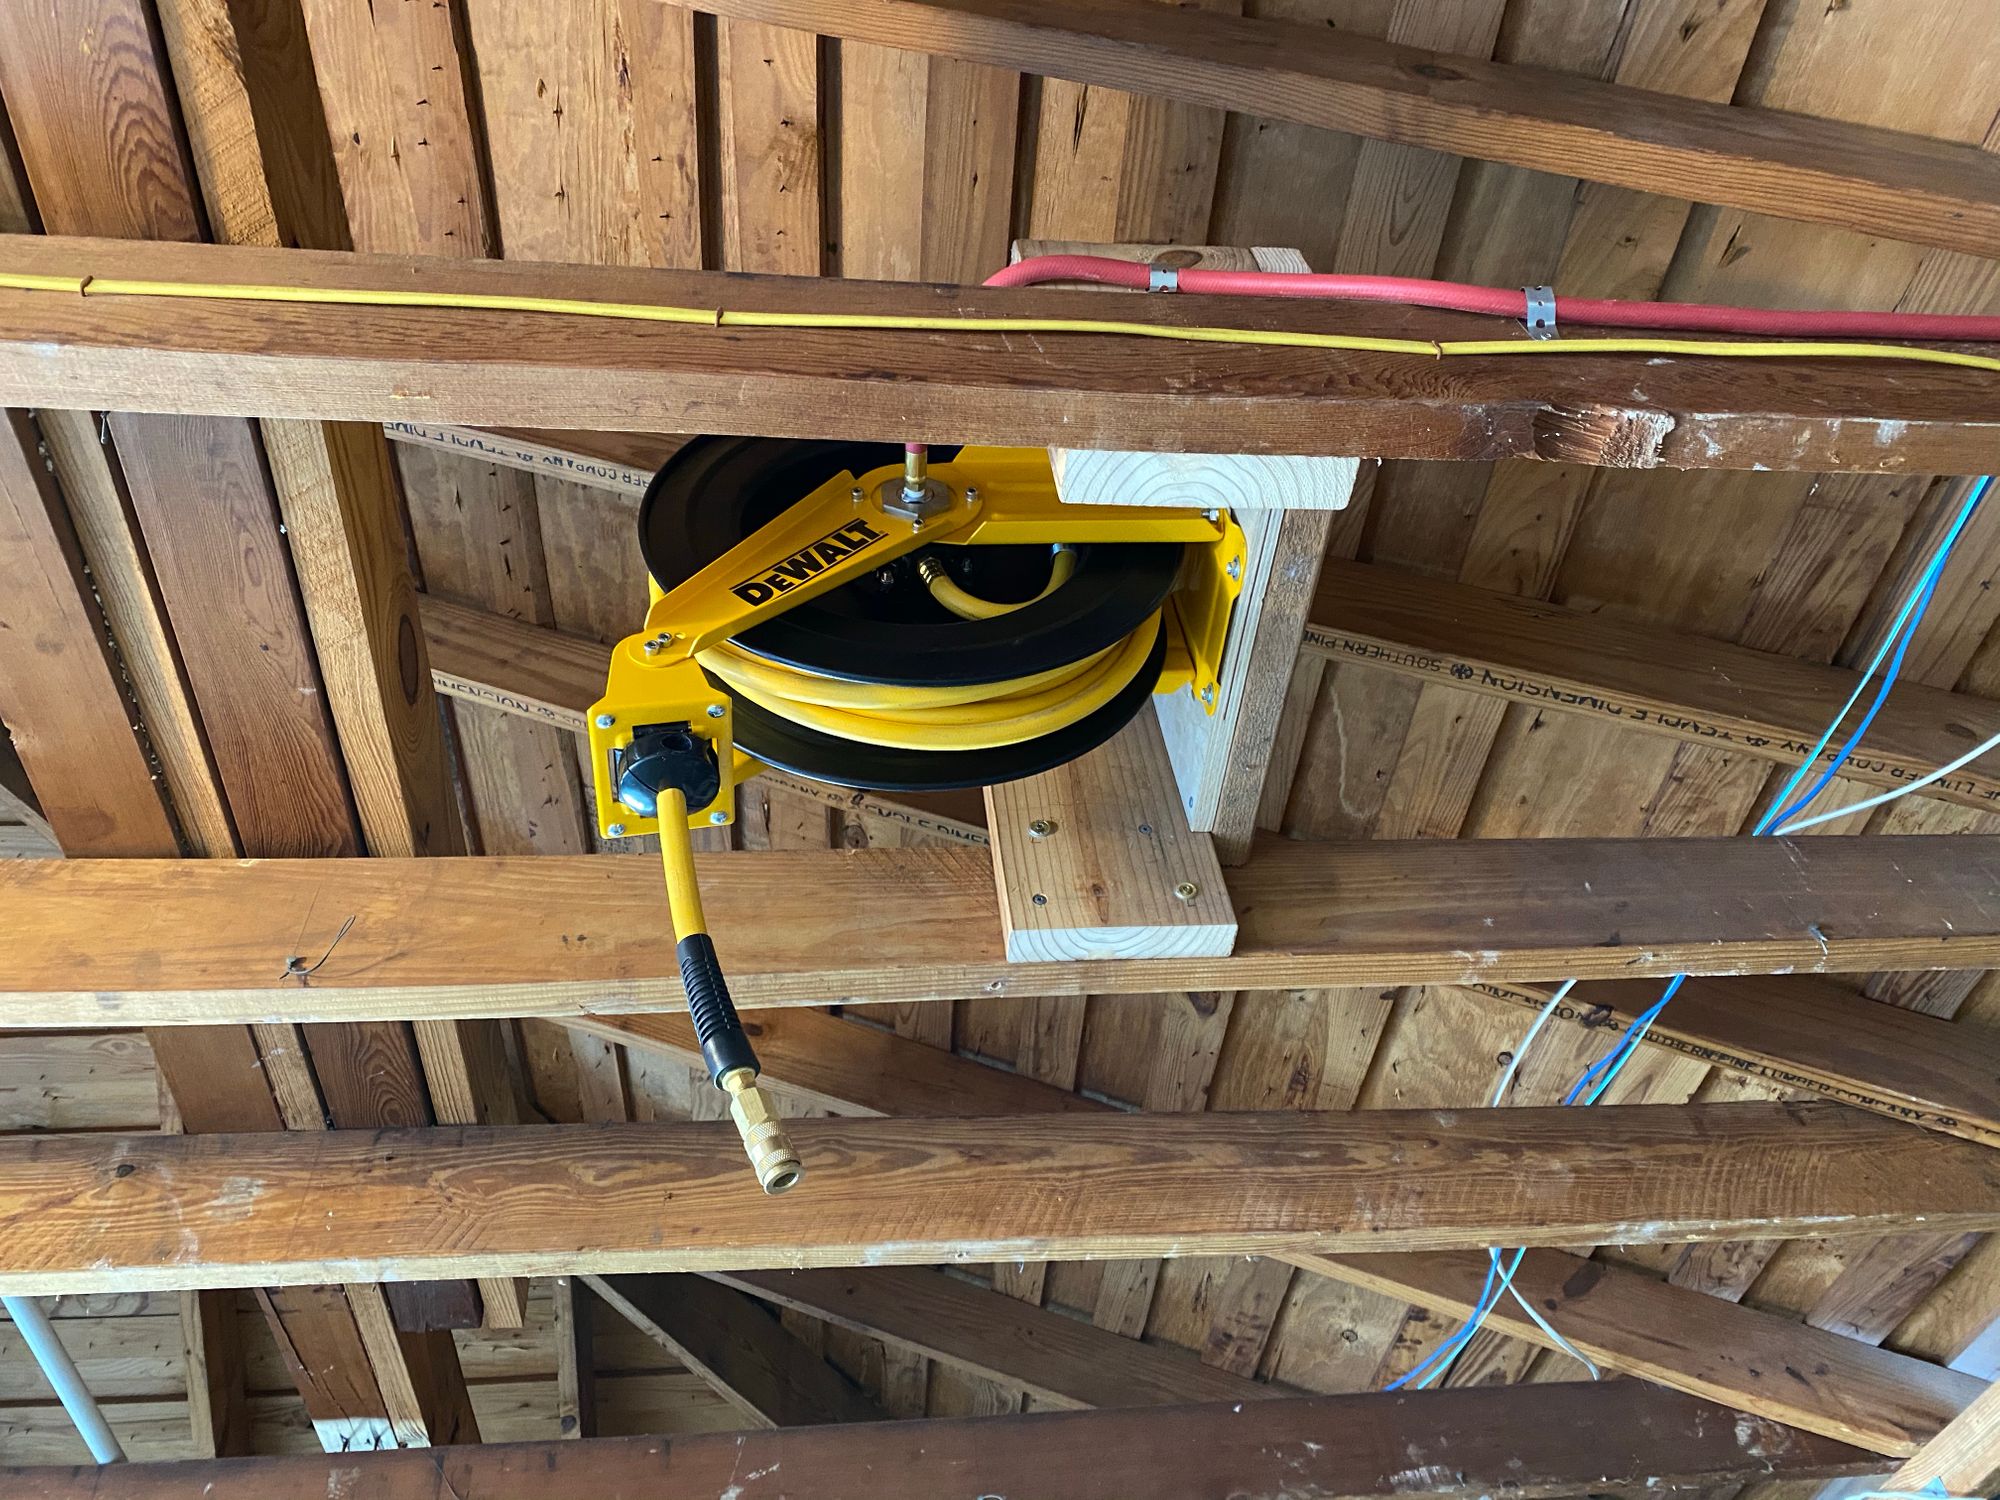
Now I am going to use the 3 inch lags to attach this, I wanted this thing to be super secure, as if it ever fell, it would hit a car... I added a washer just so it doesn't poke through the end of the joist
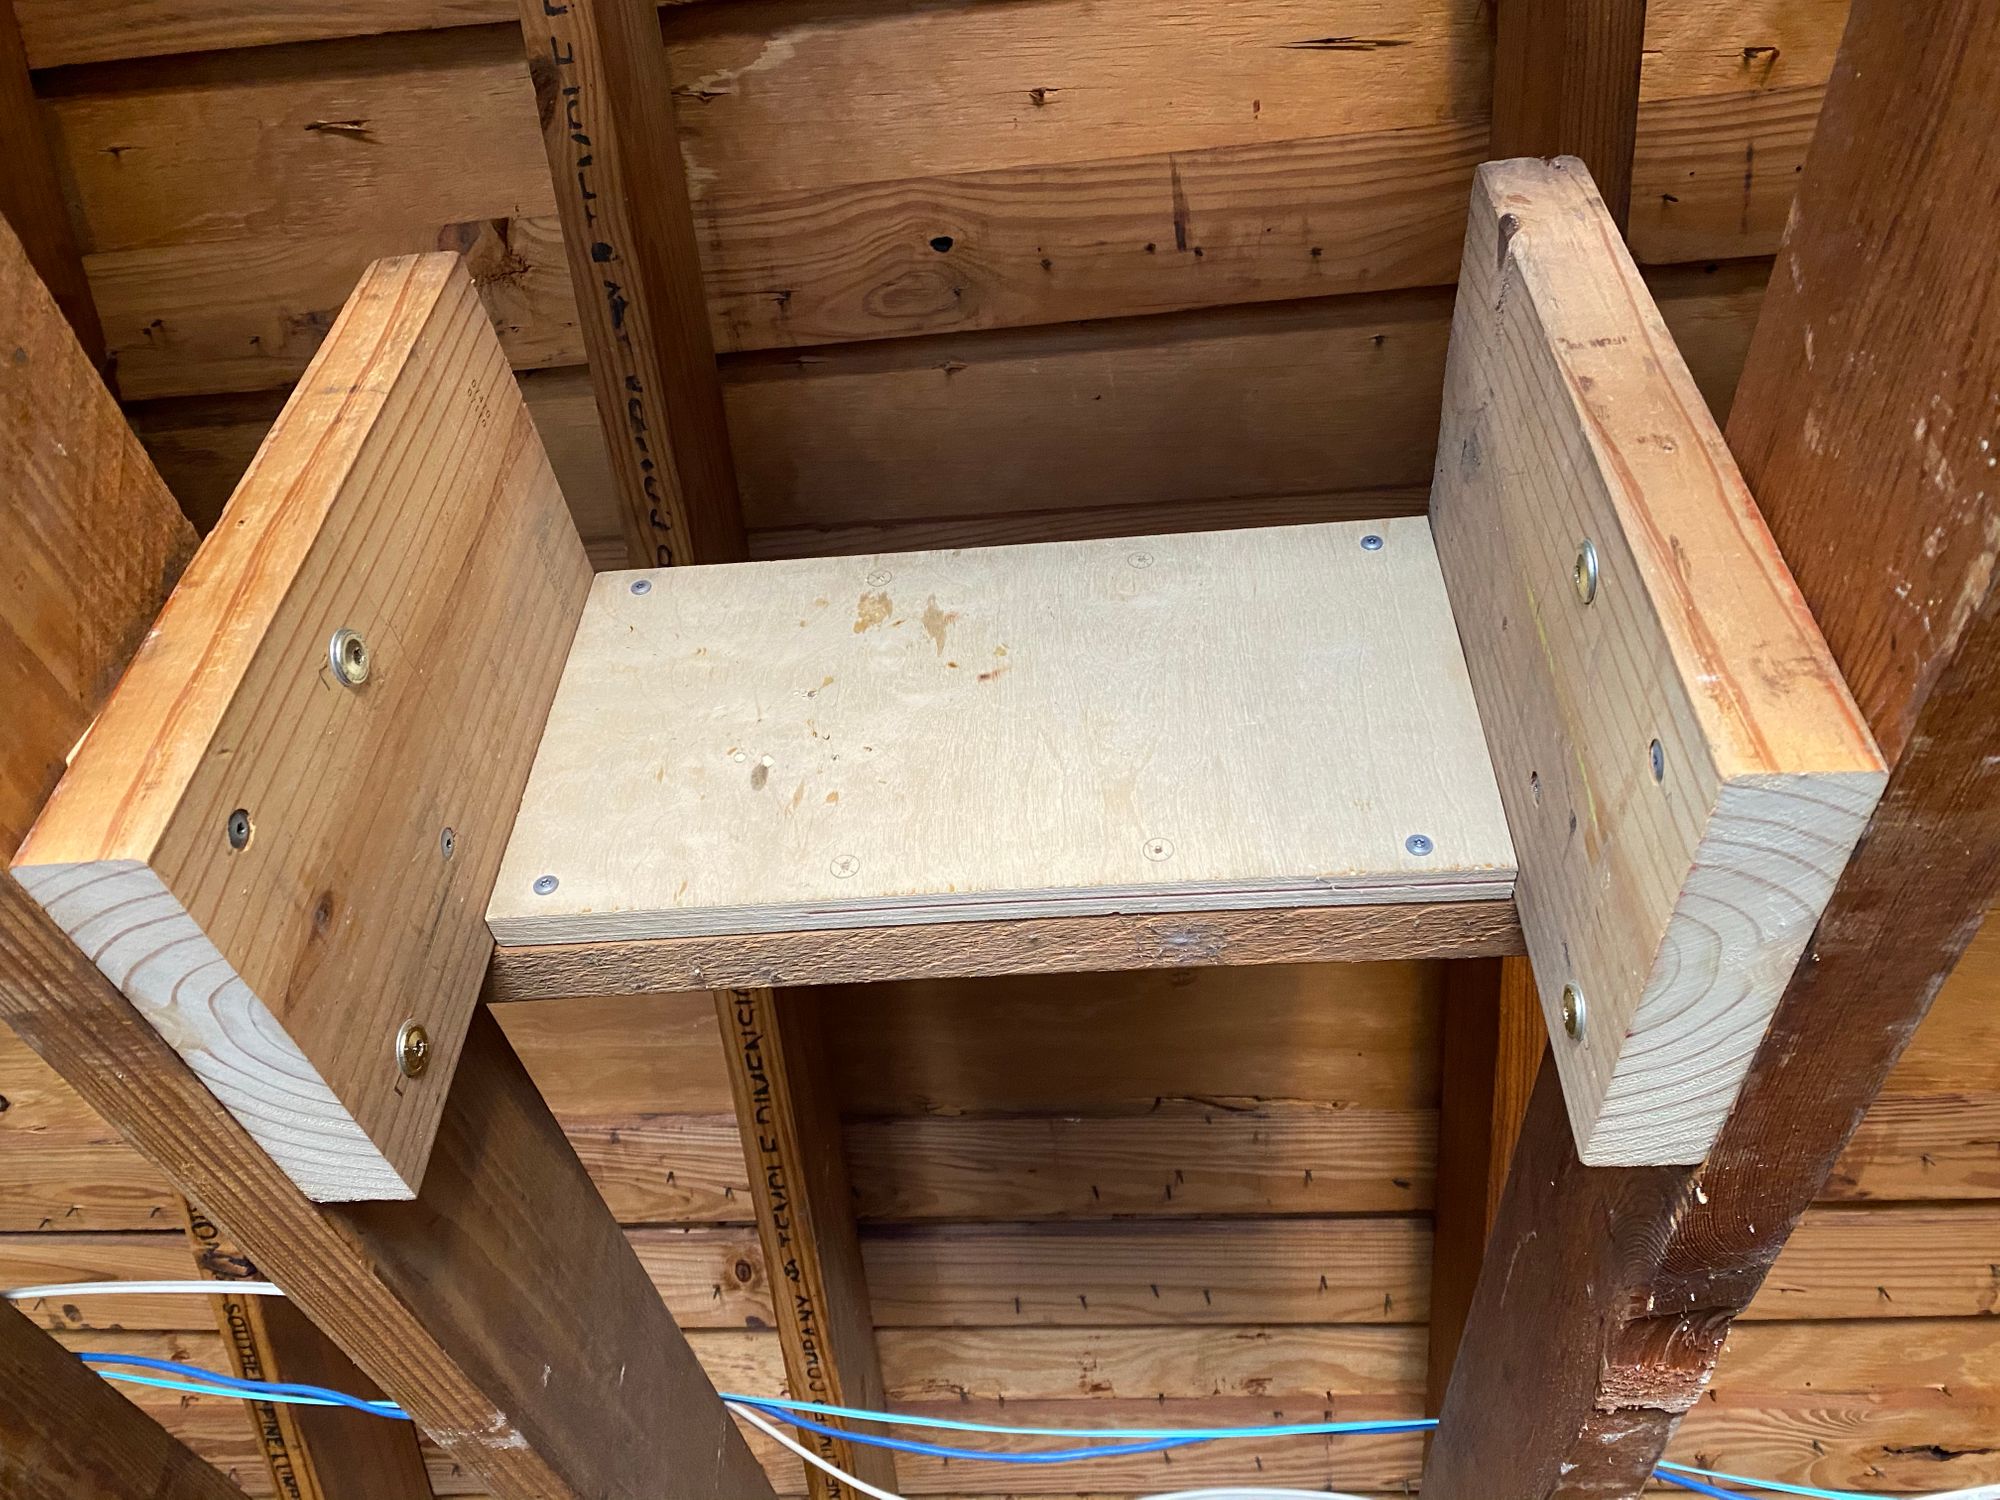
Here it is with the lags, and some of the other screws. Just the lags on their own would probably be fine, you could also use 4 lags, or you MIGHT be able to just use 4 screws. I had the lags, so I used them
Here you can see where I marked and drilled the holes, make sure you do this before you attach the mount, as the hose reel is heavy
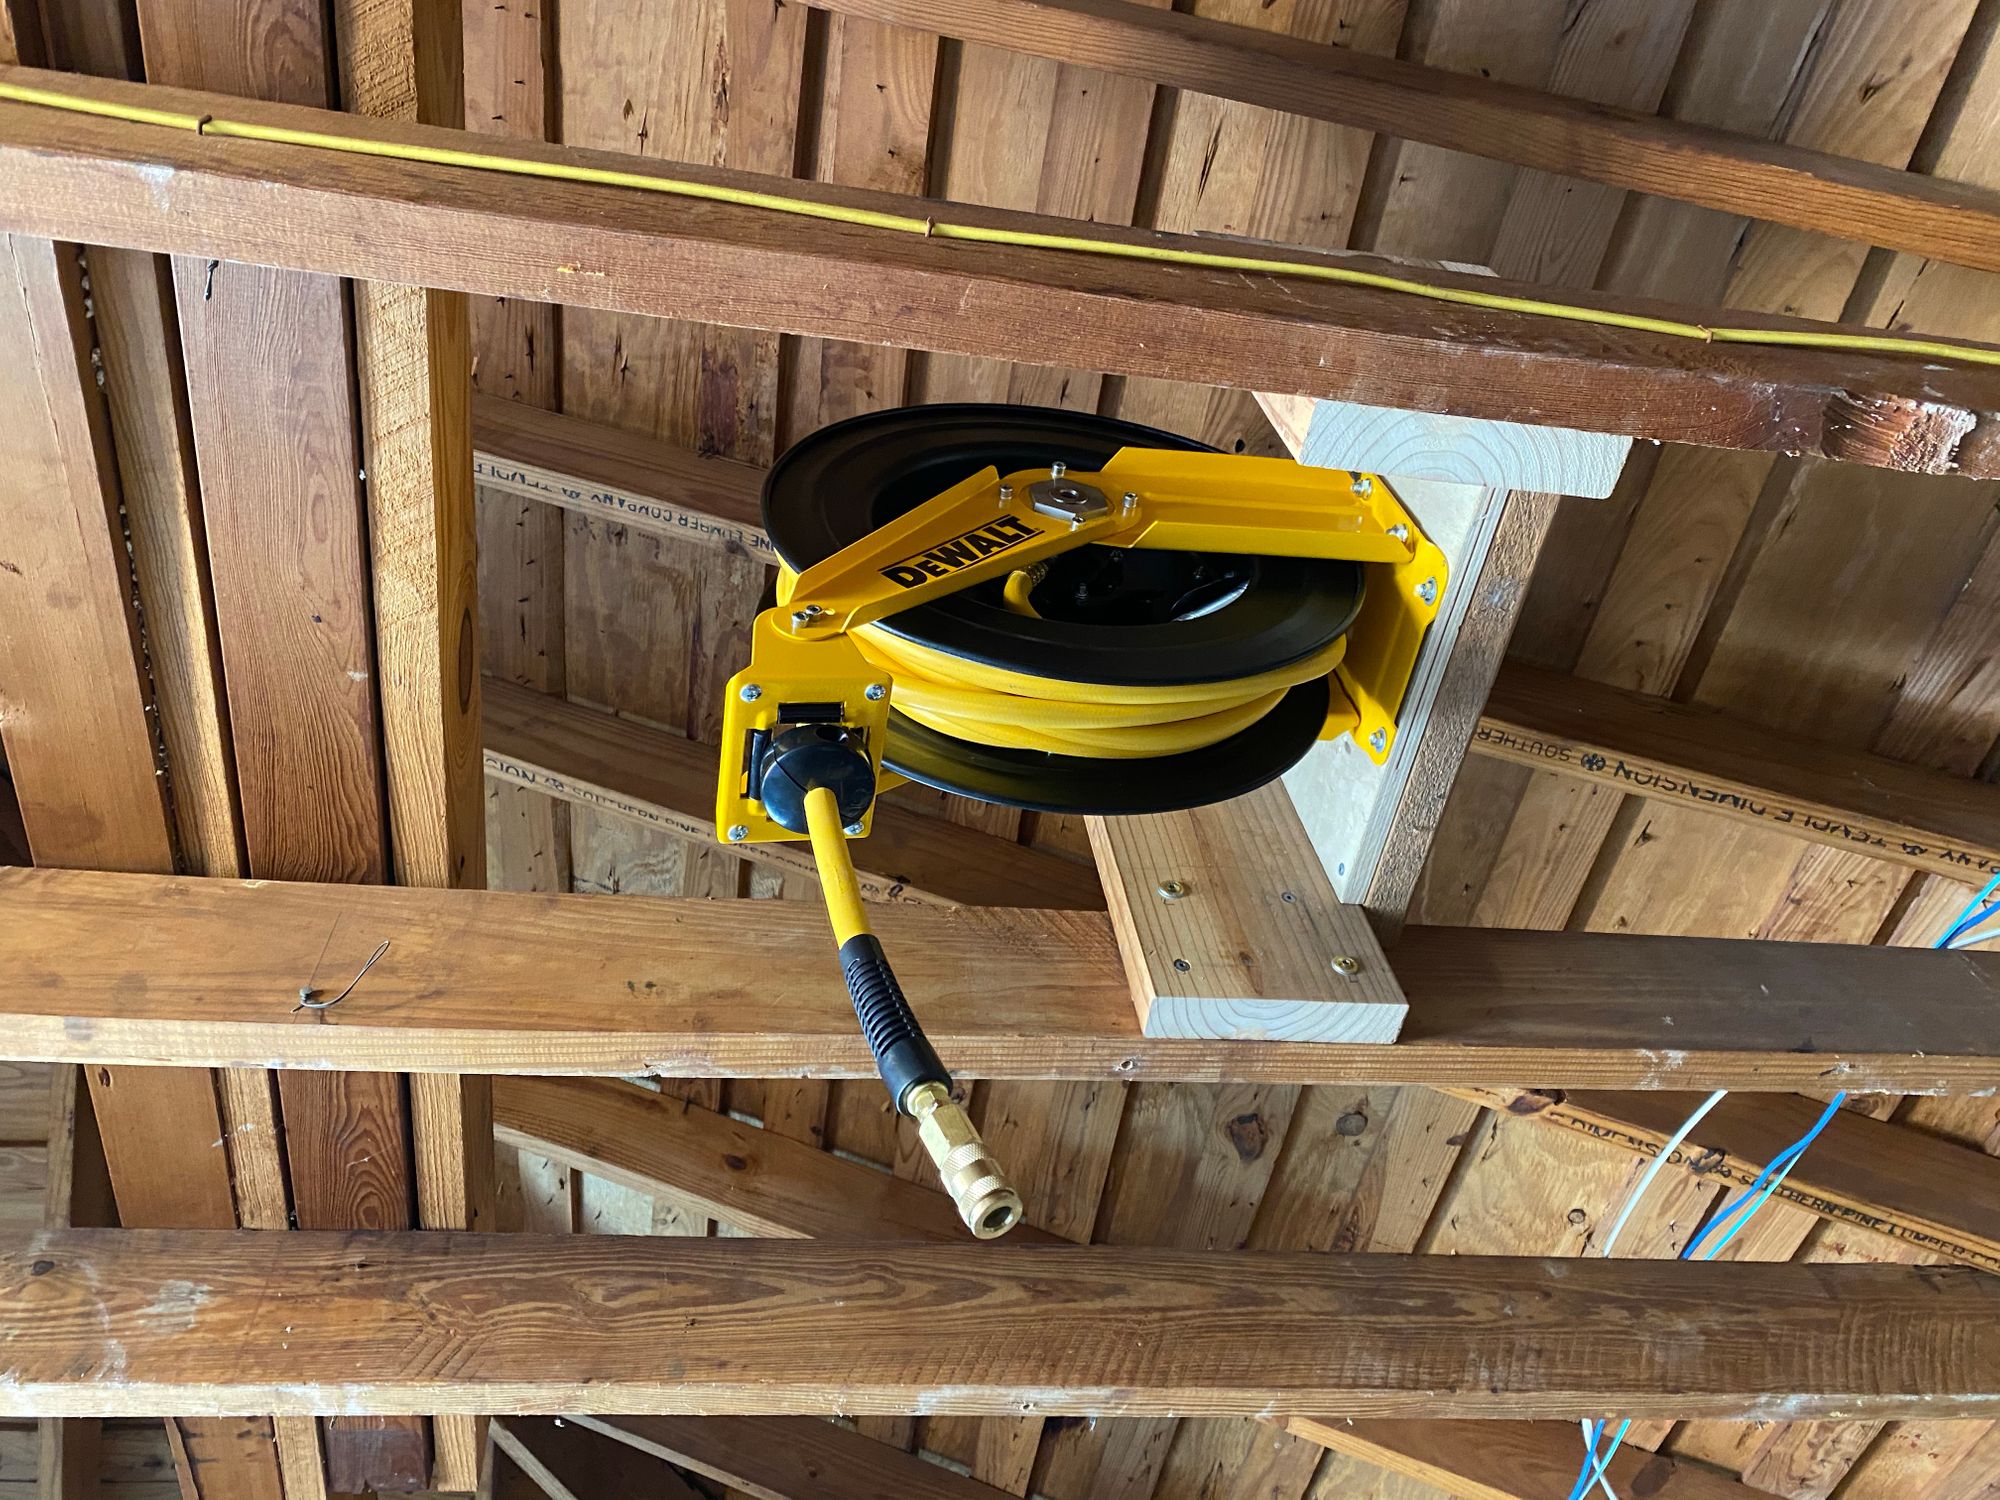
Now its attached and level, you need to screw the hose reel into the wood. If you have someone to help you, it would be useful. I just winged it and balanced it in my hand and screwed it in, it was not fun.
I made sure to Tighten one, but not the other three, so I could fine tune the level. Then I ran them all in
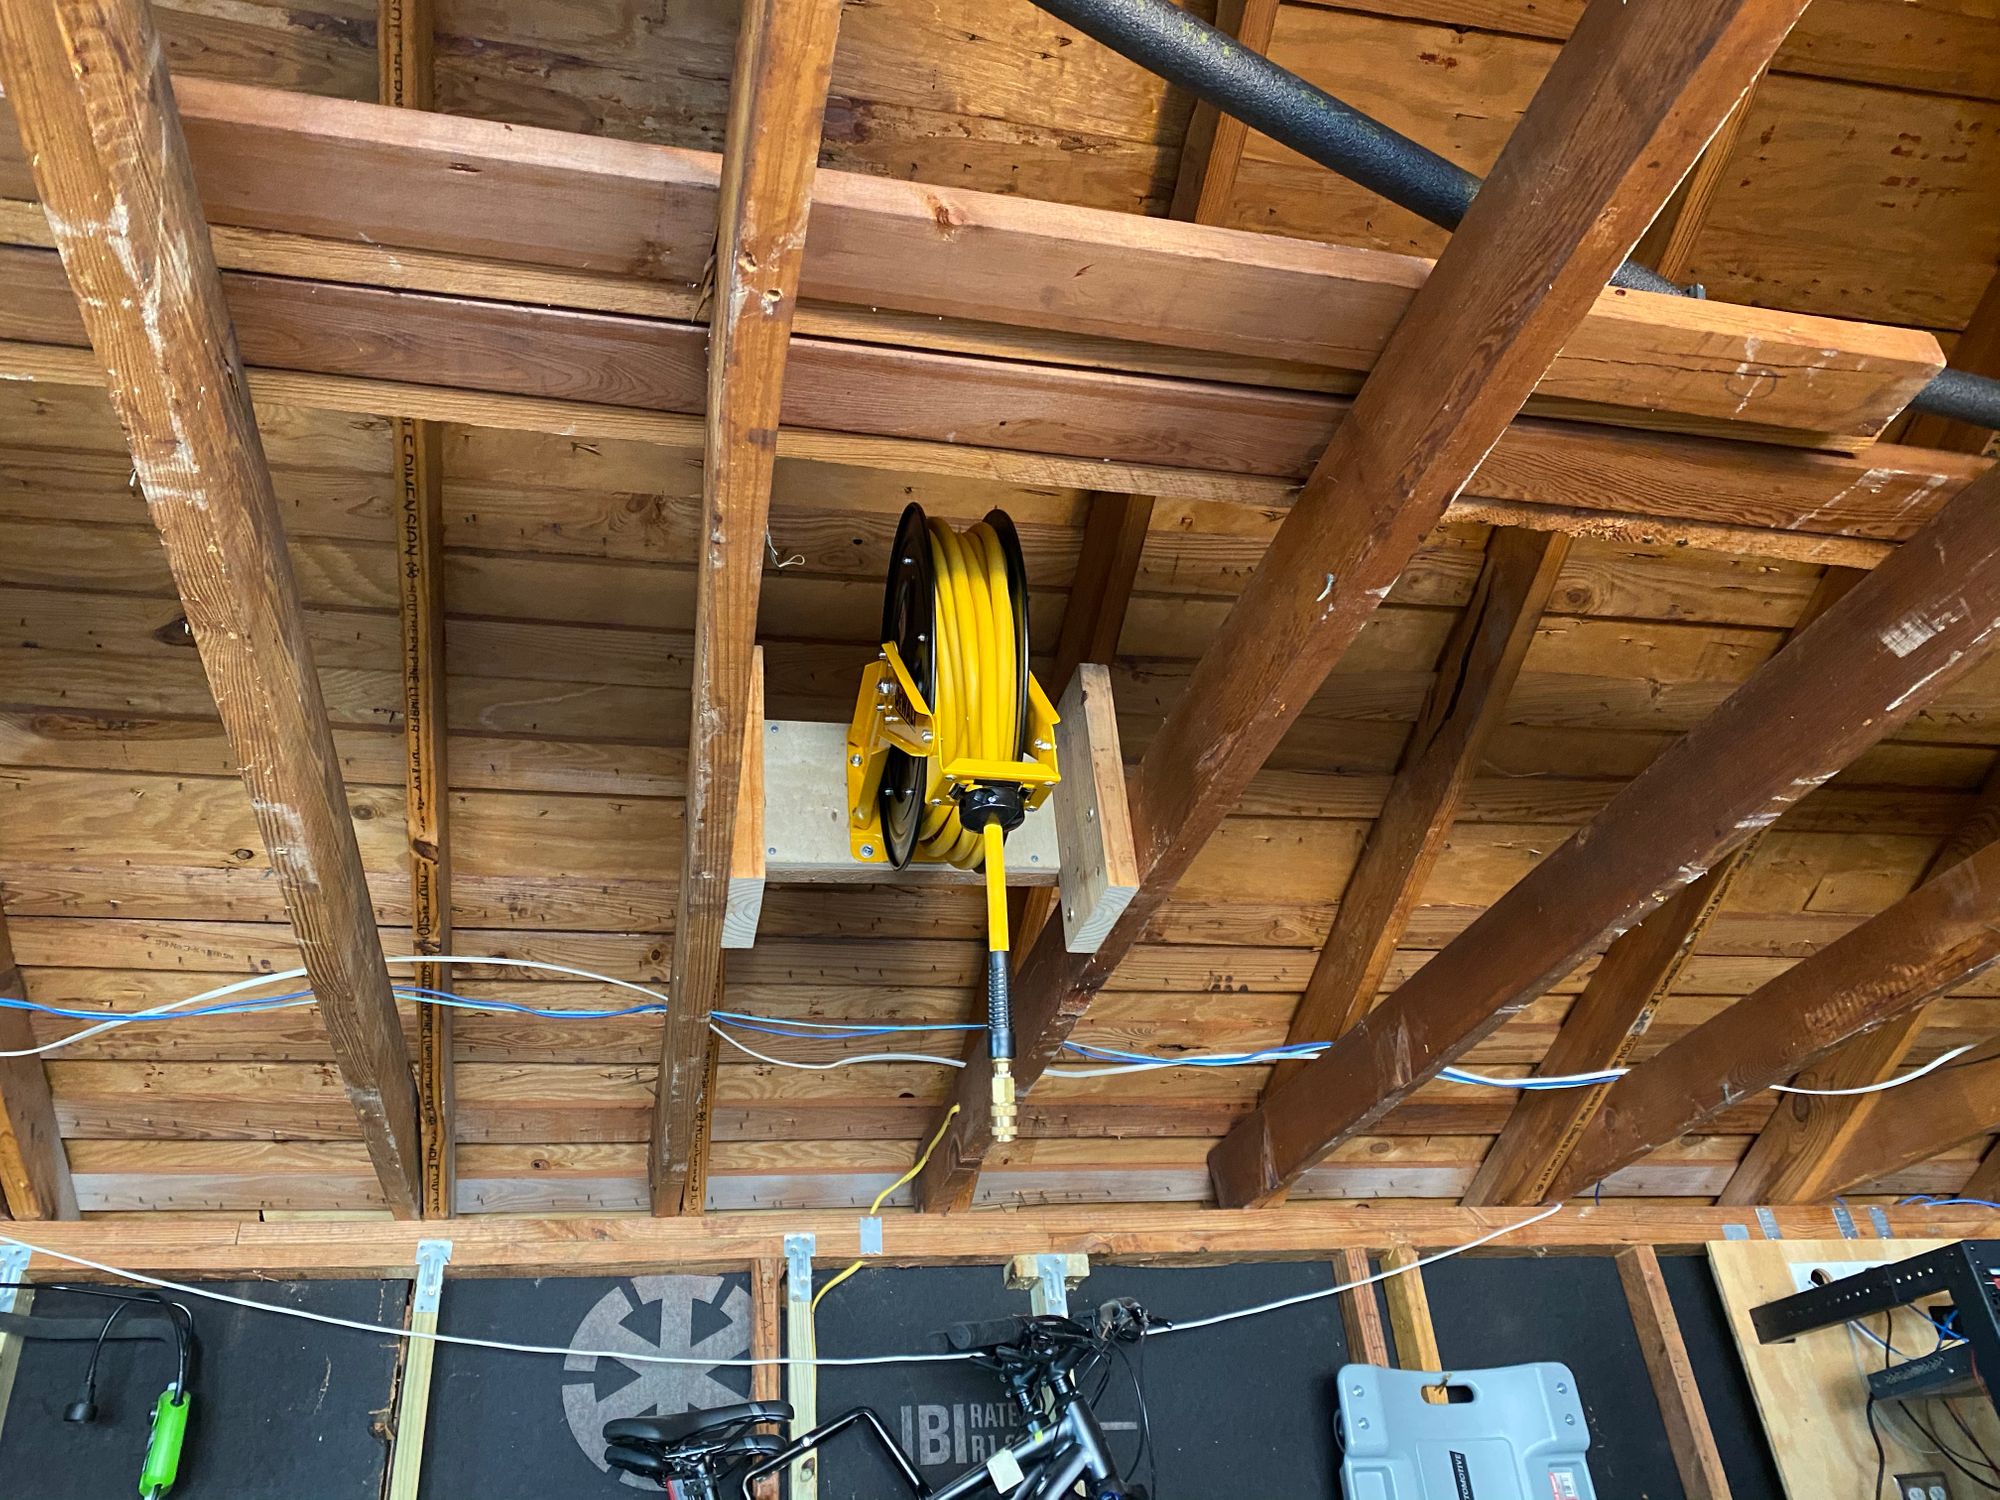
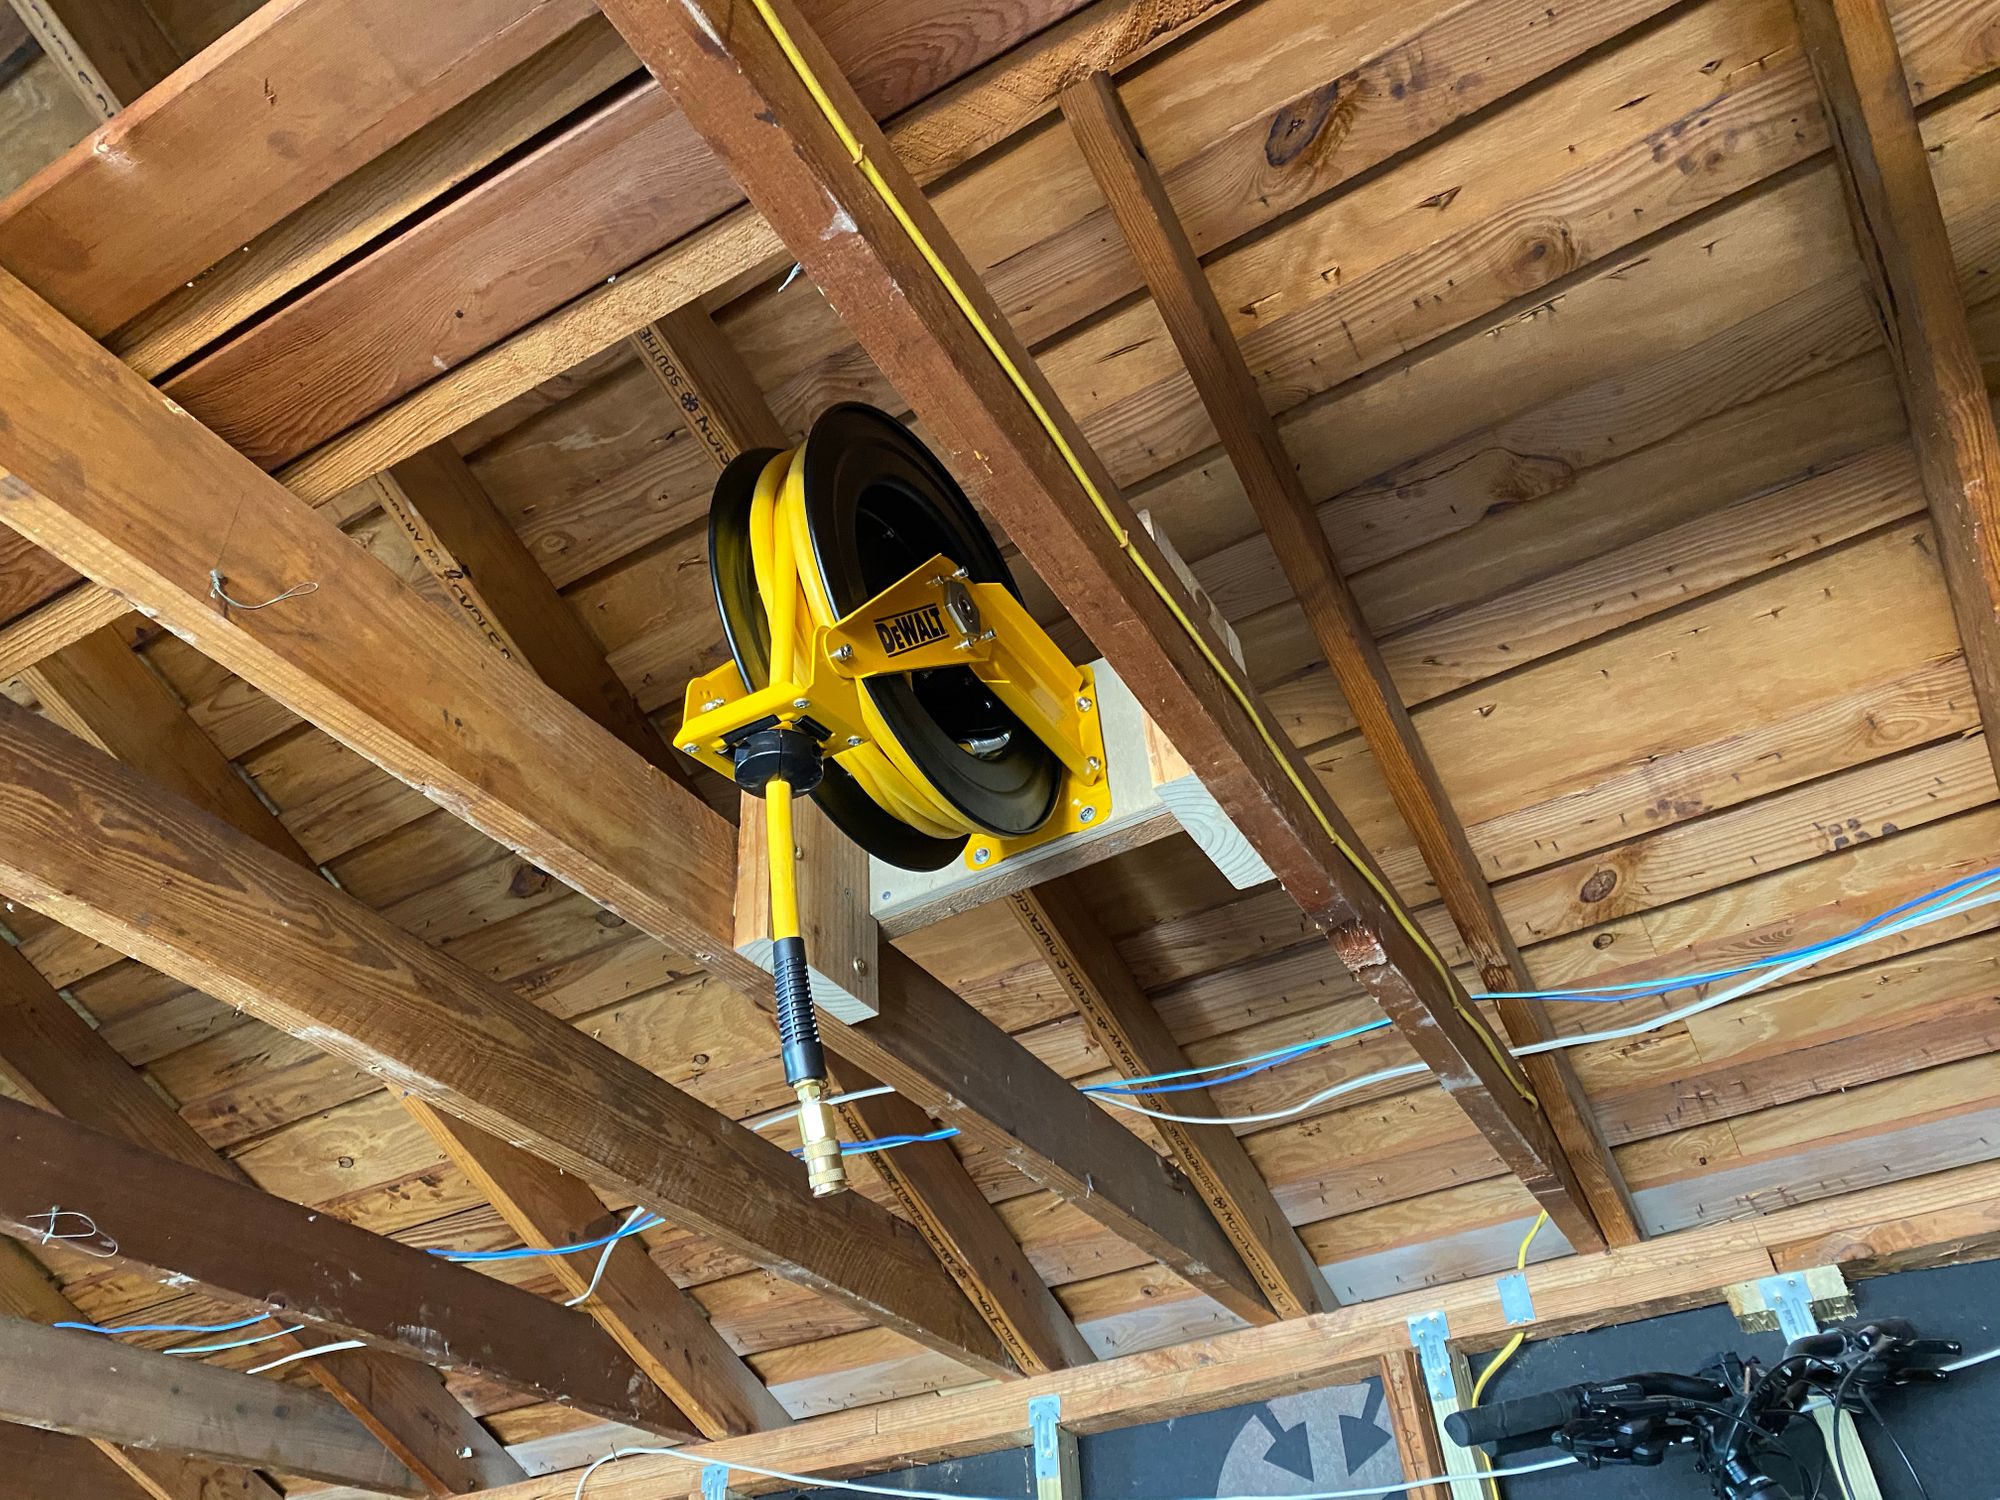
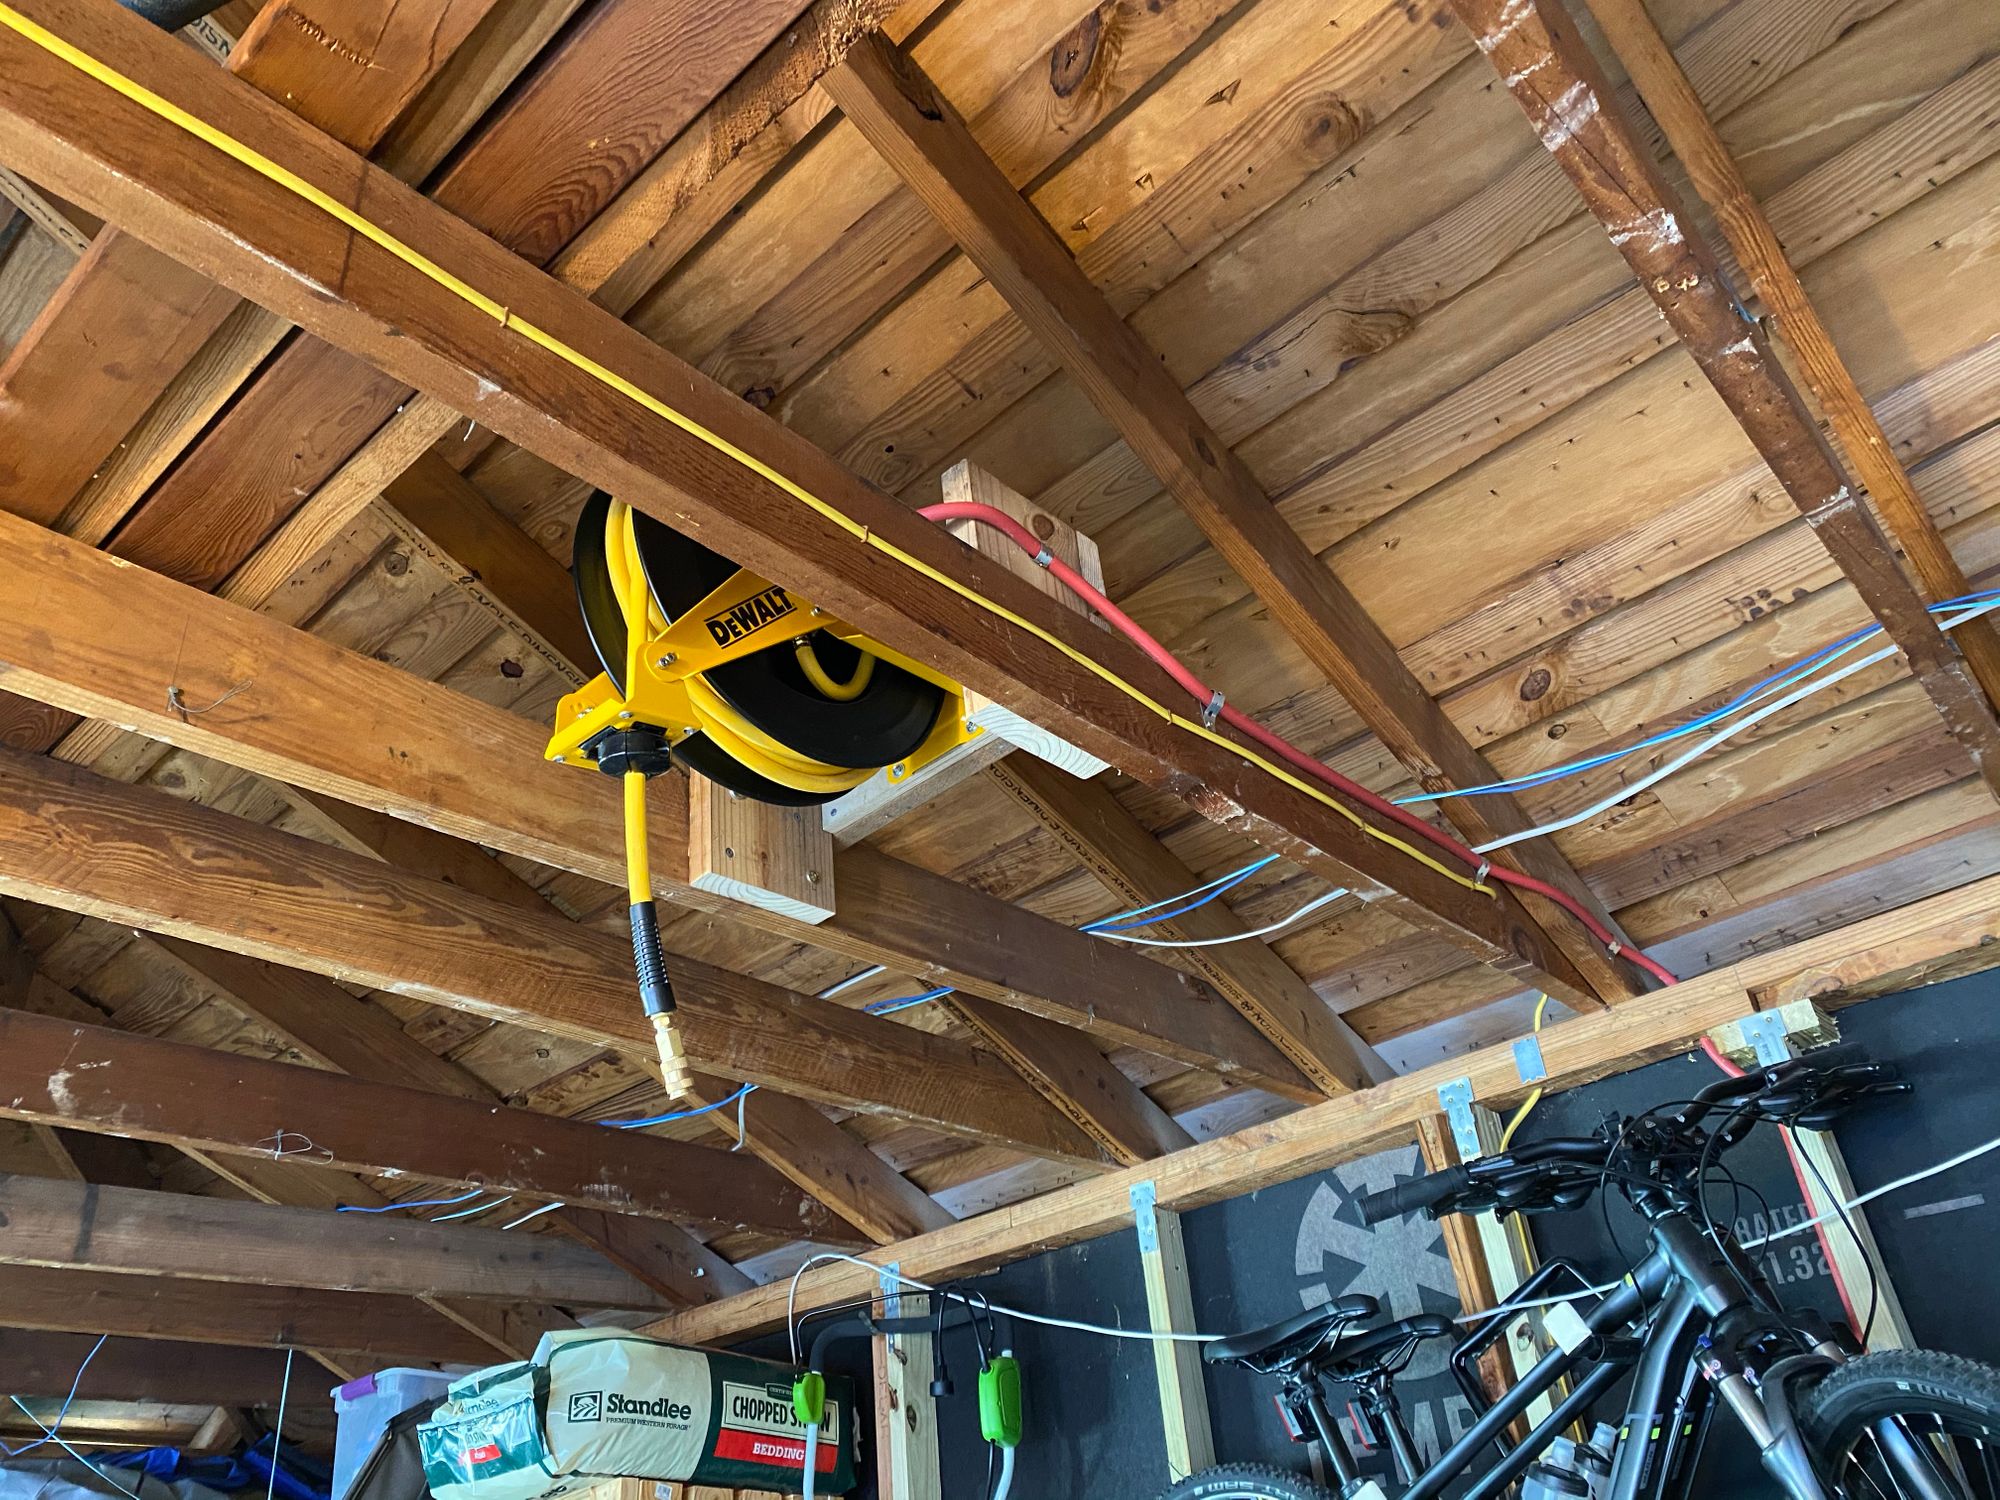
Here you can see I made the 2x6's long enough so I can add a ceiling in the future, and the reel itself will be above it. I am very happy with how strong its mounted, I am glad I used the lags
Then I attached the lead in hose to the reel with some teflon tape, and made some DIY hose clips
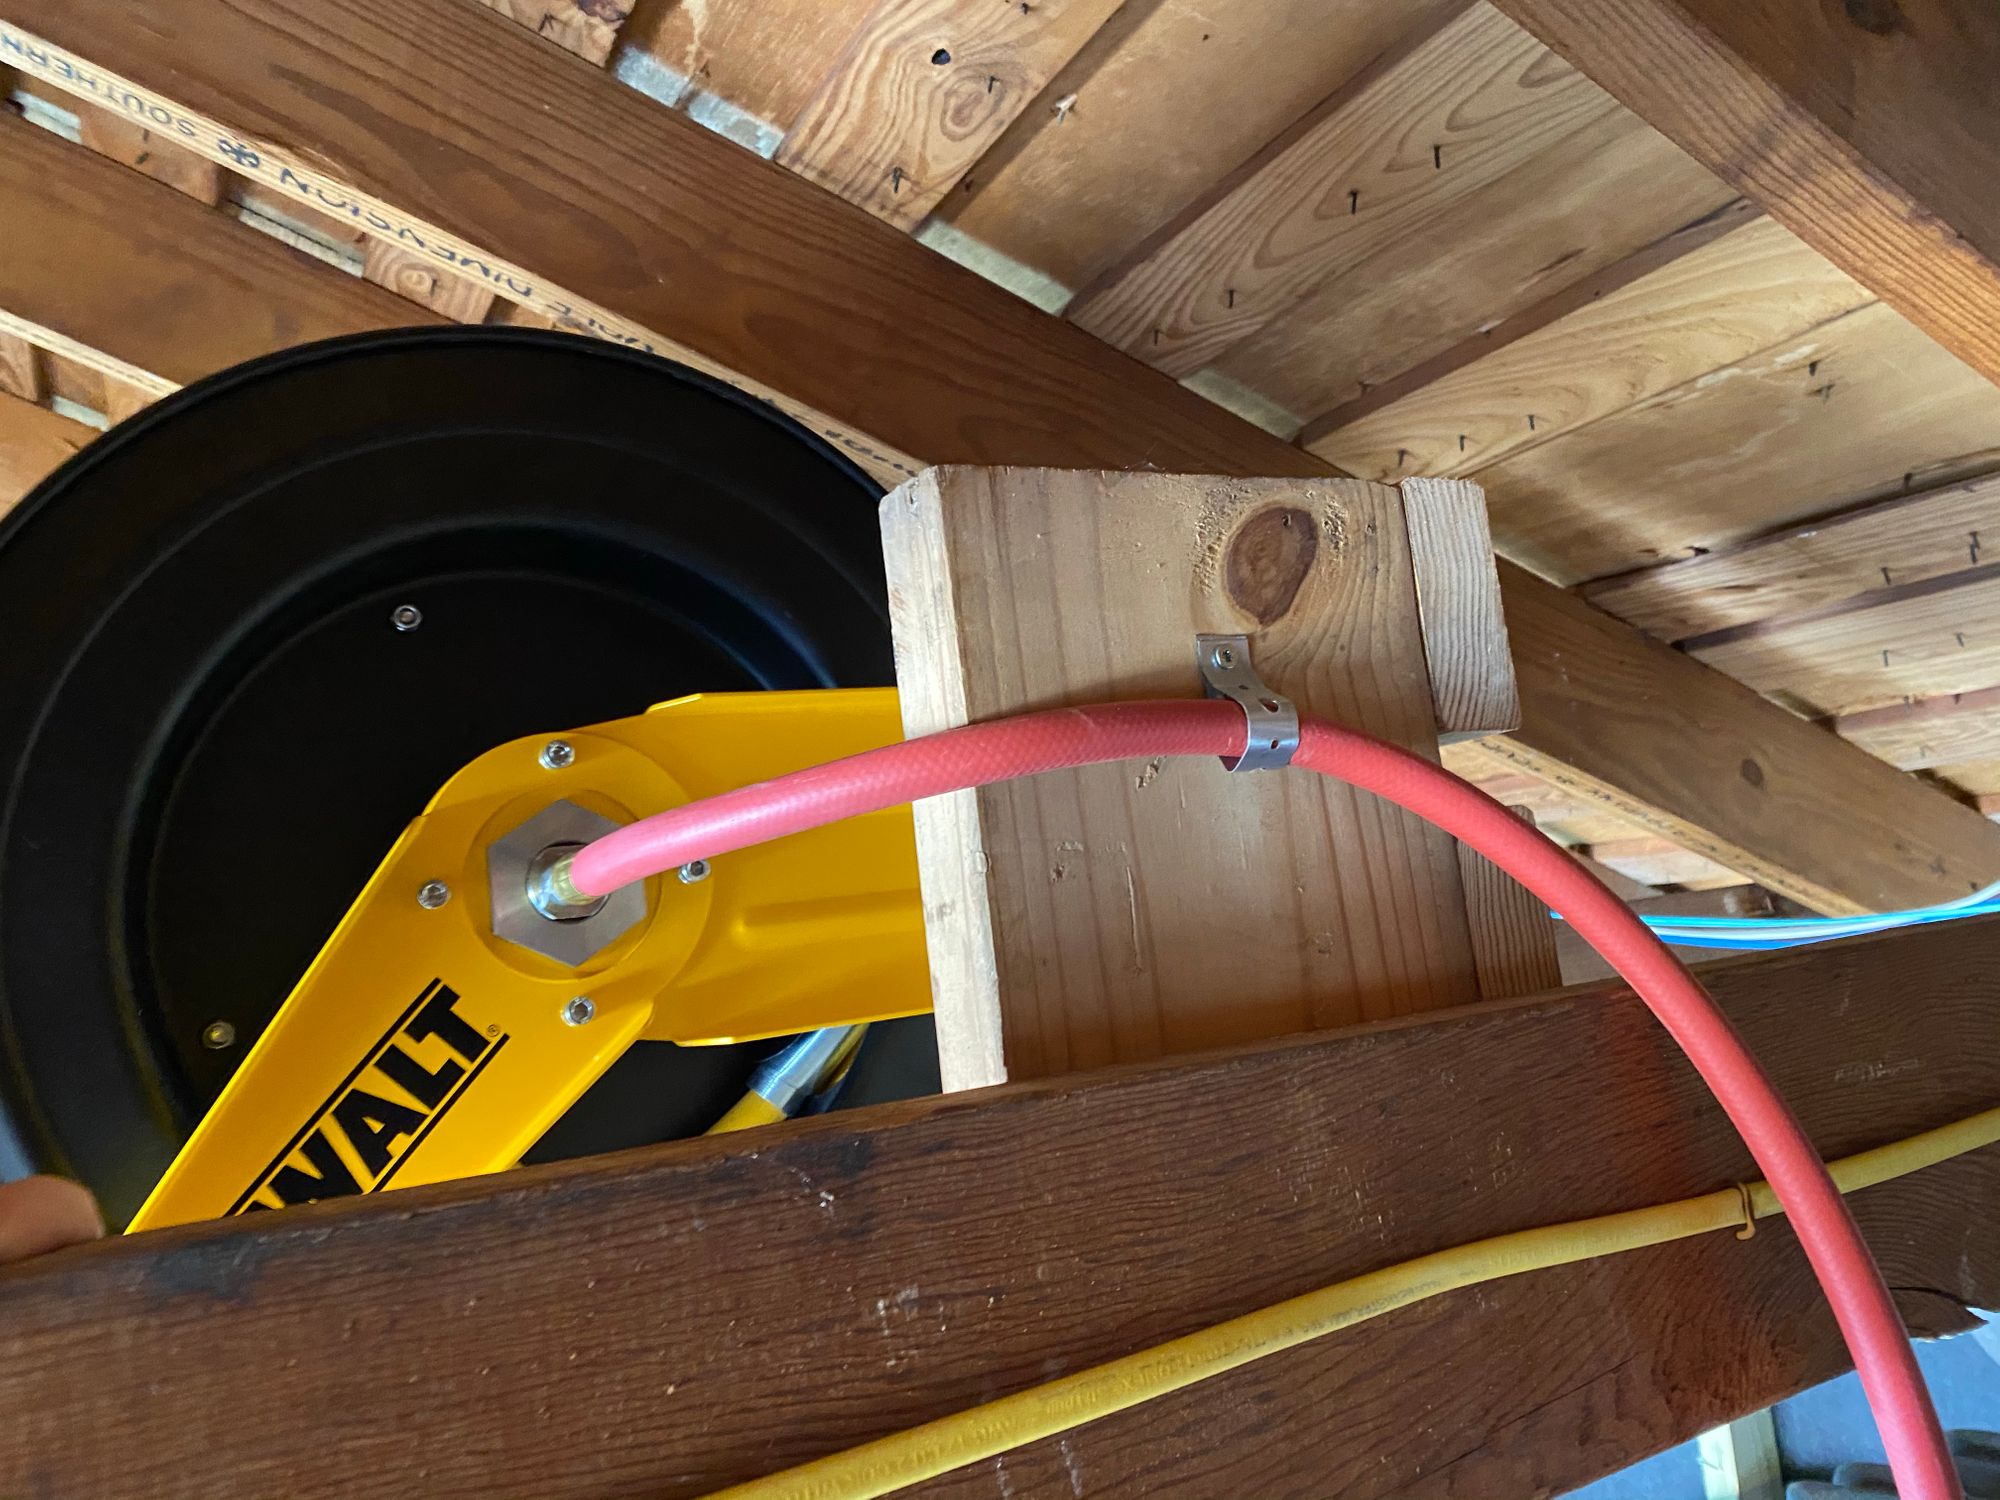
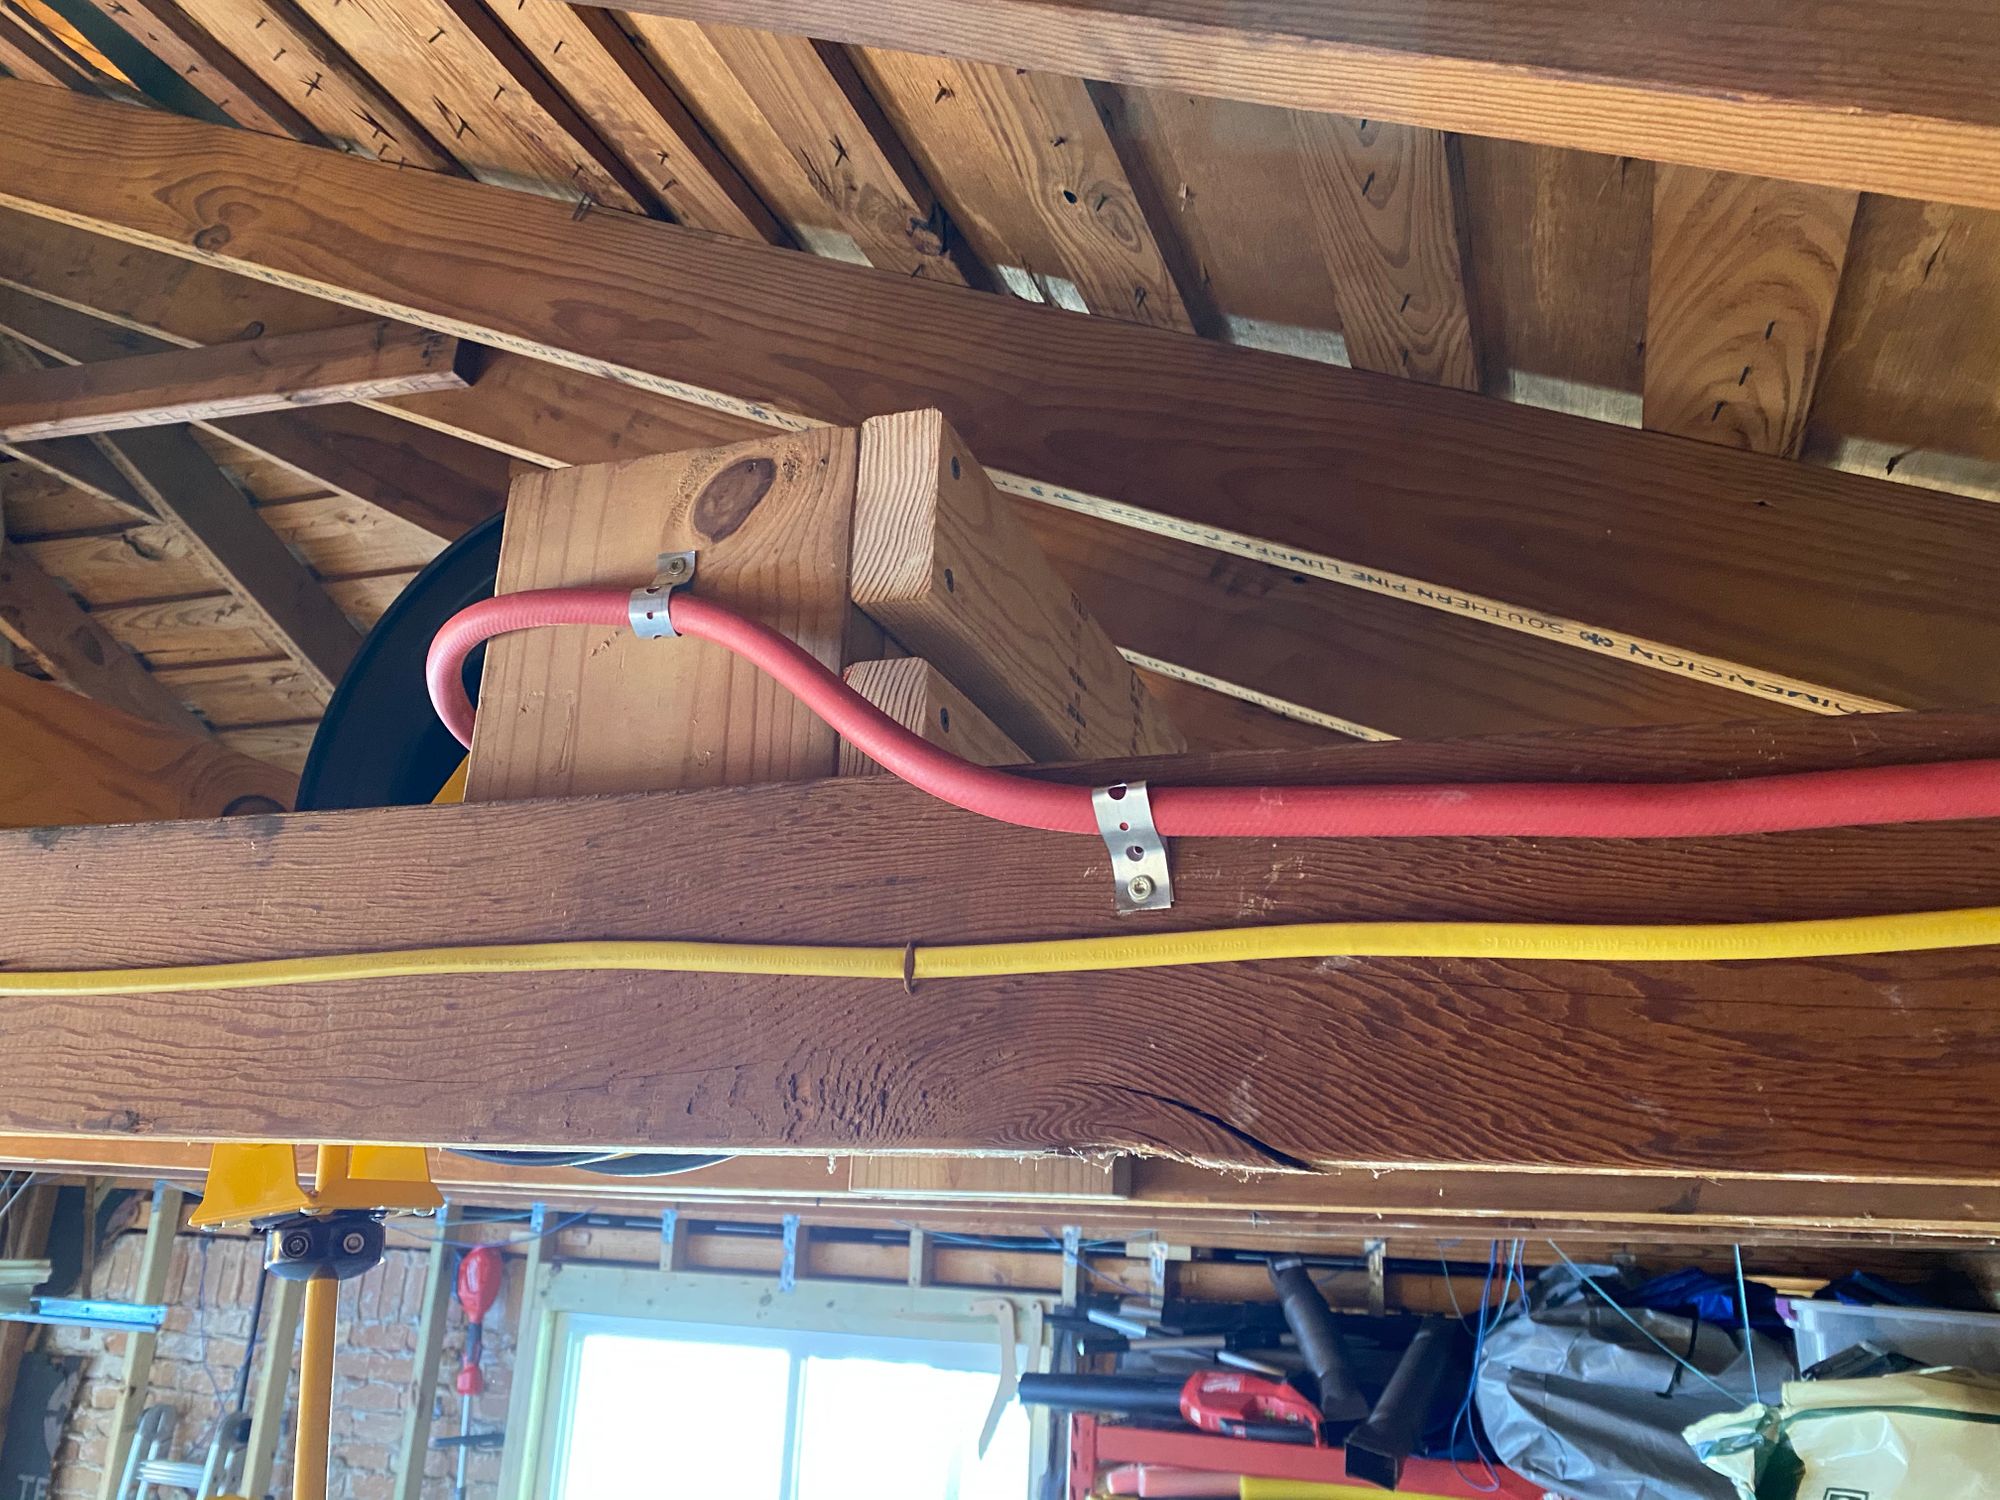
Here you can see I drilled through the top plate and run the hose down
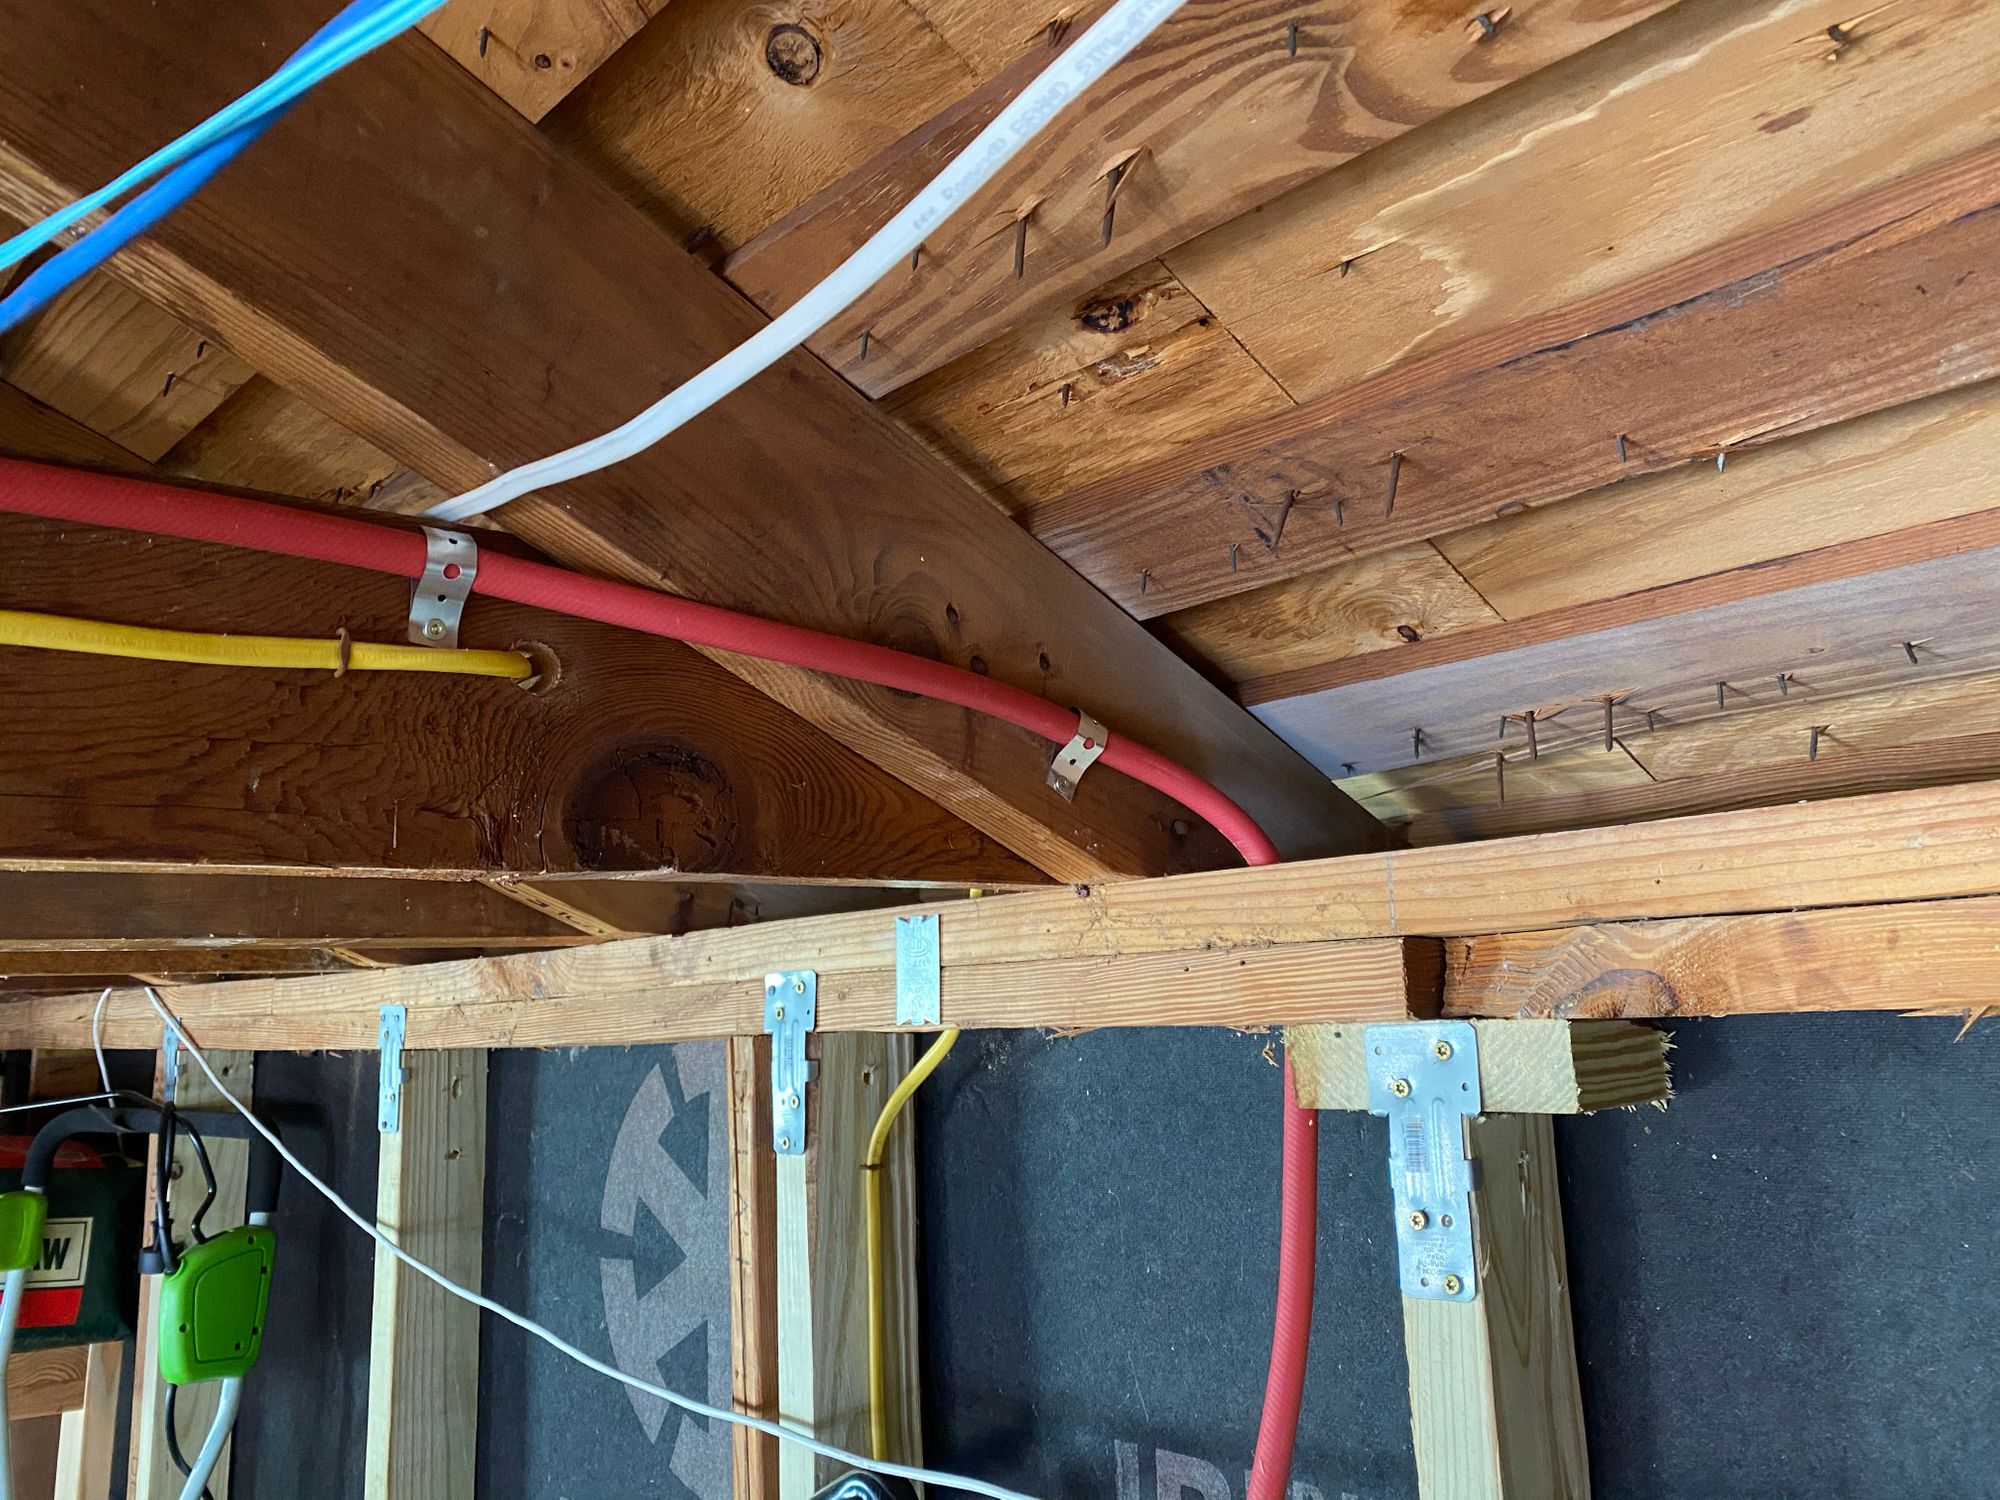
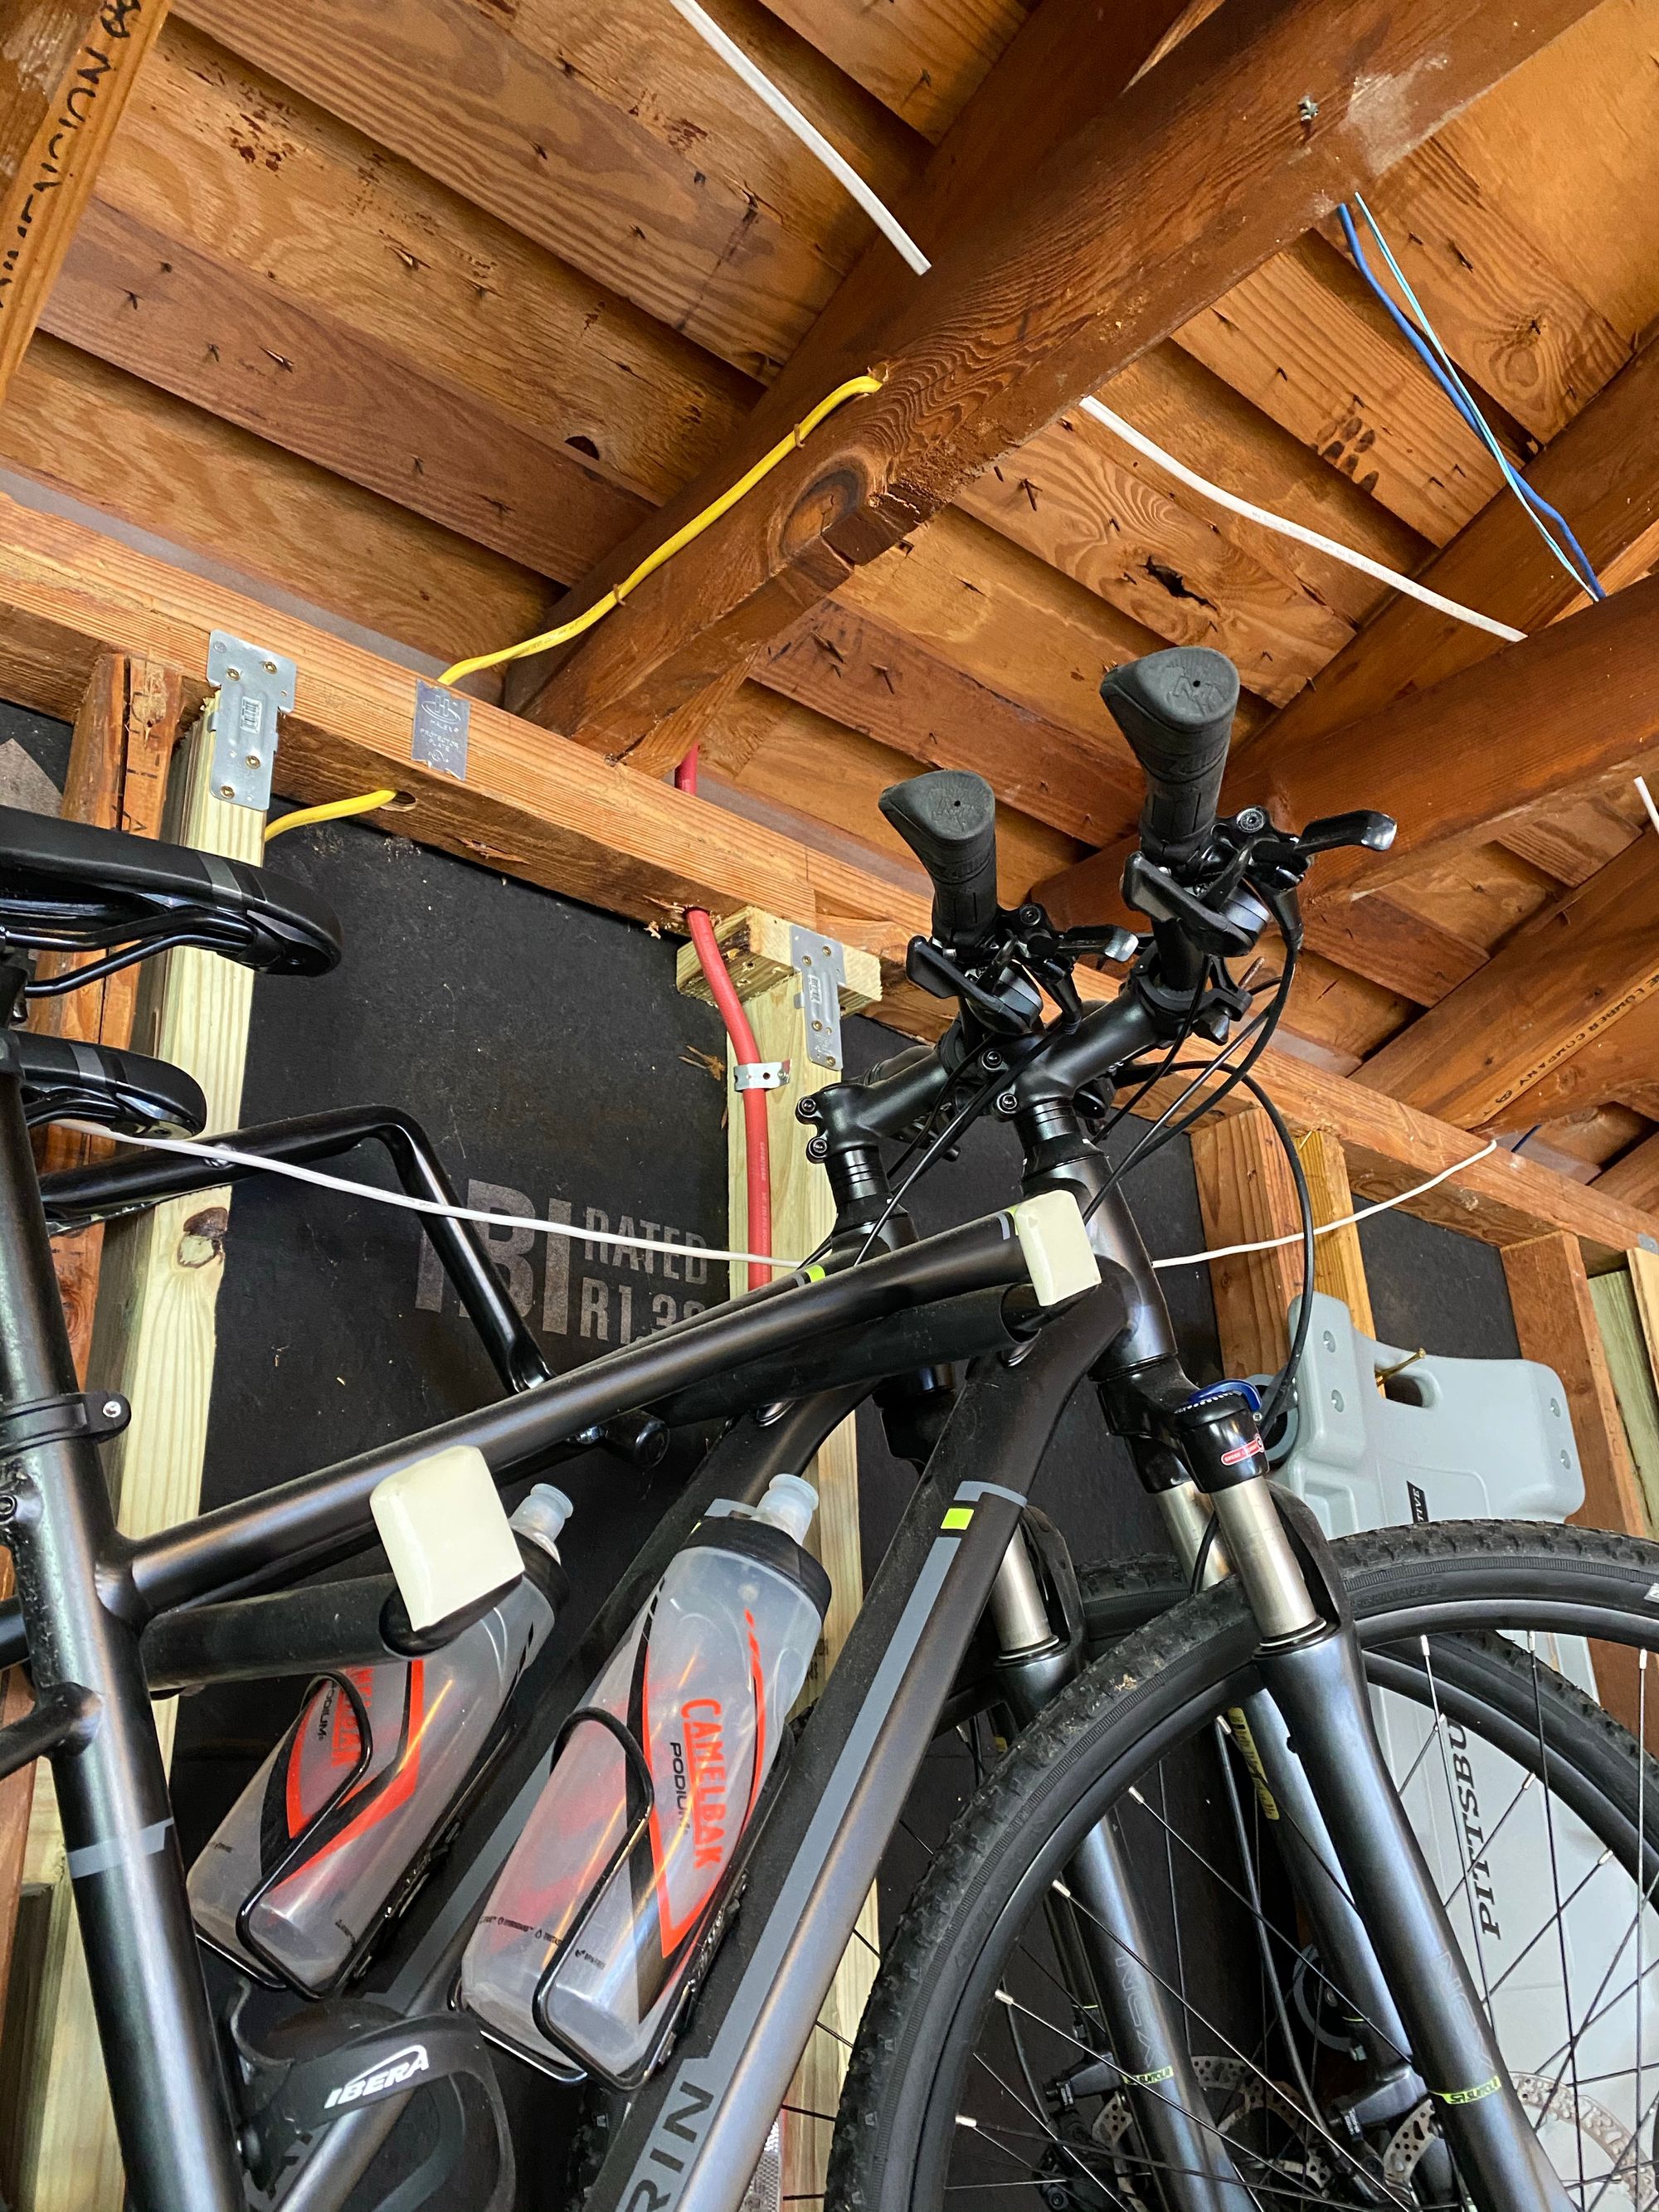
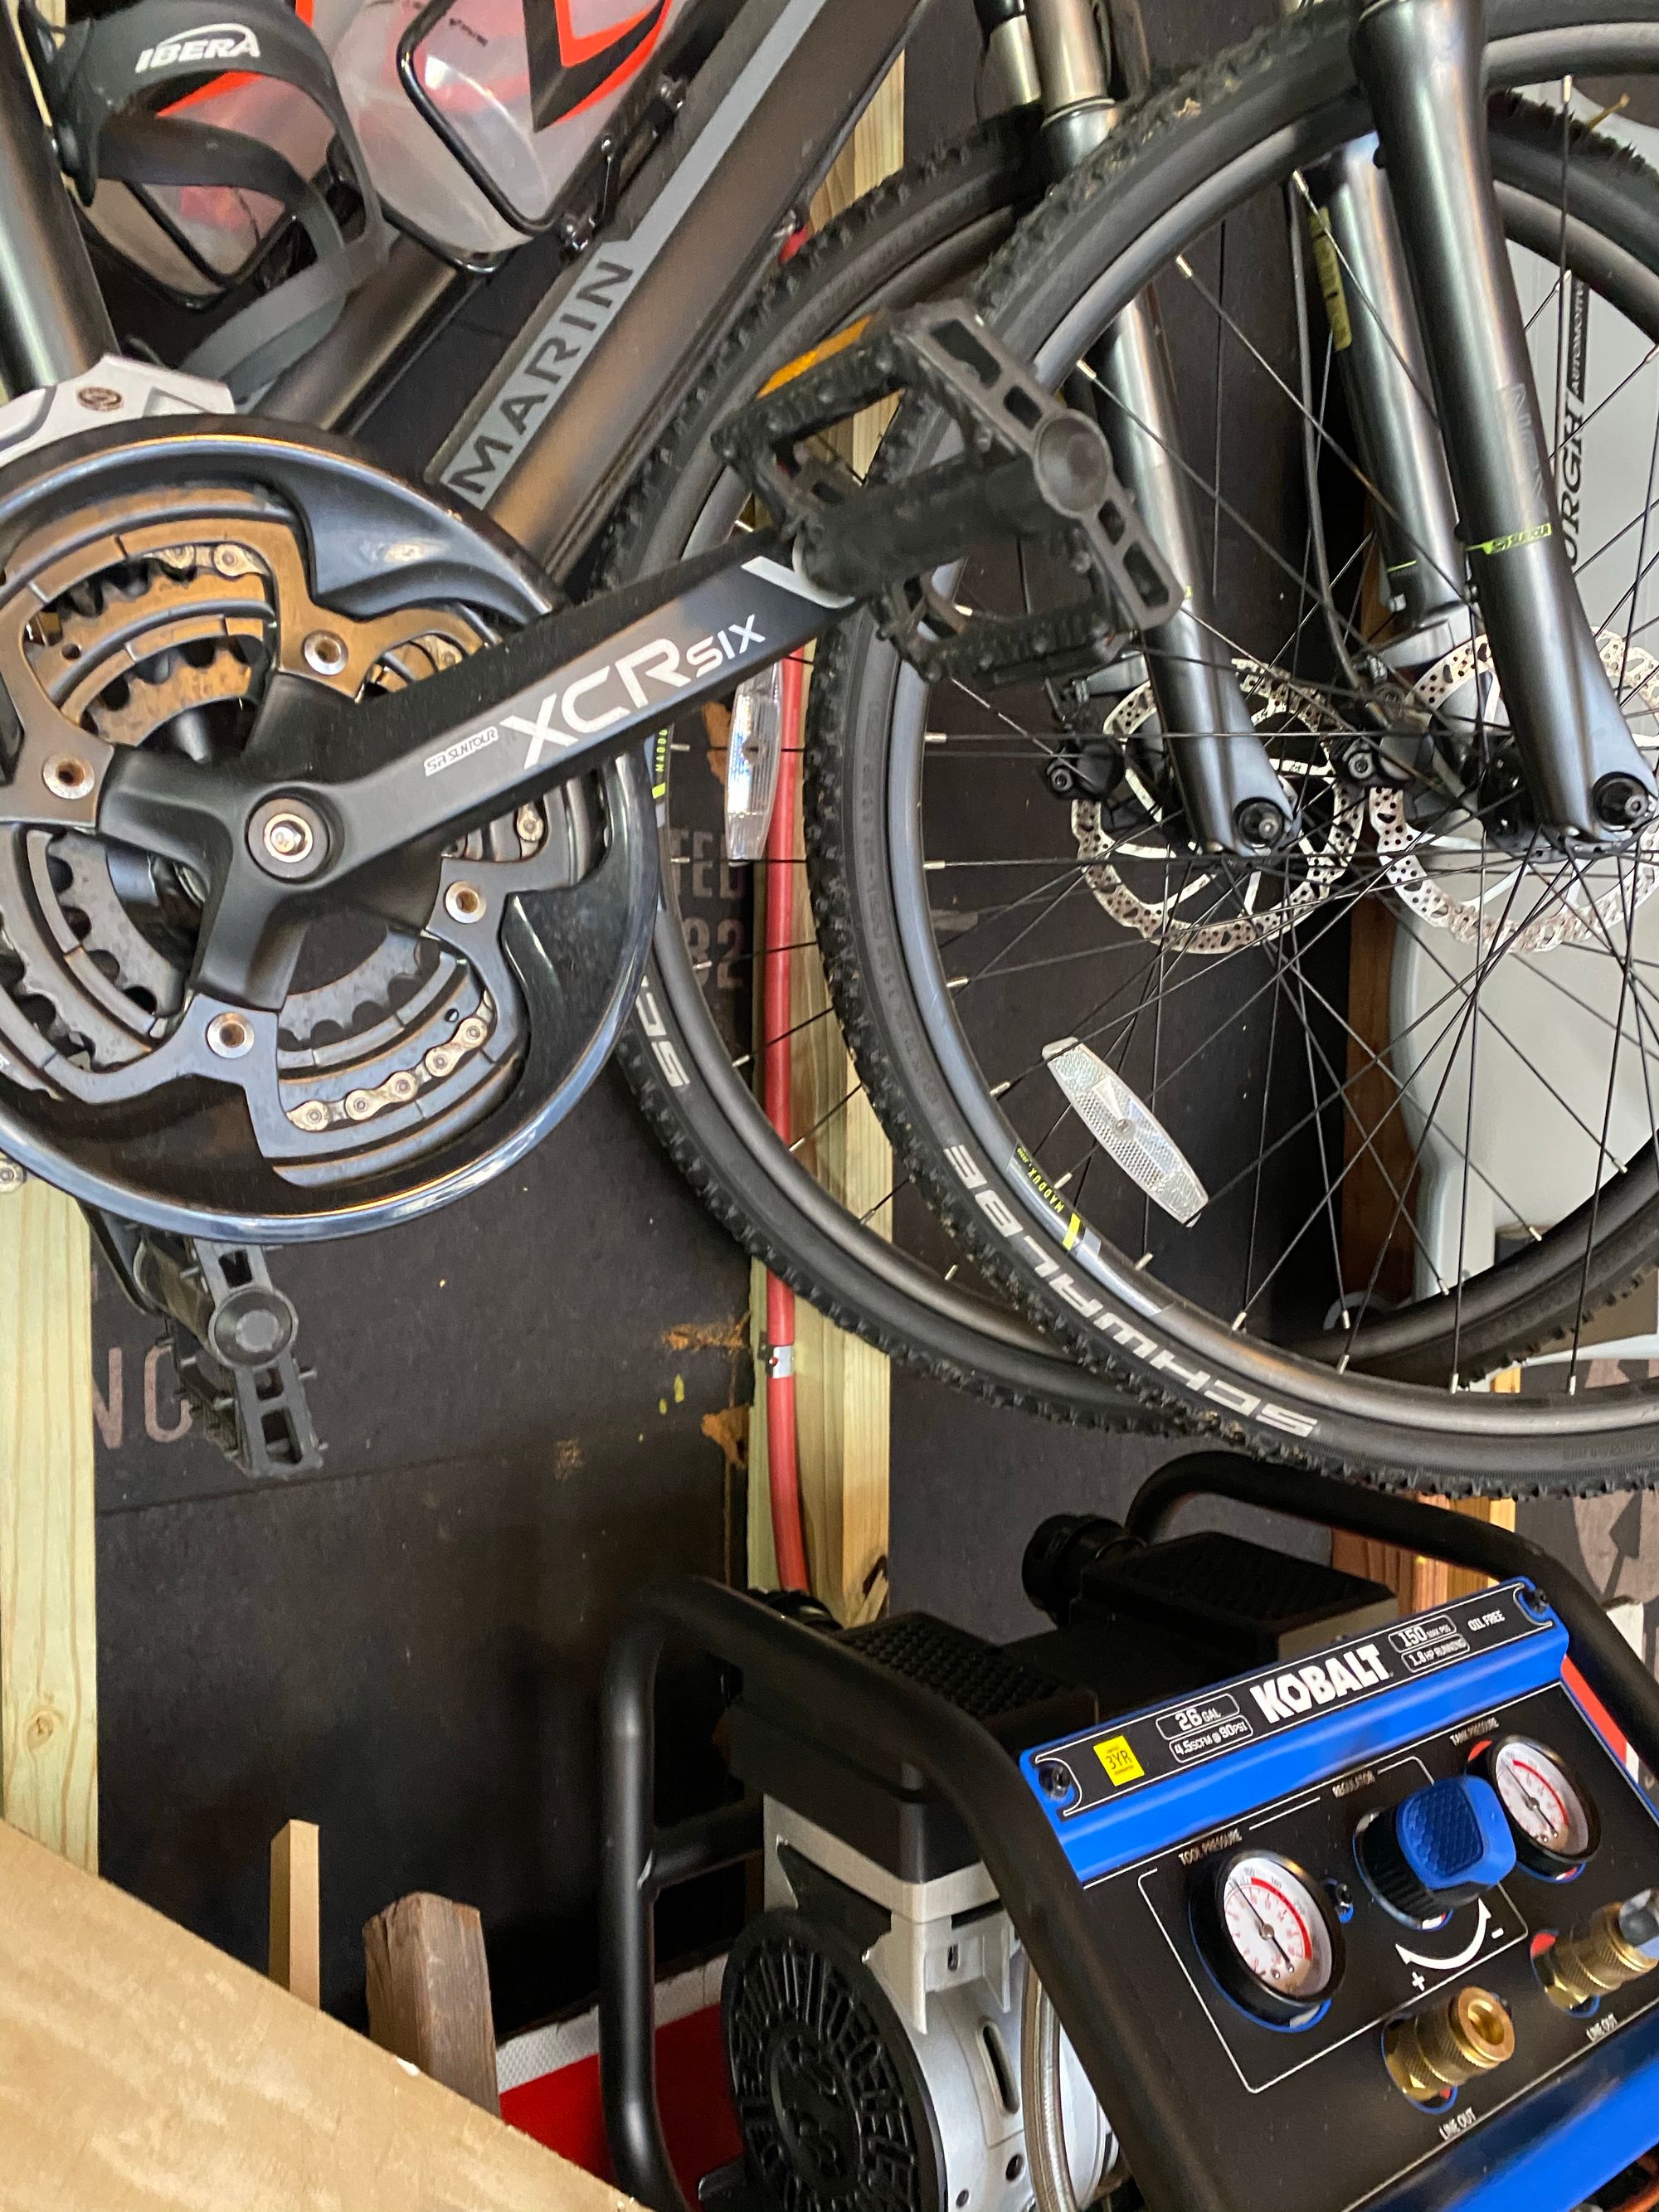
I brought it down the wall, behind my bikes and into the compressor
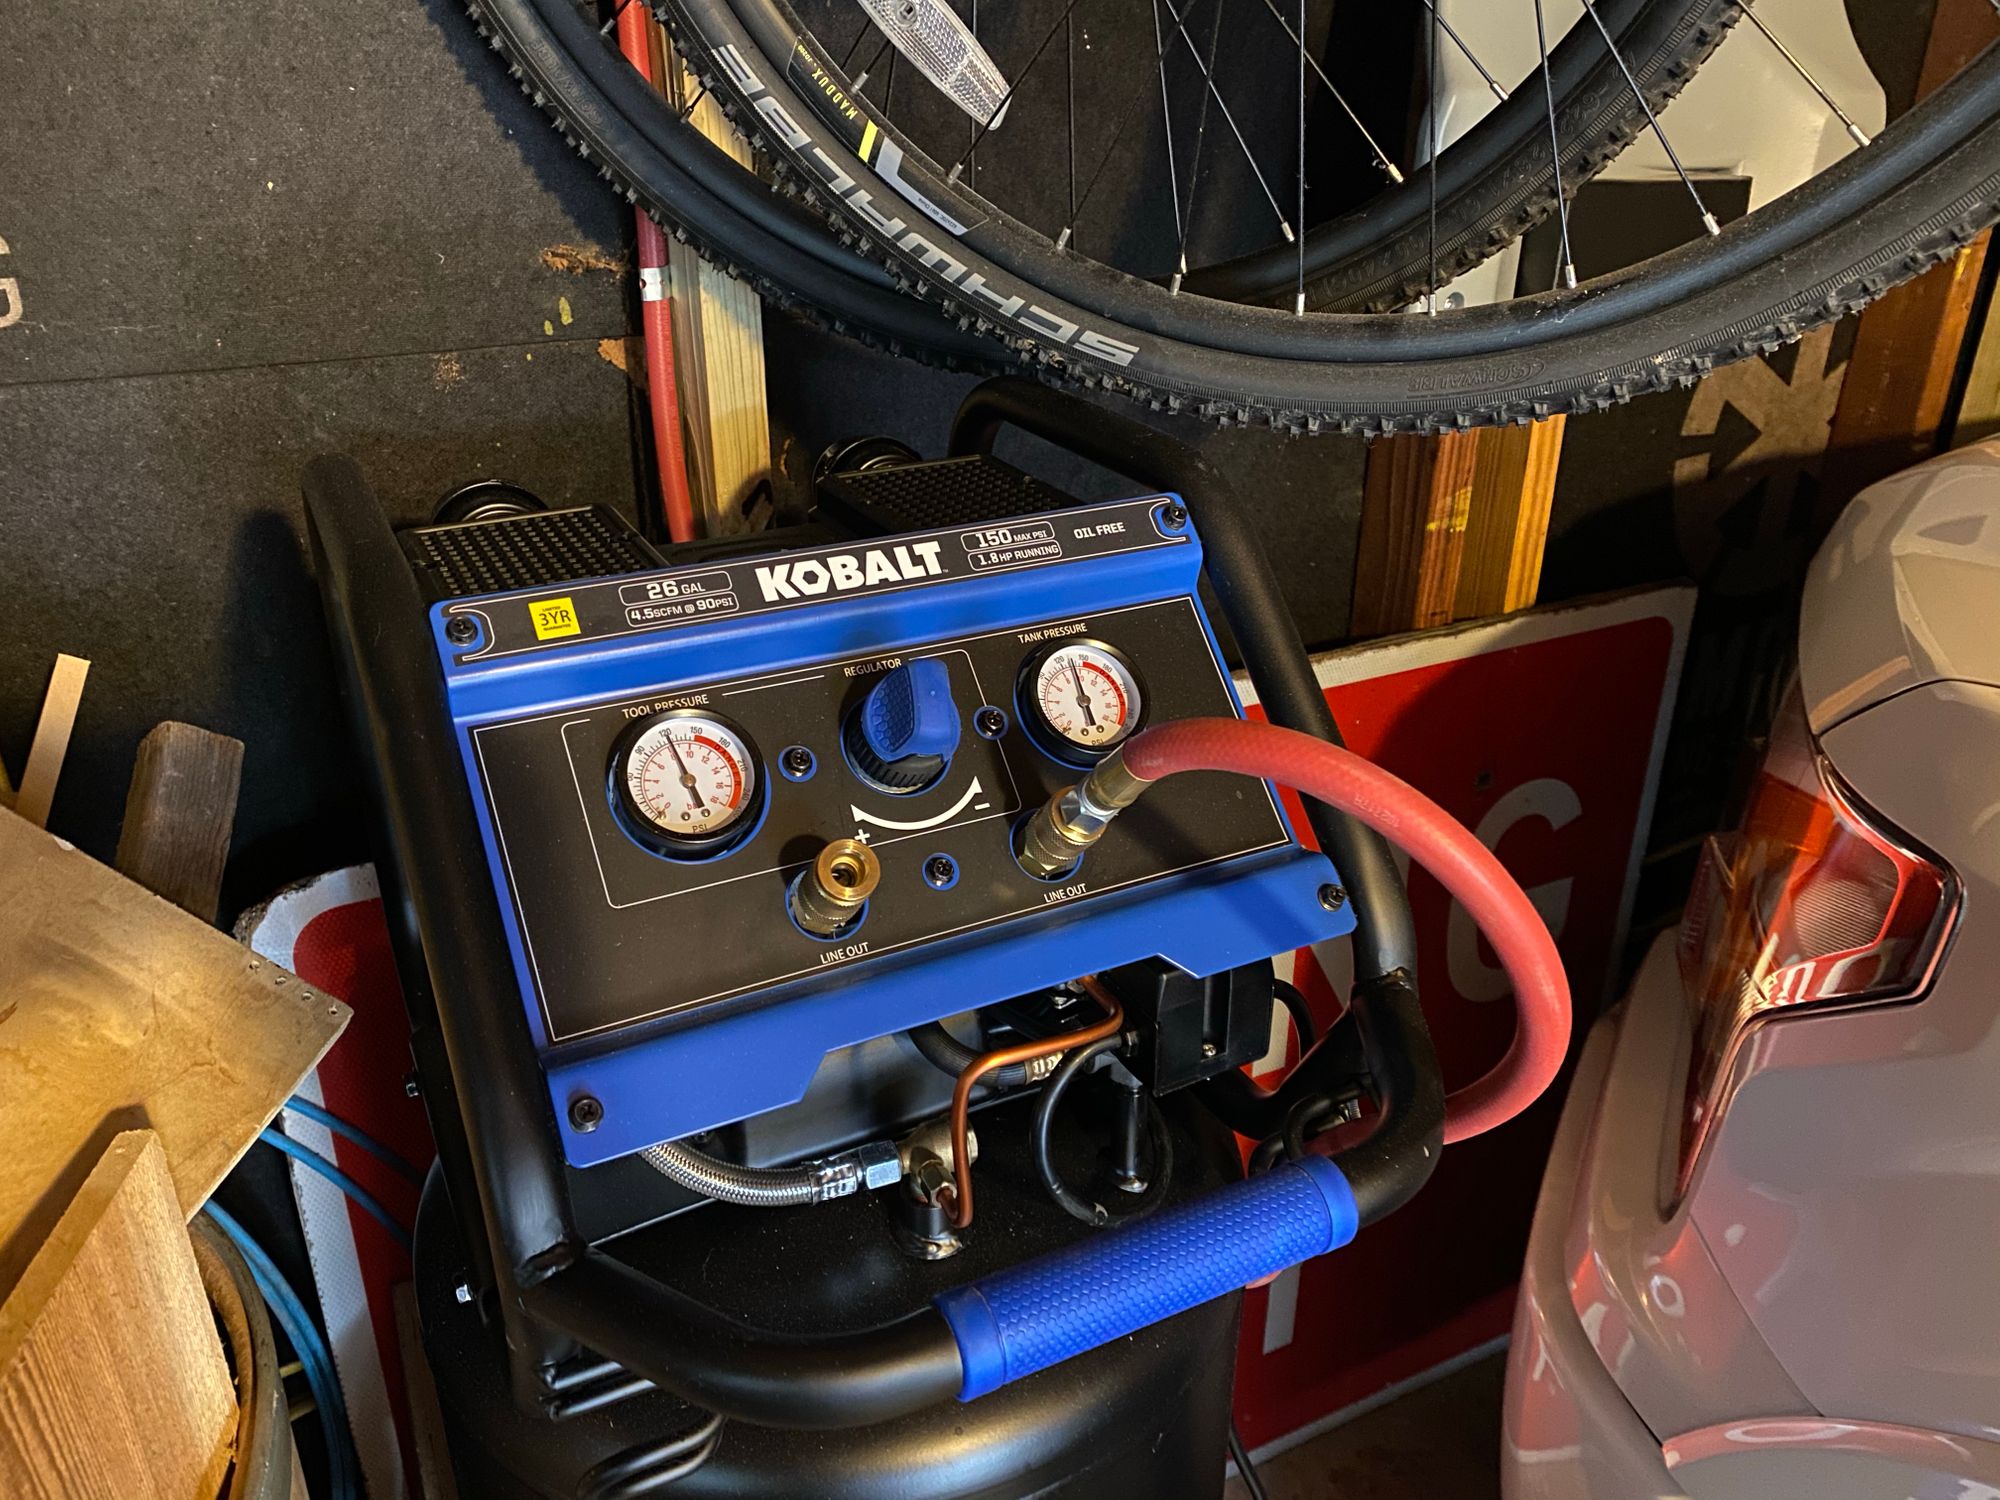
I attached the Milton V fittings to the compressor and the end of the hose, and plugged it in
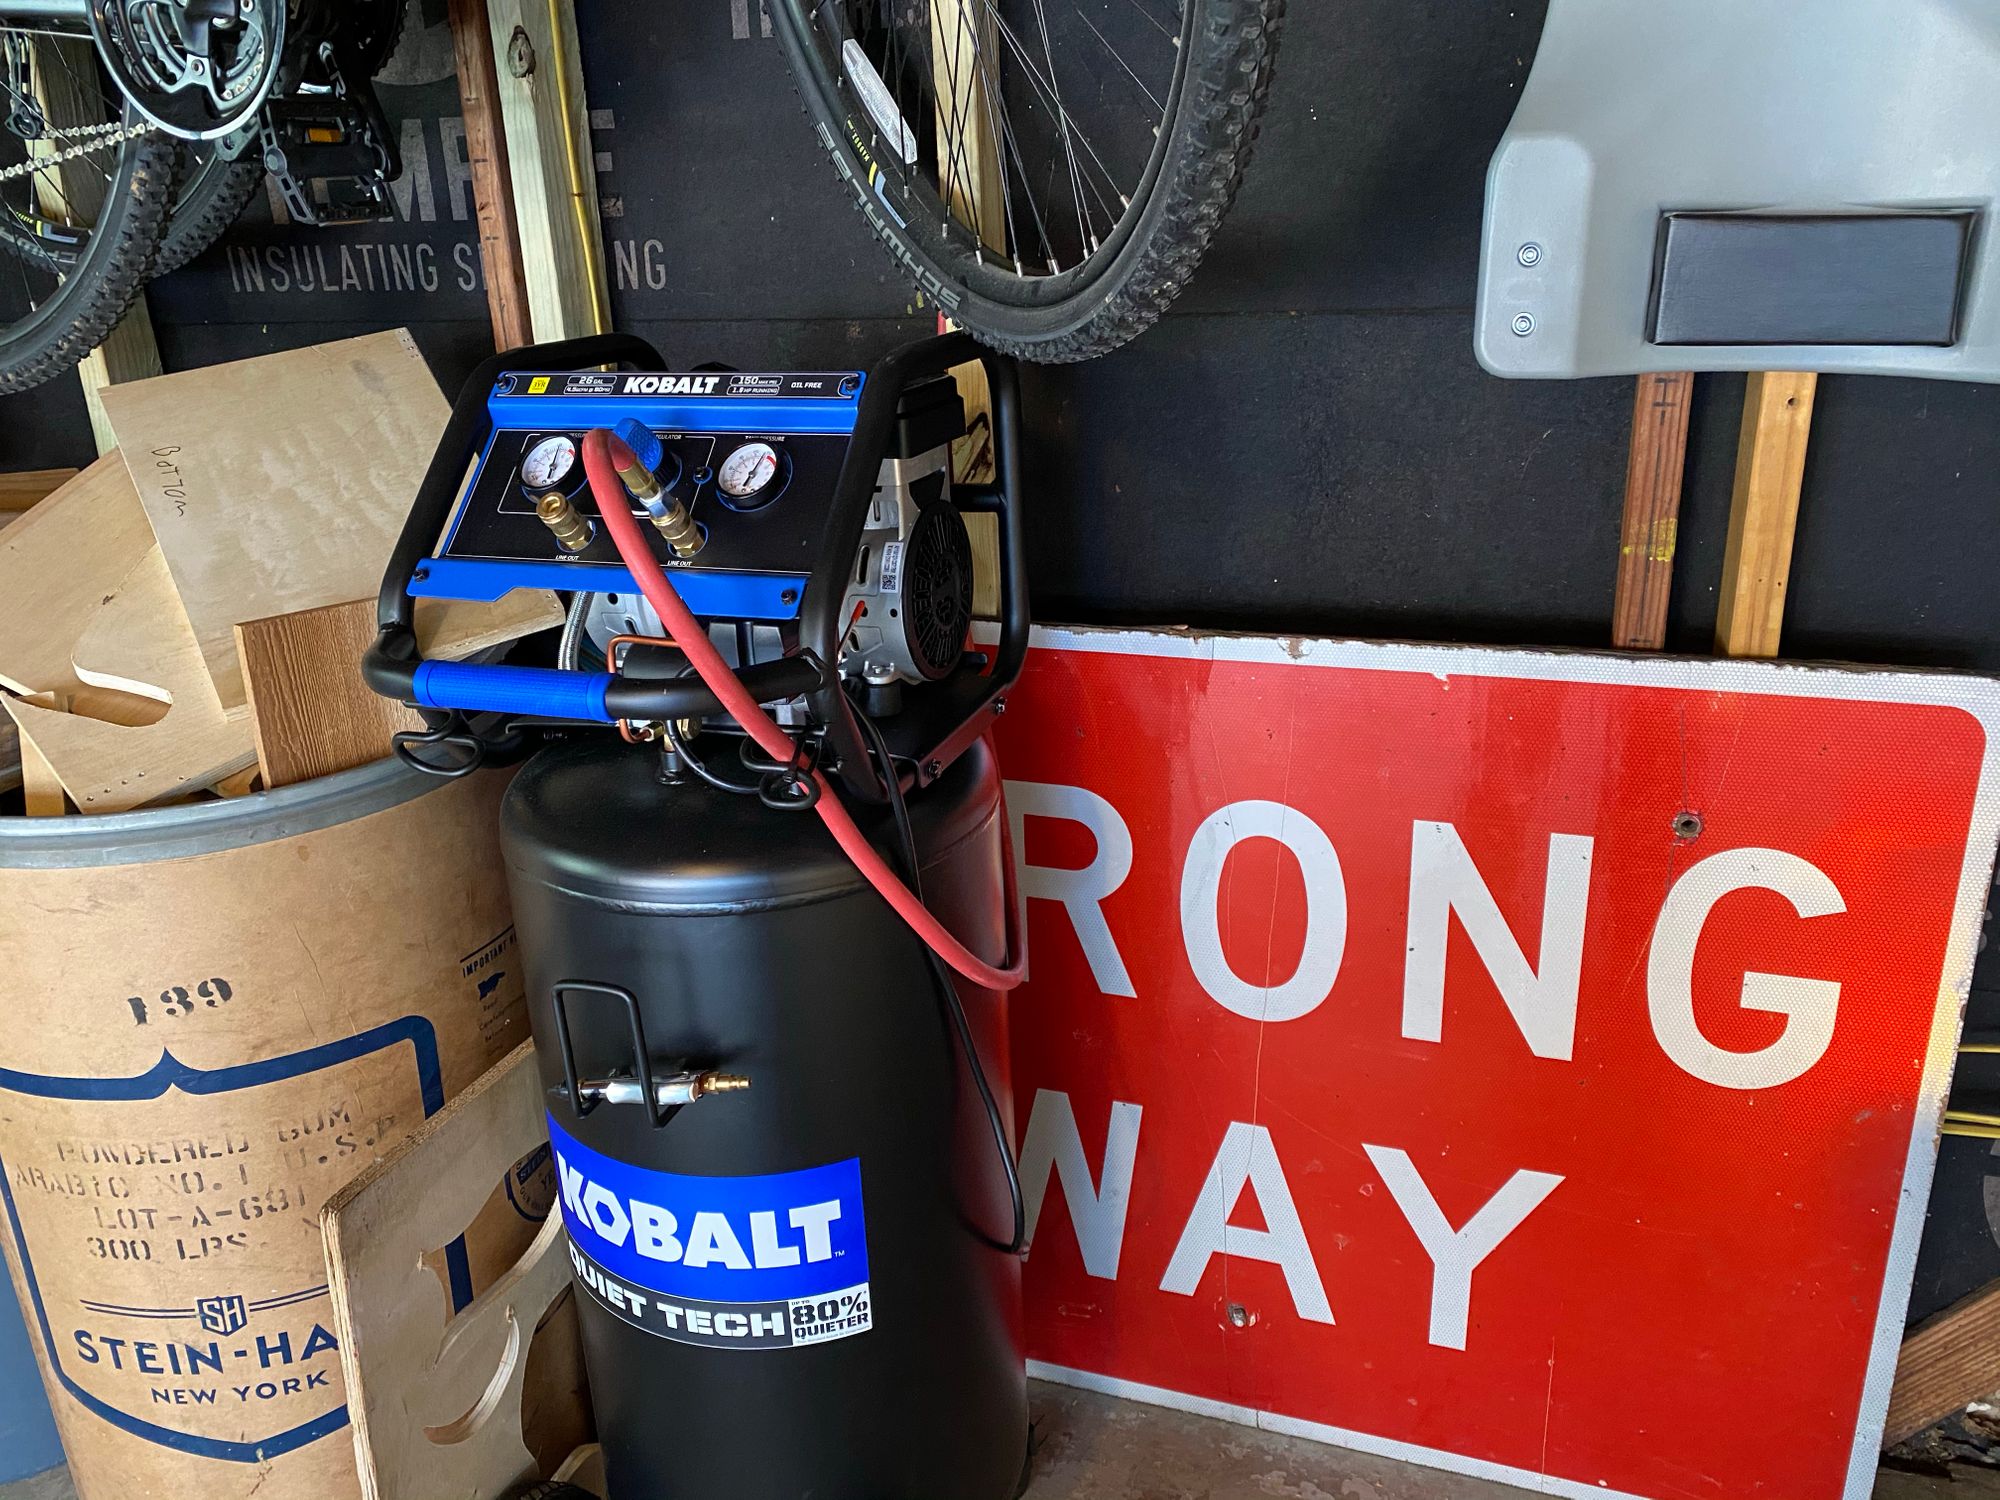
This is the final product with the hose mounted and connected
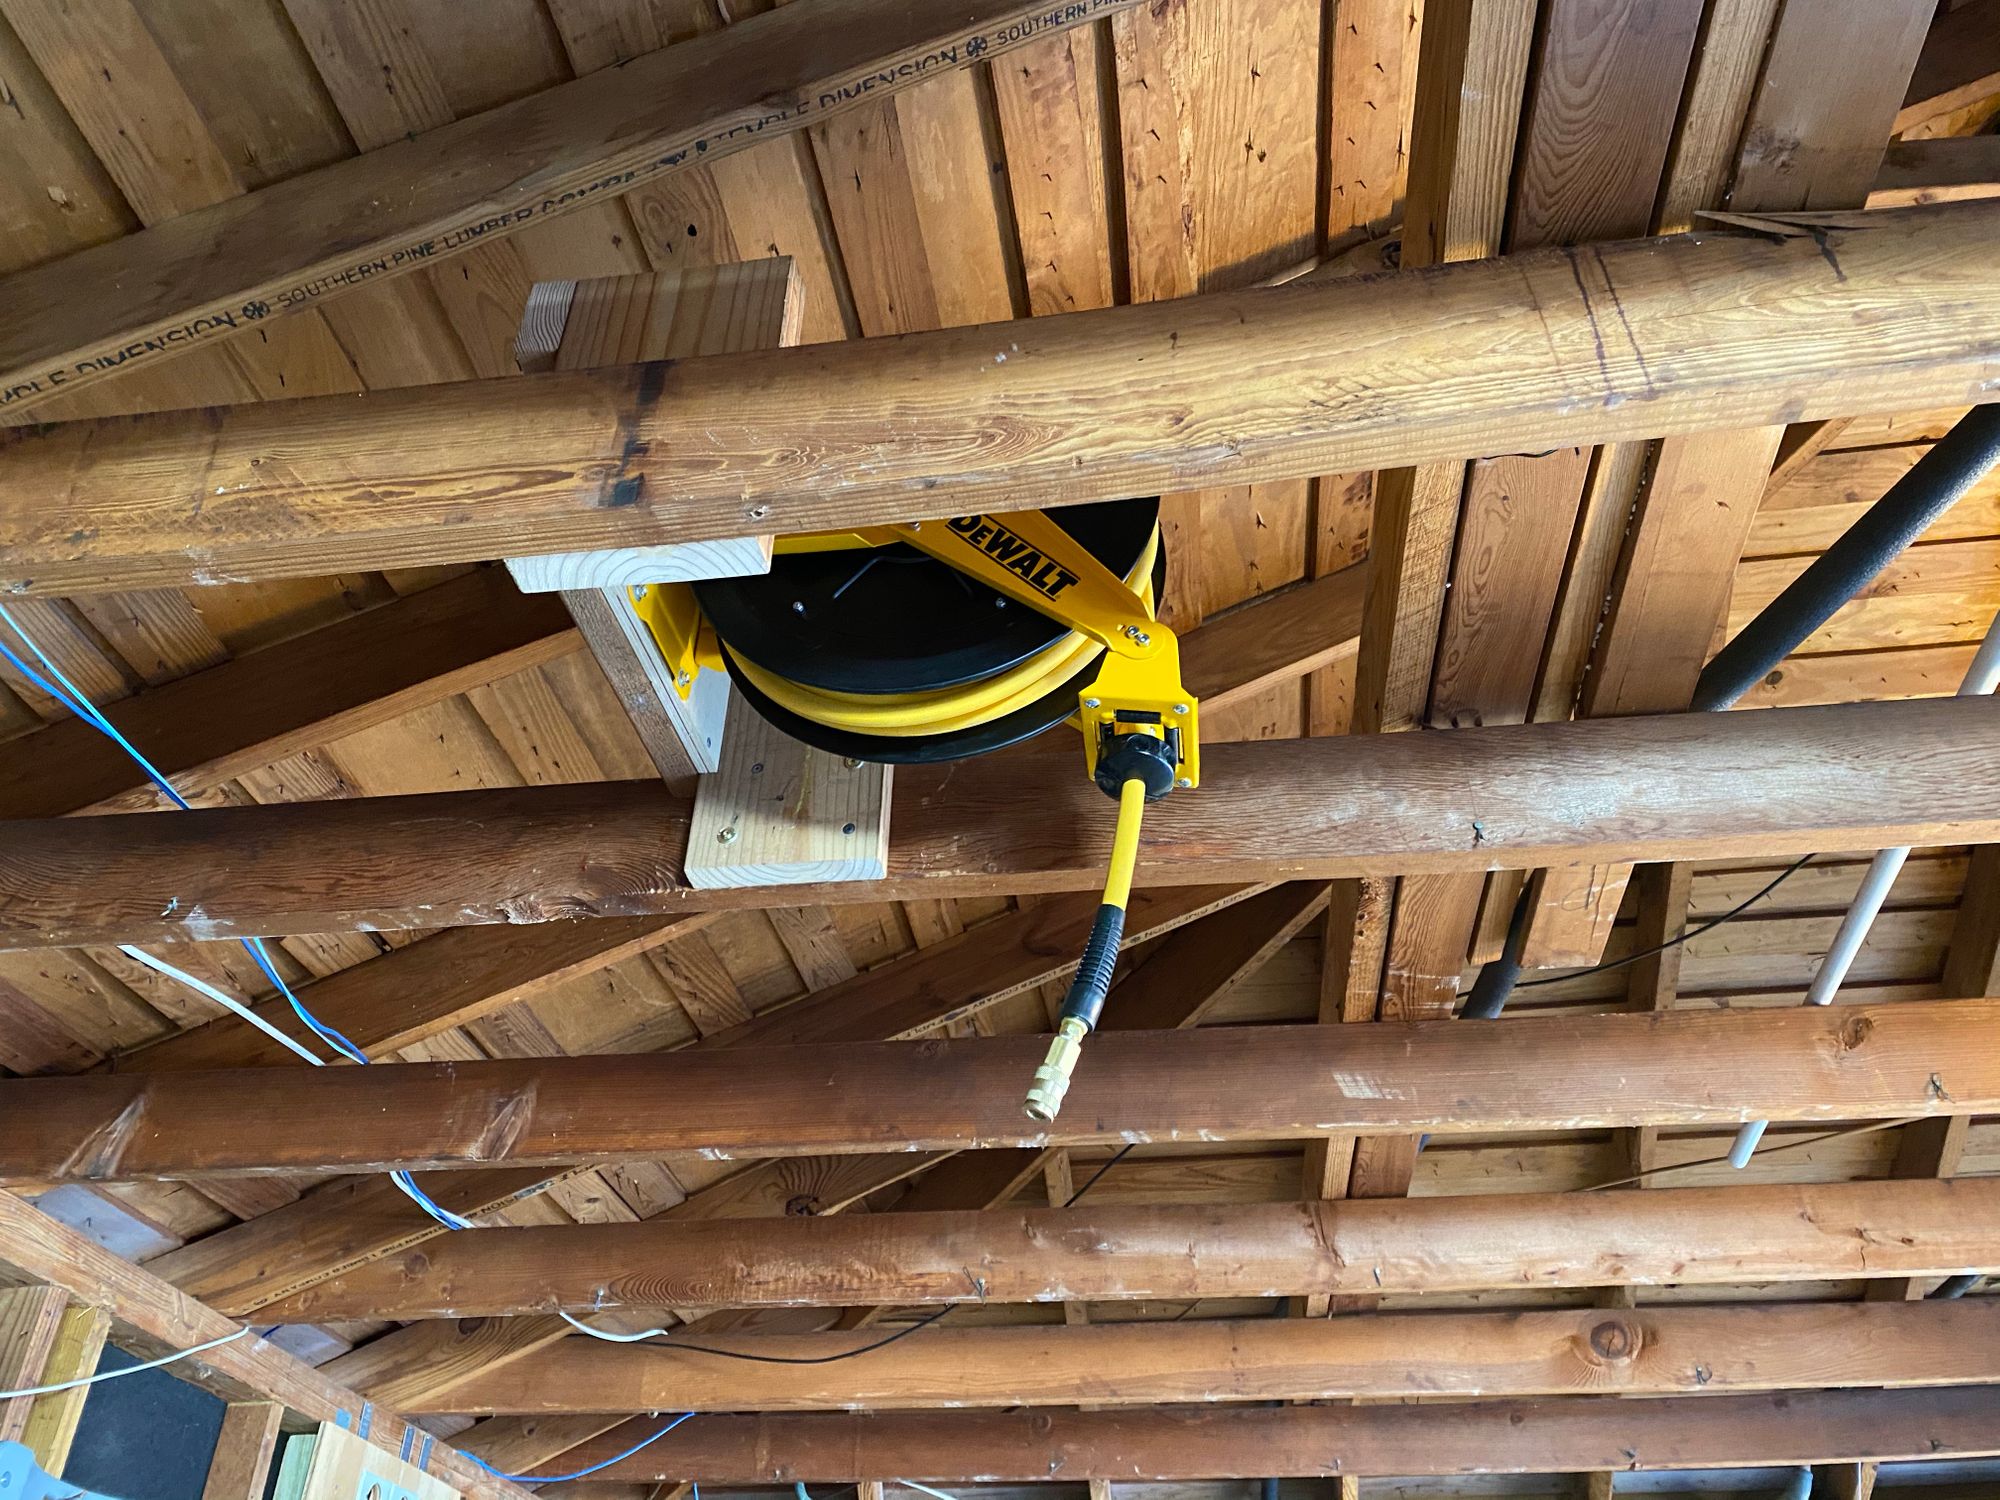
Now I can pull out the hose to pretty much anywhere around my garage to do whatever I want to do, and when I'm done it just reels right back up again, perfect!
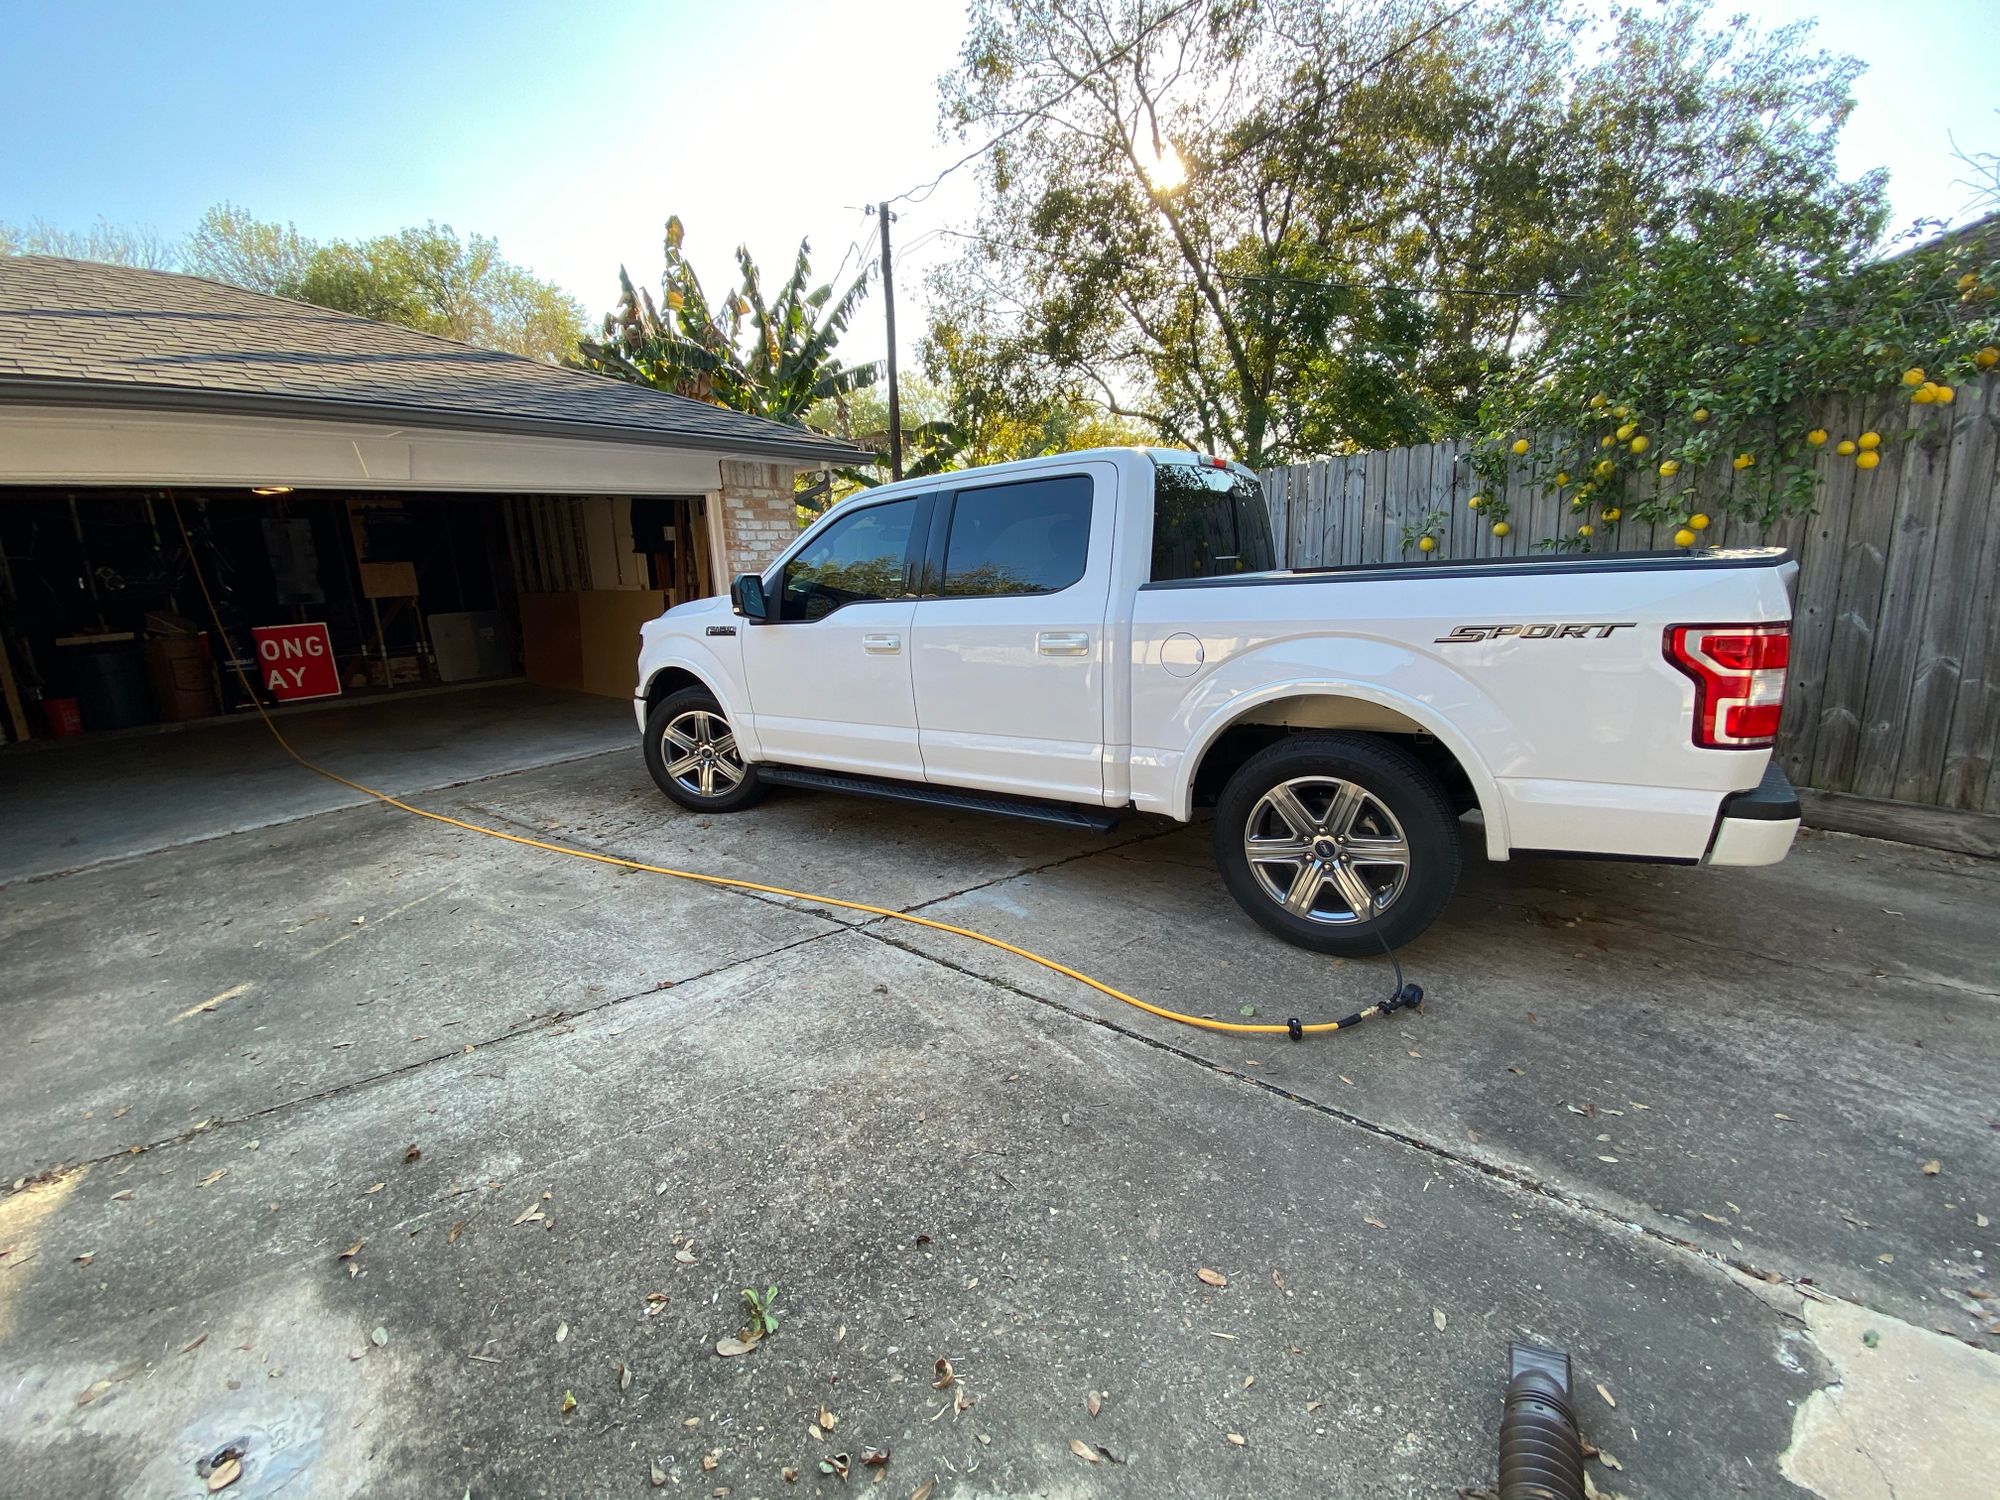
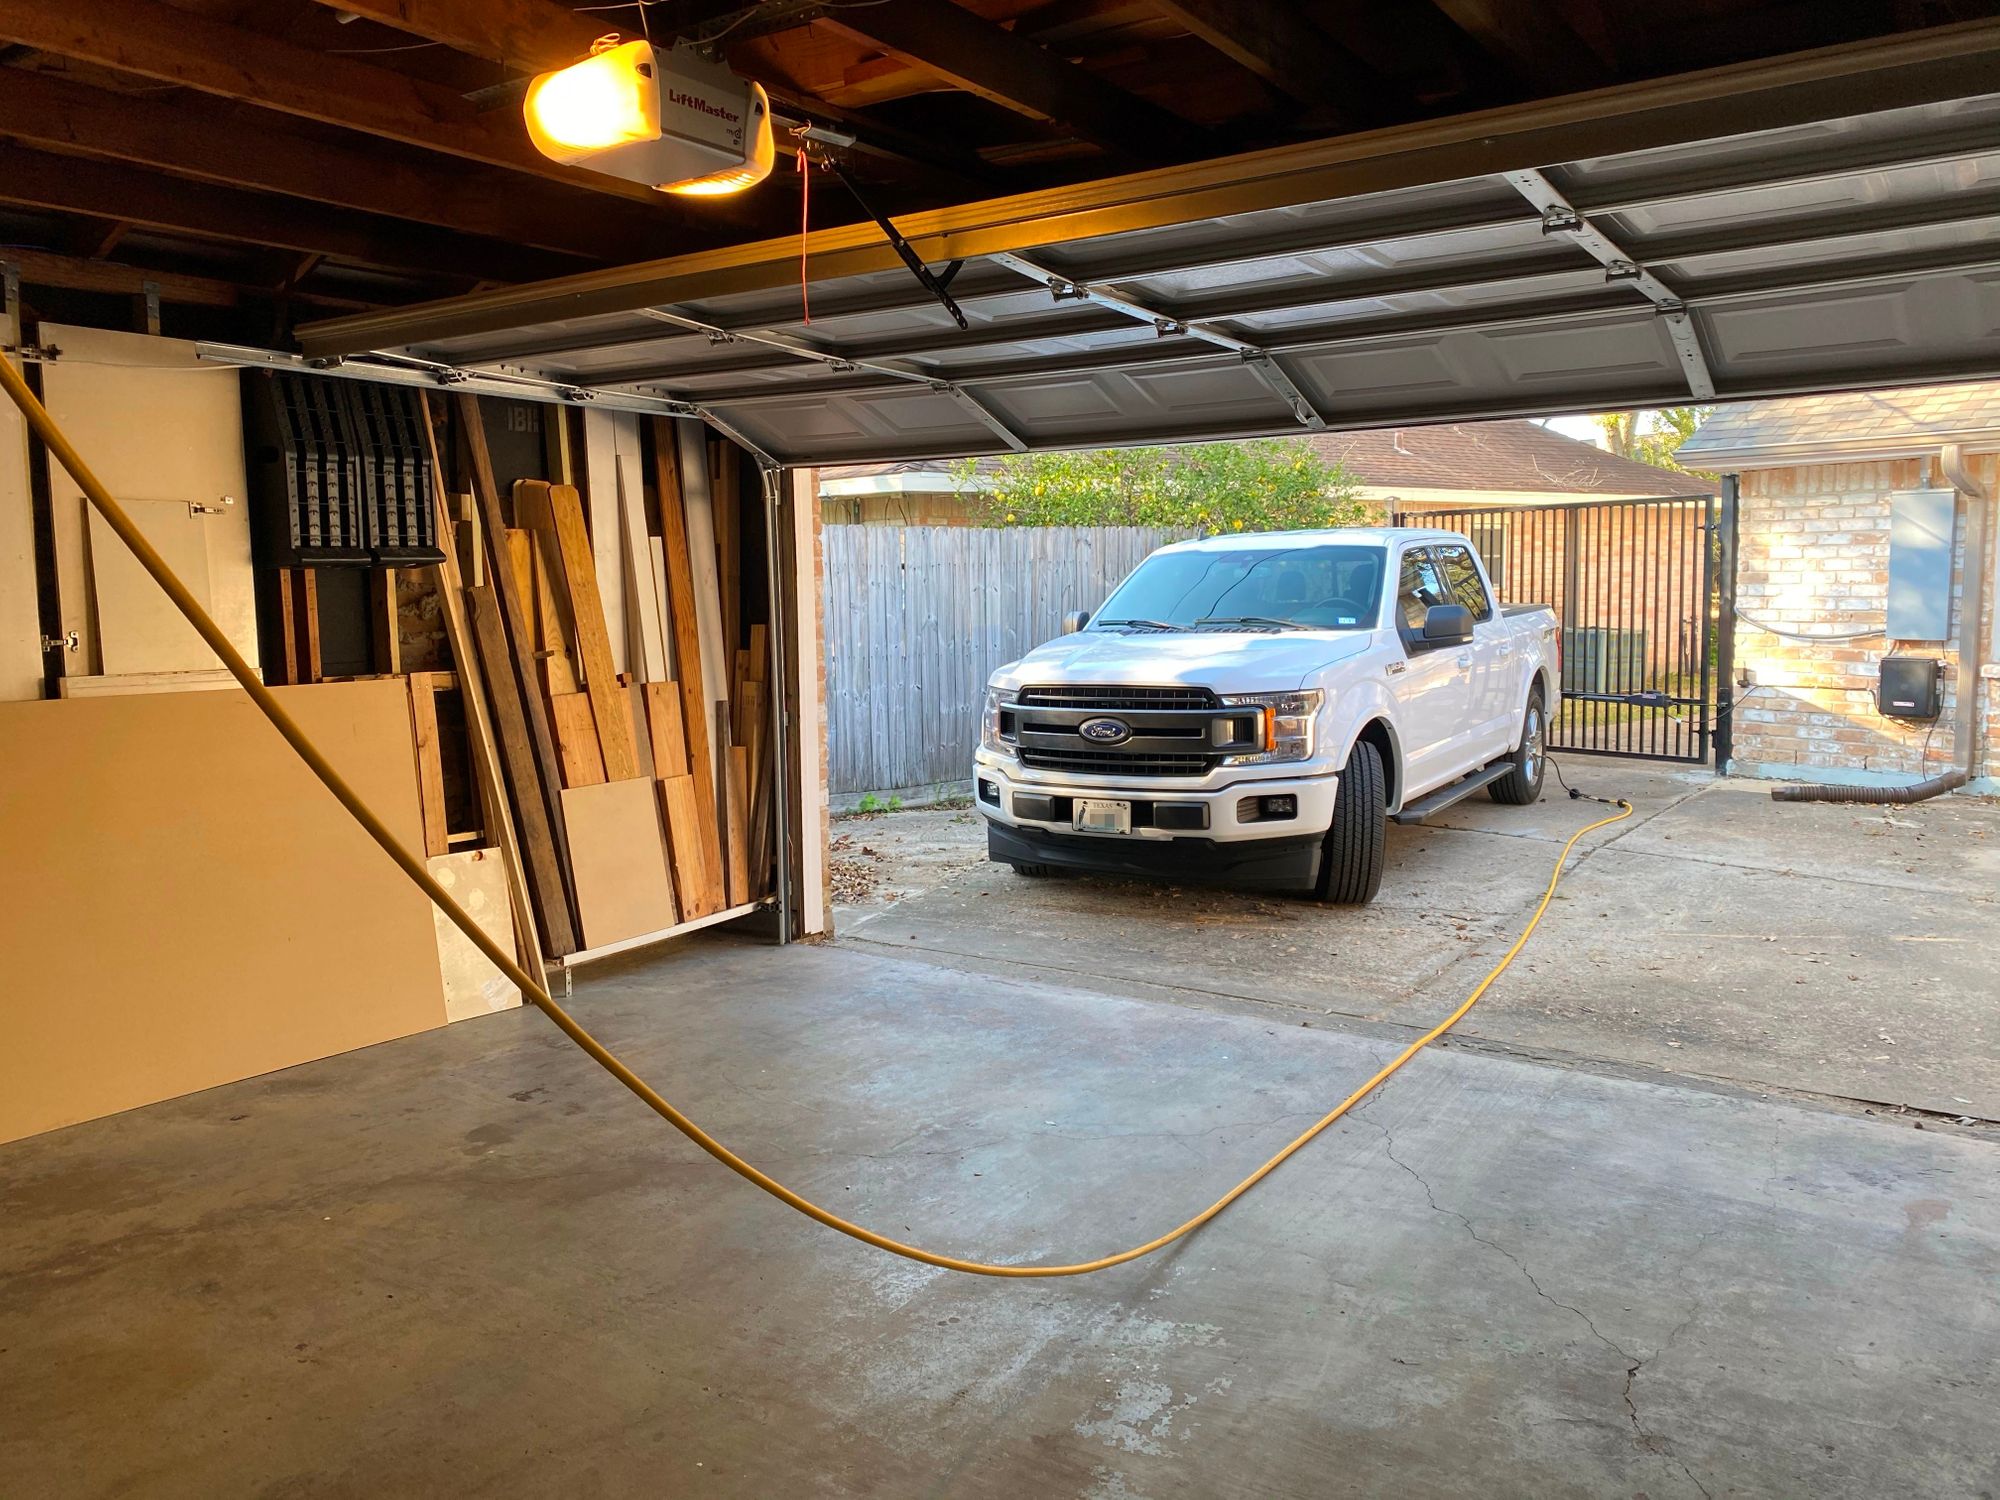

You will notice I tried to place the reel as close to in-between our two vehicles as possible
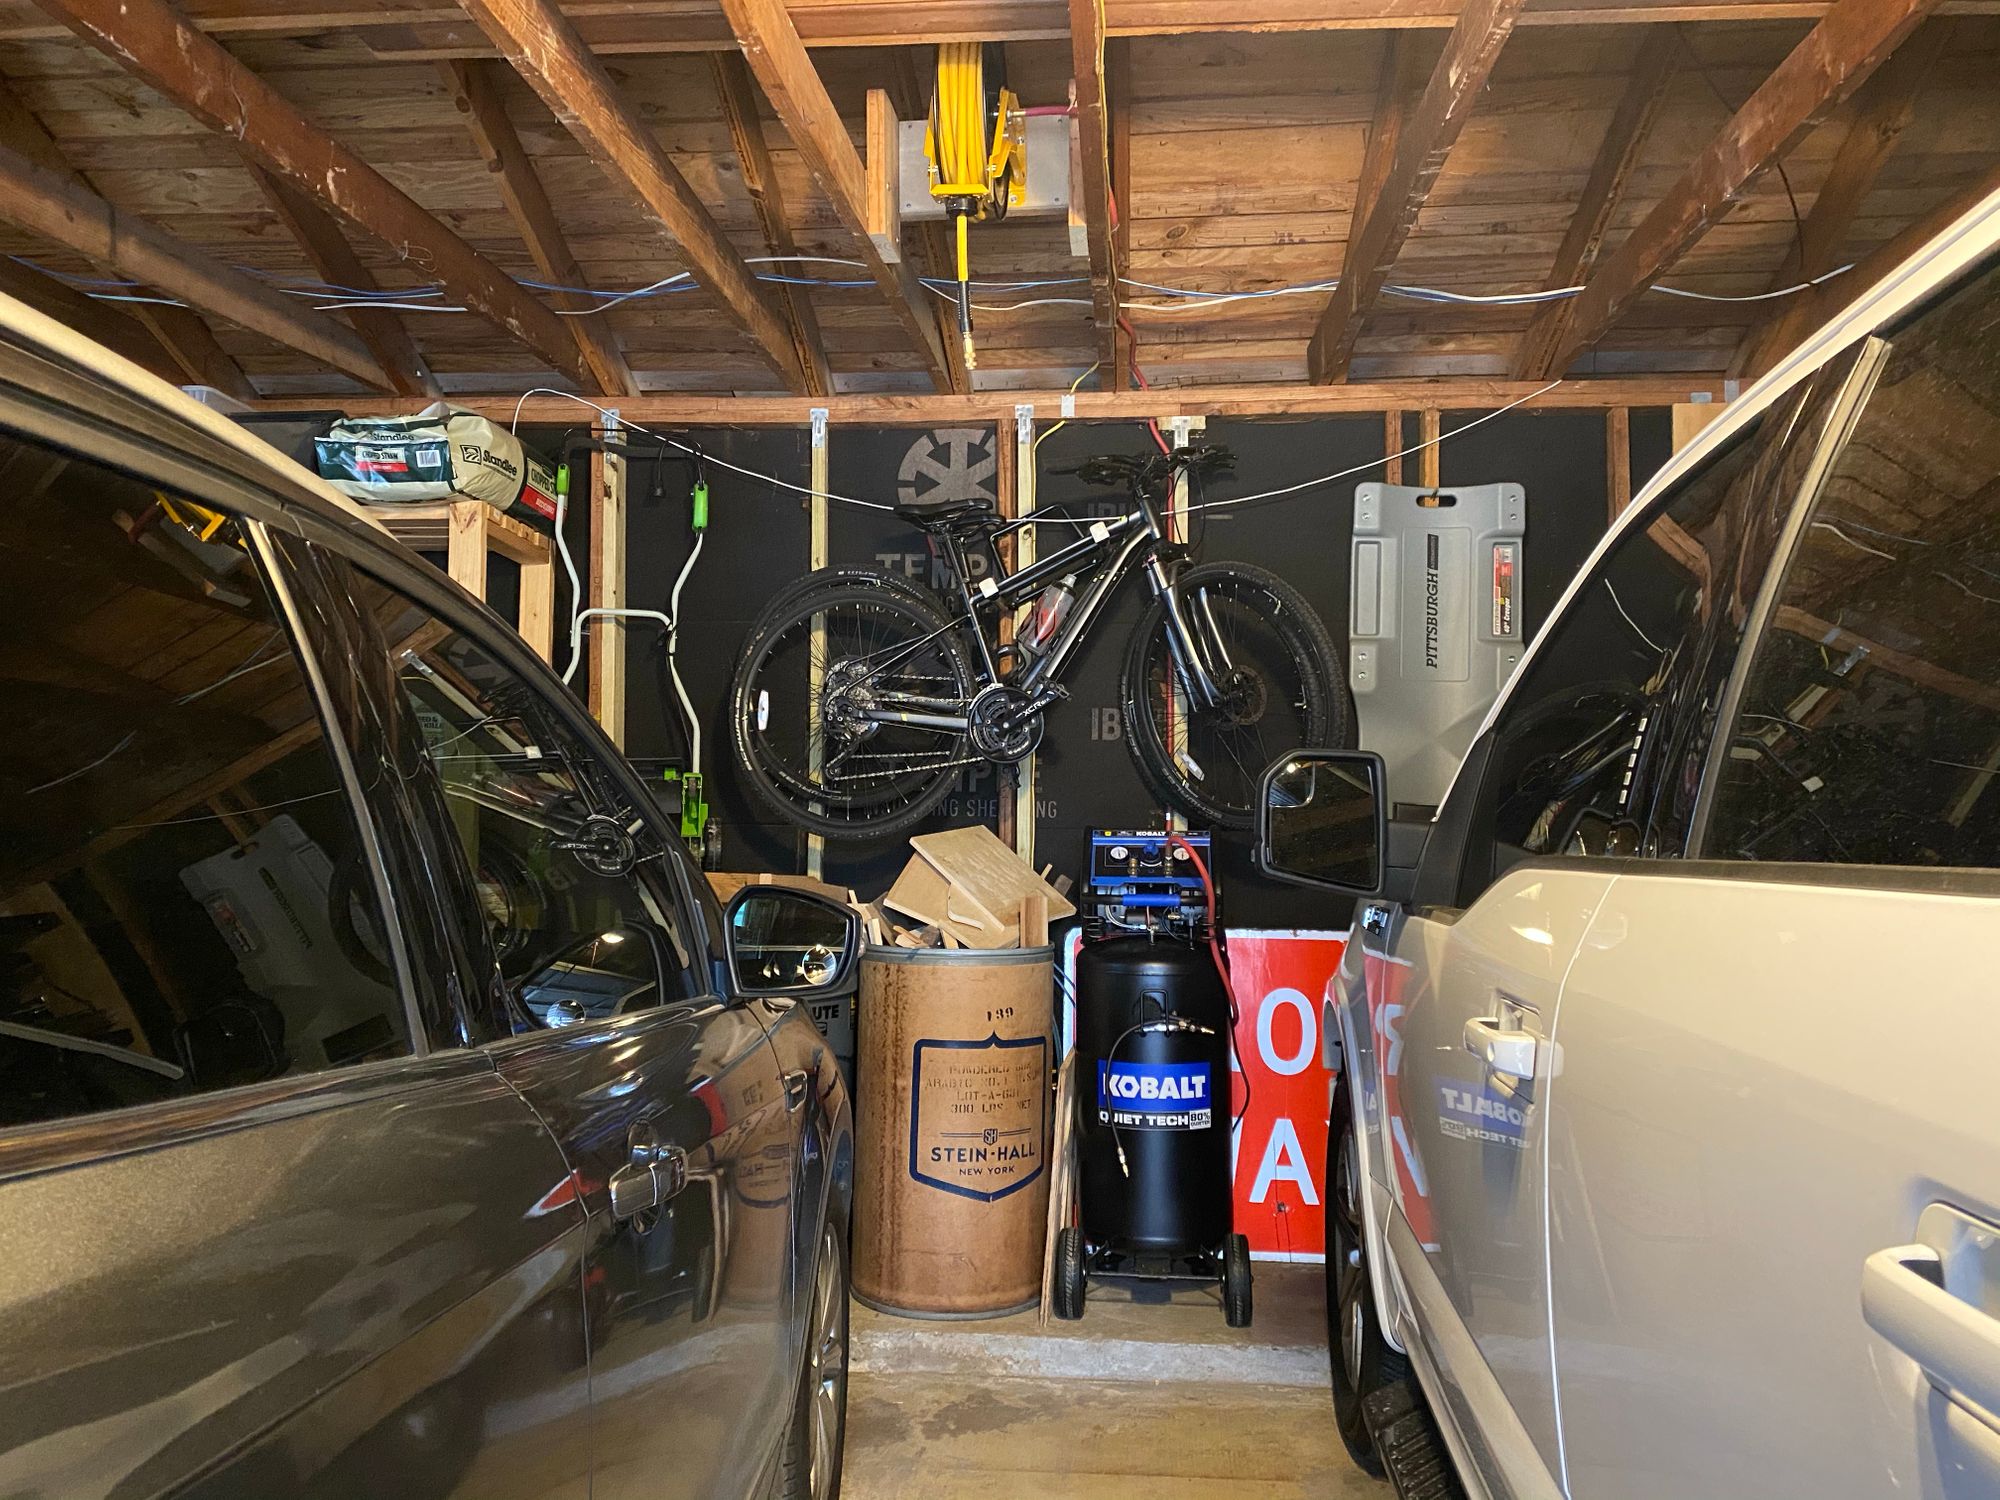
Here are some extra shots of the compressor. So far I am happy with it, doesn't leak out of the box and is not loud at all!