How I made my blog.

I recently decided to make this blog, and quite a few people suggested Ghost (What this blog is running). Here is now I made it
First, I needed somewhere to host the blog. Luckily I have a colocated server (read about it here) I could host it on, but I didn't really want to expose my external IP, but I found a solution to this.
I decided to run Ghost in Docker, since I already had a Docker host running on the server.
Its very simply to get ghost up and running. First, I needed to create a folder to keep persistent data so I won't lose everything when I rebuild the container
SSH to the docker host and create a folder
sudo mkdir /media/ghost-blog
Then, create the container (More information here: https://hub.docker.com/_/ghost/)
docker run -d --name blog-ghost -p 3001:2368 -v /media/ghost:/var/lib/ghost/content ghost:latest
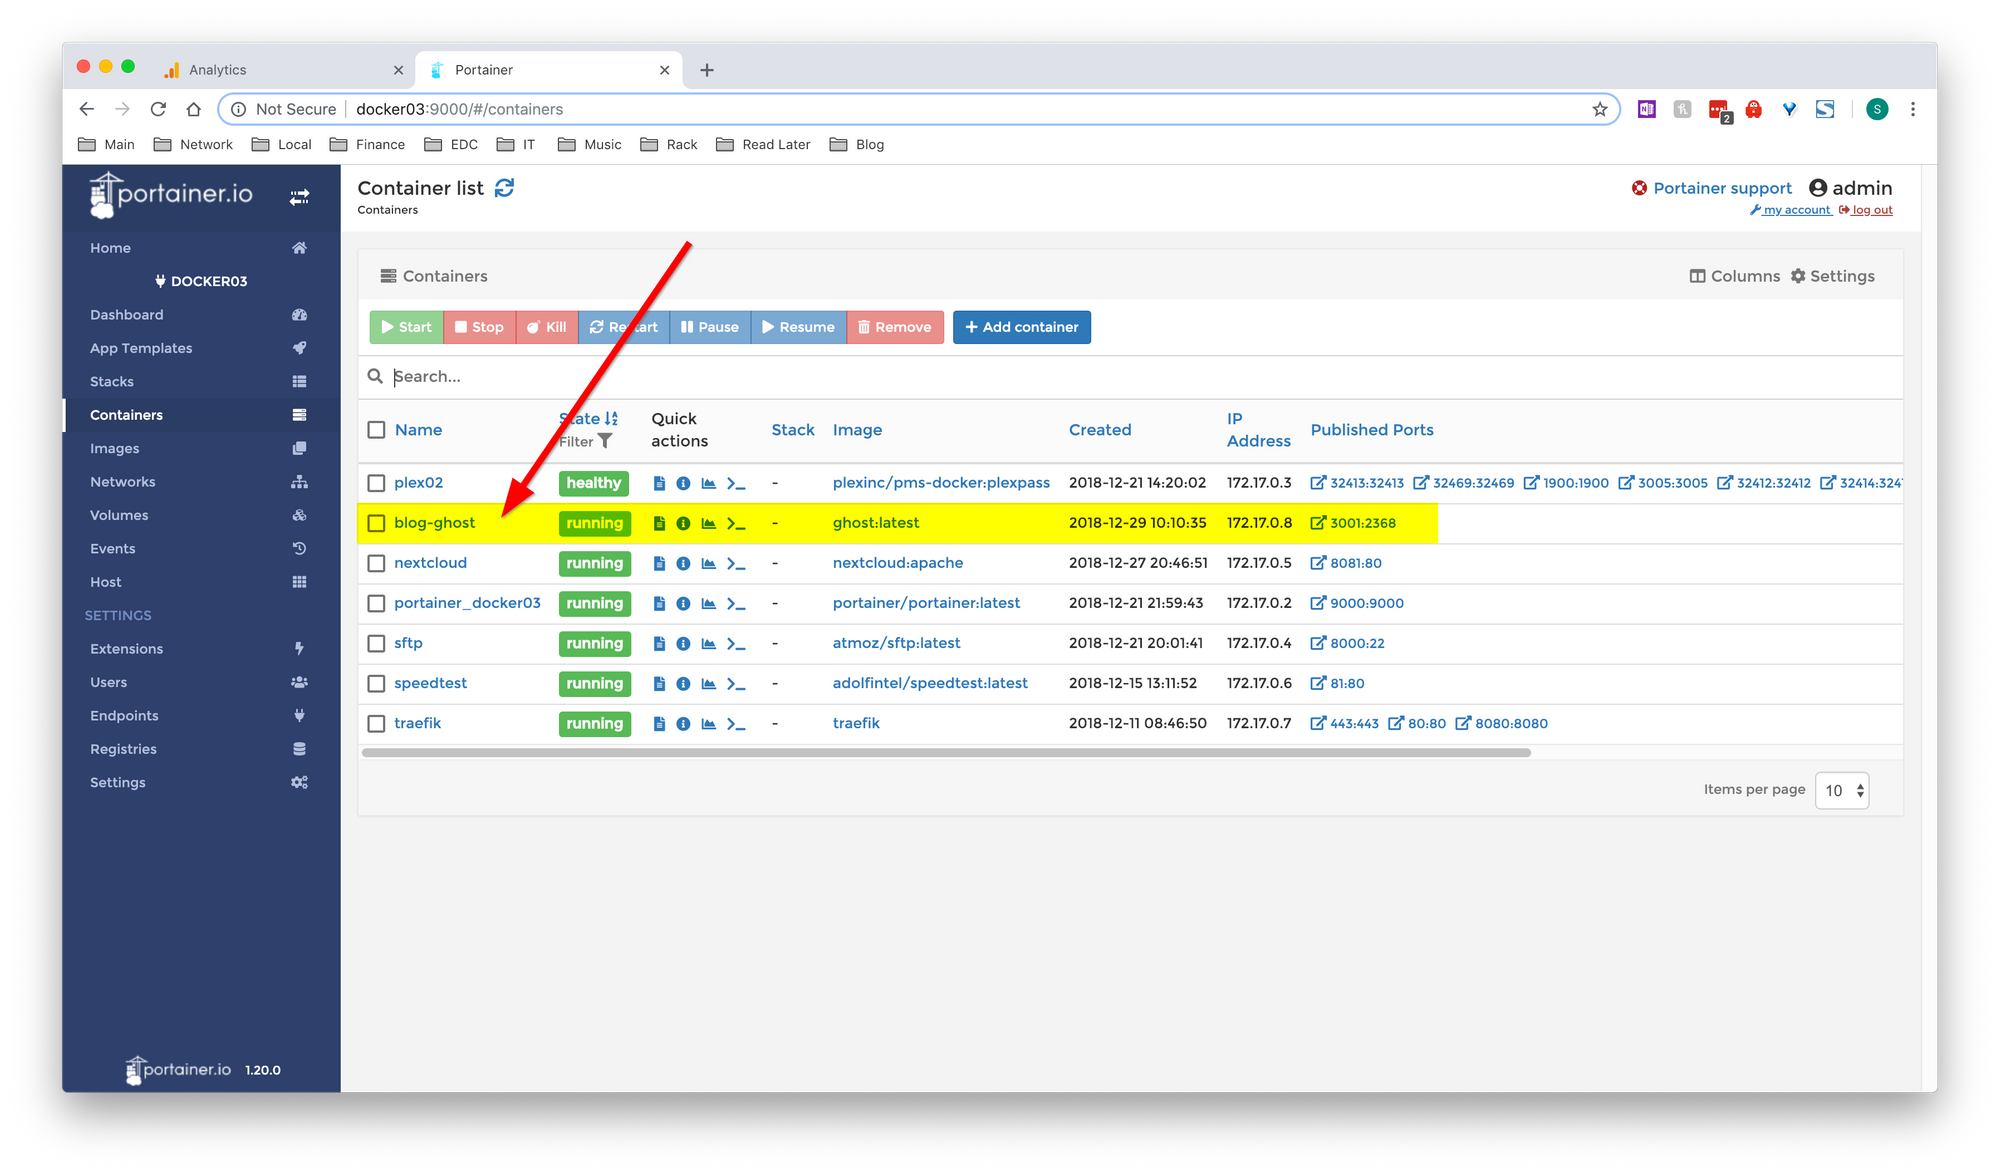
Now I could access Ghost on http://<docker-ip>:3001 and finish the setup.
You can see the container running on my Docker host here
I already had the domain networkprofile.org sitting doing nothing, so I decided to use that. I added the environmental flag to set the URL, and added tags for Traefik to add the container to its reverse proxy
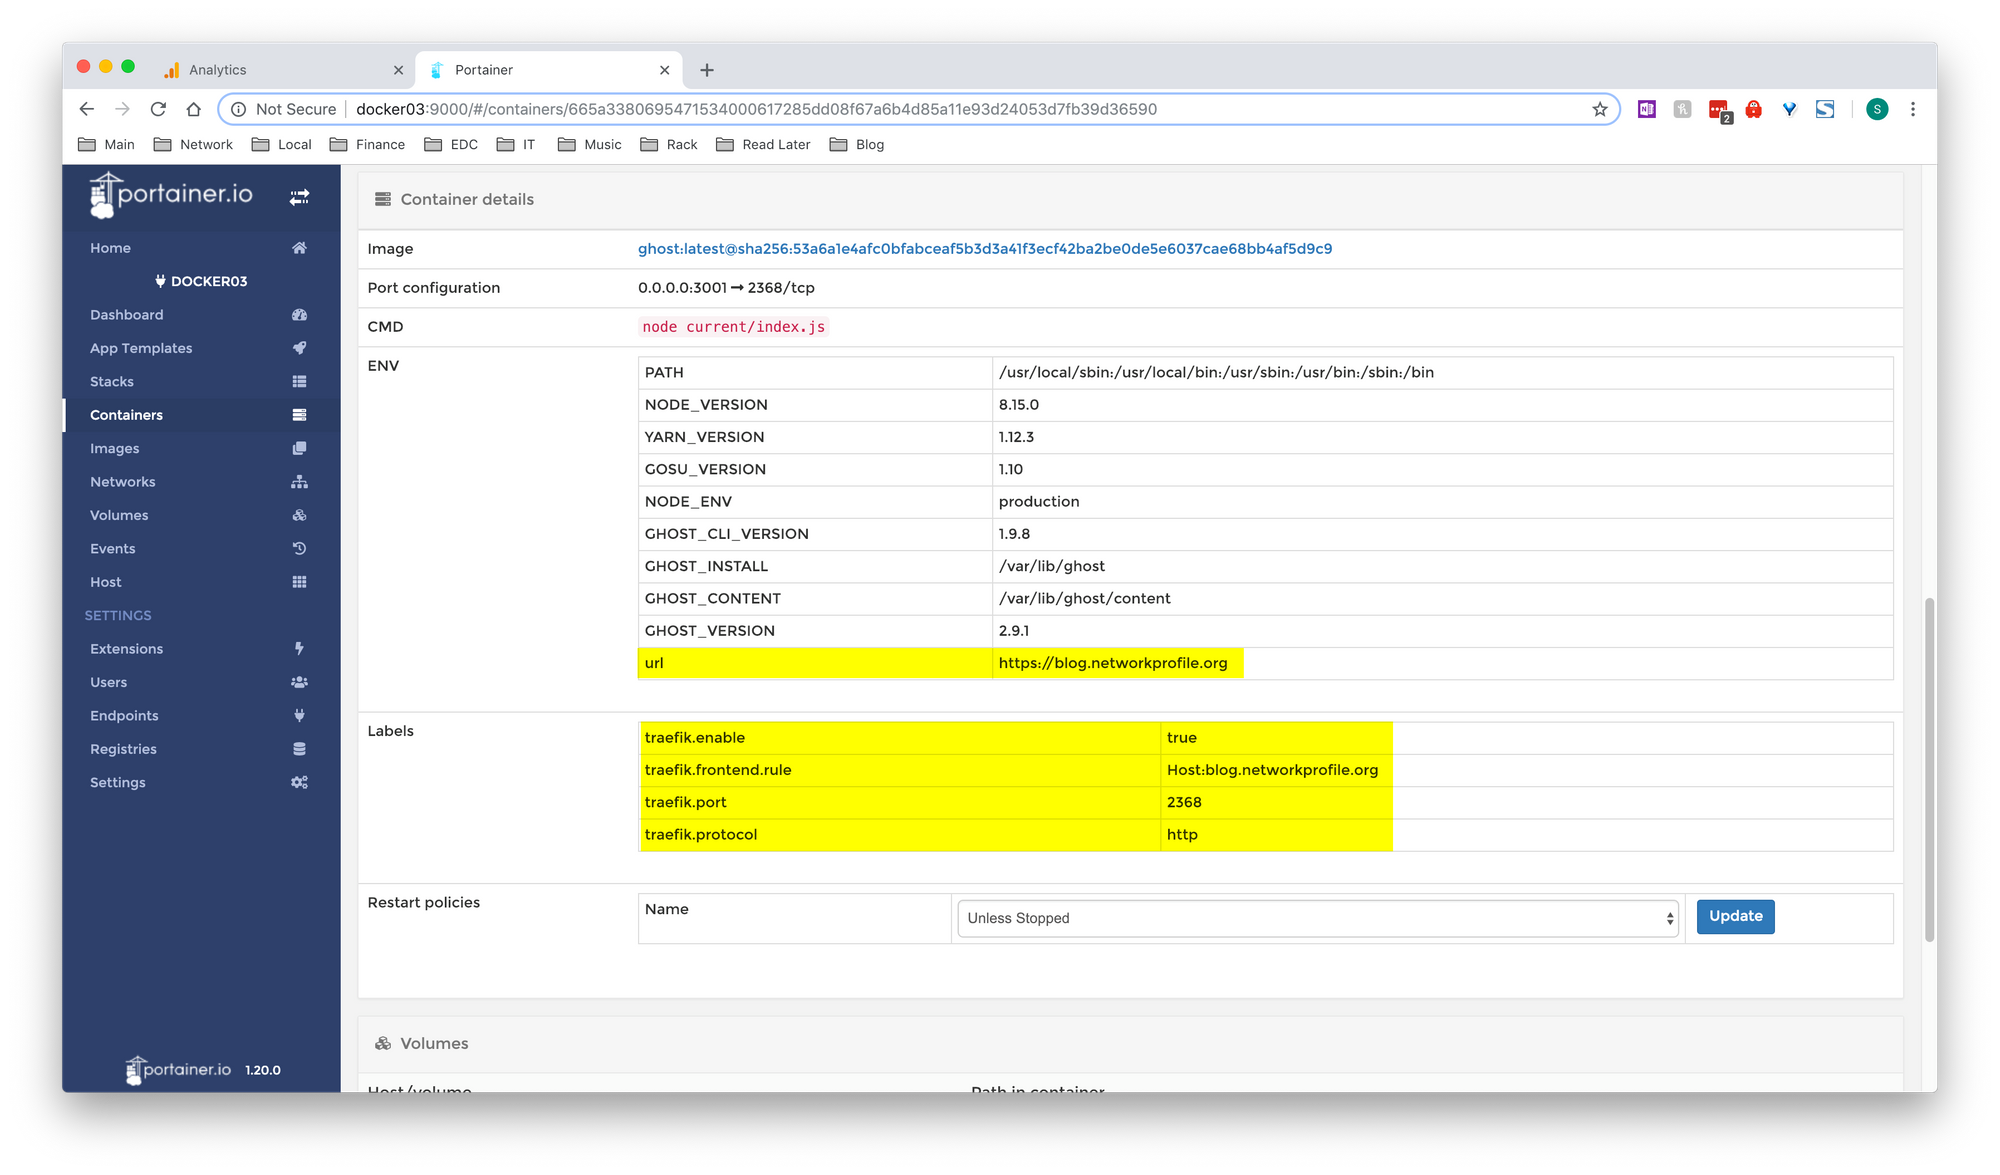
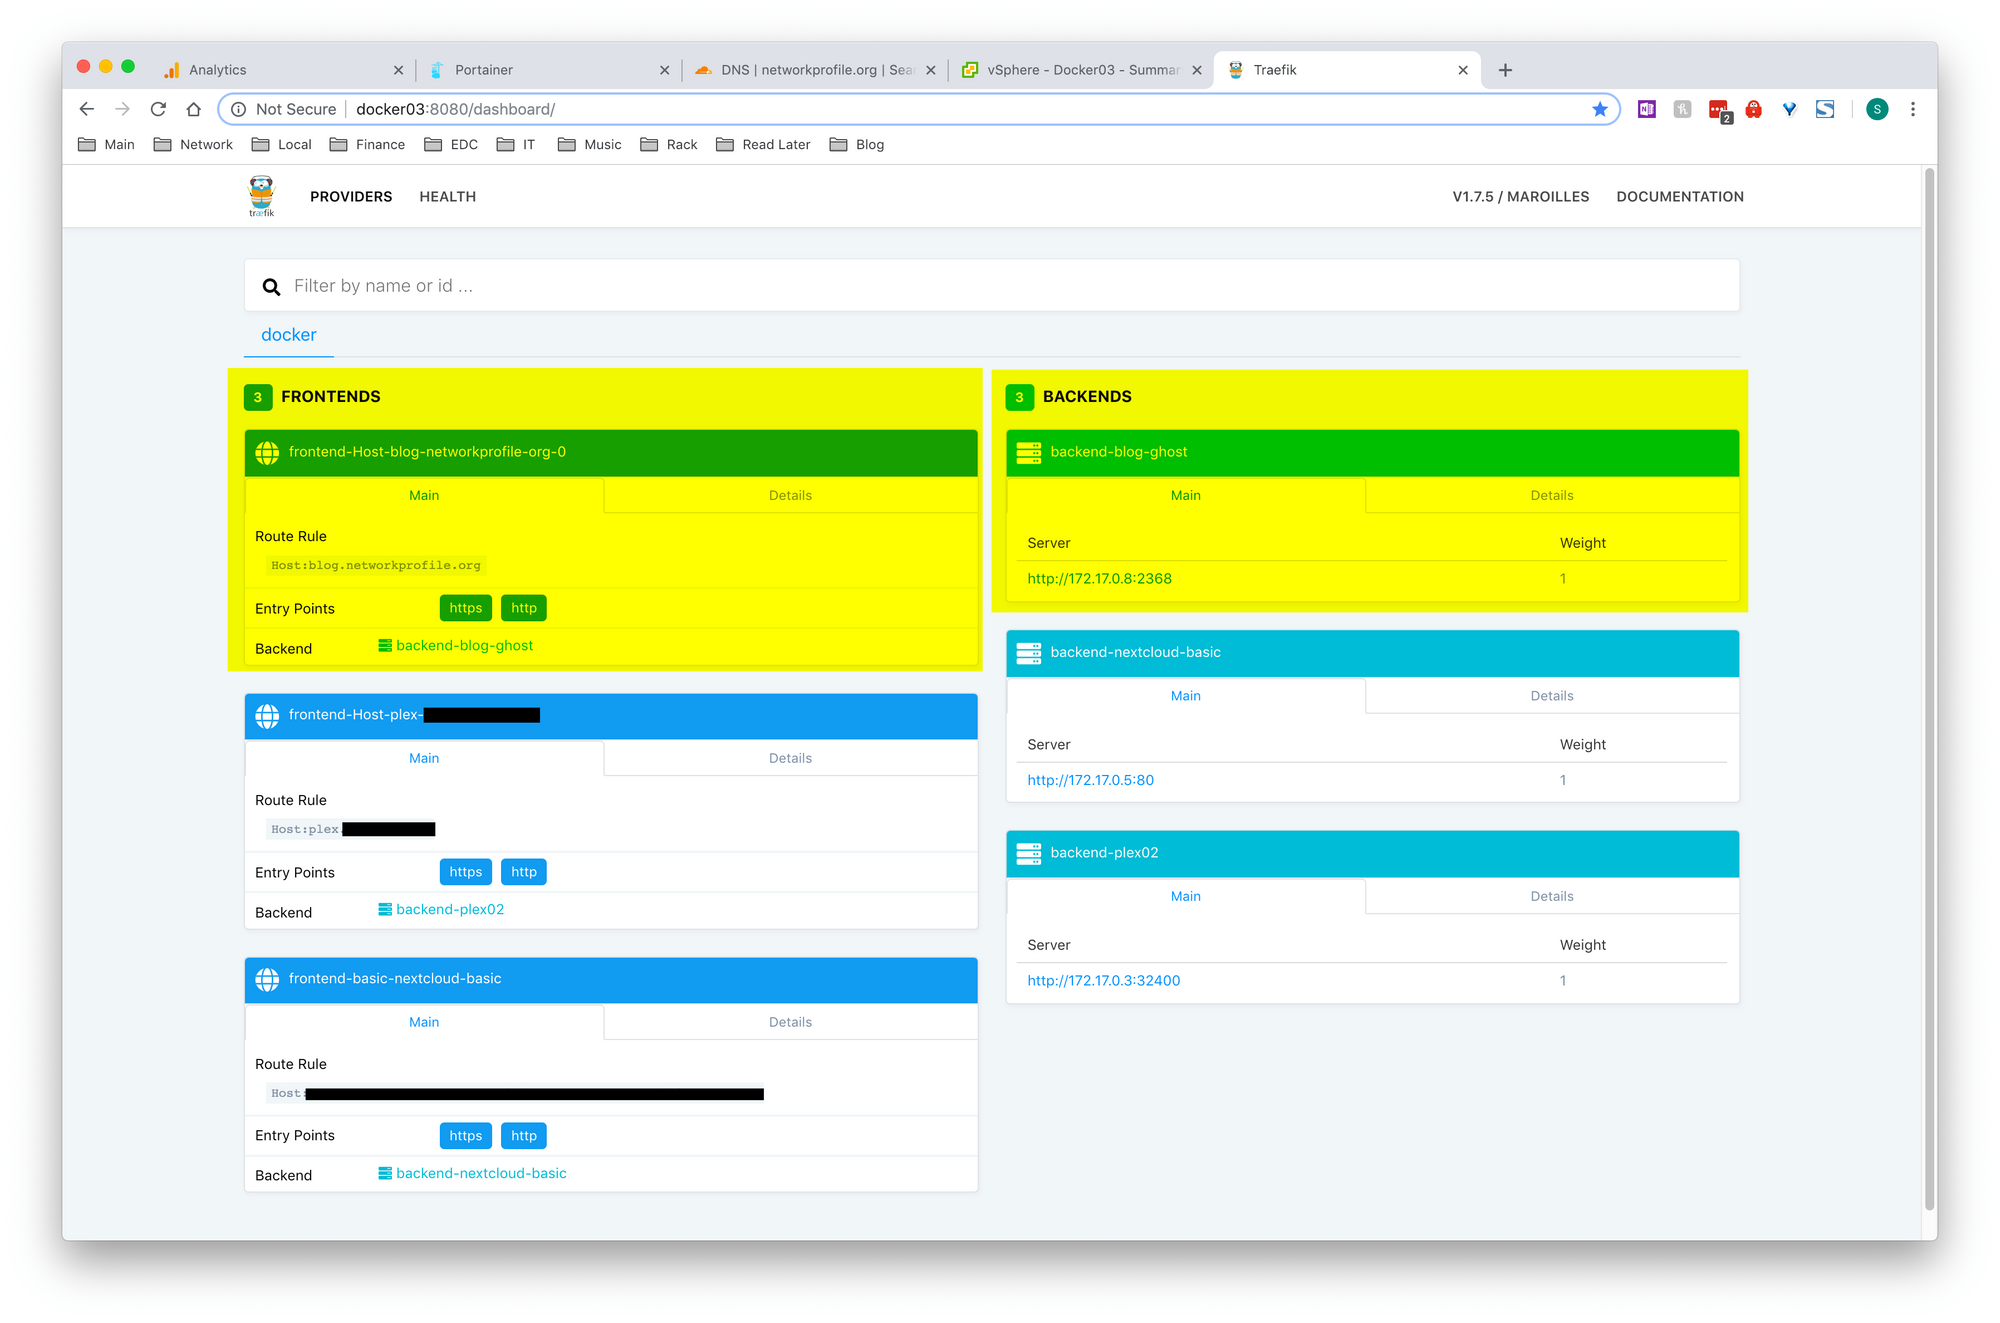
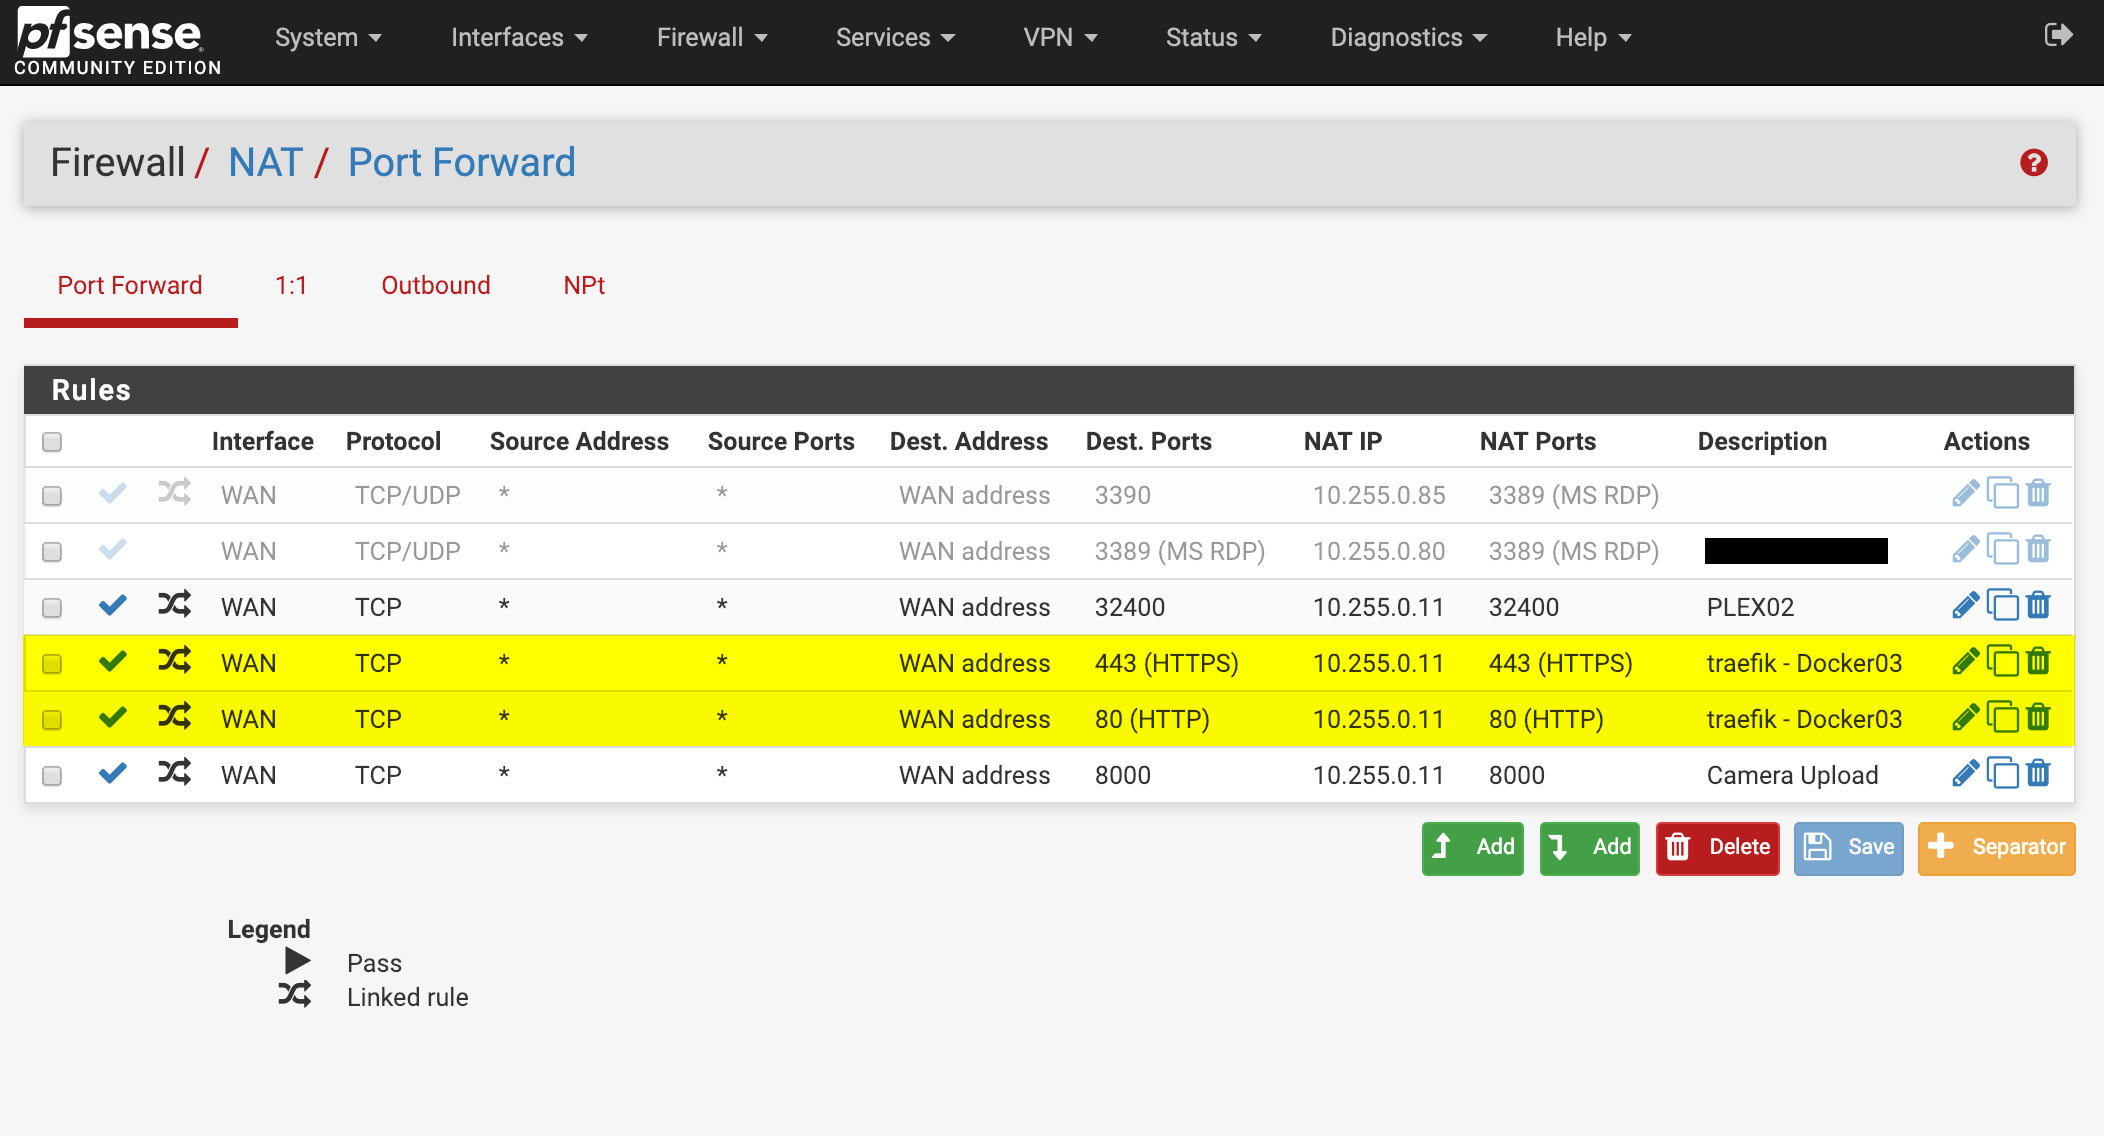
Now the container has got a LetsEncrypt certificate, and is accessible from the internet through Traefik (Which has 443 and 80 forwarded to it via pfSense)
Now the blog was on the internet with a valid SSL cert. Great! but everyone could see my external IP which I wasn't keen on. So I decided to use CloudFlare CDN which caches all of the static content, keeping my external IP effectively hidden
Note that this isn't really a super effective way of hiding your IP, especially if you already had a DNS record pointing to your IP before, sites like DNSTrails.com can often just show you the history, which includes the old public IP. But this was good enough for my use case
I already used CloudFlare for DNS, so not much setup was required. I went ahead and checked the option to use CloudFlare CDN and DNS
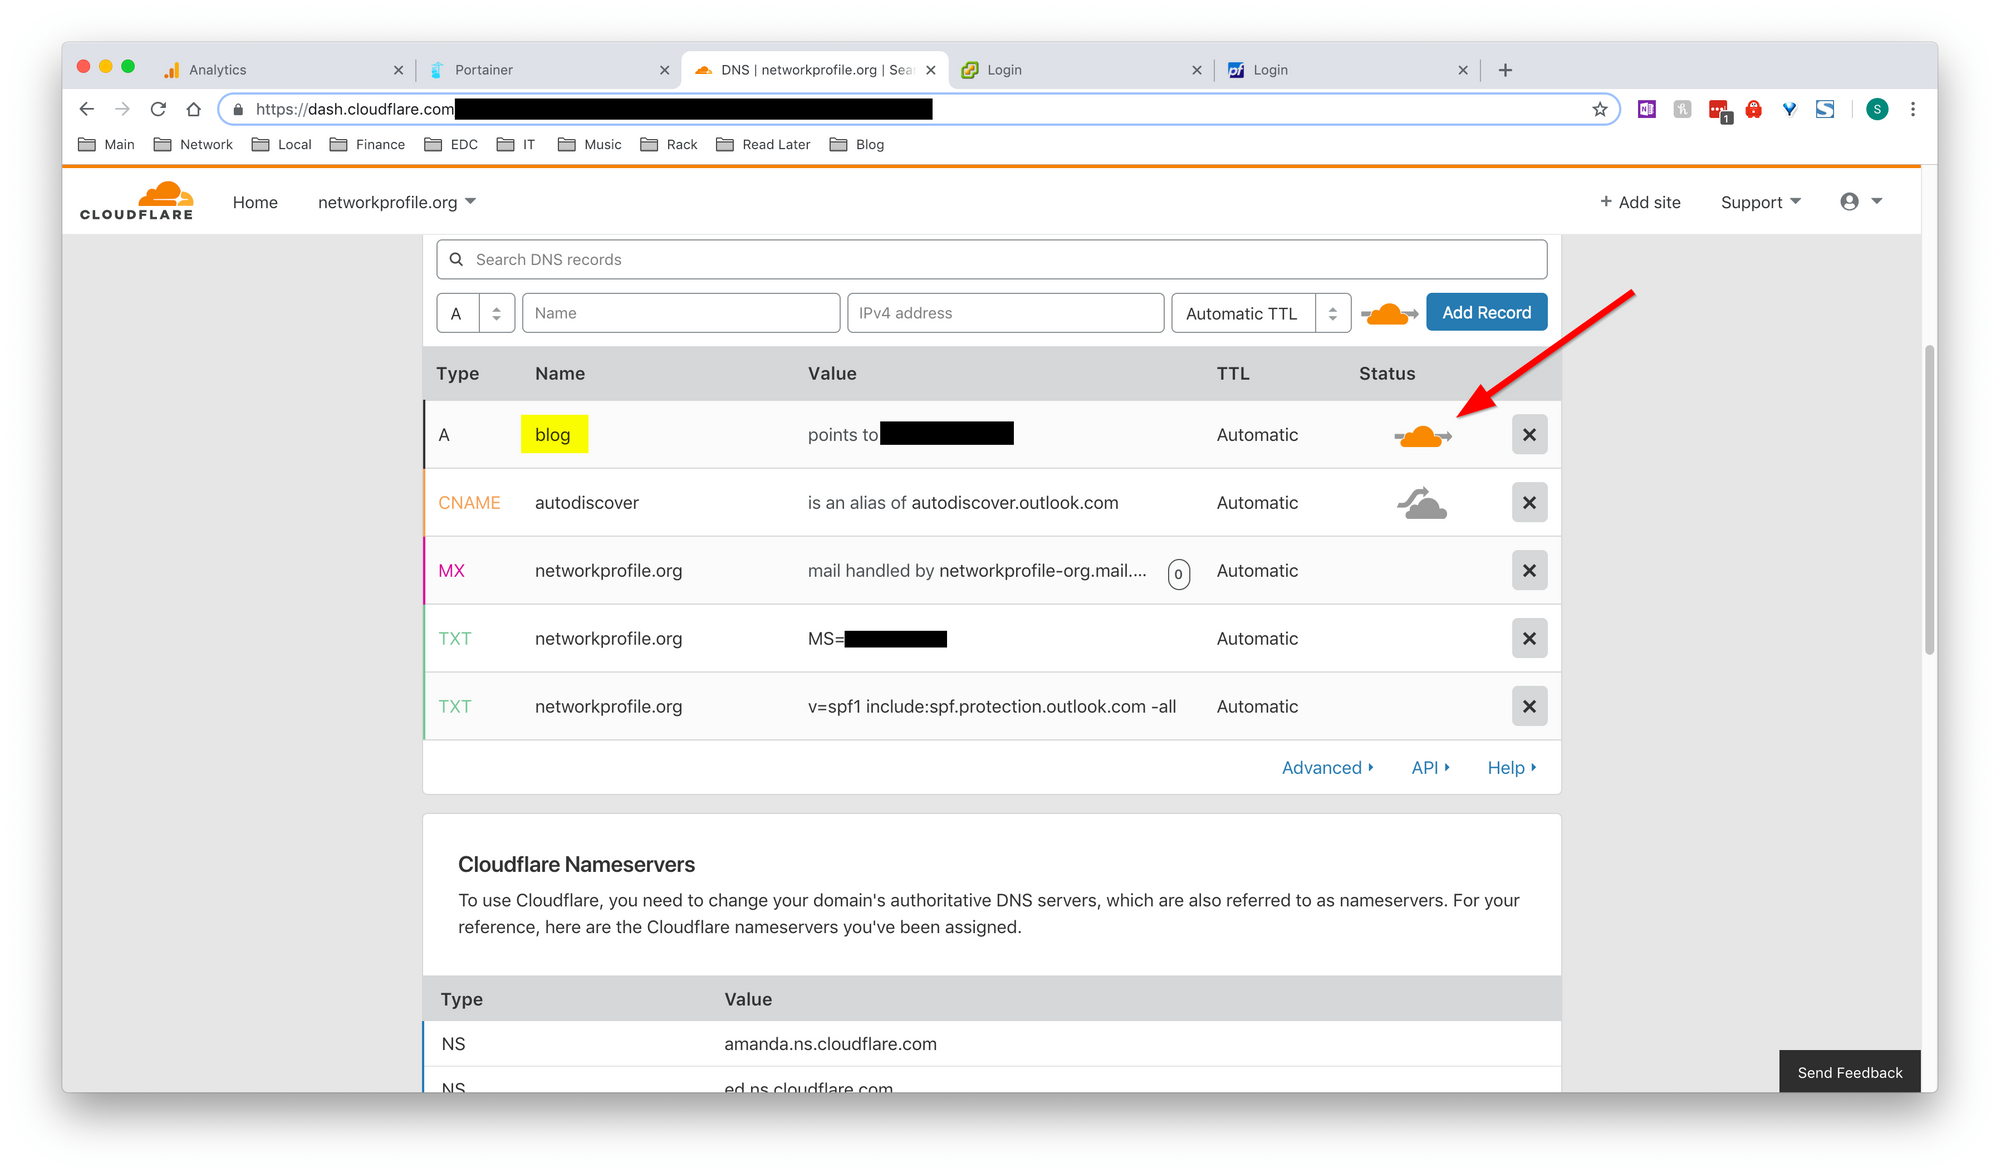
Now if you lookup this DNS address, it resolves to a CloudFlare address, and also gets a free SSL cert from them.
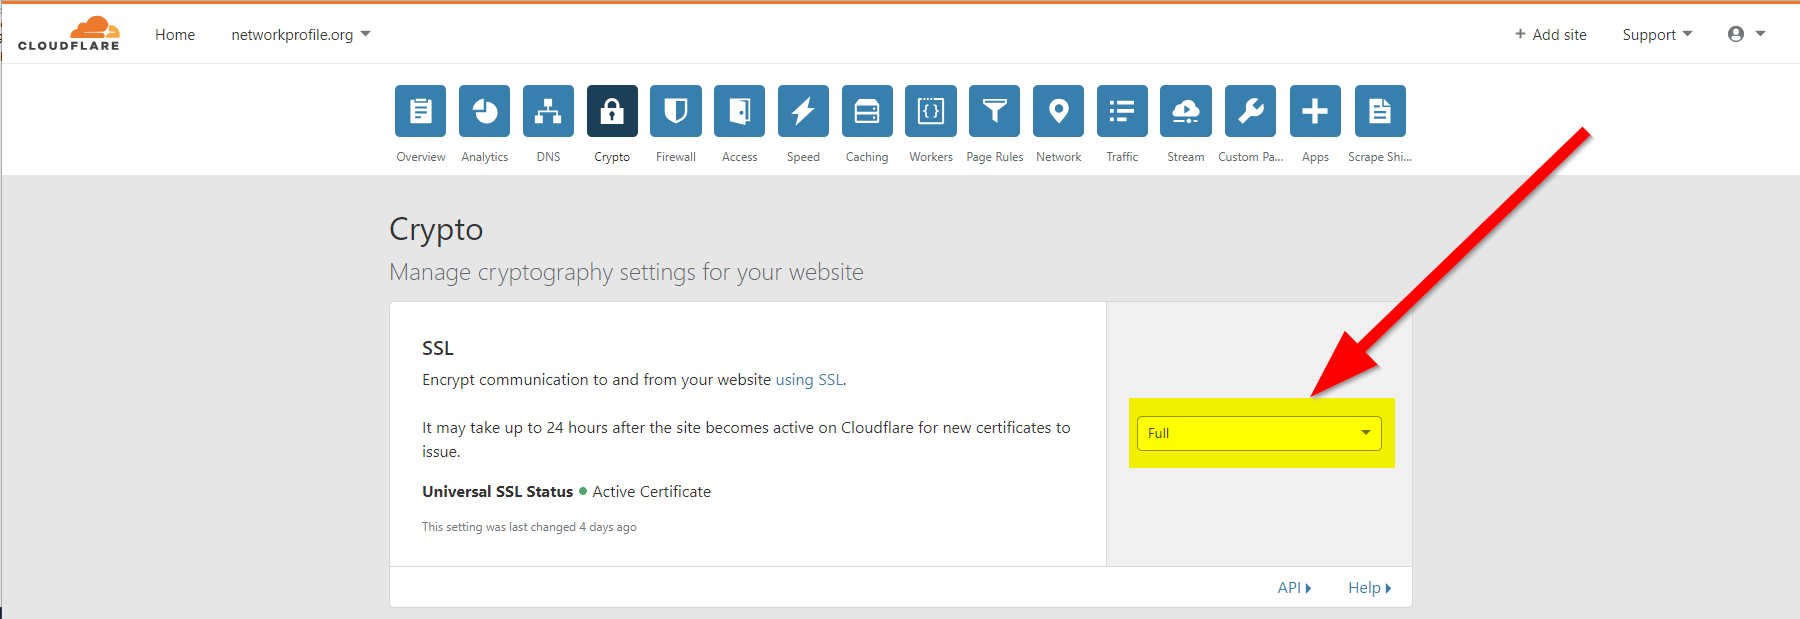
I did have to change the Crypto option from Flexible to Full, or it wouldn't work. So watch out for that
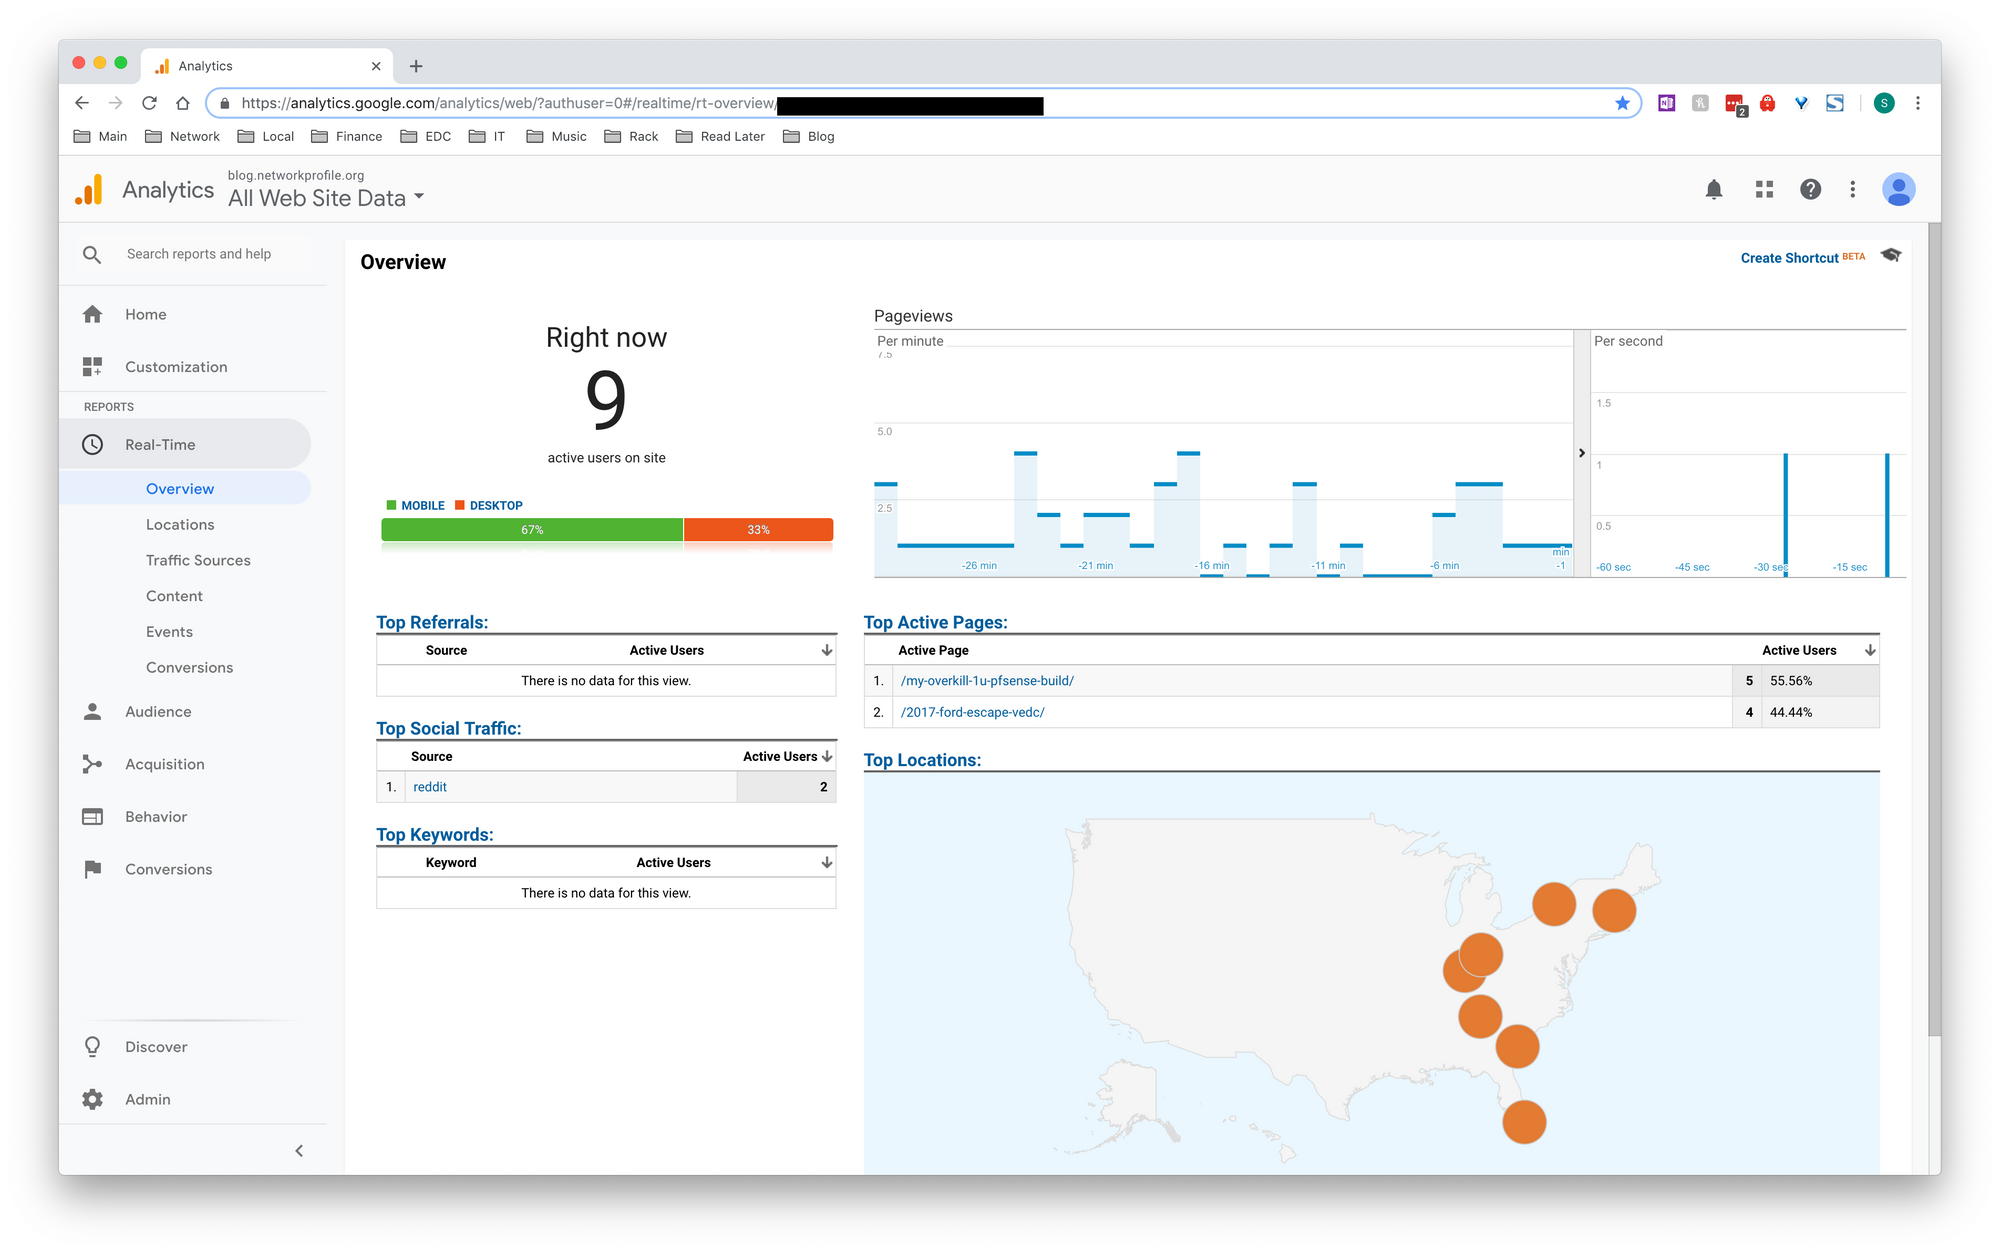
The website should be live now, but I also wanted to get some Analytics to see of anyone actually visited the blog. Google Analytics will do this perfectly
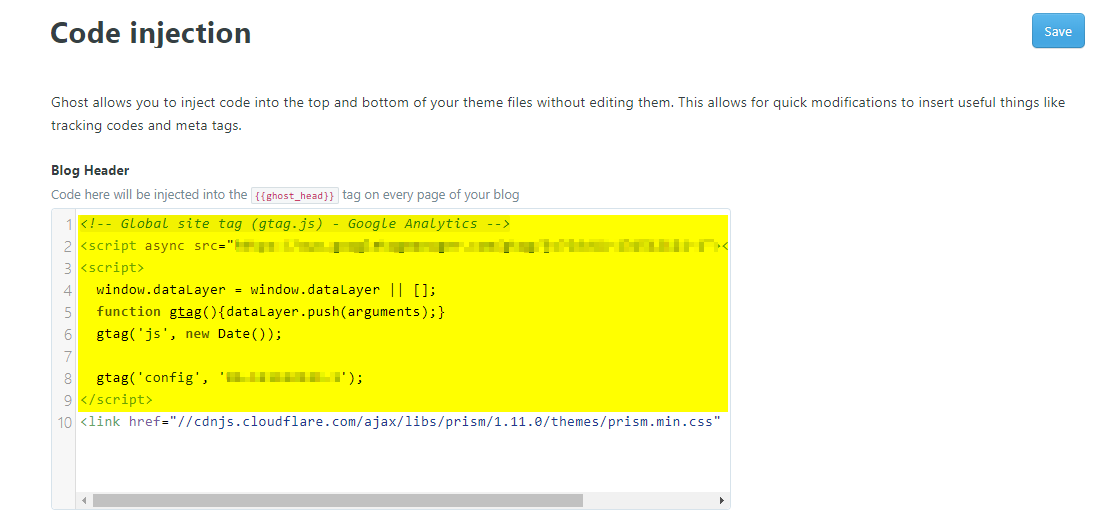
Its very easy to setup, I just had to add some code to the header via the Code Injection tab. Full instructions are here: https://docs.ghost.org/integrations/google-analytics/
Next, I wanted to add comments to the blog. I hesitantly decided on Disqus. It seemed the best option right now, but I do want a less "social" solution in the future.
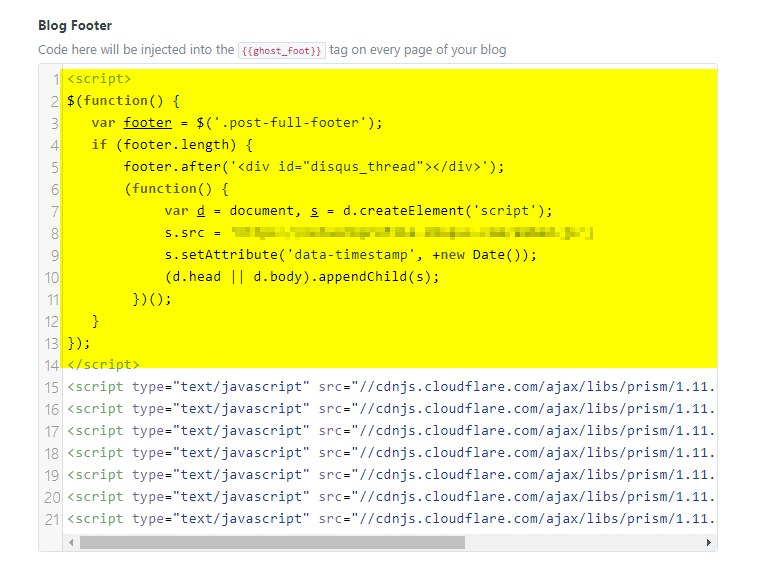
Again all I needed to do was add some code in the Code Injection page. Finding accurate instructions were hard, but Ill tell you how. Just add the following to the footer (Entering your ID in the placeholder)
<script>
$(function() {
   var footer = $('.post-full-footer');
   if (footer.length) {
       footer.after('<div id="disqus_thread"></div>');
       (function() {
			var d = document, s = d.createElement('script');
			s.src = 'https://!!!YOUR_ID_HERE!!!.disqus.com/embed.js';
			s.setAttribute('data-timestamp', +new Date());
			(d.head || d.body).appendChild(s);
		})();
   }
});
</script>
Here you can see it completed on mine
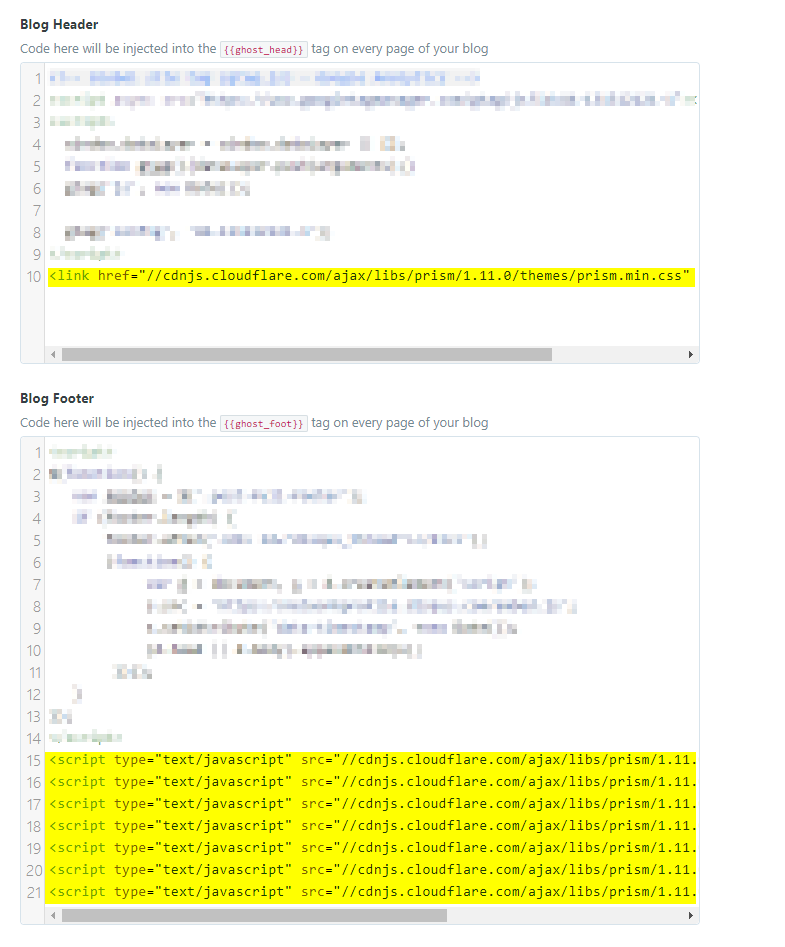
Now the last thing I needed was the ability to enter code like above (And below..). I use Prism.js which is very easy. Just add the following to the header:
<link href="//cdnjs.cloudflare.com/ajax/libs/prism/1.11.0/themes/prism.min.css" rel="stylesheet" />
And then the following to the footer
<script type="text/javascript" src="//cdnjs.cloudflare.com/ajax/libs/prism/1.11.0/prism.min.js"></script>
<script type="text/javascript" src="//cdnjs.cloudflare.com/ajax/libs/prism/1.11.0/components/prism-php.min.js"></script>
<script type="text/javascript" src="//cdnjs.cloudflare.com/ajax/libs/prism/1.11.0/components/prism-css.min.js"></script>
<script type="text/javascript" src="//cdnjs.cloudflare.com/ajax/libs/prism/1.11.0/components/prism-markup.min.js"></script>
<script type="text/javascript" src="//cdnjs.cloudflare.com/ajax/libs/prism/1.11.0/components/prism-javascript.min.js"></script>
<script type="text/javascript" src="//cdnjs.cloudflare.com/ajax/libs/prism/1.11.0/components/prism-yaml.min.js"></script>
<script type="text/javascript" src="//cdnjs.cloudflare.com/ajax/libs/prism/1.11.0/components/prism-bash.min.js"></script>
Here you can see it completed
Save the settings and restart the container, and you are done!