Moving my Blog from Home to Linode

A while ago I posted an update showing I host my blog from Home (You can read about it below)

This has changed, I moved the hosting to Linode. The reason for this was because I needed a VPS for other uses, and I figured I may as well host the blog there. Every now and then I will mess with my home network and take the blog down, and during the freeze the website was down for a good 2 days when I had no power.
Because I cache with CloudFlare, the bandwidth is very low, and the CPU load is minimal since CloudFlare is taking the hit on that. I've also switched from the reverse proxy traefik to NGINX Proxy Manager.
Here is some details on how I moved things and what's changed.
I got a 2GB VPS from Linode, which is $10 a month. I wanted to got with OVH, but they wanted me to send them an actual picture of myself holding my ID. Yeah, NO. HOLY FUCKING SHIT NO.

I signed up for Linode, and they did not require me to do that (Because is CRAZY.)
Sadly I am too much of a new customer to post a referral link here. As time goes on, I might edit this post and add one here. In the meantime, use the one from Level1Techs to support them.
https://www.linode.com/?r=2b03e76badfdb543601435ad6606bc01770e9932

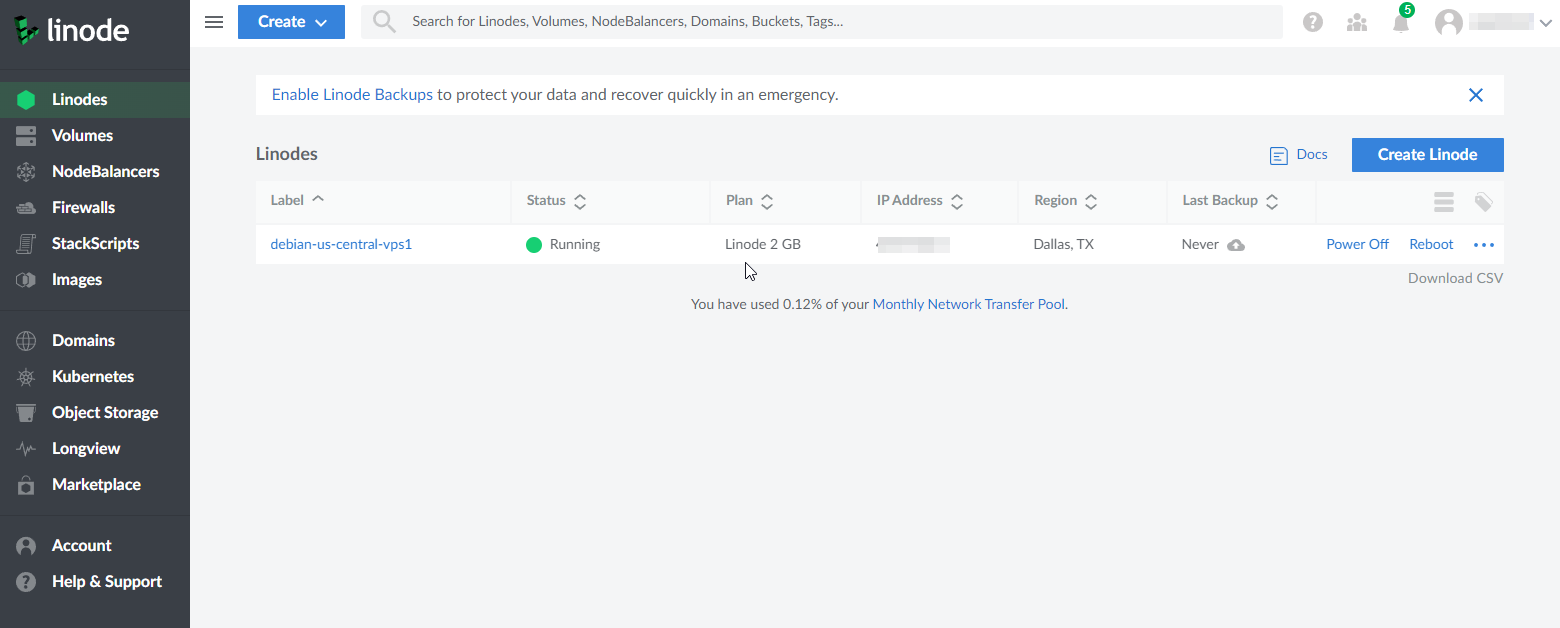
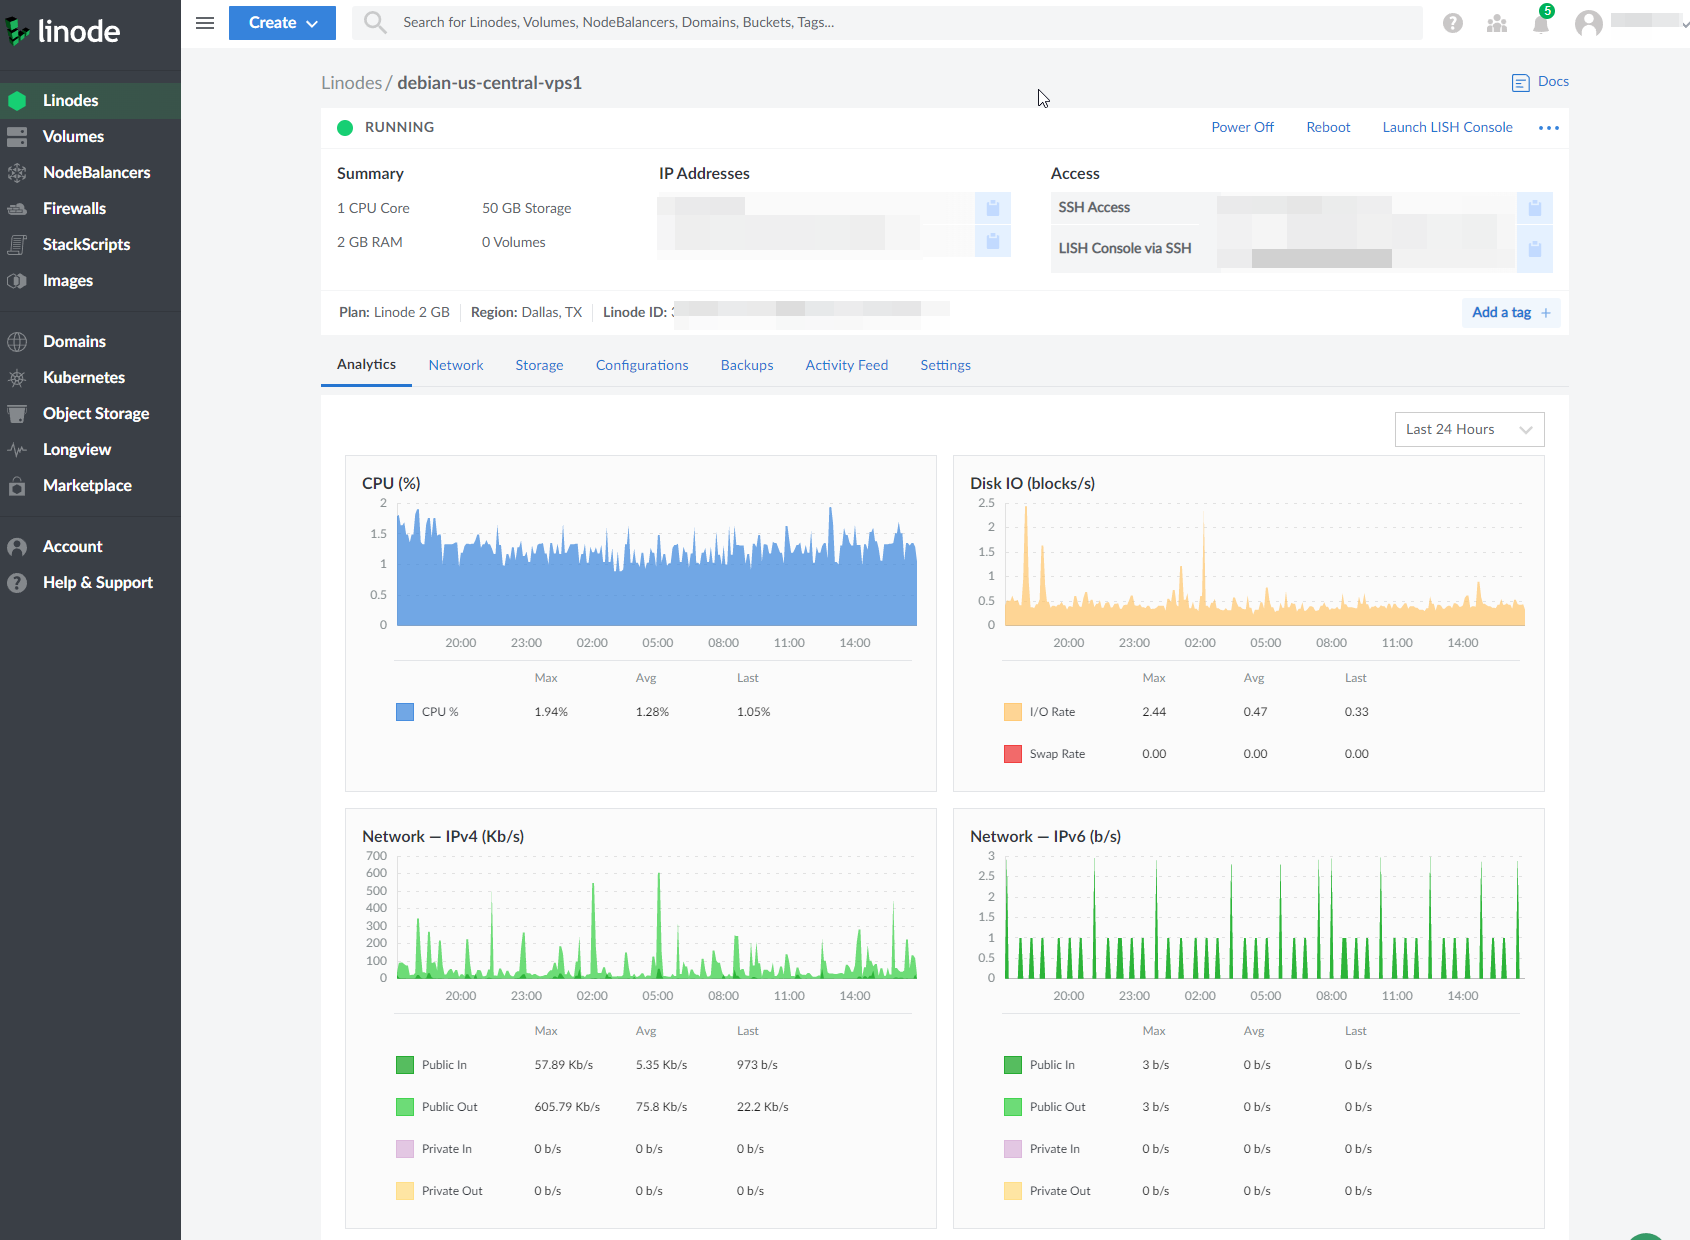
The UI for Linode is excellent. So far everything has exceeded my expectations.
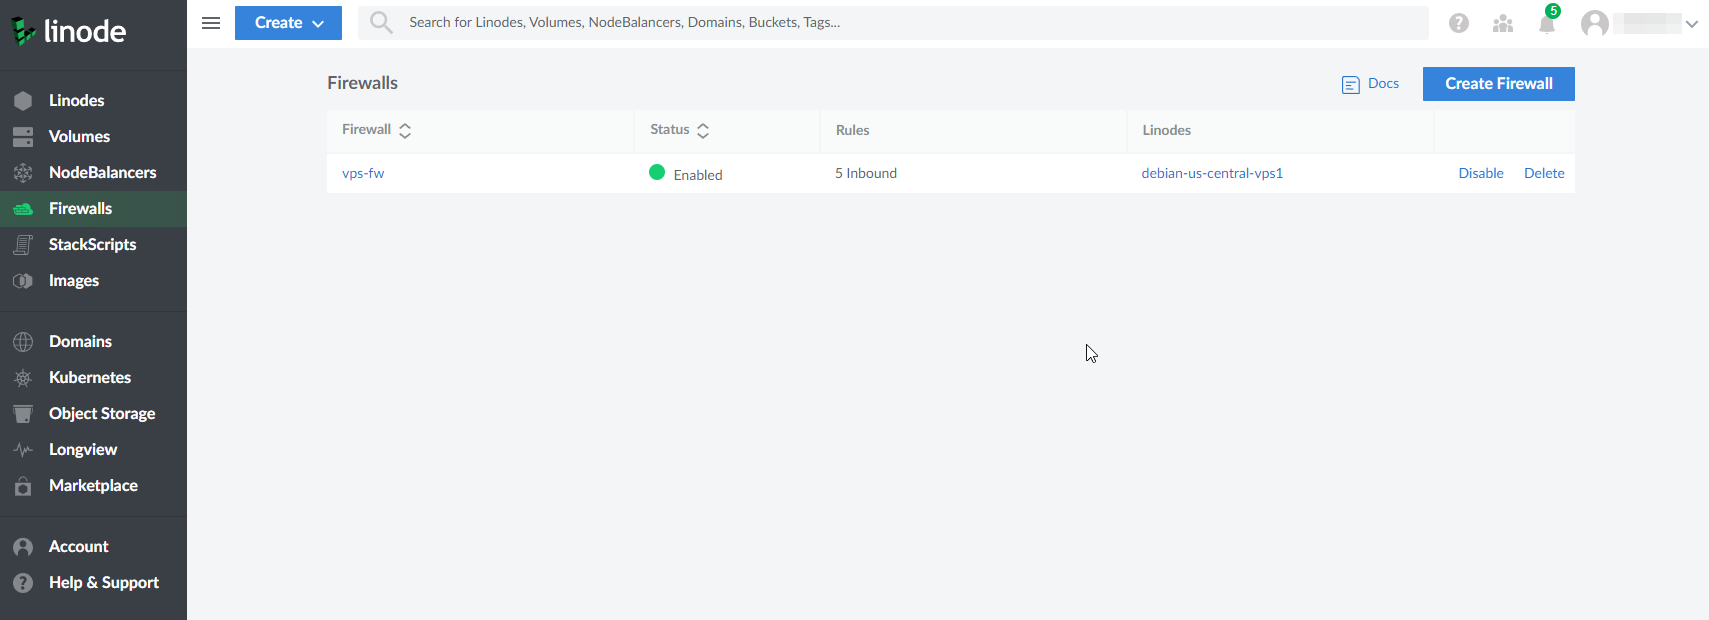
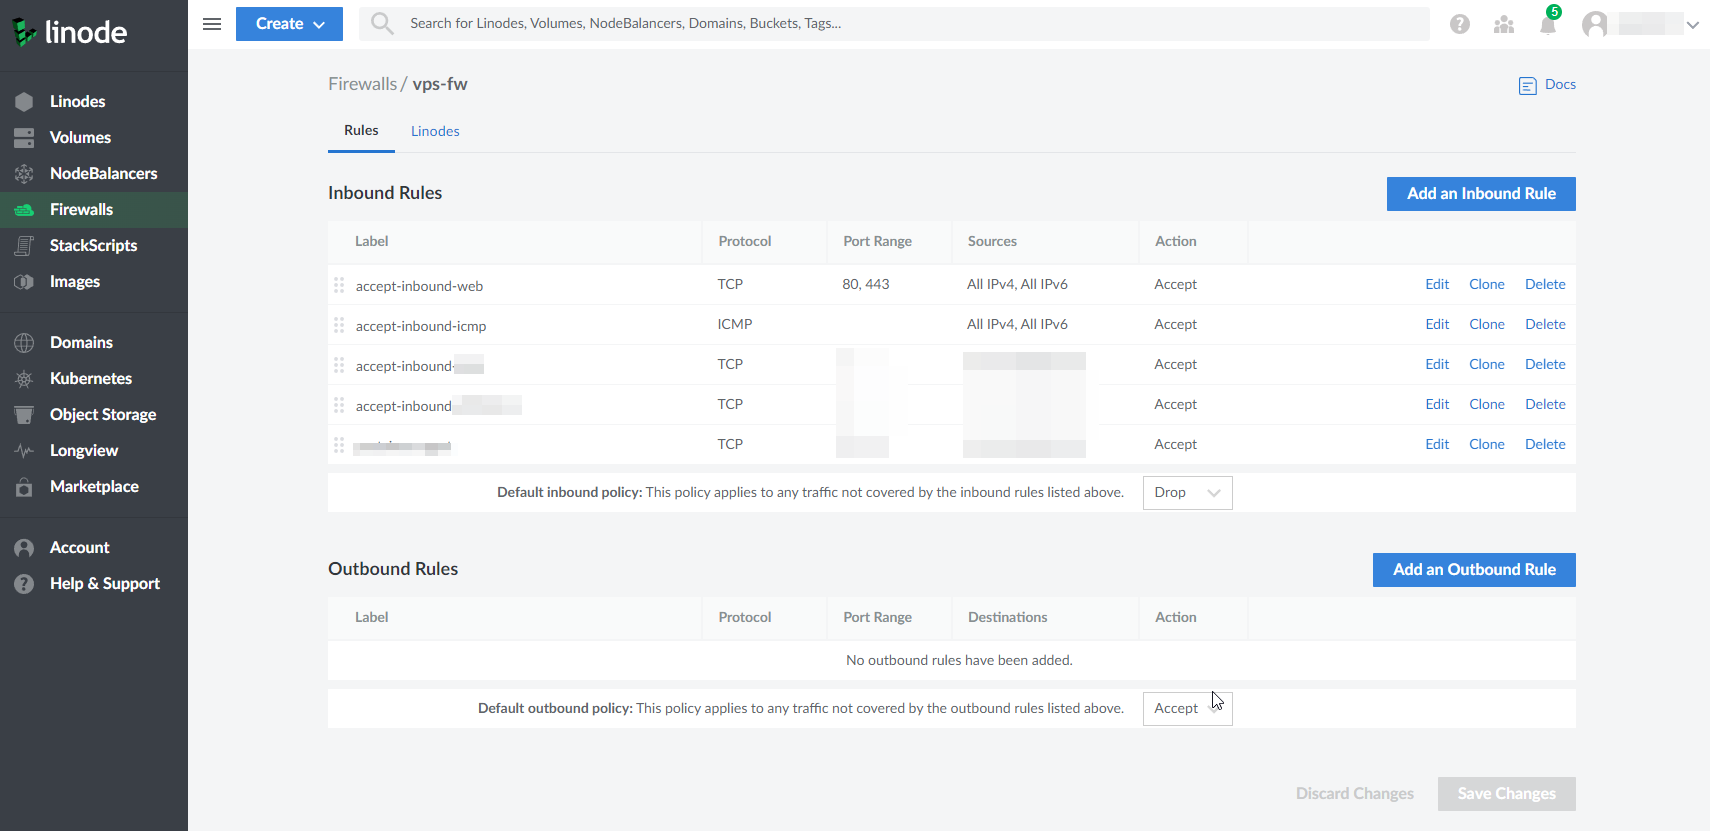
You can add a firewall to your VPS for free, and very easily manage rules
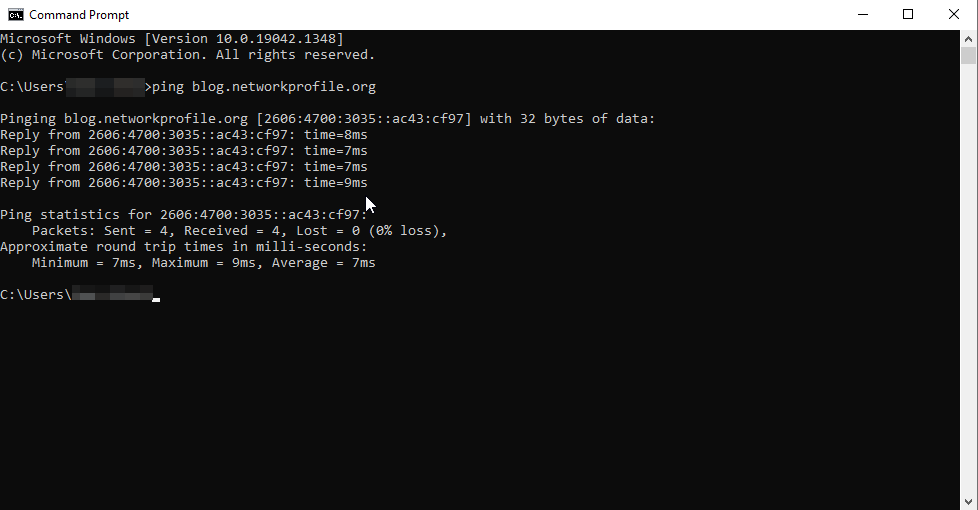
Since they have a Dallas Datacenter and I live in Houston, I get FANTASTIC latency to the VPS. Between 5 and 10ms.
I added the VPS to my Portainer config so I can easily manage Docker containers with a nice UI
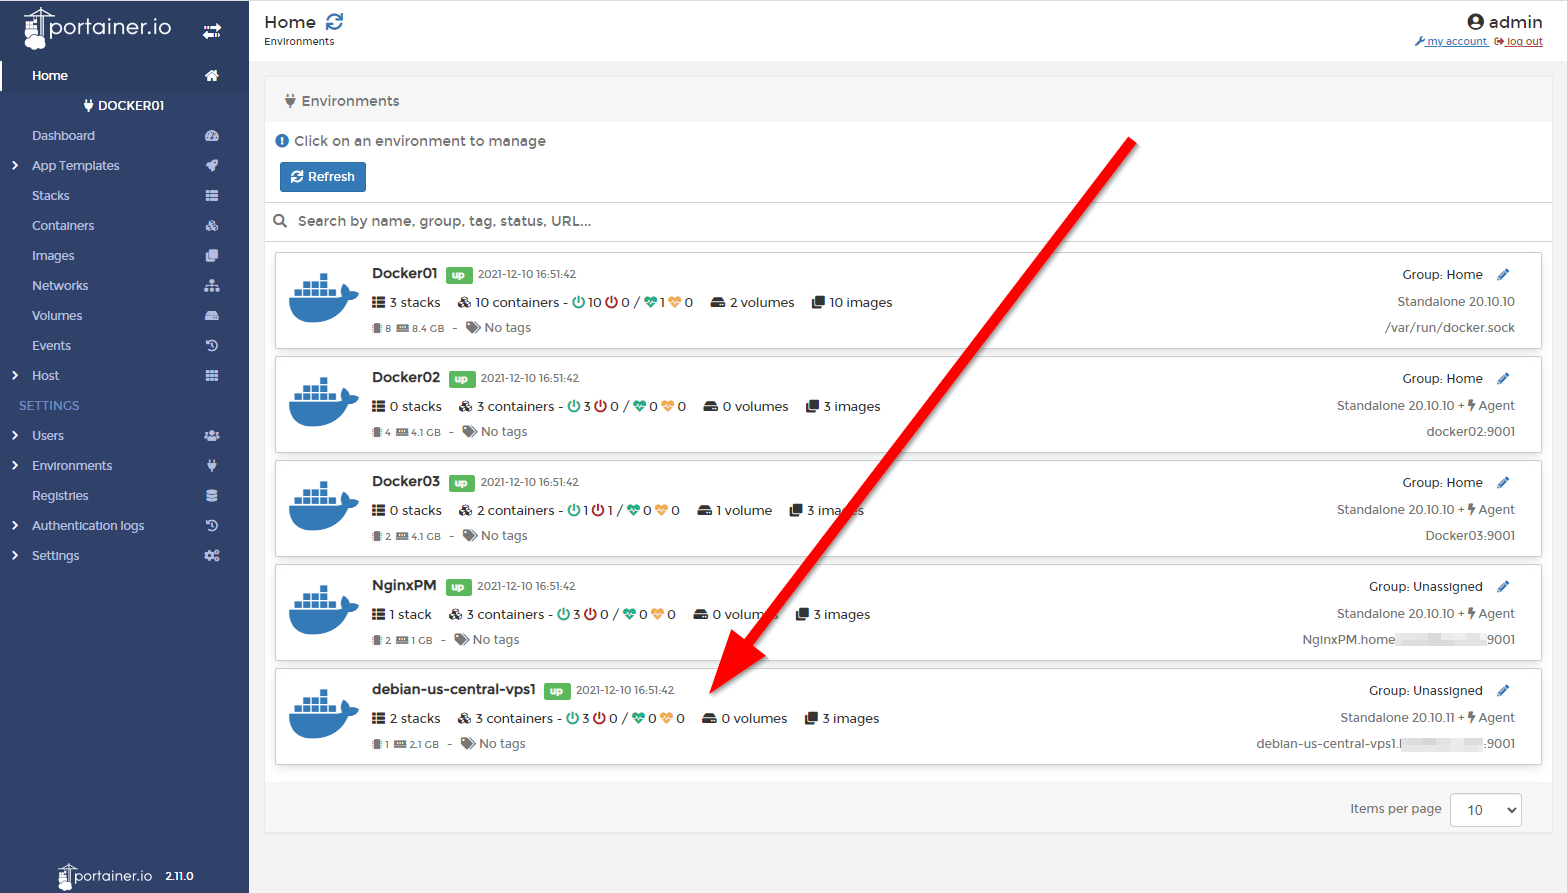
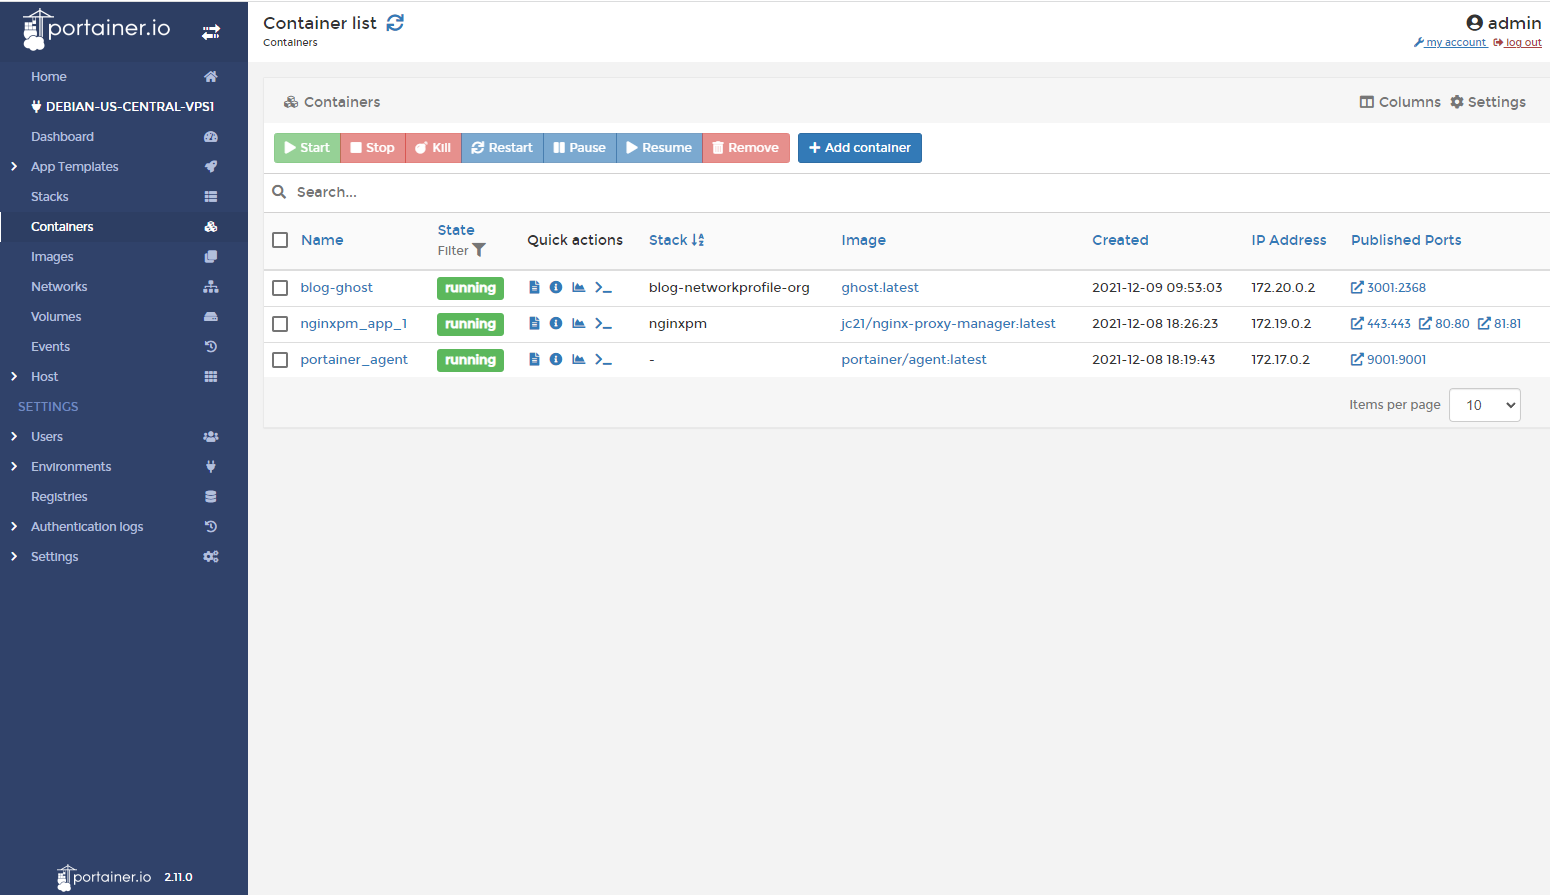
As you can see, I am running the Portainer agent, Ghost (Blog Software) and NGINX Proxy Manager
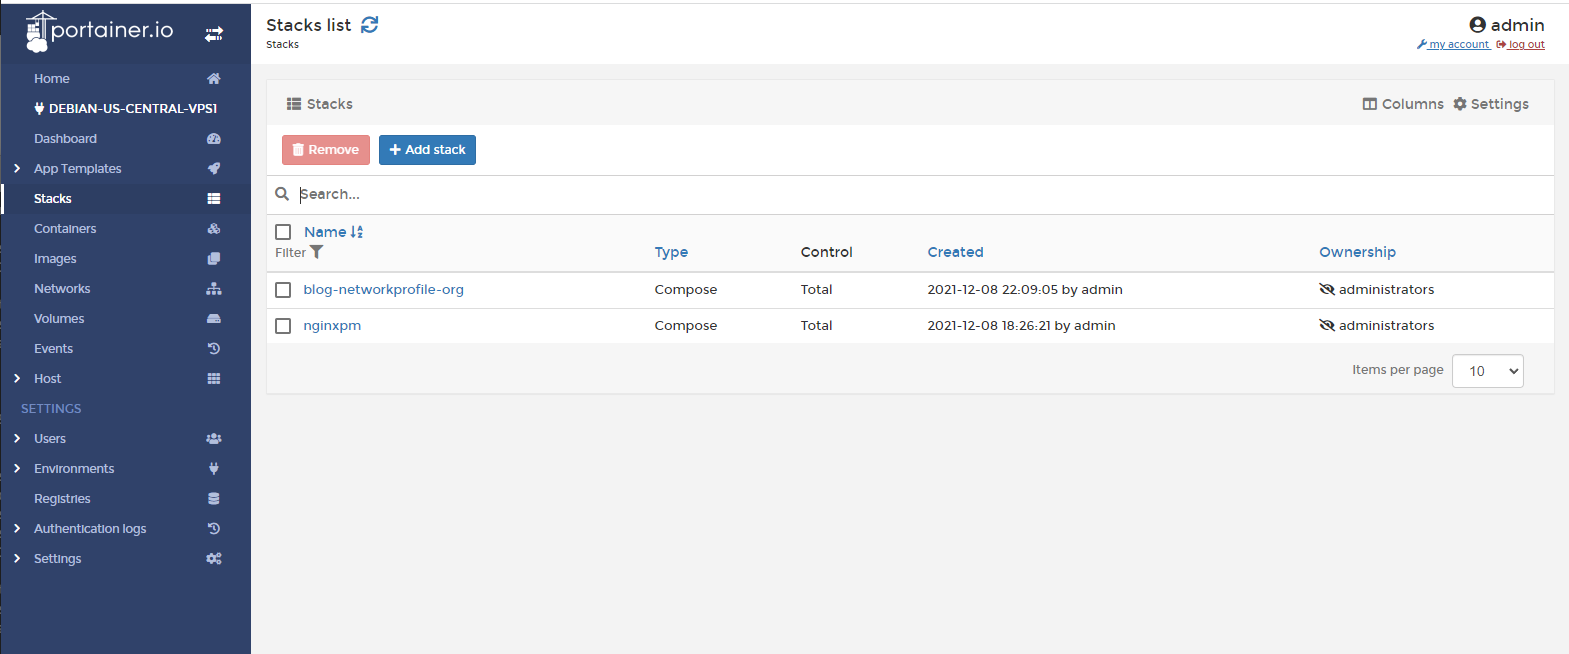
The blog before was configured using Docker Run, and then I modified the container as I went on. Which meant it was pretty hard to get the same config back. Thankfully there is a tool called Docker Autocompose which lets you export the Docker config into a Docker Compose config
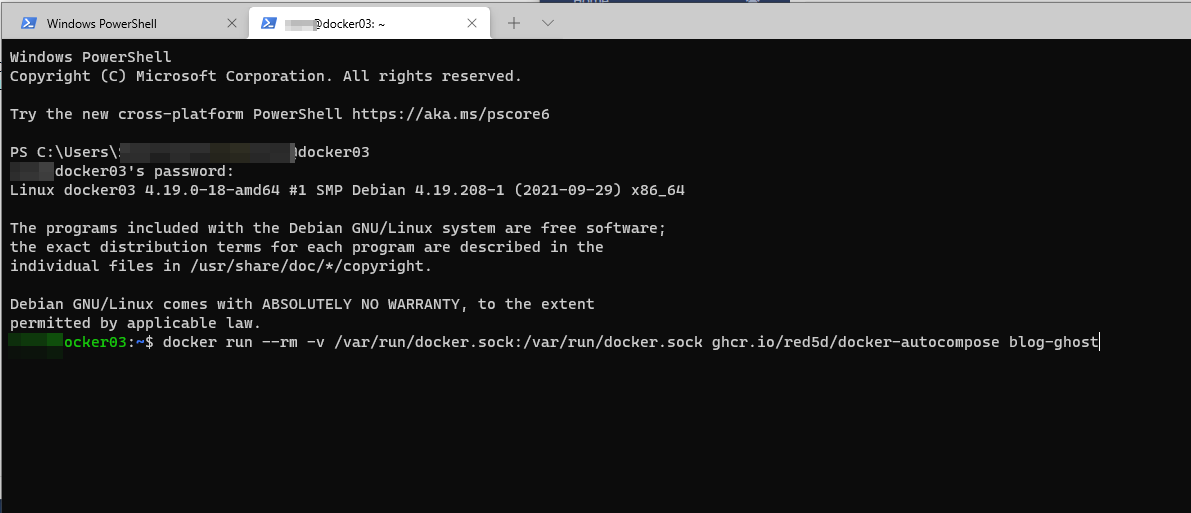
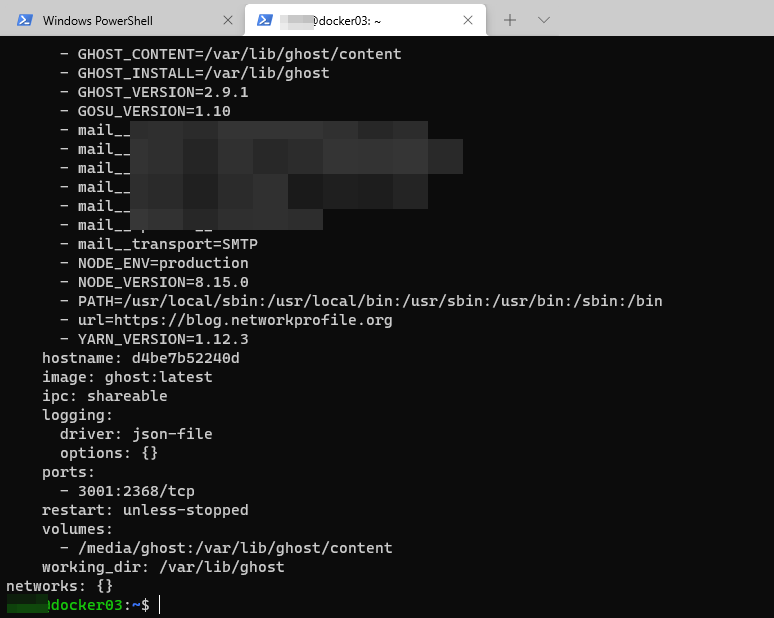
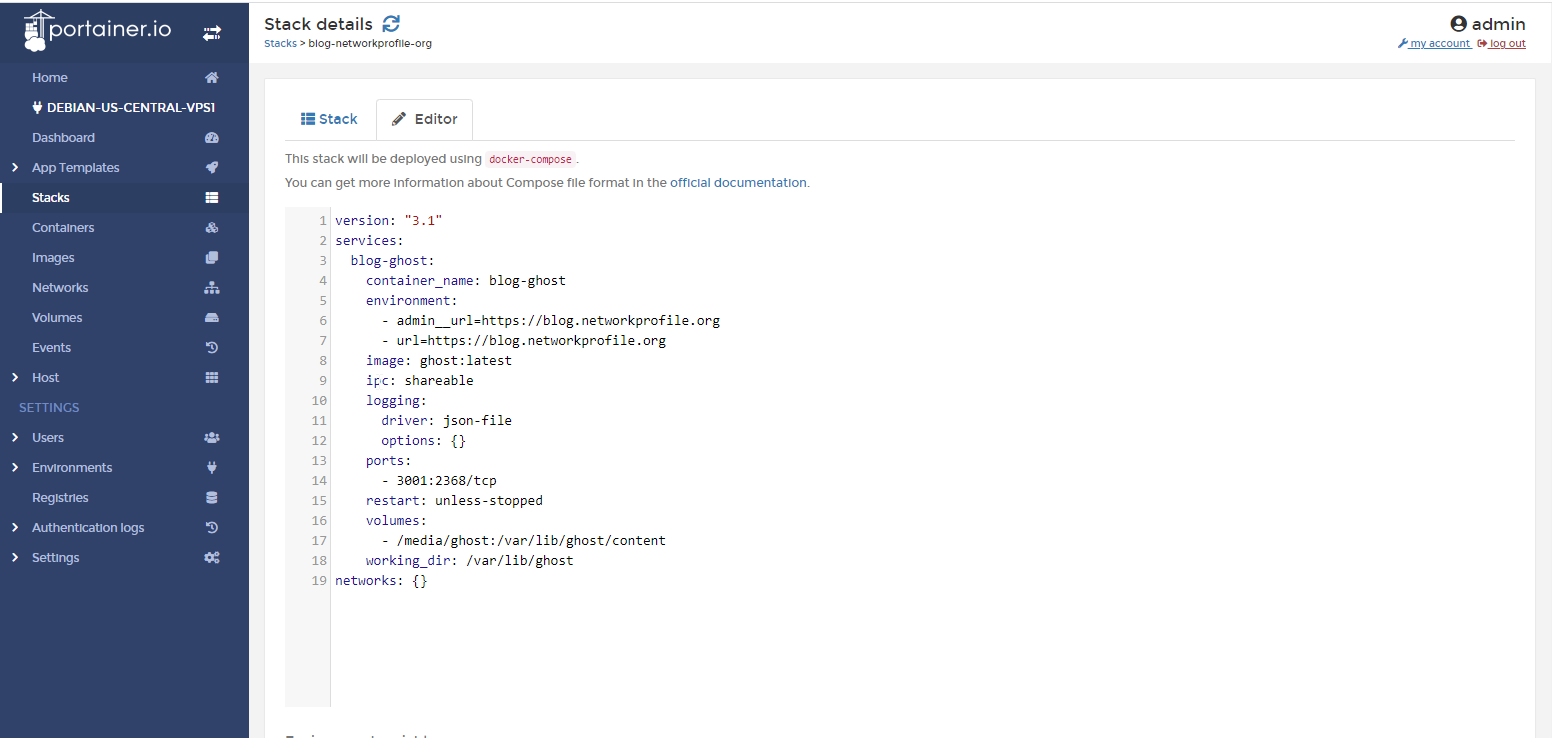
Then I edited what I didn't want from it, and threw it into Portainer. Worked great!
I also just copied the website data using SFTP, easy.
From there, I just created a nice and easy reverse proxy config into NGINX Proxy Manager
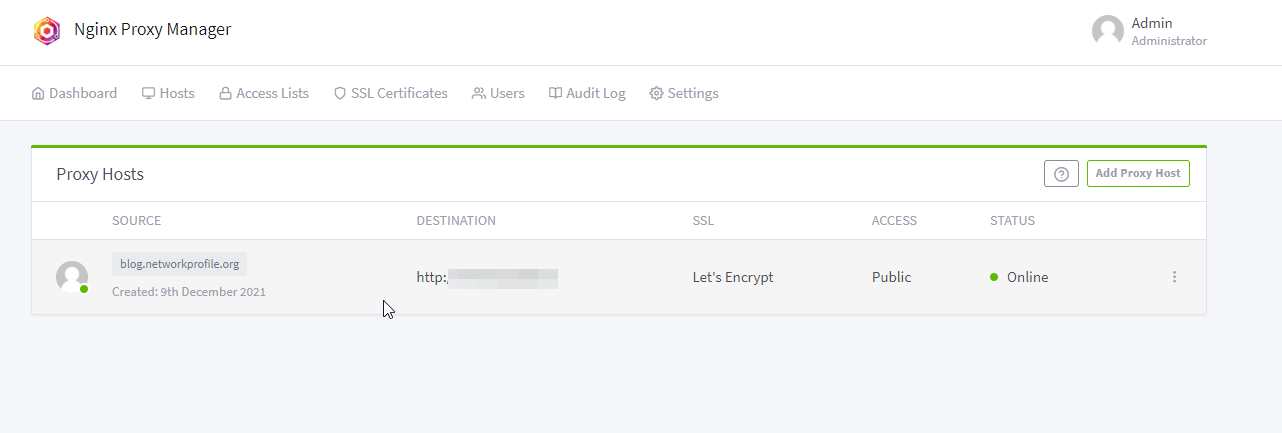
Before I used traefik which worked well, but it was pretty tough to learn since I almost never use it. And you had to do everything in a config file, which is just not what I wanted. NGINX Proxy Manager has a great, easy to use UI.
From there, I am using CloudFlare for DNS and caching
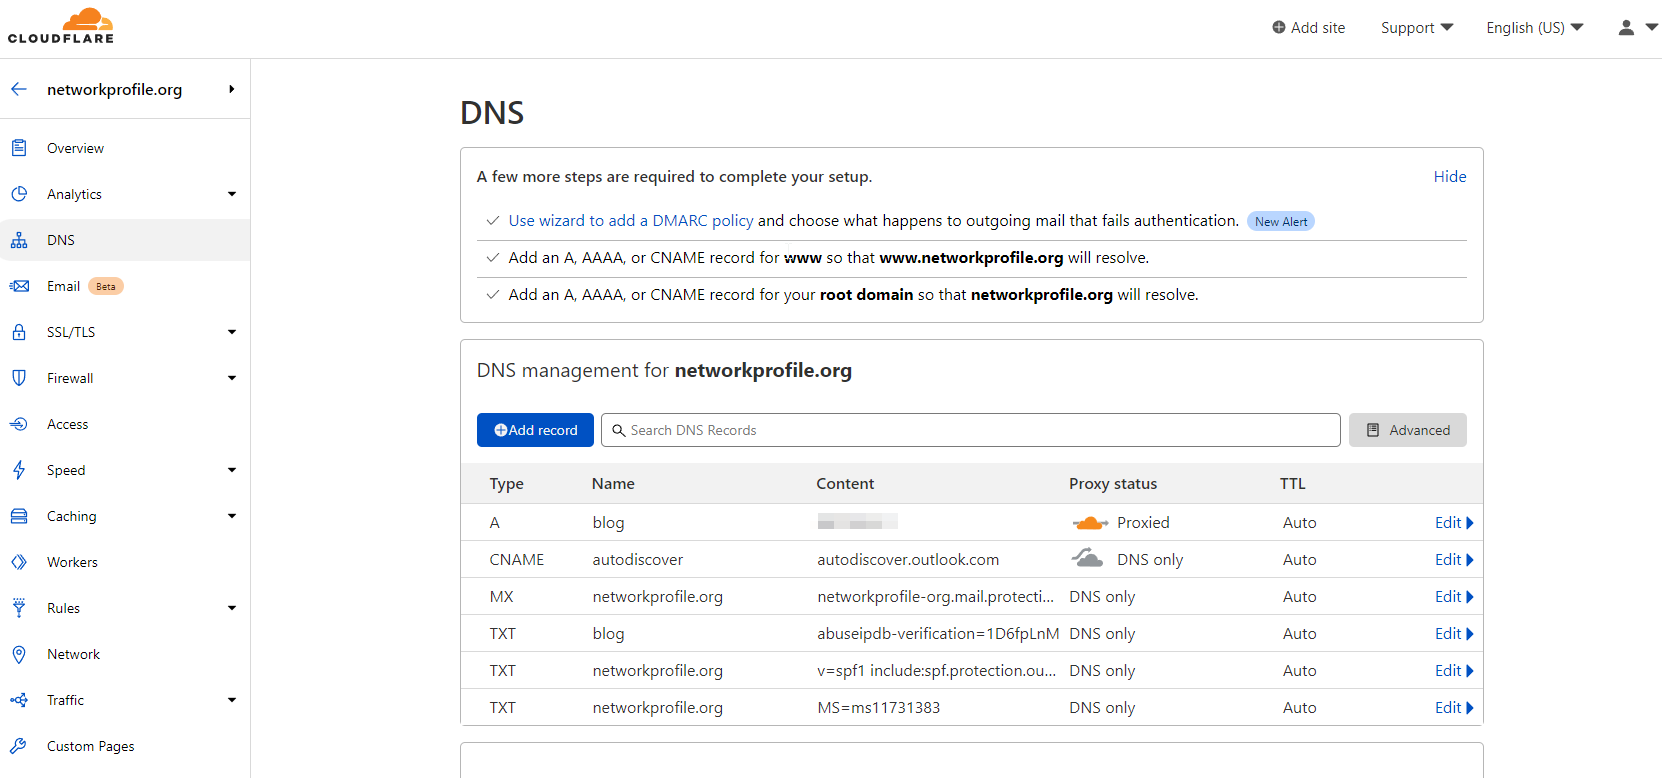
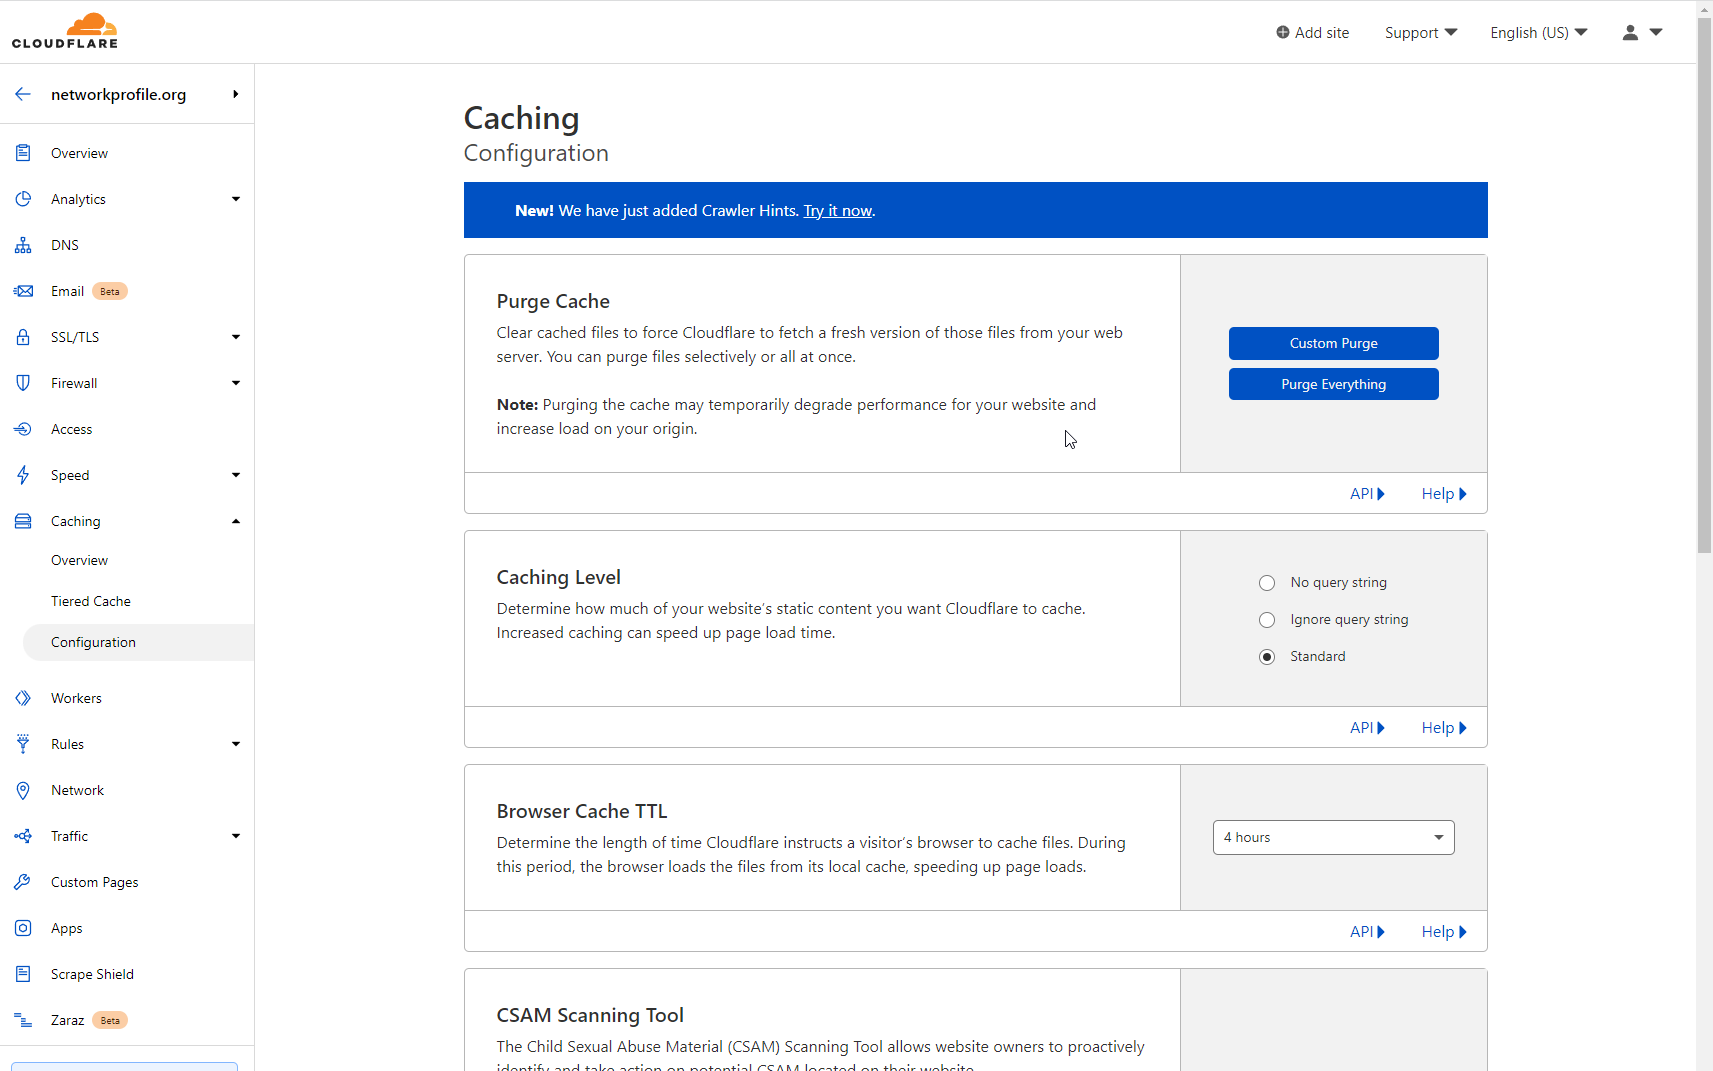
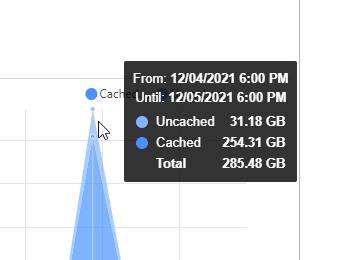
The caching works very well. Here you can see what kind of decrease I get when I post a brand new article thats popular
And, it lets people access my site via ipv6, with zero configuration on my end!
That is pretty much it. Everything works great. If you have any questions, hop in the Discord or E-Mail me

