New Blue Iris NVR server build

After purchasing a house, I needed to do what anyone interested in technology would do, and install a ton of cameras.
I was already running Blue Iris, and even after taking a look at the alternatives again, it was clear that for now Blue Iris is still the best choice. It has its issues, but it beats any solution I have used hands down.
Now that I will have 10+ cameras, I wanted the server to have its own storage so that I didn't need to use the "expensive" redundant storage of my NAS, and that if I was doing maintenance on my NAS, it would still record video.
Here is what I ended up with for specs, pictures to follow:
- Intel Core i5 9400 CPU (6 Cores with up to 4.1GHz turbo)
- 2 x 4GB DDR4 DIMM's
- Gigabyte B360M-DS3H Motherboard
- HP EX920 1TB NVMe SSD
- 3 x 4TB Drives that were left over (There is a 1TB in there too, but it will be replaced soon)
- Intel Pro/1000 Quad Port NIC
- Supermicro SYS-5017C-M Chassis
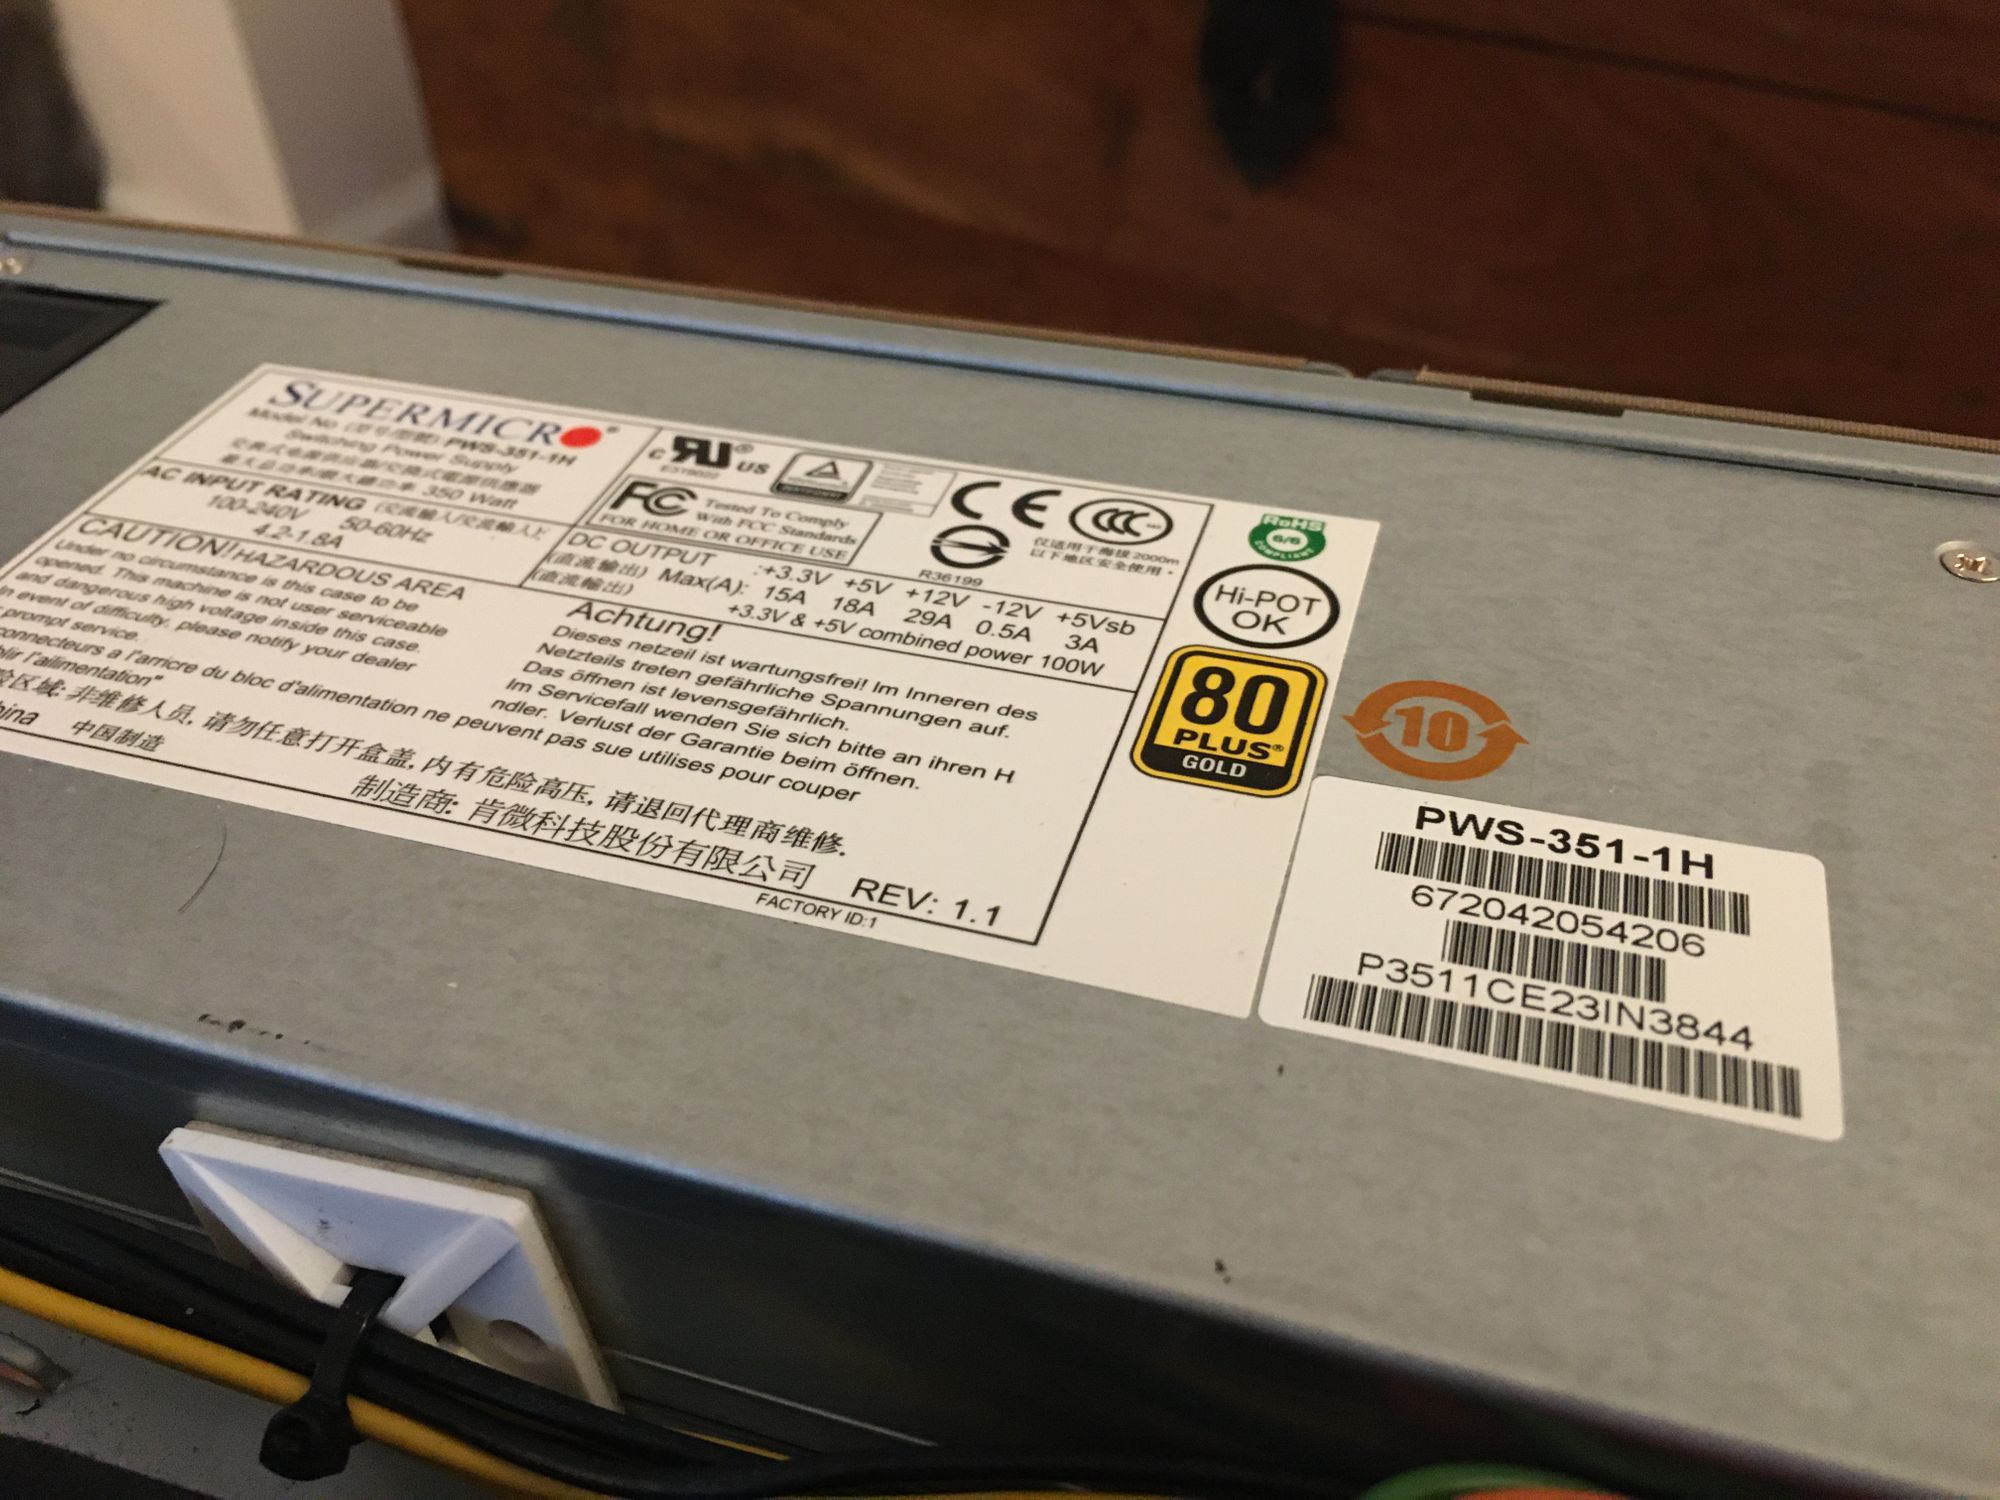
- Supermicro 350w 80+ Gold PSU
- Cheap eBay dummy monitor
I decided on the i5 9400 instead of an older used system because when you price it out, you don't actually save much money even buying something as old as an i7 2600, and then you are running a CPU that is almost 10 years old. This system will run for a long time, so it makes sense to get as new hardware as possible. This choice worked out well as I have plenty of room to expand and add more cameras
I chose the board simply because it was on sale at Microcenter and it did what I needed it to do. I could not use a server board as none of them will support an i5, and QuickSync support is hit or miss. Quicksync is pretty much required to get Blue Iris performing well without using a ton of CPU power (And therefore real power)
The Intel NIC is really needed as the stock Realtek NIC has poor driver support in Windows Server, and I needed another port so I could separate camera traffic
The SSD I had laying around, so no real thought went into it. It had to be M.2 as I have no 2.5" bays
The dummy monitor is needed to get the Intel GPU to not downclock itself and cause problems in Blue Iris
The chassis I already had, and its worked out very well. Even though it has very high RPM 40mm fans, they are very high quality and are no louder than anything else in my rack
On to some pictures and more information
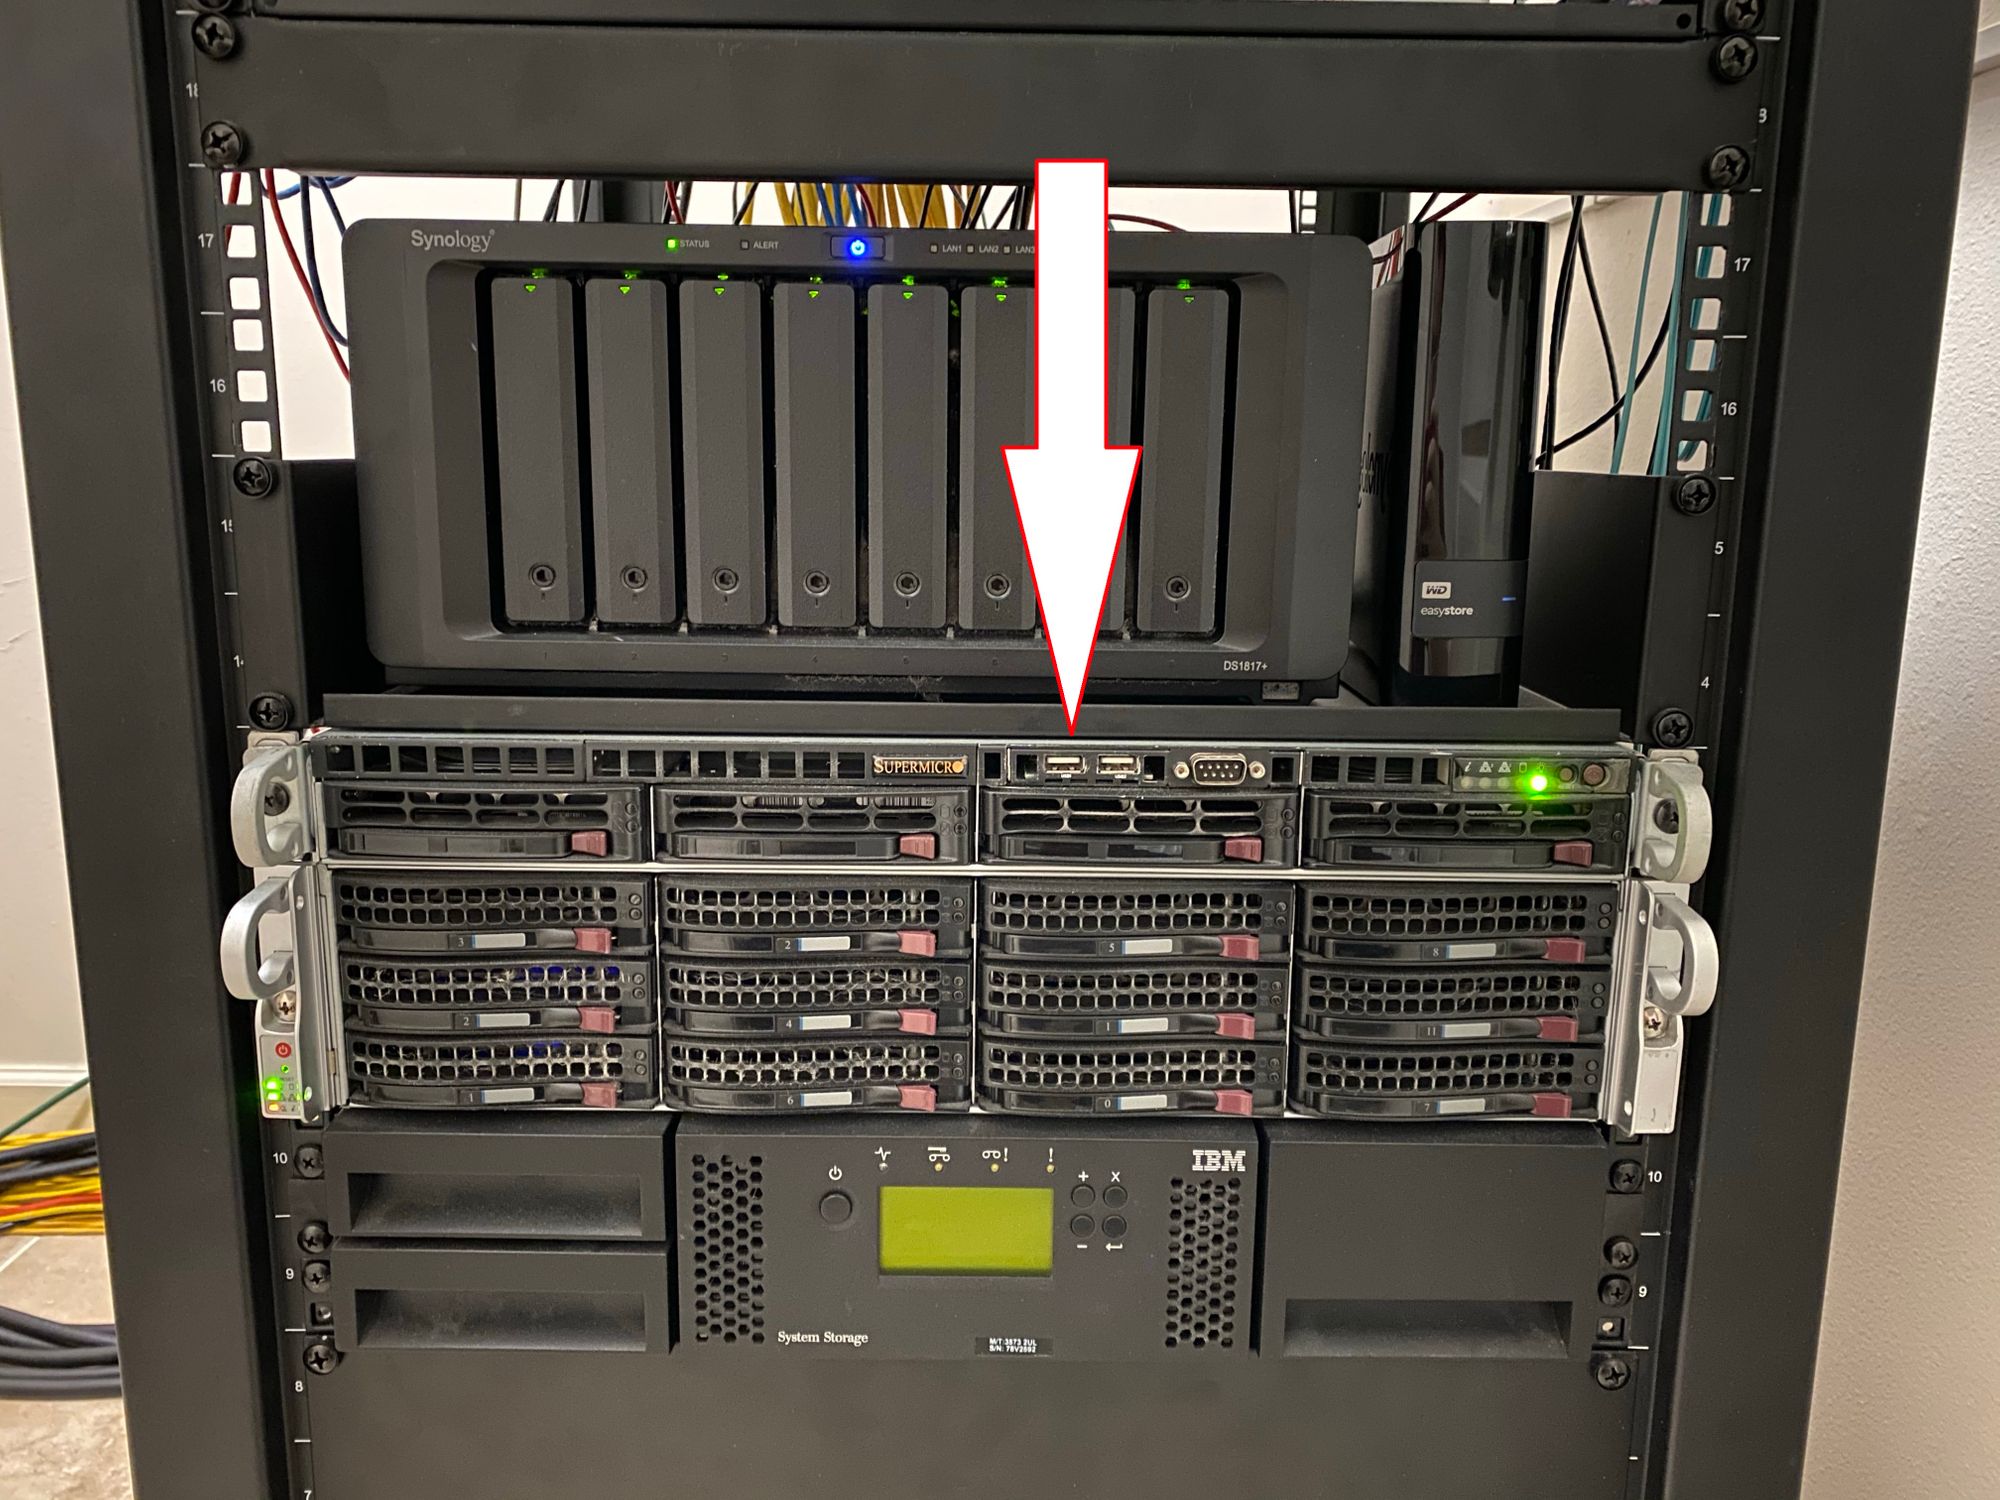
Here you can see the 1u chassis
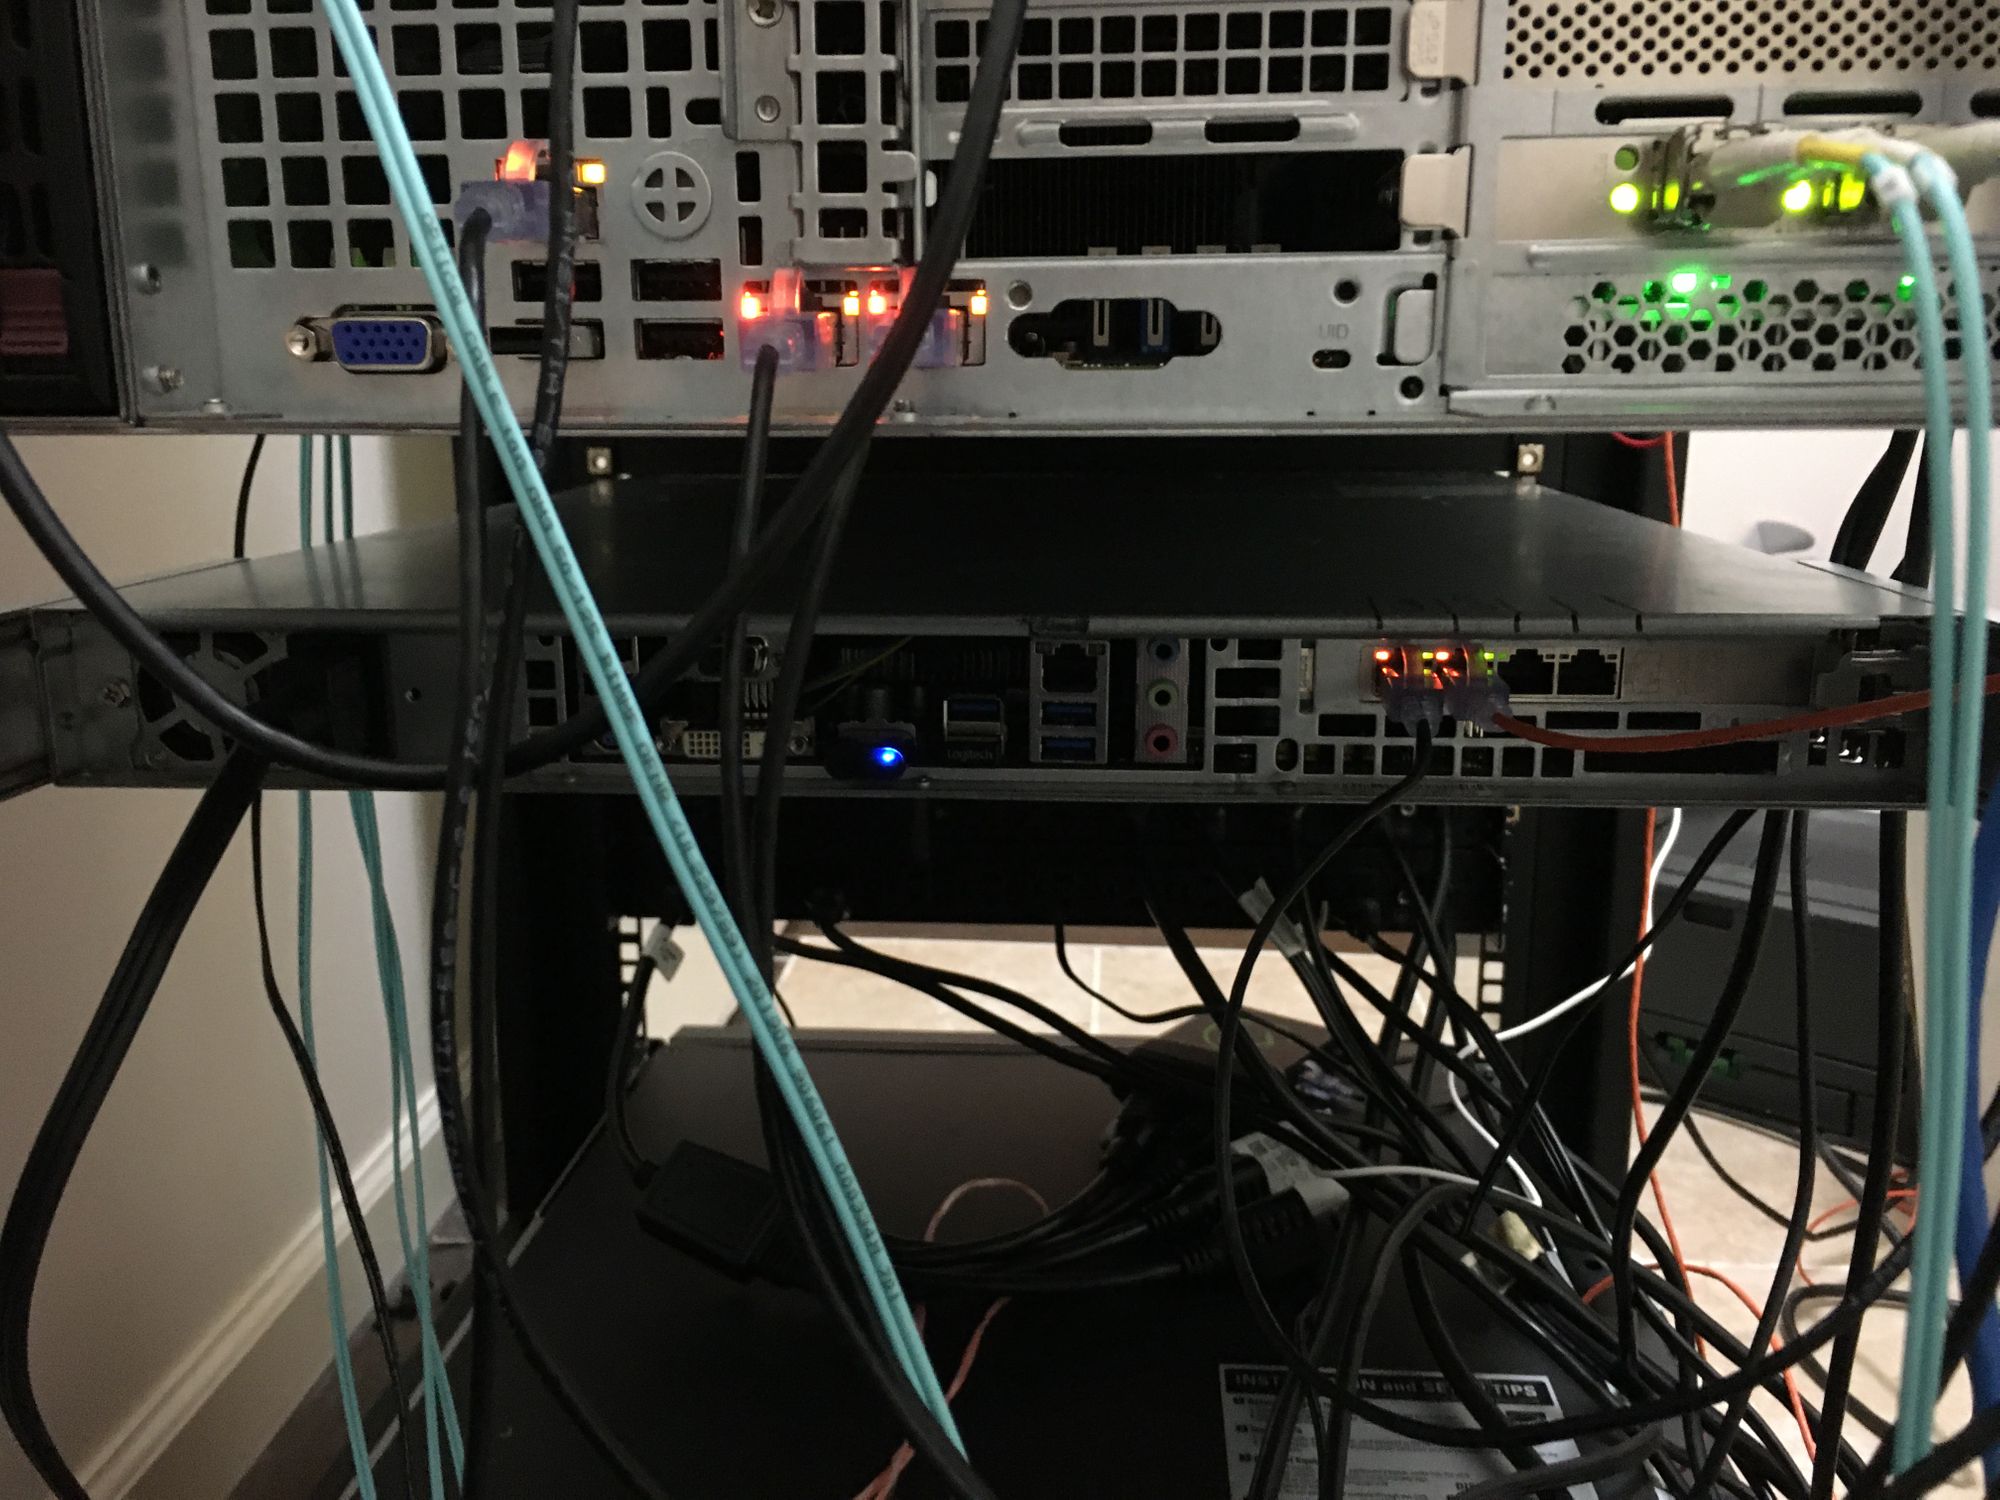
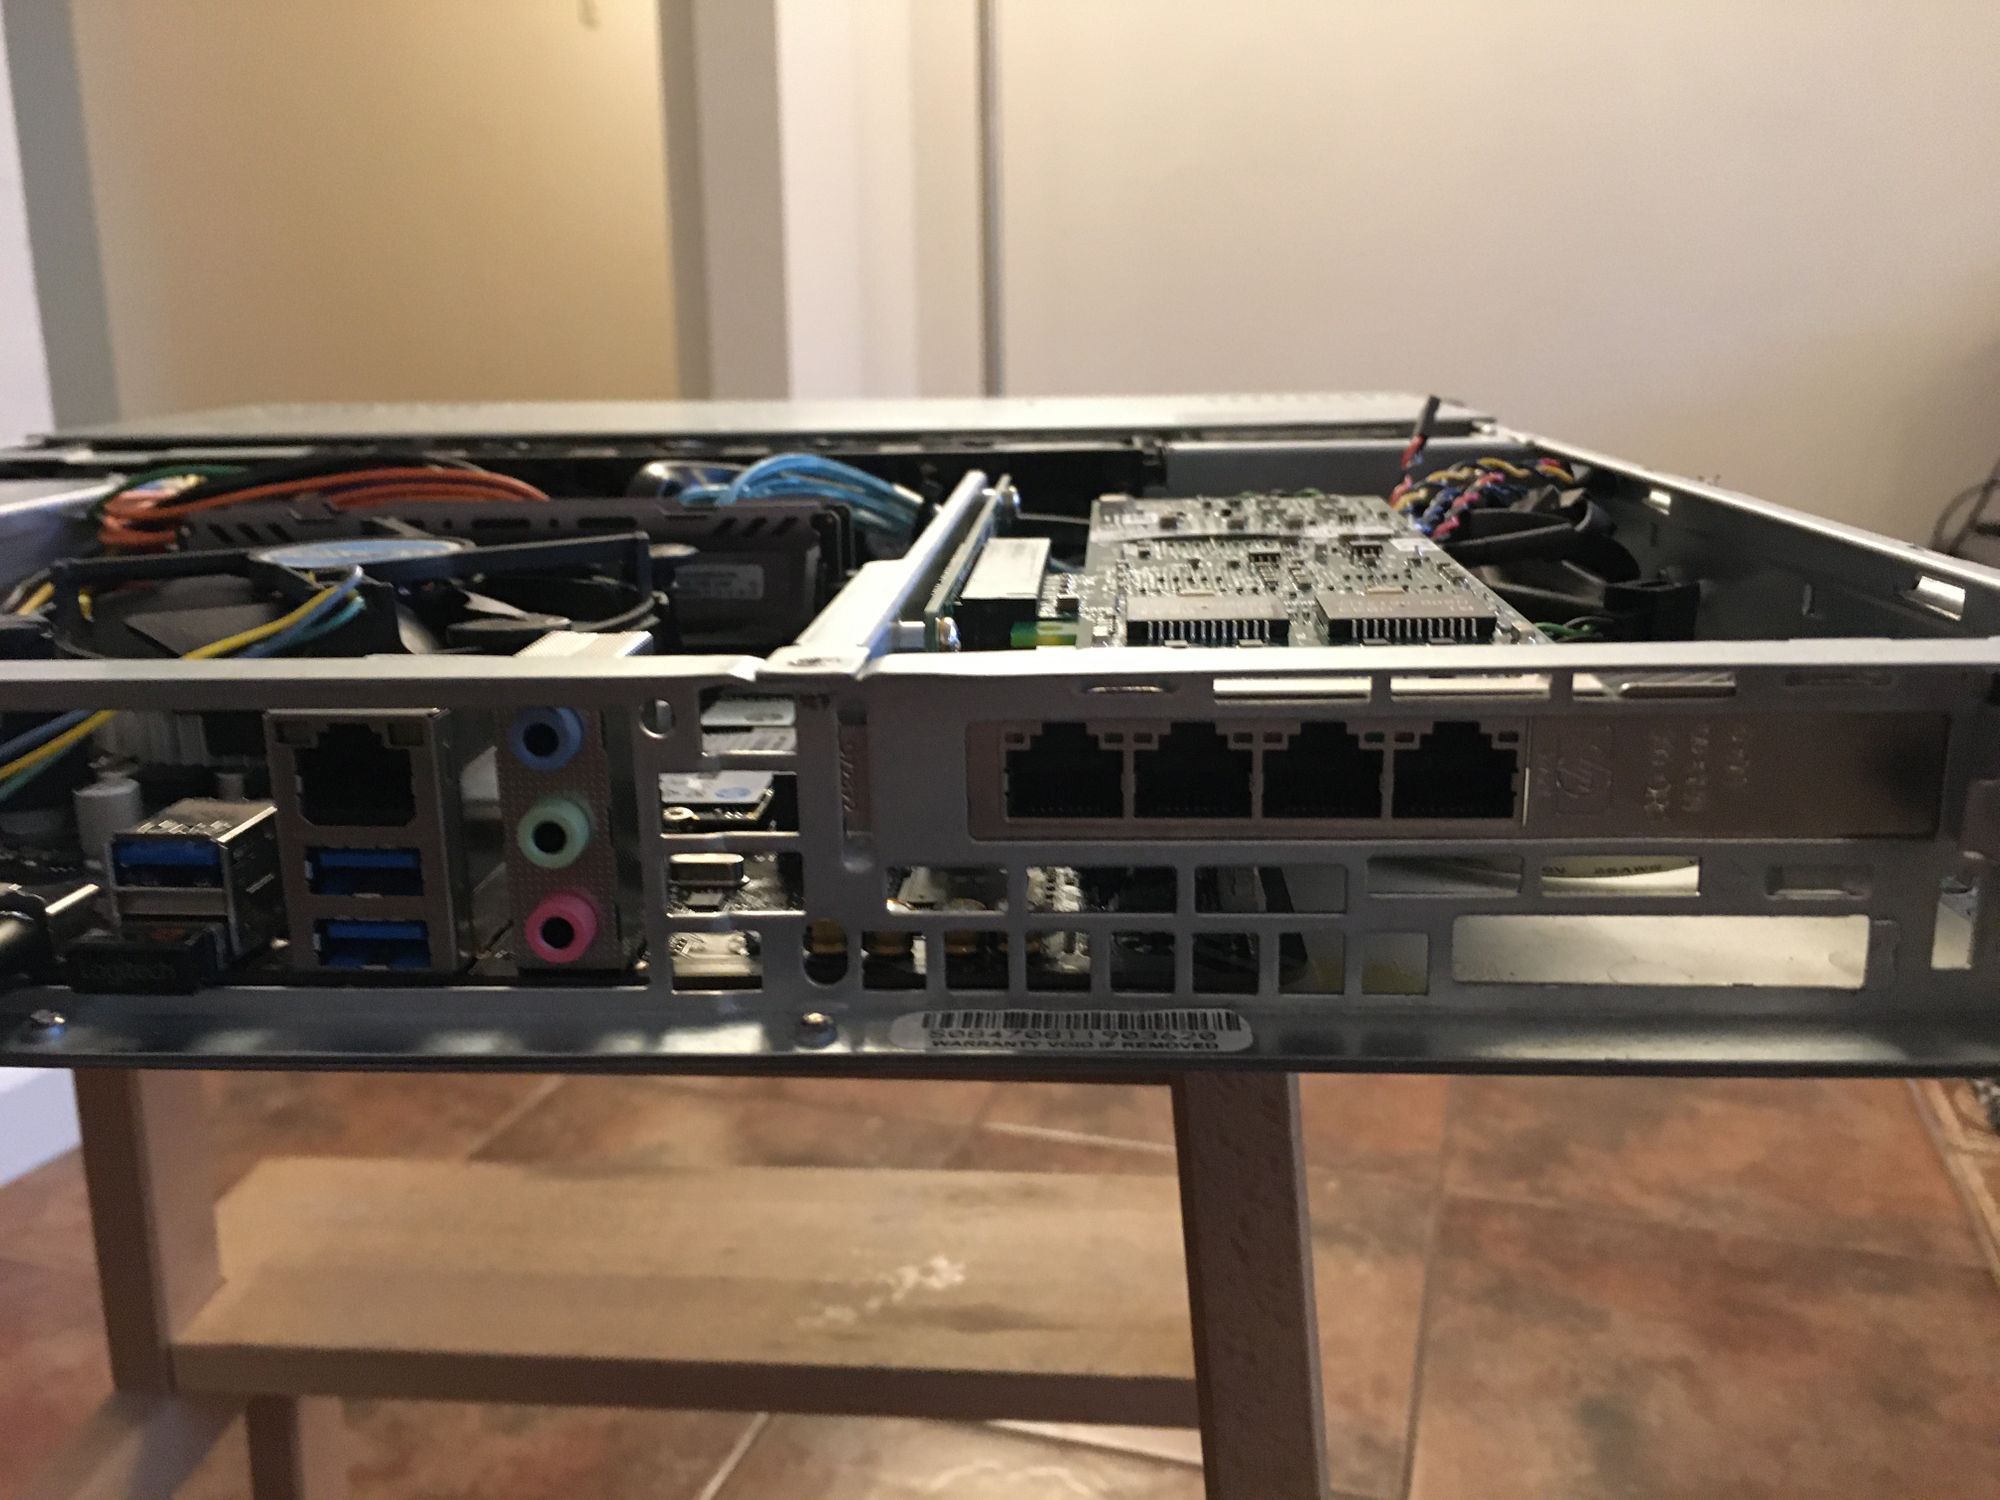
Around the back you can see that all I have connected is power and the 2 network connections and the dummy monitor. I have to be careful as there is no IO shield
Here is the inside of the system. The cable management isn't great, but its good enough
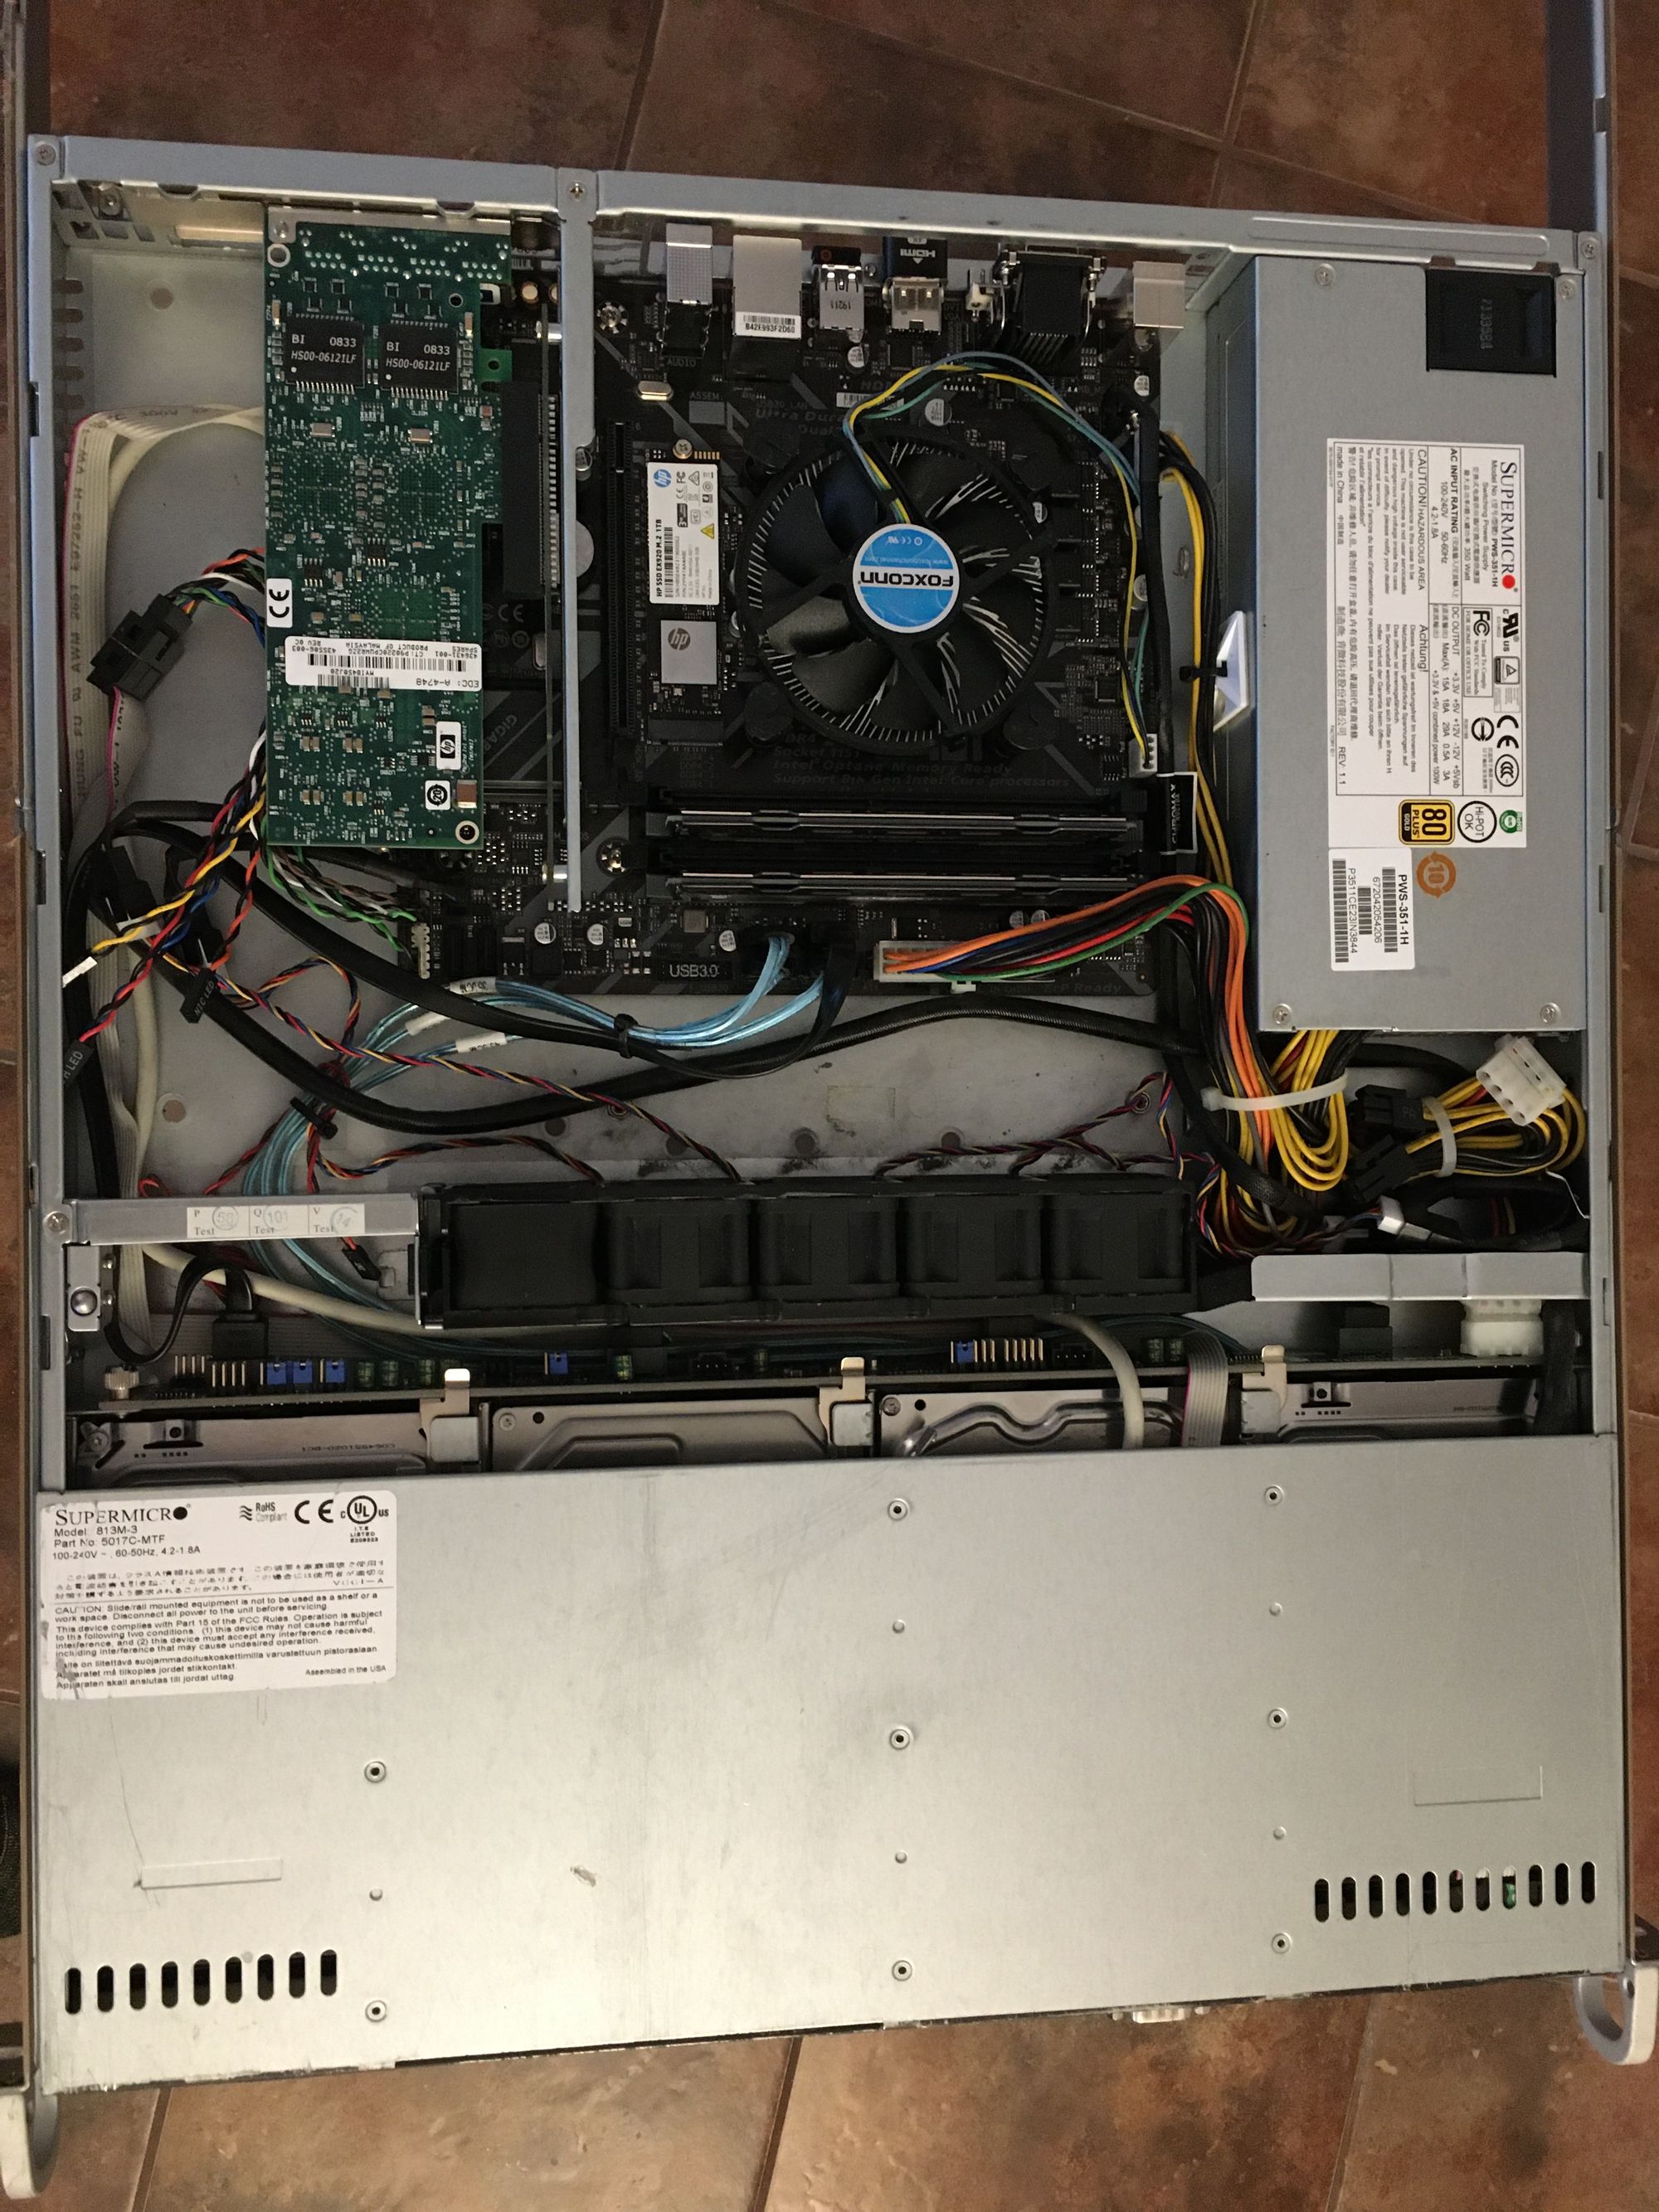
Despite being pretty old, this chassis has a great PSU that does not spin the fans until 70% load, which I will never reach
I had to get a 1u heatsink off of eBay to fit the chassis. I tried with the stock passive heatsink but the memory block the airflow, so a fan is required. You can see how the airflow is blocked
With a server motherboard this would not be the case as they are oriented differently
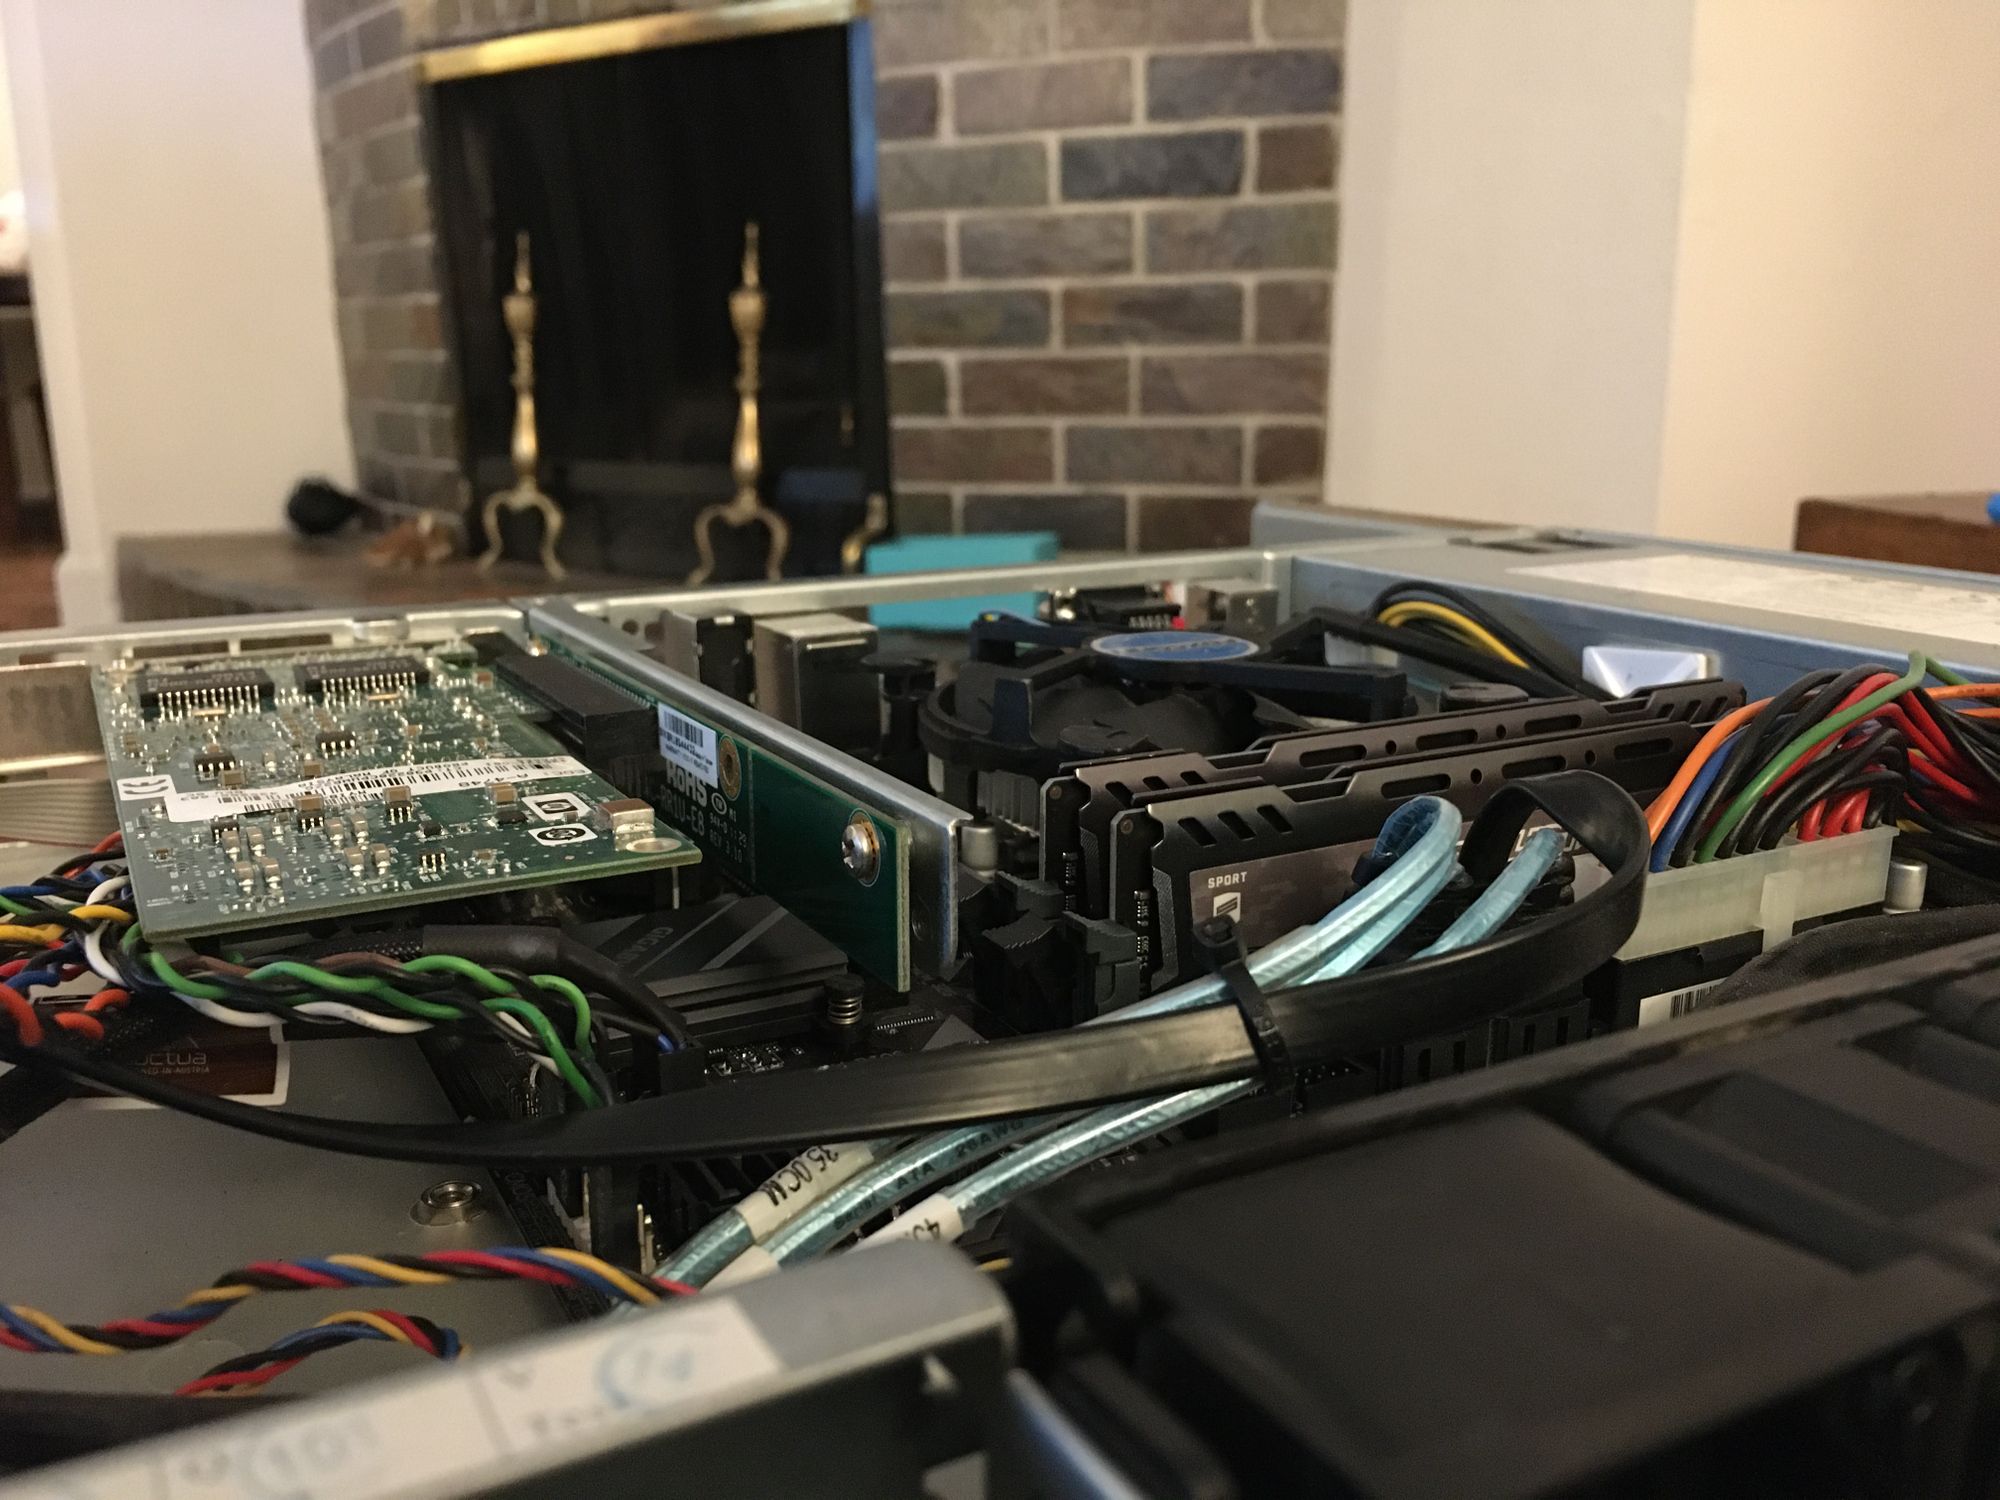
Here is the Quad port NIC. I only use two ports
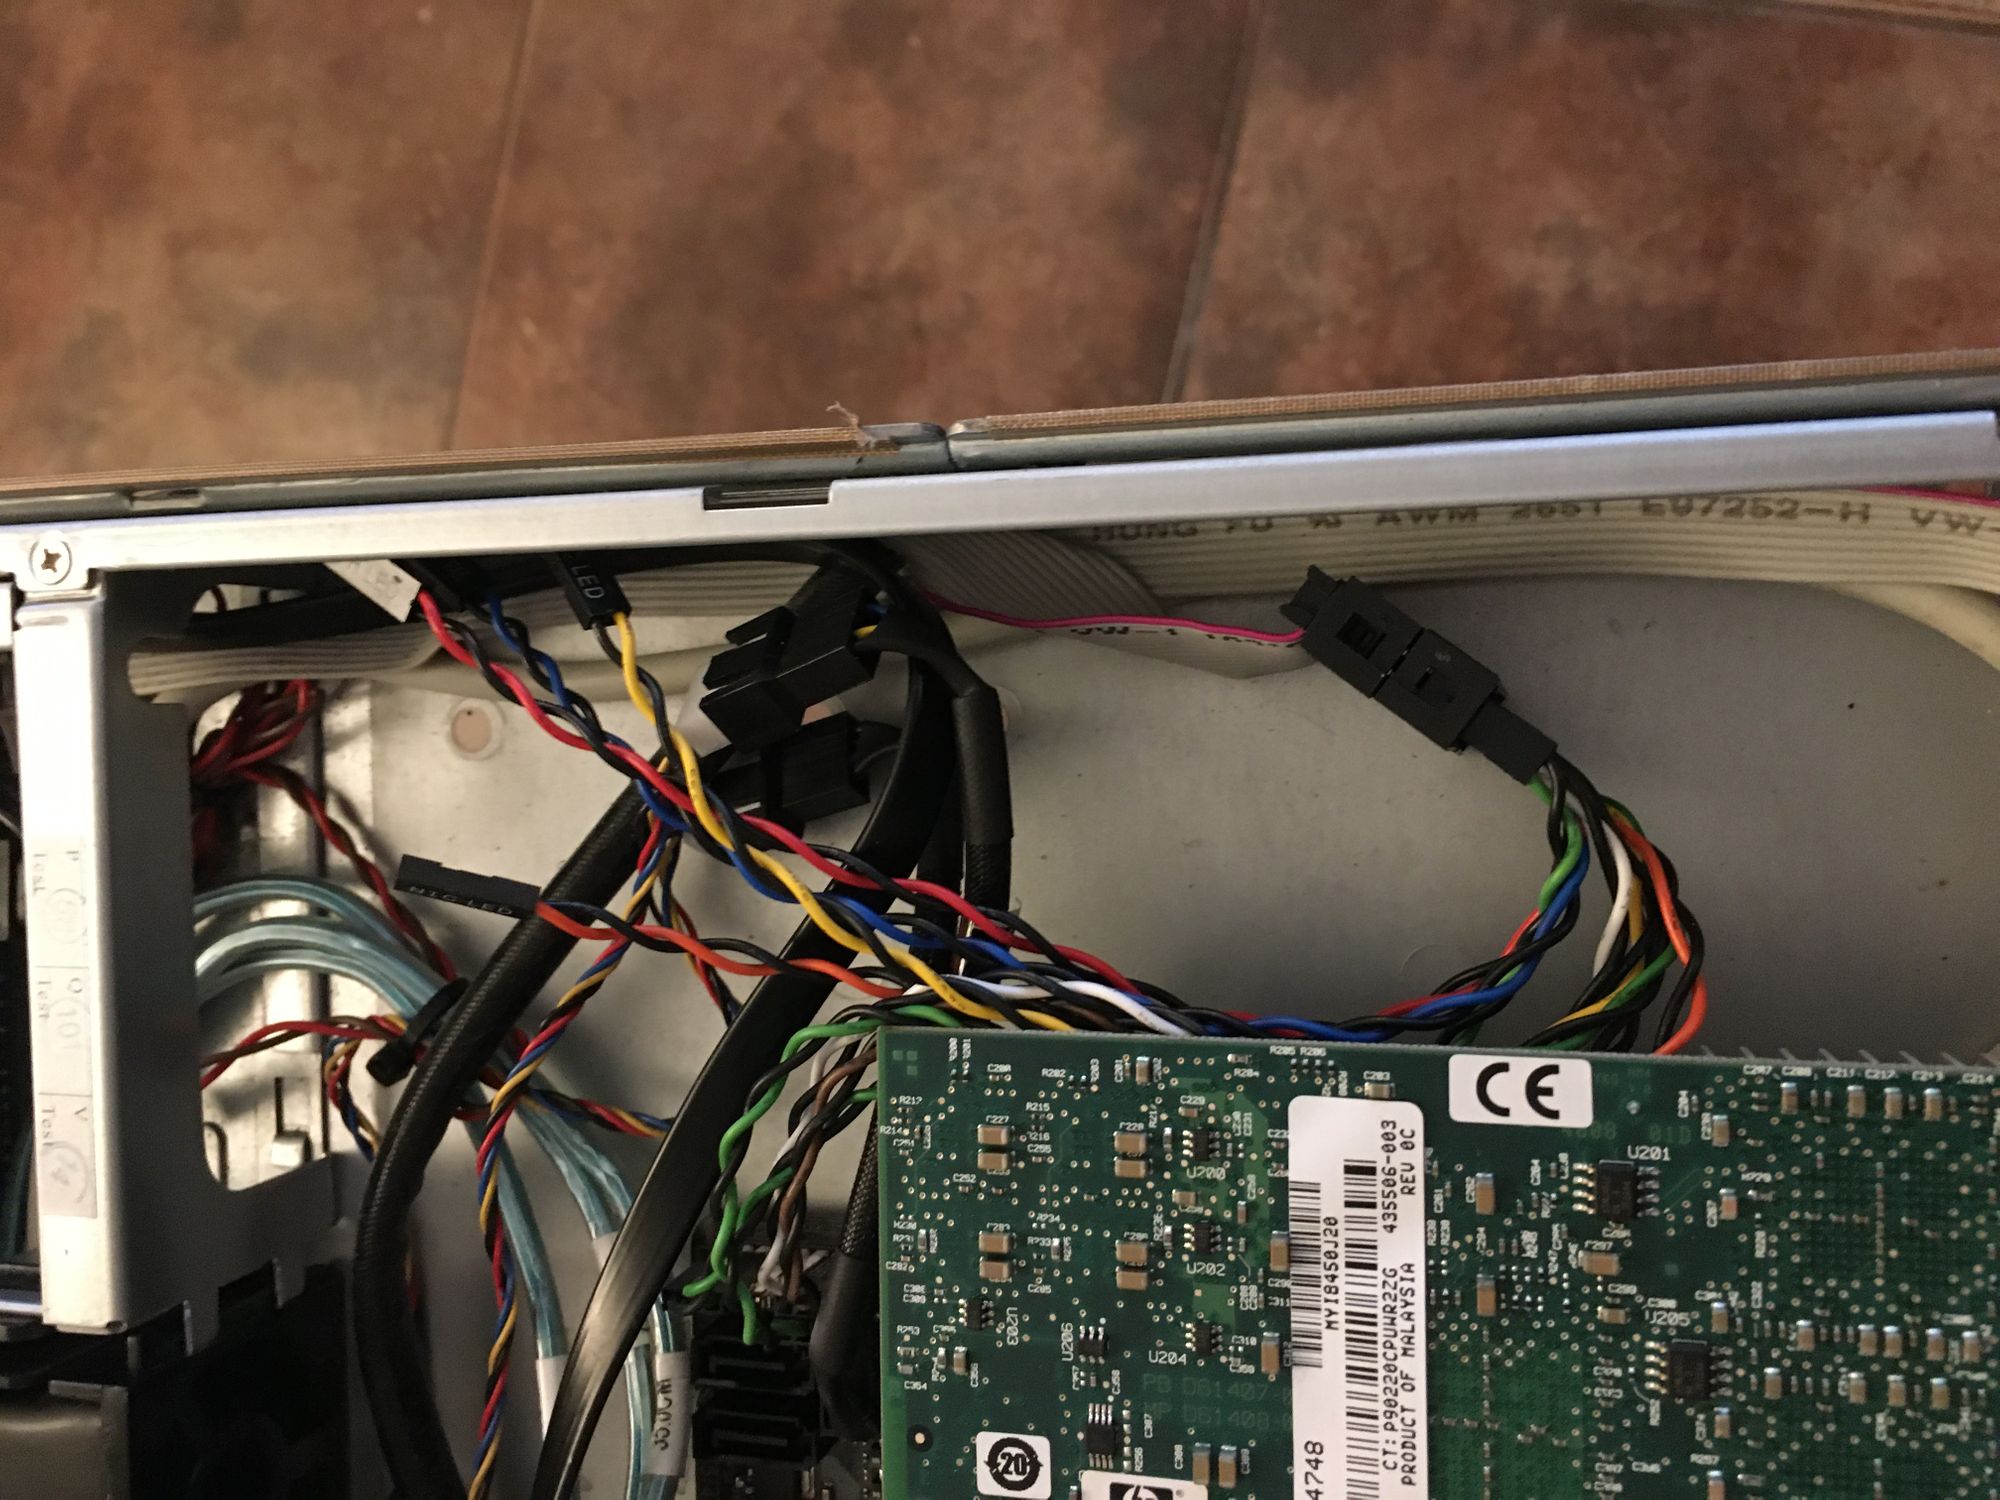
The board had very unfortunate placing for the CMOS battery, which meant I had to dremel a large chunk off of my Supermicro PCIe 8X riser to get it into the 1x slot. 1x is plenty for a quad port NIC with only 2 ports in use

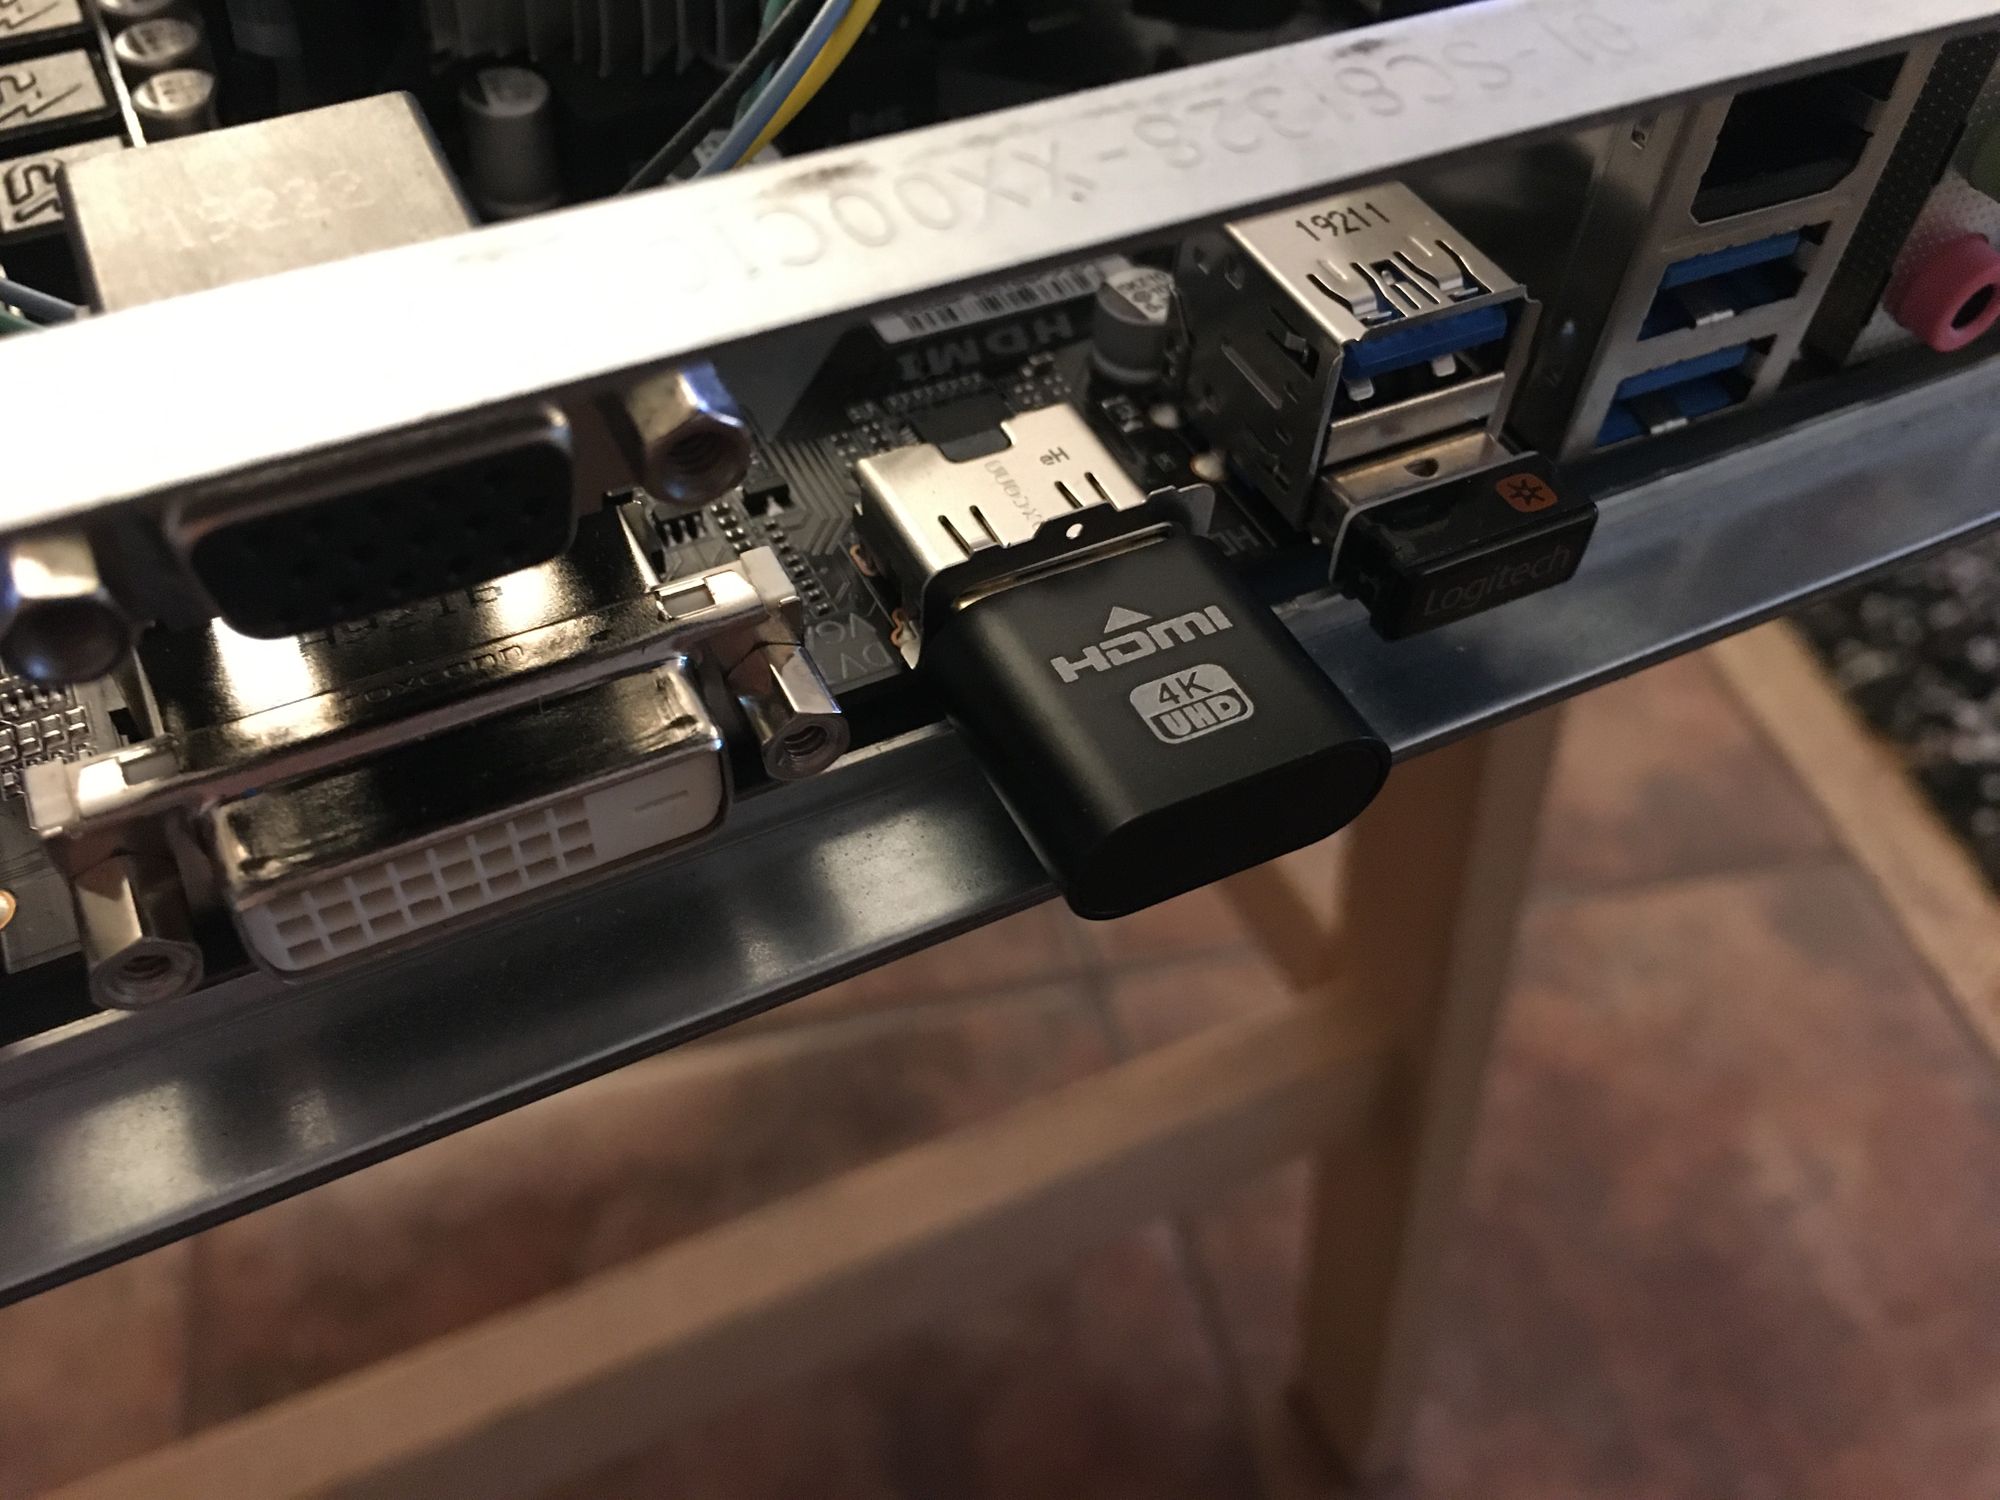
Here is the dummy monitor, it works fine
Because this is a Supermicro chassis, it has a Supermicro front panel header which is a single connector. Luckily they make adapters. All of the spare cables are lights which I do not have headers for, like NIC1, NIC2, Overheat and UID
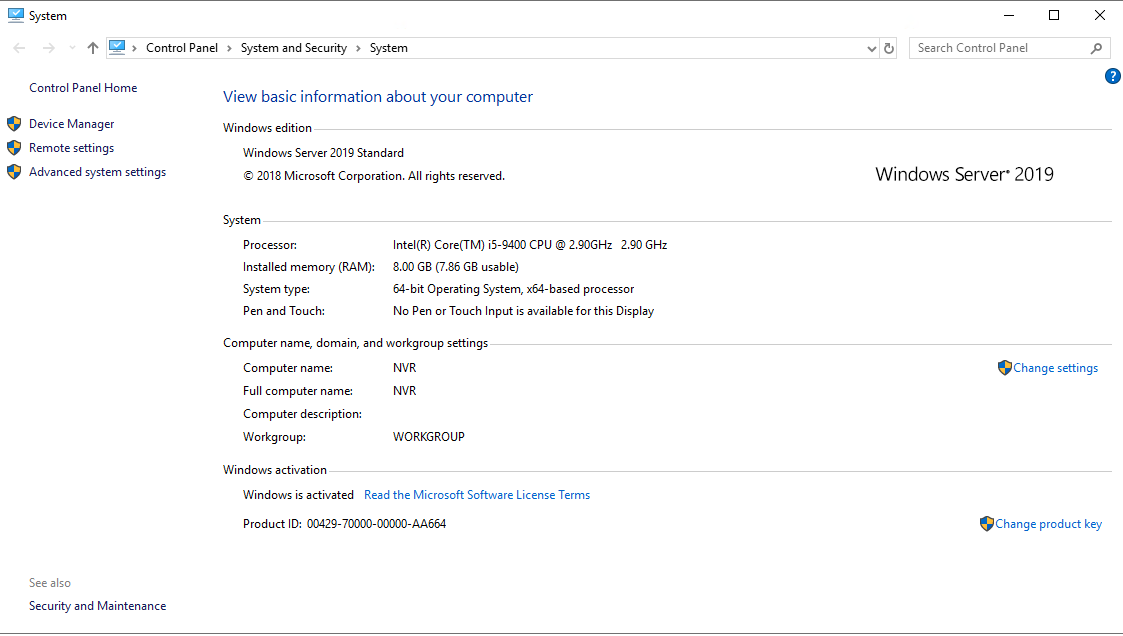
I am running Windows Server 2019. I chose this as it has the best longevity of any operating system out. I could have run Windows Server 2016, but then I would only have to upgrade in the future anyway. With 2019 I should be able to let this system run without needing to do any large changes for a good few years
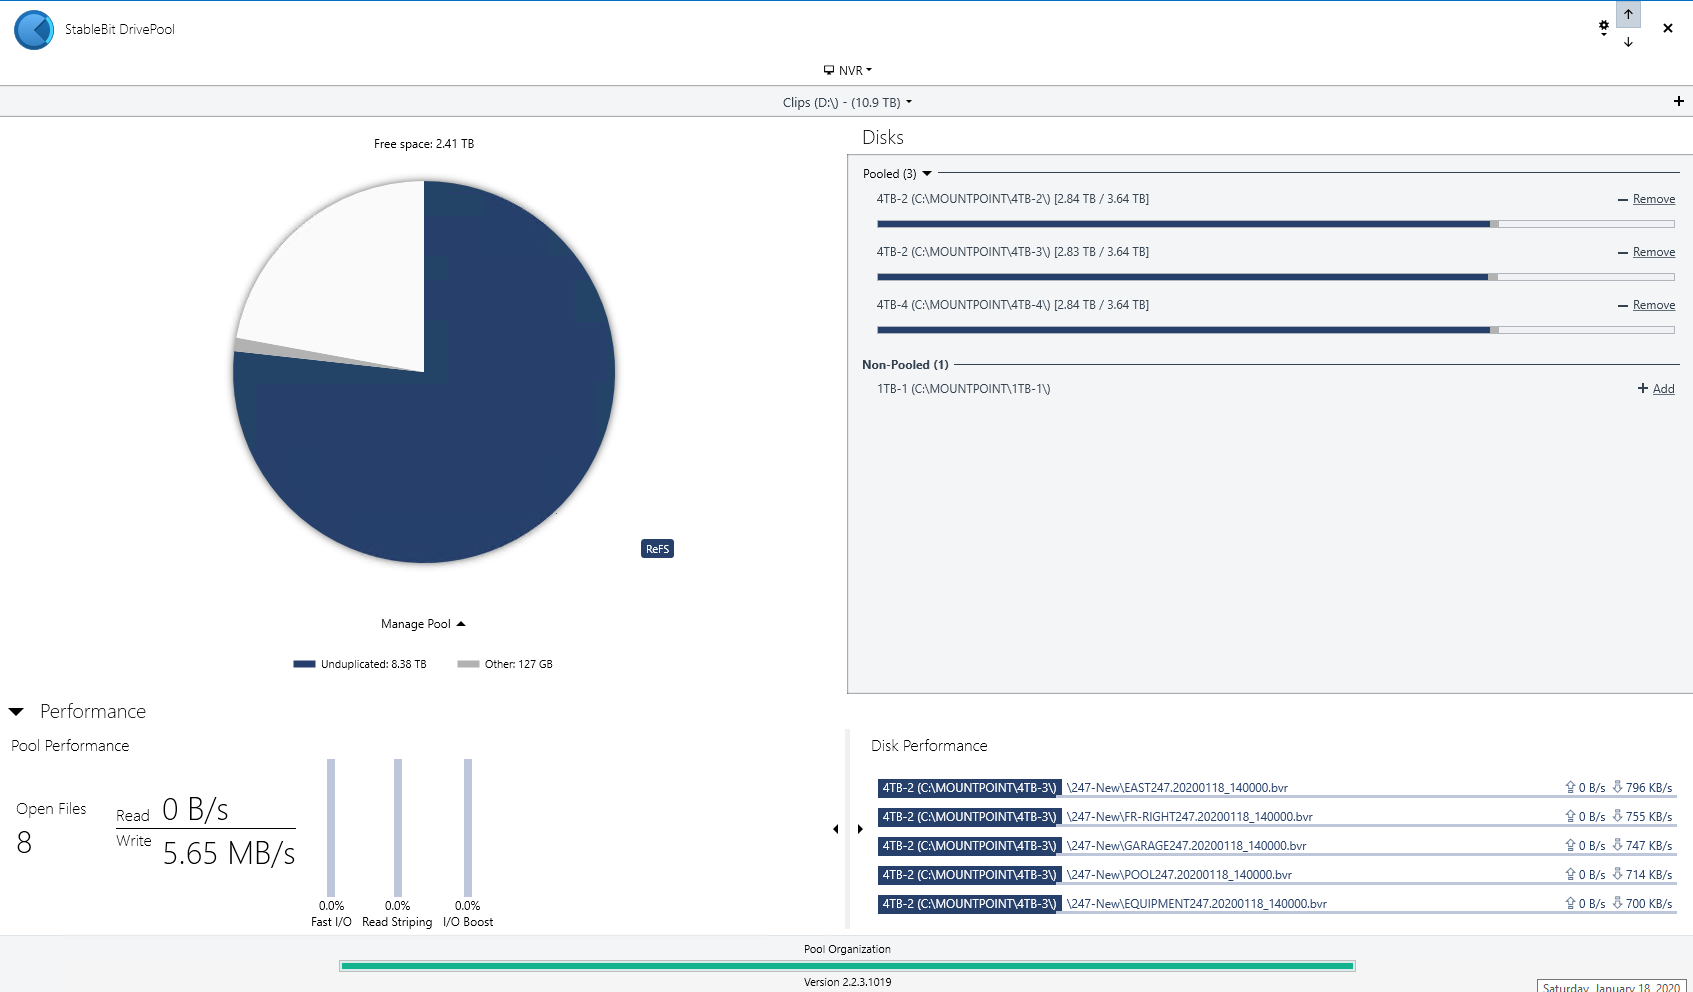
For storage I am using StableBit Drivepool with no redundancy. The clips are synced off-site anyway, and I really don't care if I lose them locally
They are all old NAS rated 4TB disks, none of them are NVR rated disks and I don't see any reason to swap them out. They perform fine.
The pool is using ReFS as I found scrolling through the list of 50,000+ clips was much faster compared to NTFS. I am not sure why this is, but its the reason I went with it.
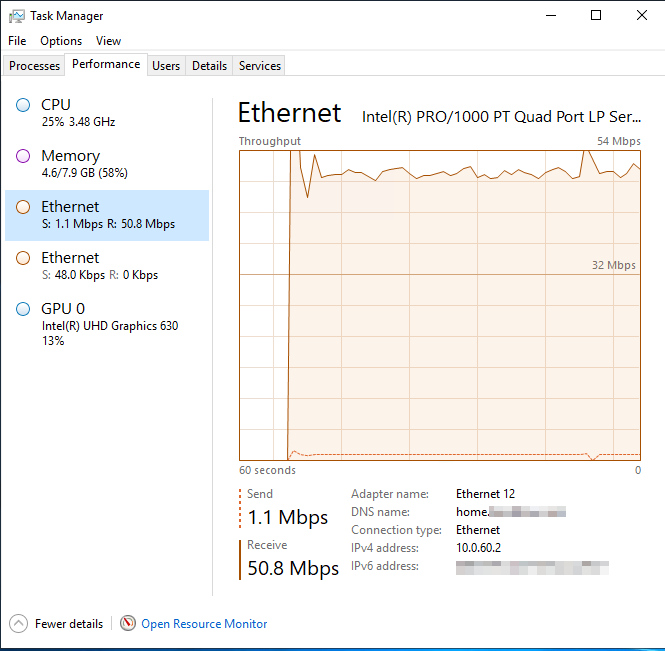
Here you can see the traffic on the NIC dedicated to camera traffic. I did this because it allows the cameras to be 100% separated from the other networks, and no traffic needs to go over the firewall. This means that even if the firewall is down, cameras are still rolling
Before I added the NIC I had the cameras on a seperate network, but since I only had a single port I had a firewall rule in place to allow the NVR to talk to the cameras. Because it was only a single gigabit NIC I would see issues at night when Veeam was backing up the system at 1Gb/s and leaving no bandwidth for the cameras.
All of this is solved with a second NIC
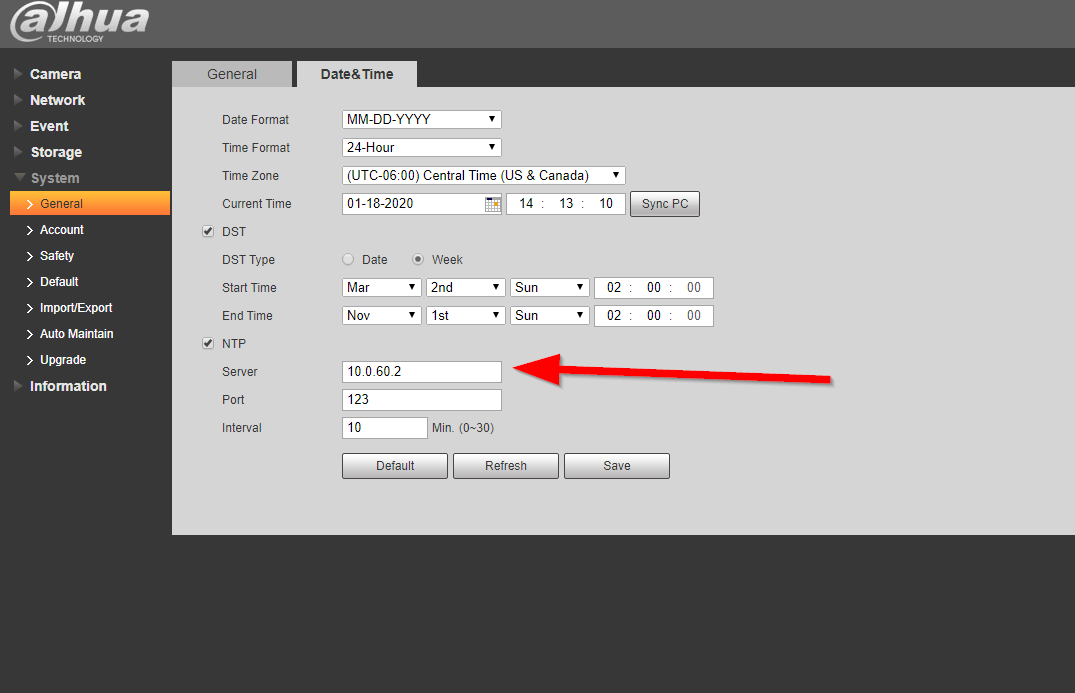
The NVR is also hosting an NTP server onto the camera network, this lets all of the cameras and the NVR have the EXACT same time which is nice. Here you can see the cameras configured
Next I will go into the setup on my PFSENSE firewall. I won't go into too much detail about the cameras and networking as that is for another post, but since I touched on them being seperated in a VLAN its worth showing
You can see here I have a seperate VLAN just for the cameras

I have firewall rules on that VLAN to only allow DNS to pfSense, and nothing else. I have a rule which I can enable if I need to give the cameras internet for some reason, but I have never needed this.
Its very important that they don't have access to the internet as they are chinese and really can't be trusted at all

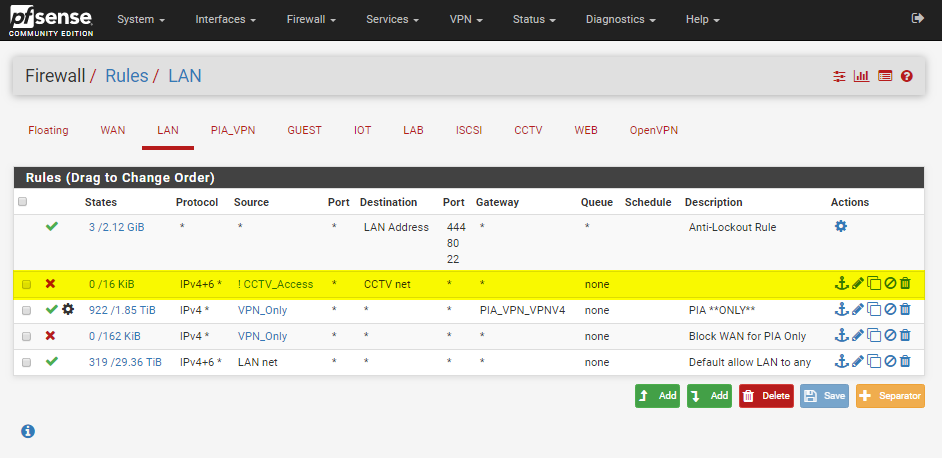
I also have firewall rules on the LAN side blocking access to the cameras, so a bad device on my LAN couldn't bridge over and talk to them. I allow selected machines to talk to them for administrative purposes, such as my laptop
Thats pretty much it for this post. Look out for an upcoming post which details the cameras themselves, the cabling, switching and everything else
Thanks for reading!