Replacing and Upgrading the 12v battery in my Generac RG027
If you read my other posts you know that around a year ago I got a Generac RG027 Generator.
The Problem
Lately, I've noticed thanks to Genmon, that the battery charger has been on more often than not. And it also cranks slower than it used to when it was new. So decided to needed to check out the battery.
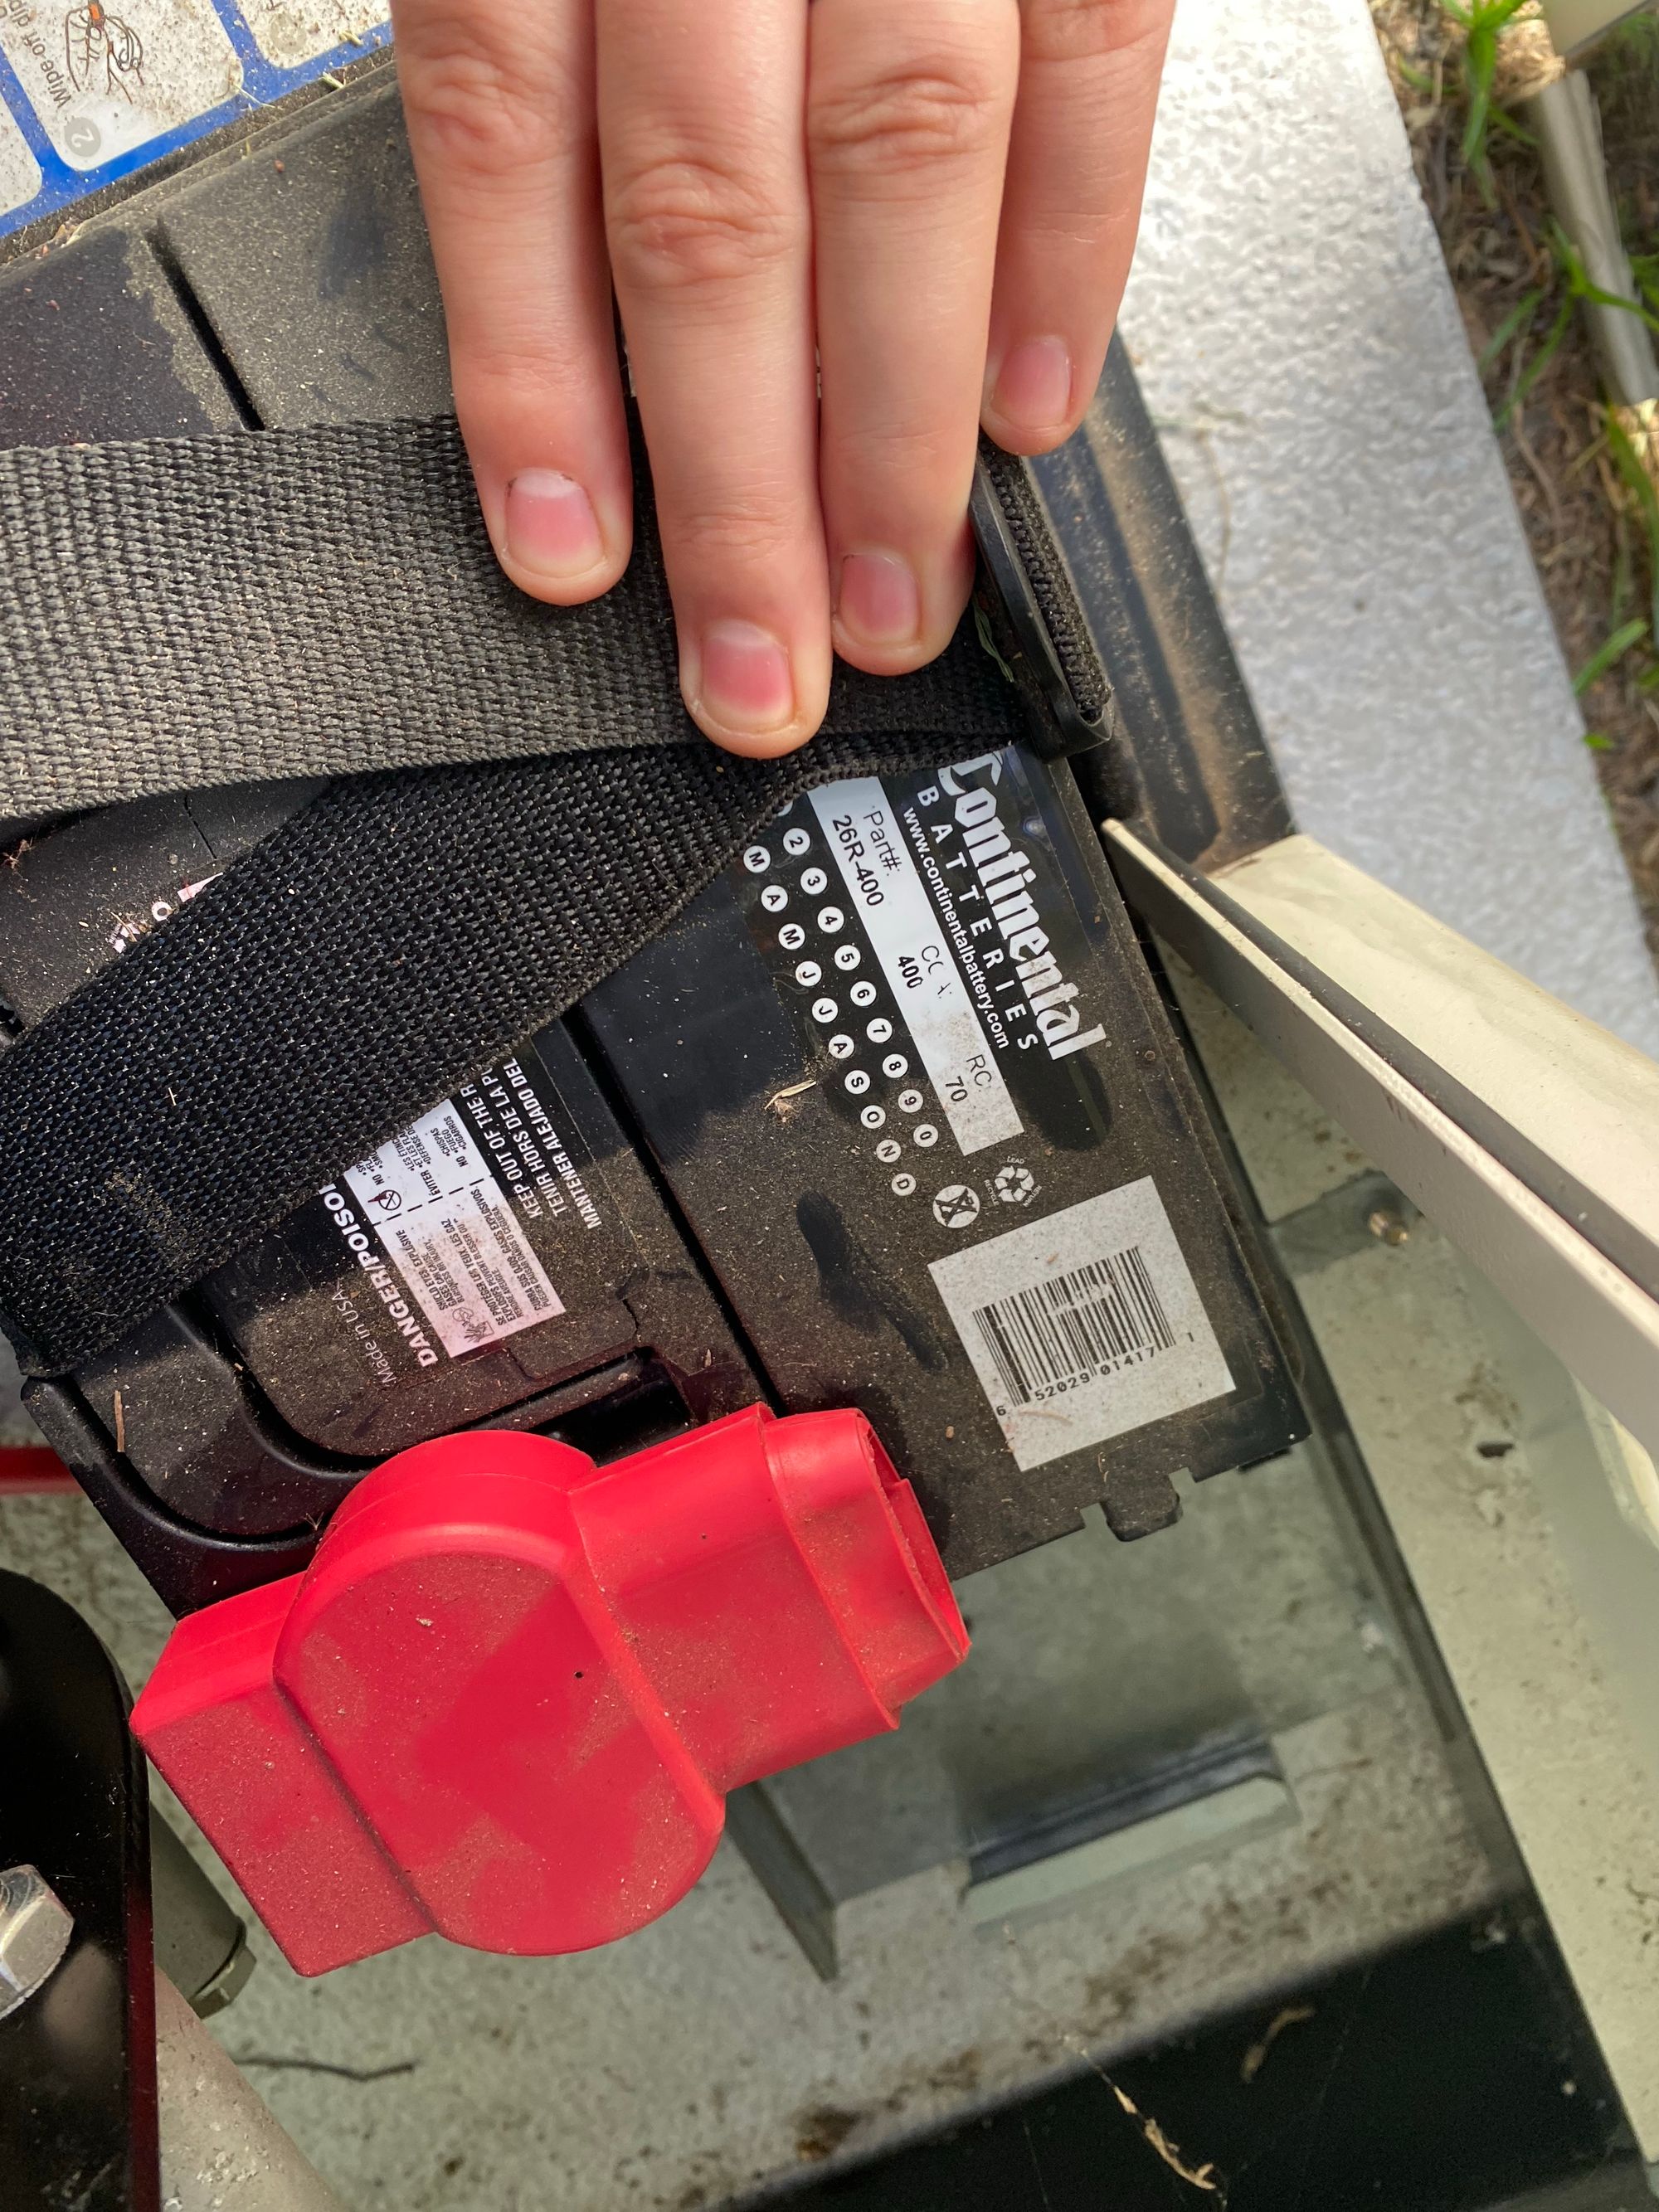
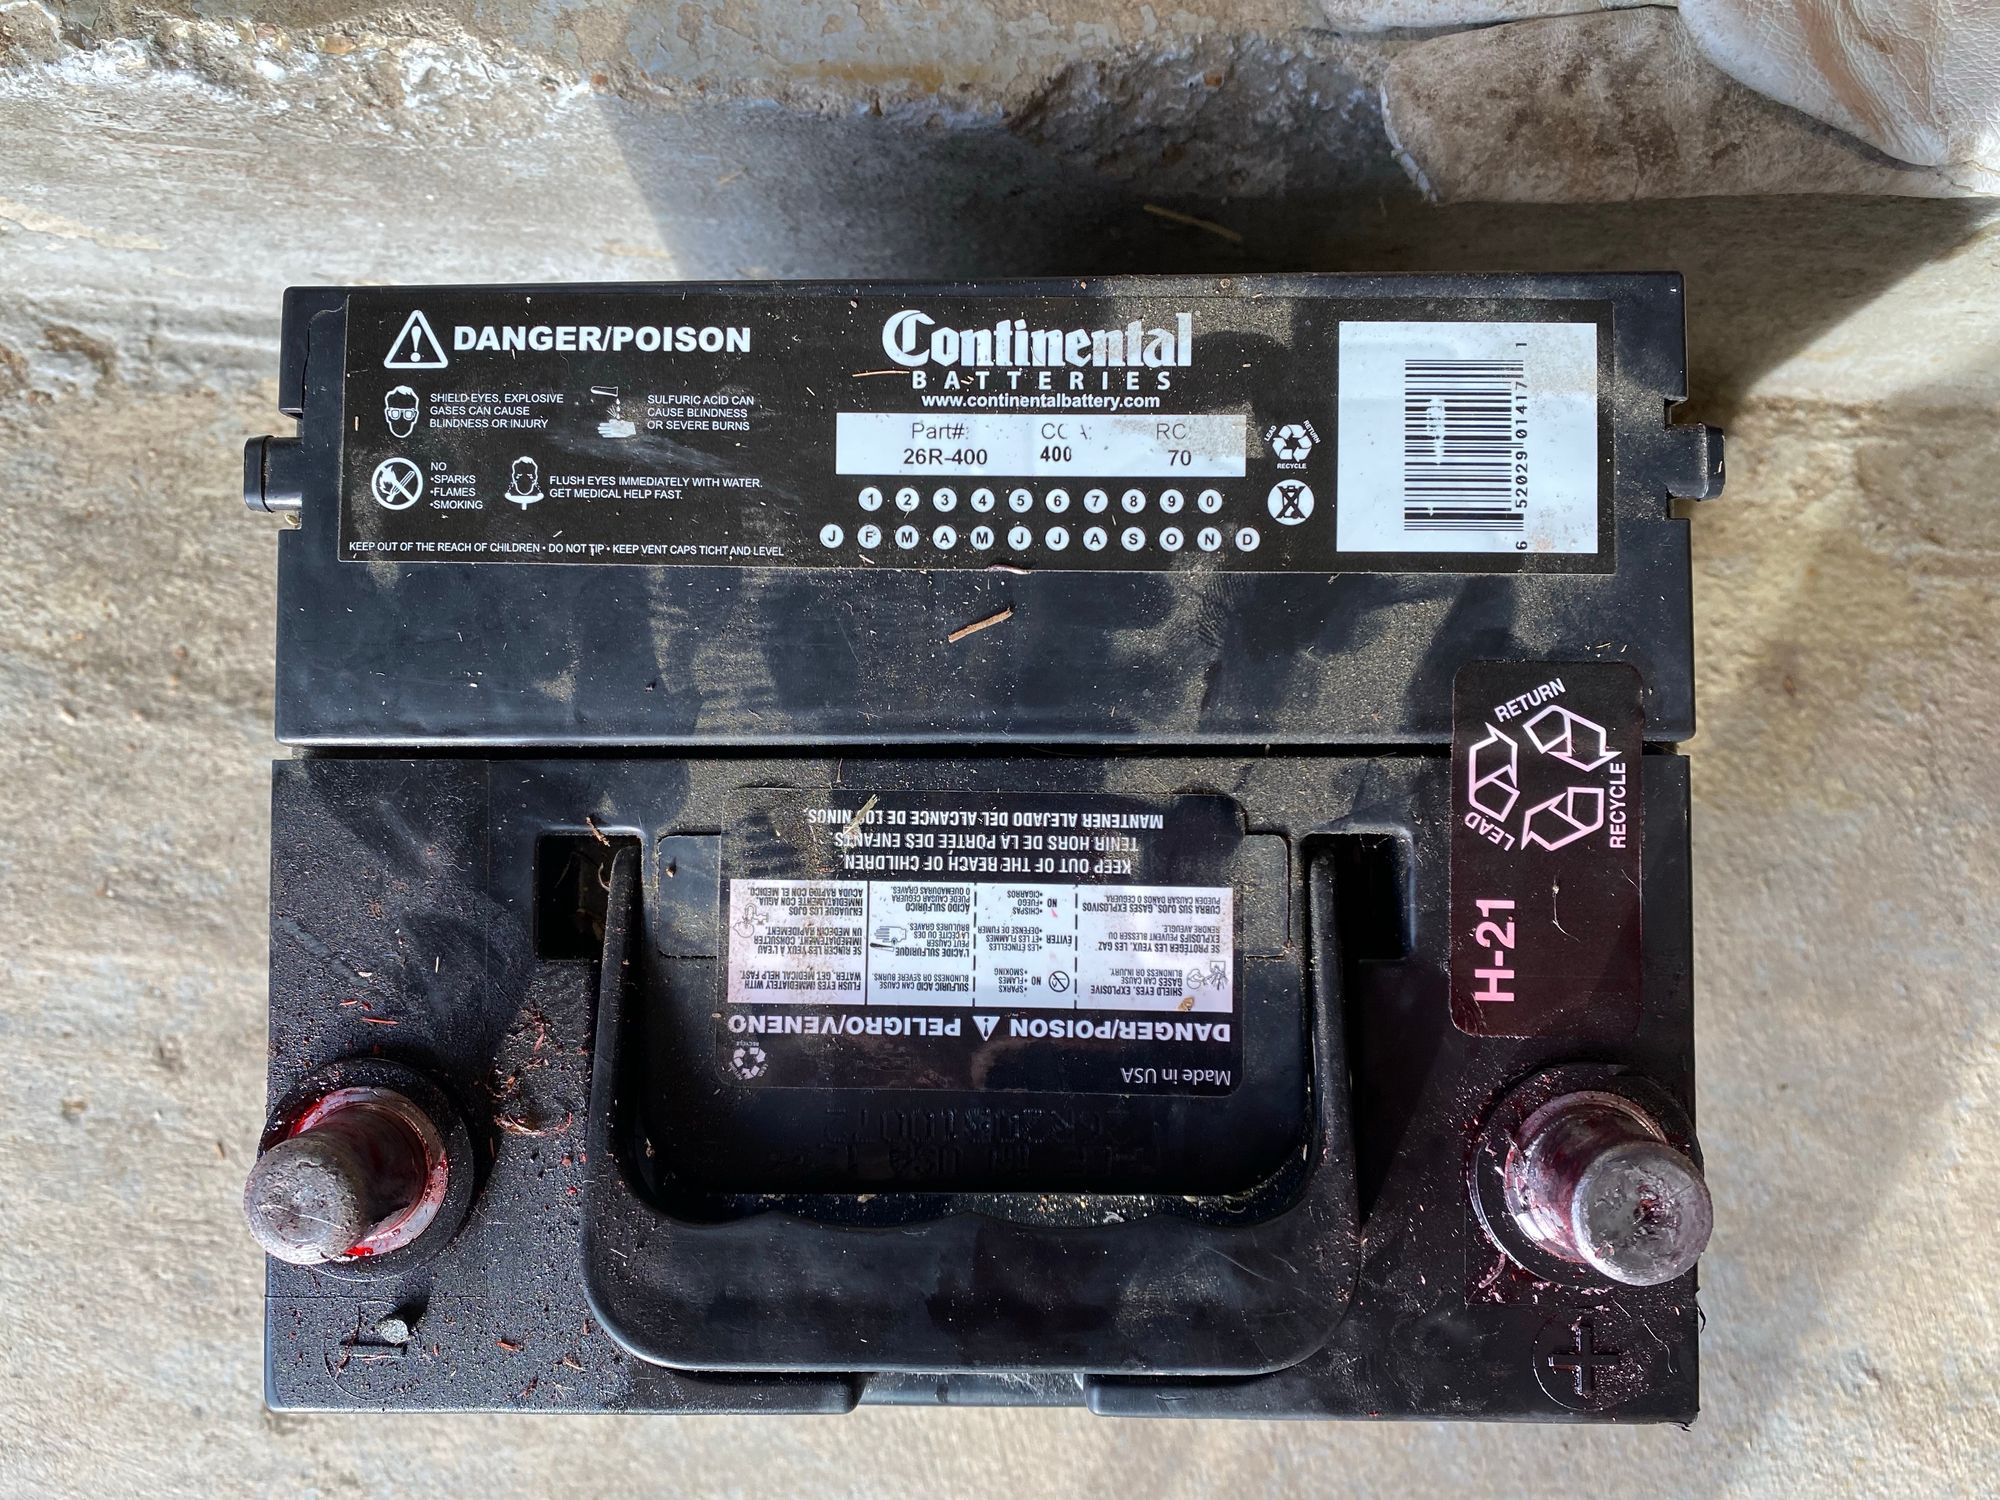
First thing I noticed is that it has a small, crappy 400CCA Continental battery. This was a concern right away, as my neighbor has a smaller air cooled generator with the same battery, and only got 1 and a half years out of it.
I thought this battery was quite small, so I looked at the manual for this generator and it states you should be using a 525cca battery...
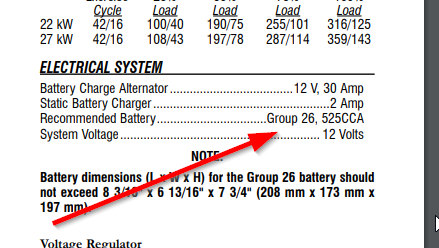
And, the part number for the correct Generac battery also comes back to a 525CCA battery. So once again the installers got something wrong, and shorted me on the battery. I will be going back with them and trying to get some partial refund for this, as I don't think its fair that I spent so much money, only to end up with a smaller than required battery.
The Battery
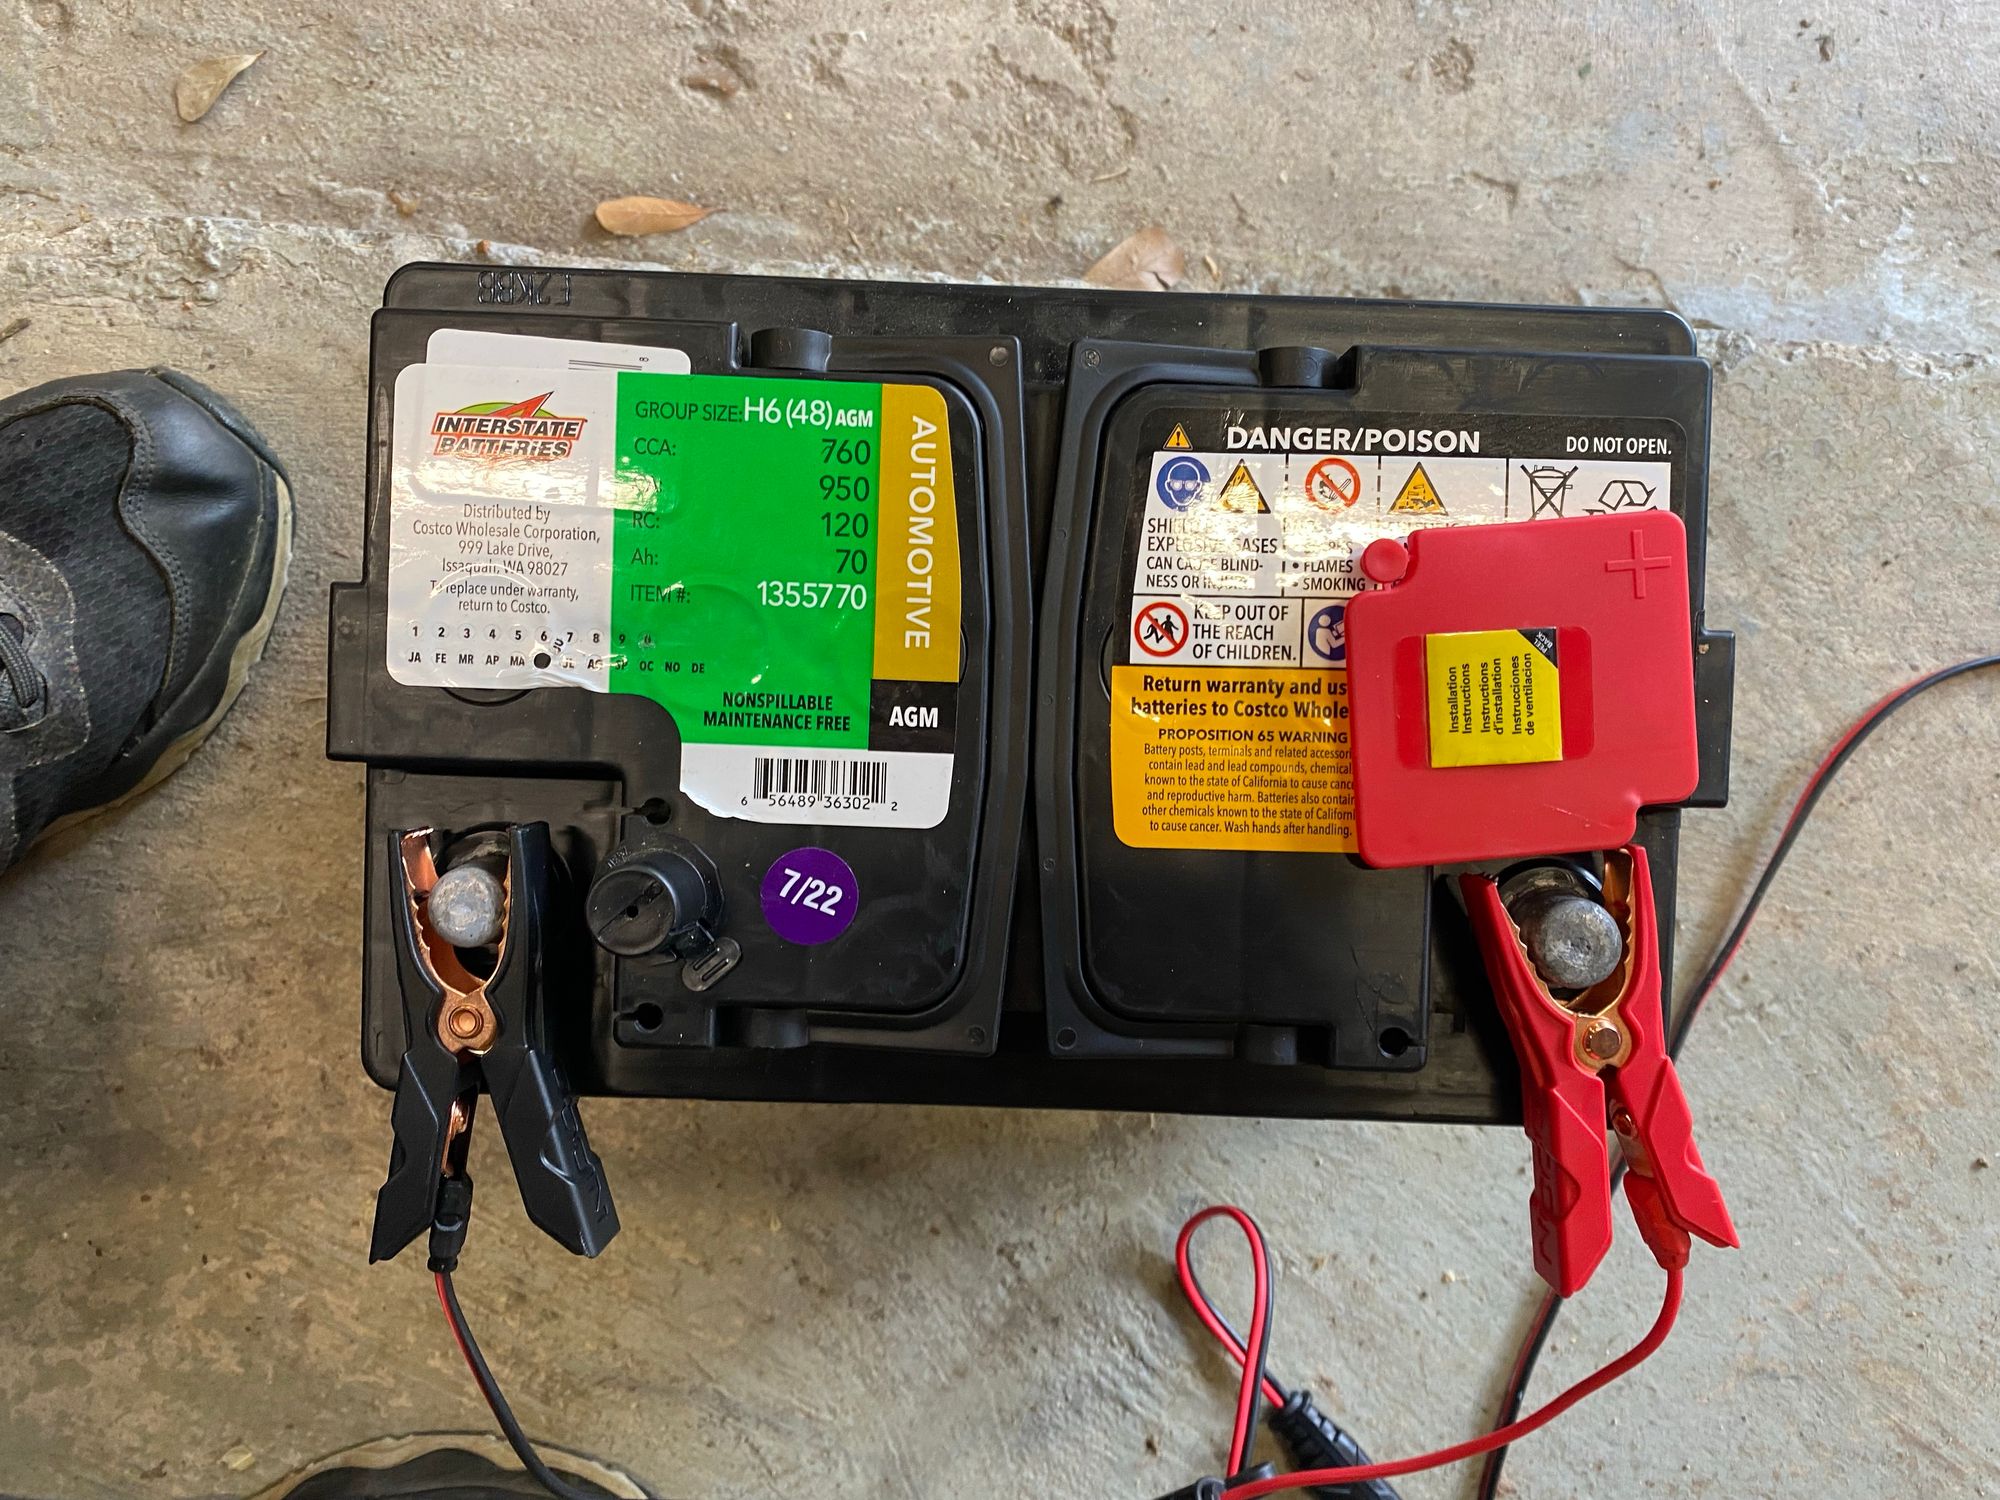
At this point I didn't even bother testing it, I knew I was going to replace it. So I went down to Costco to get an Interstate battery, which I personally think is the best value and quality batteries you can find. I went with the H6(48) AGM battery, as its the same battery in my F150 and my wifes Ford Escape, and we've had good luck with them.
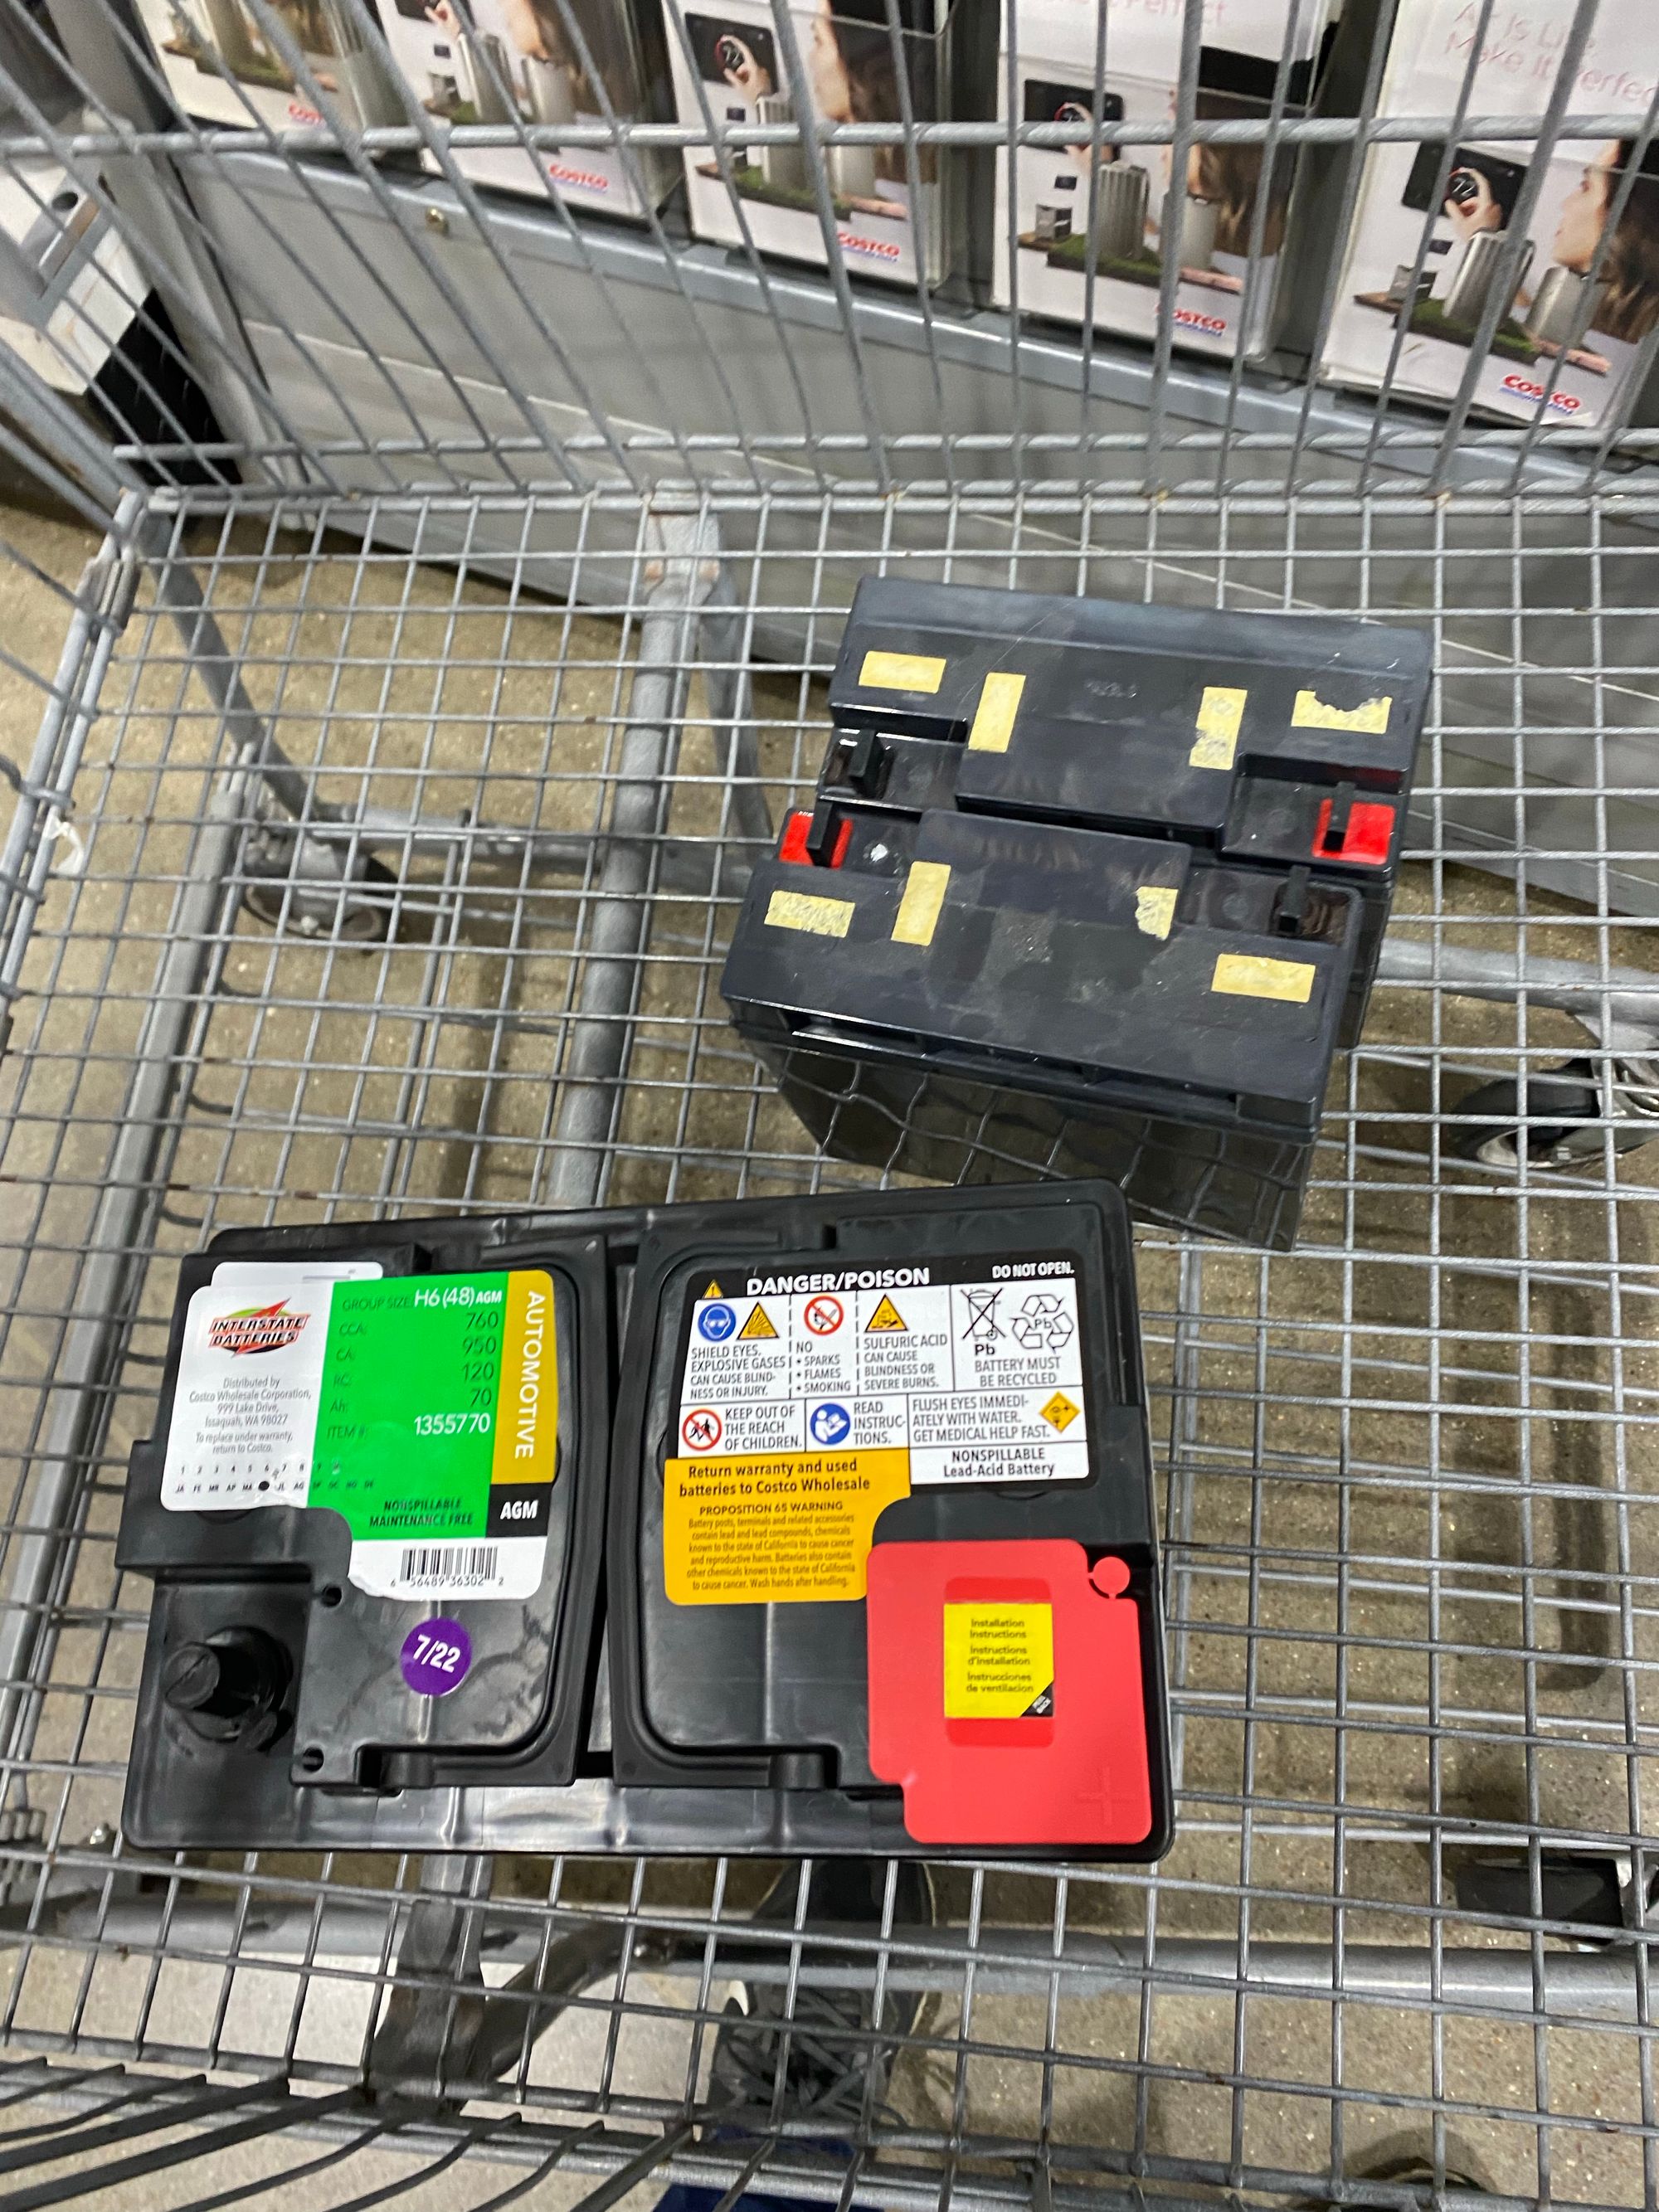
Pro tip. You can see I have some old UPS batteries in my cart. That is because Costco will refund the $15 core charge for any battery. I'd much rather get paid $15 to get rid of a 10 year old UPS battery, than a much larger battery that could still have some life left in it.
First thing I did with the new battery is get it topped off. For that I used my NOCO 1 which is a great charger, and detects the chemistry of batteries automatically


Next I had to plan how to get the battery connected. If you notice on this Interstate battery, the lugs are recessed. This, together with the orientation of the battery in the generator makes it quite hard to attach the battery lugs.
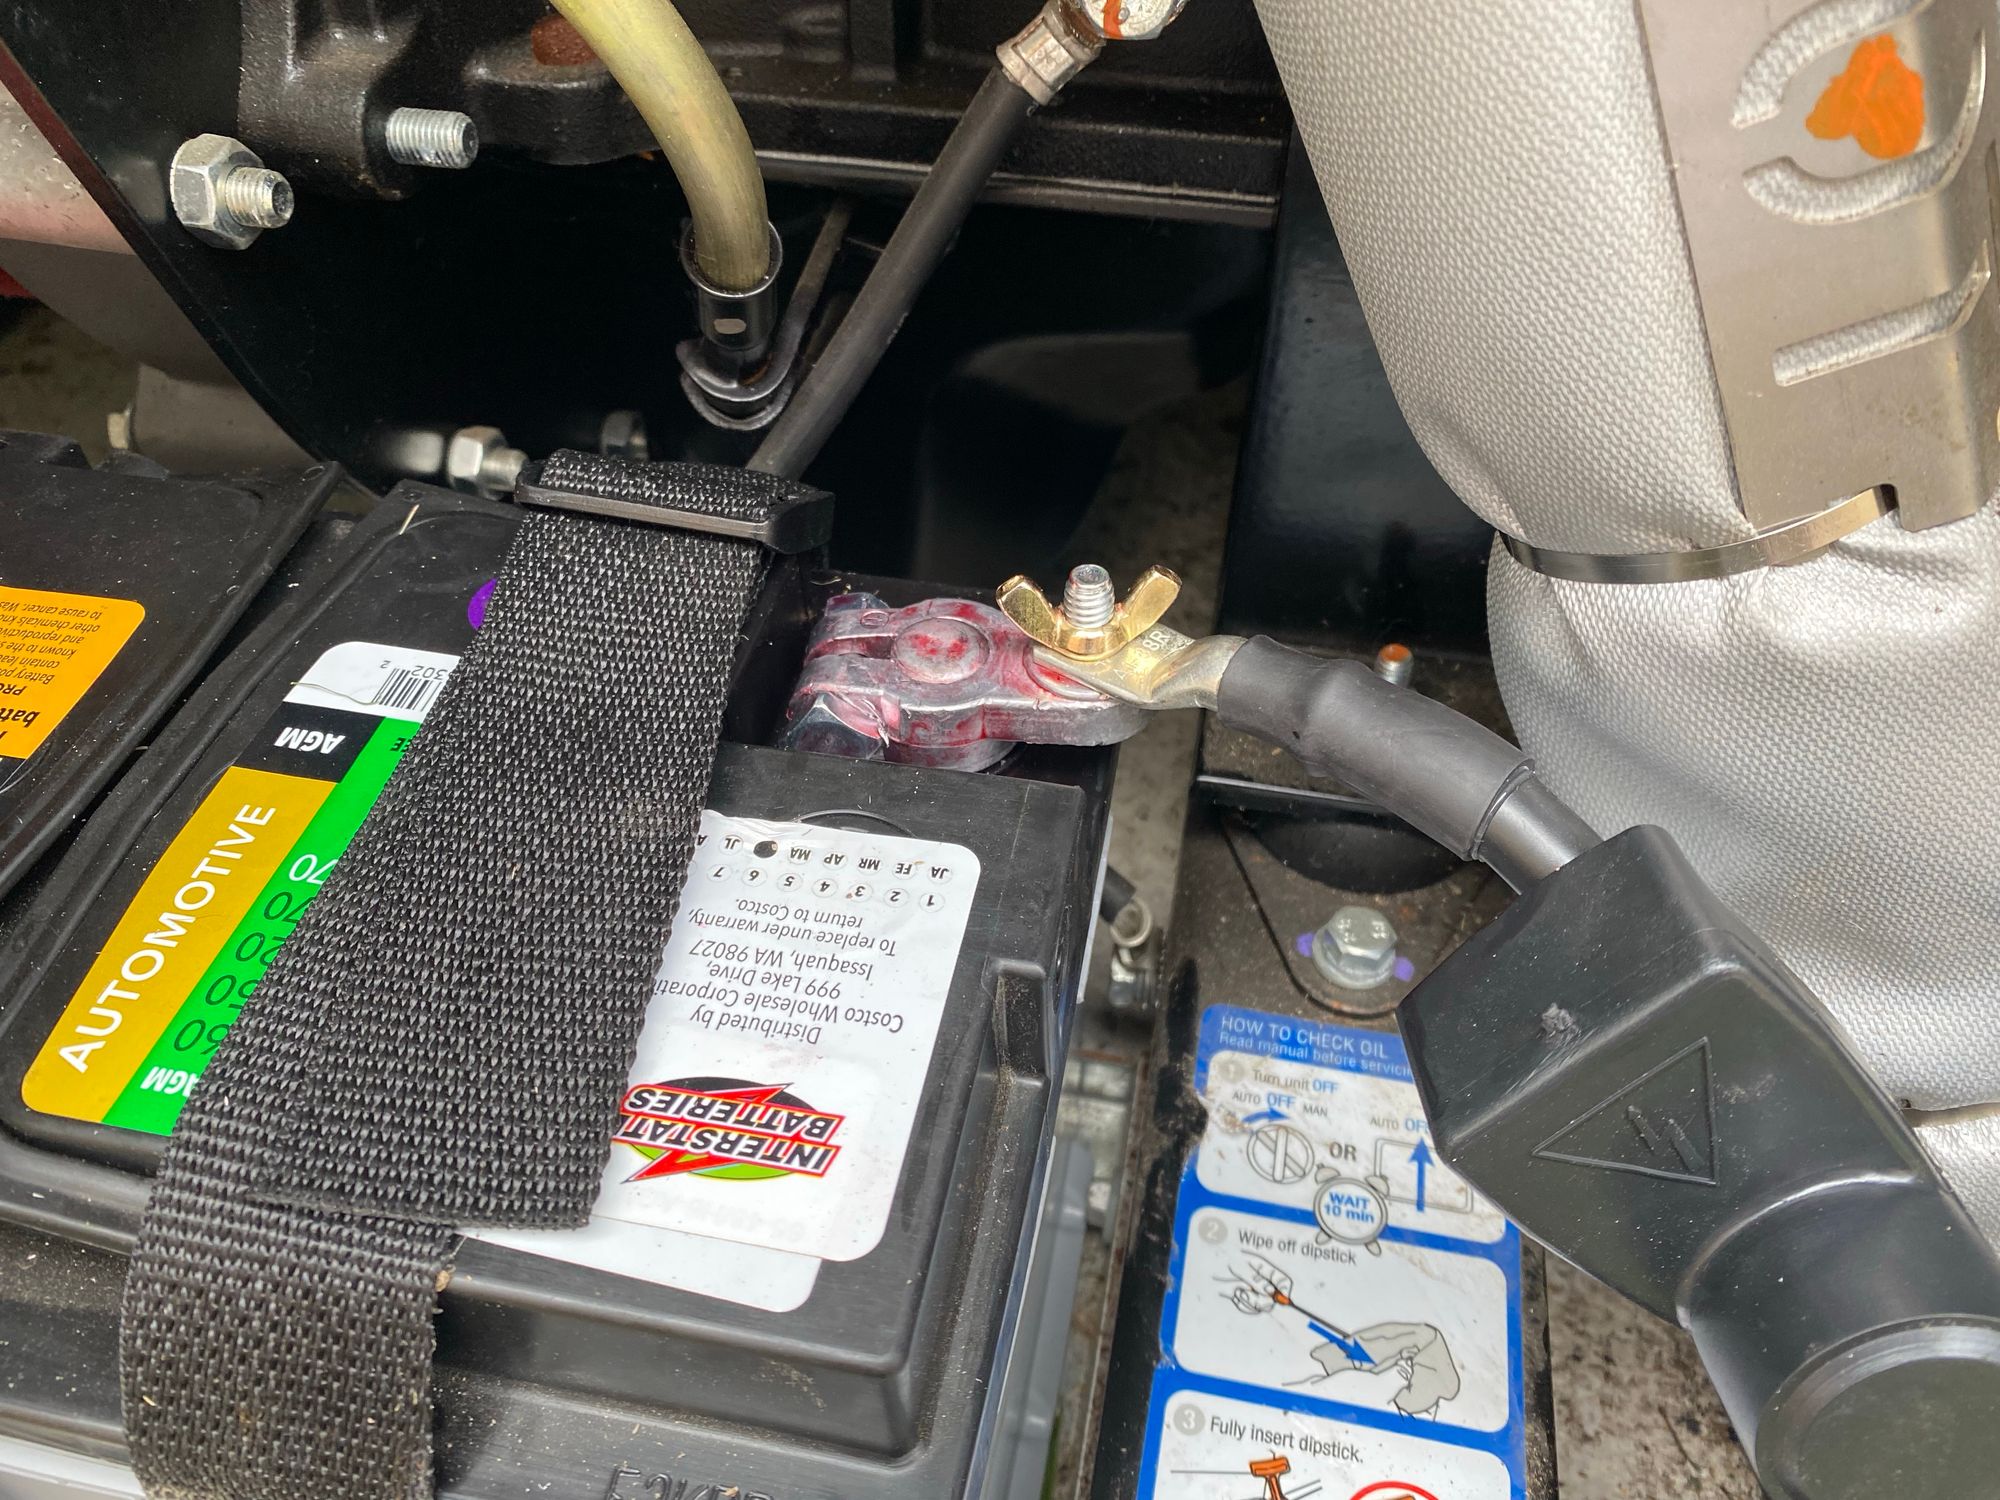
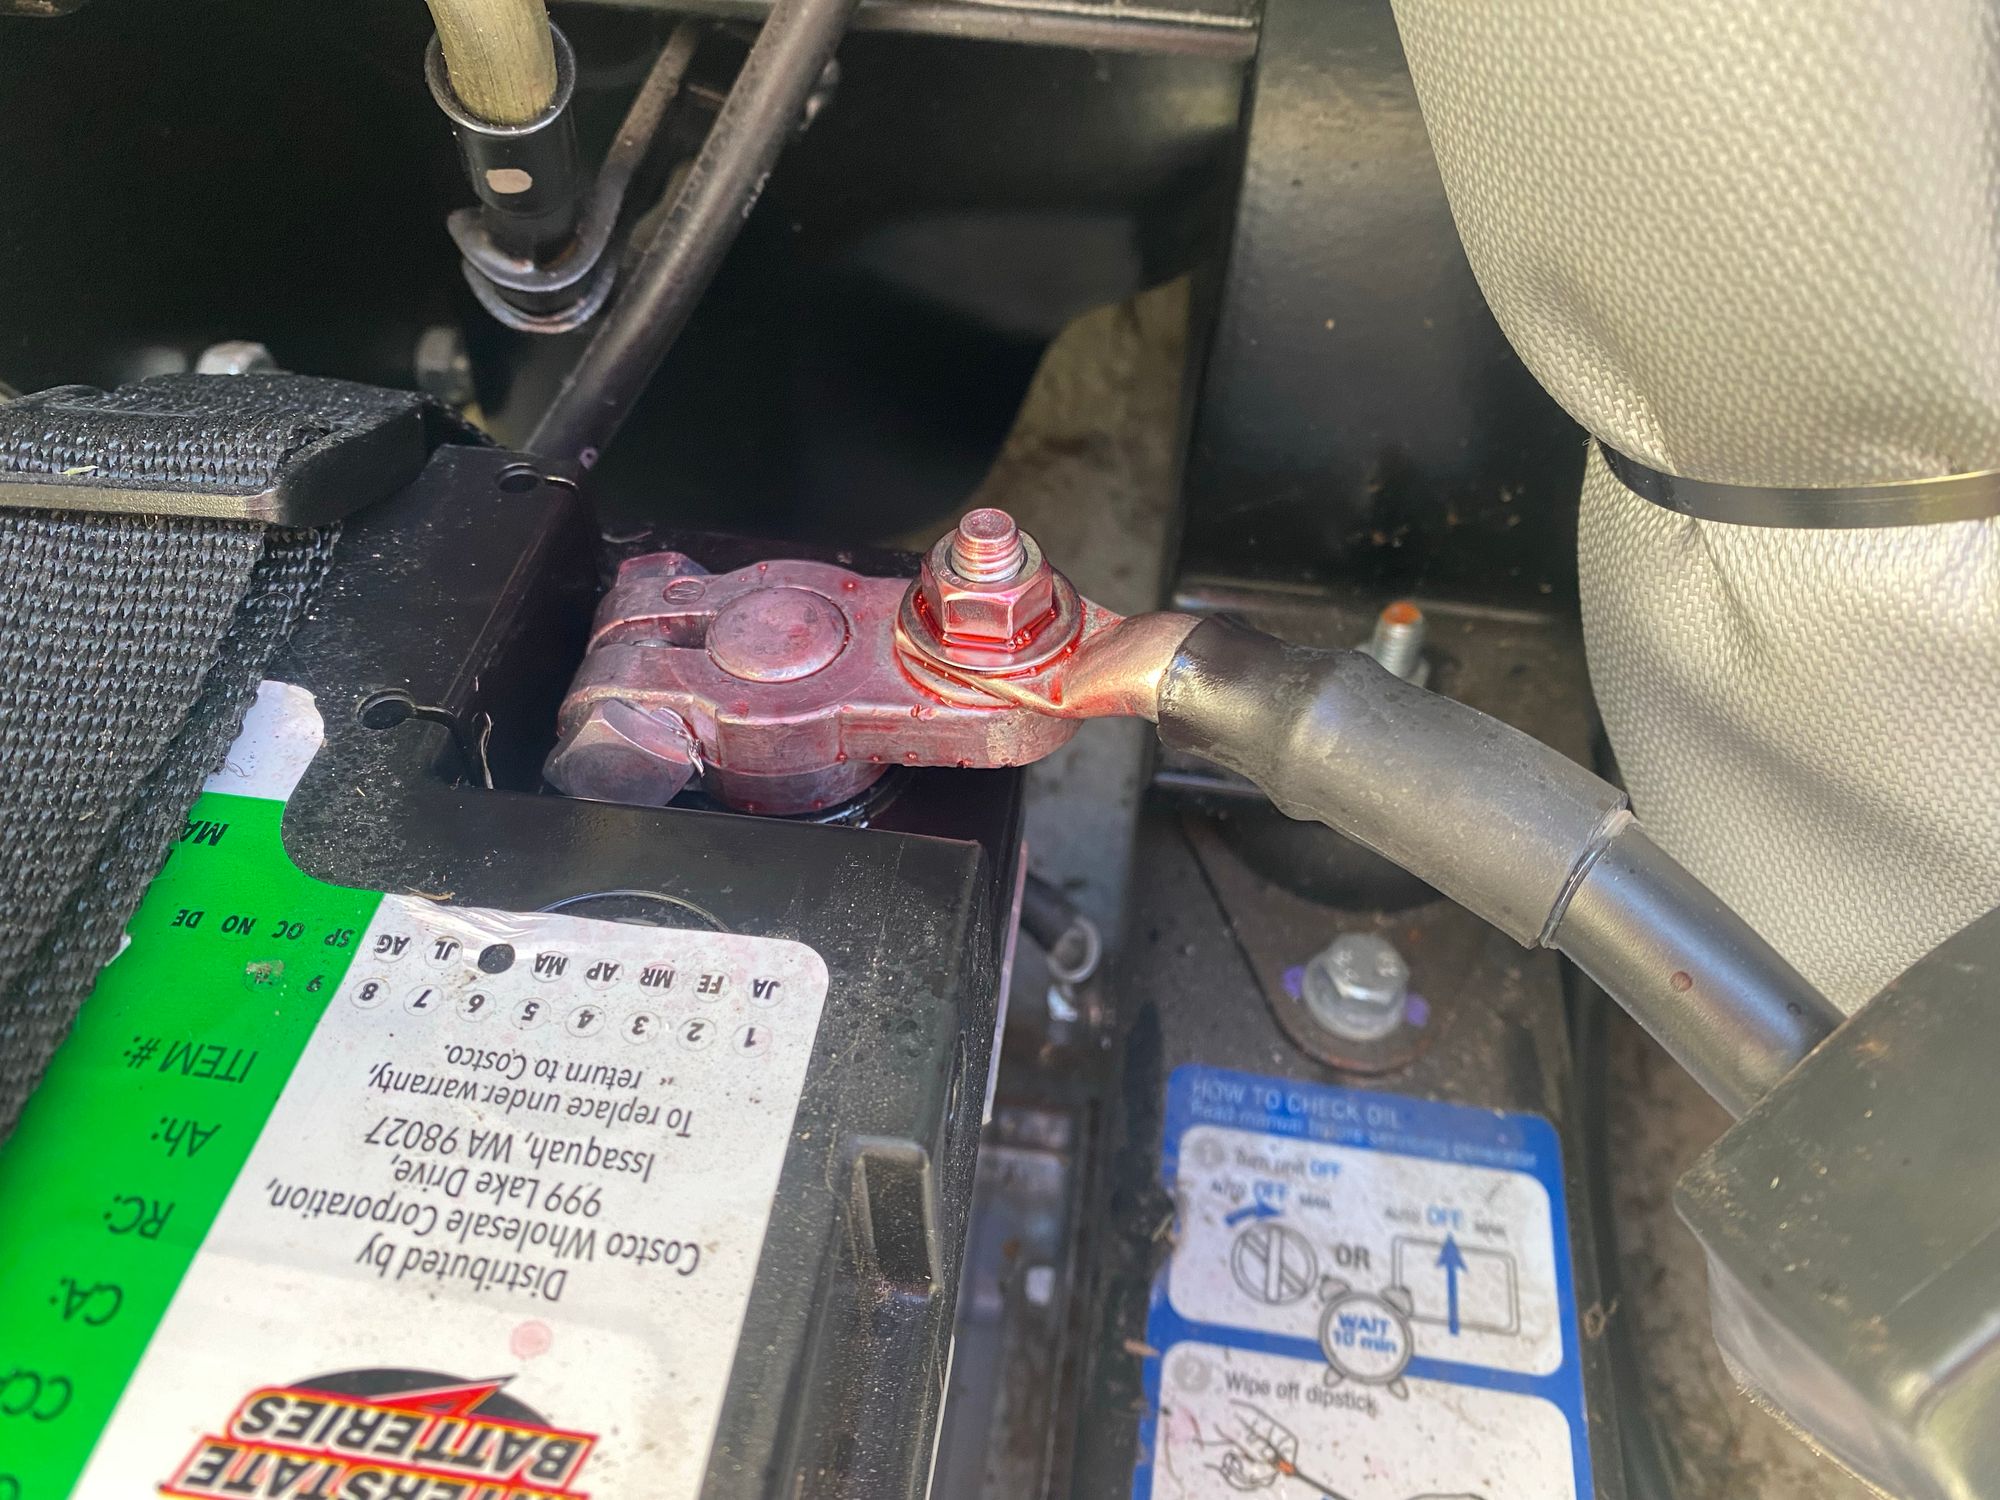
I also have a second problem, when they installed the generator they decided to use an impact driver to attach the battery lugs, and completely destroyed the positive terminal
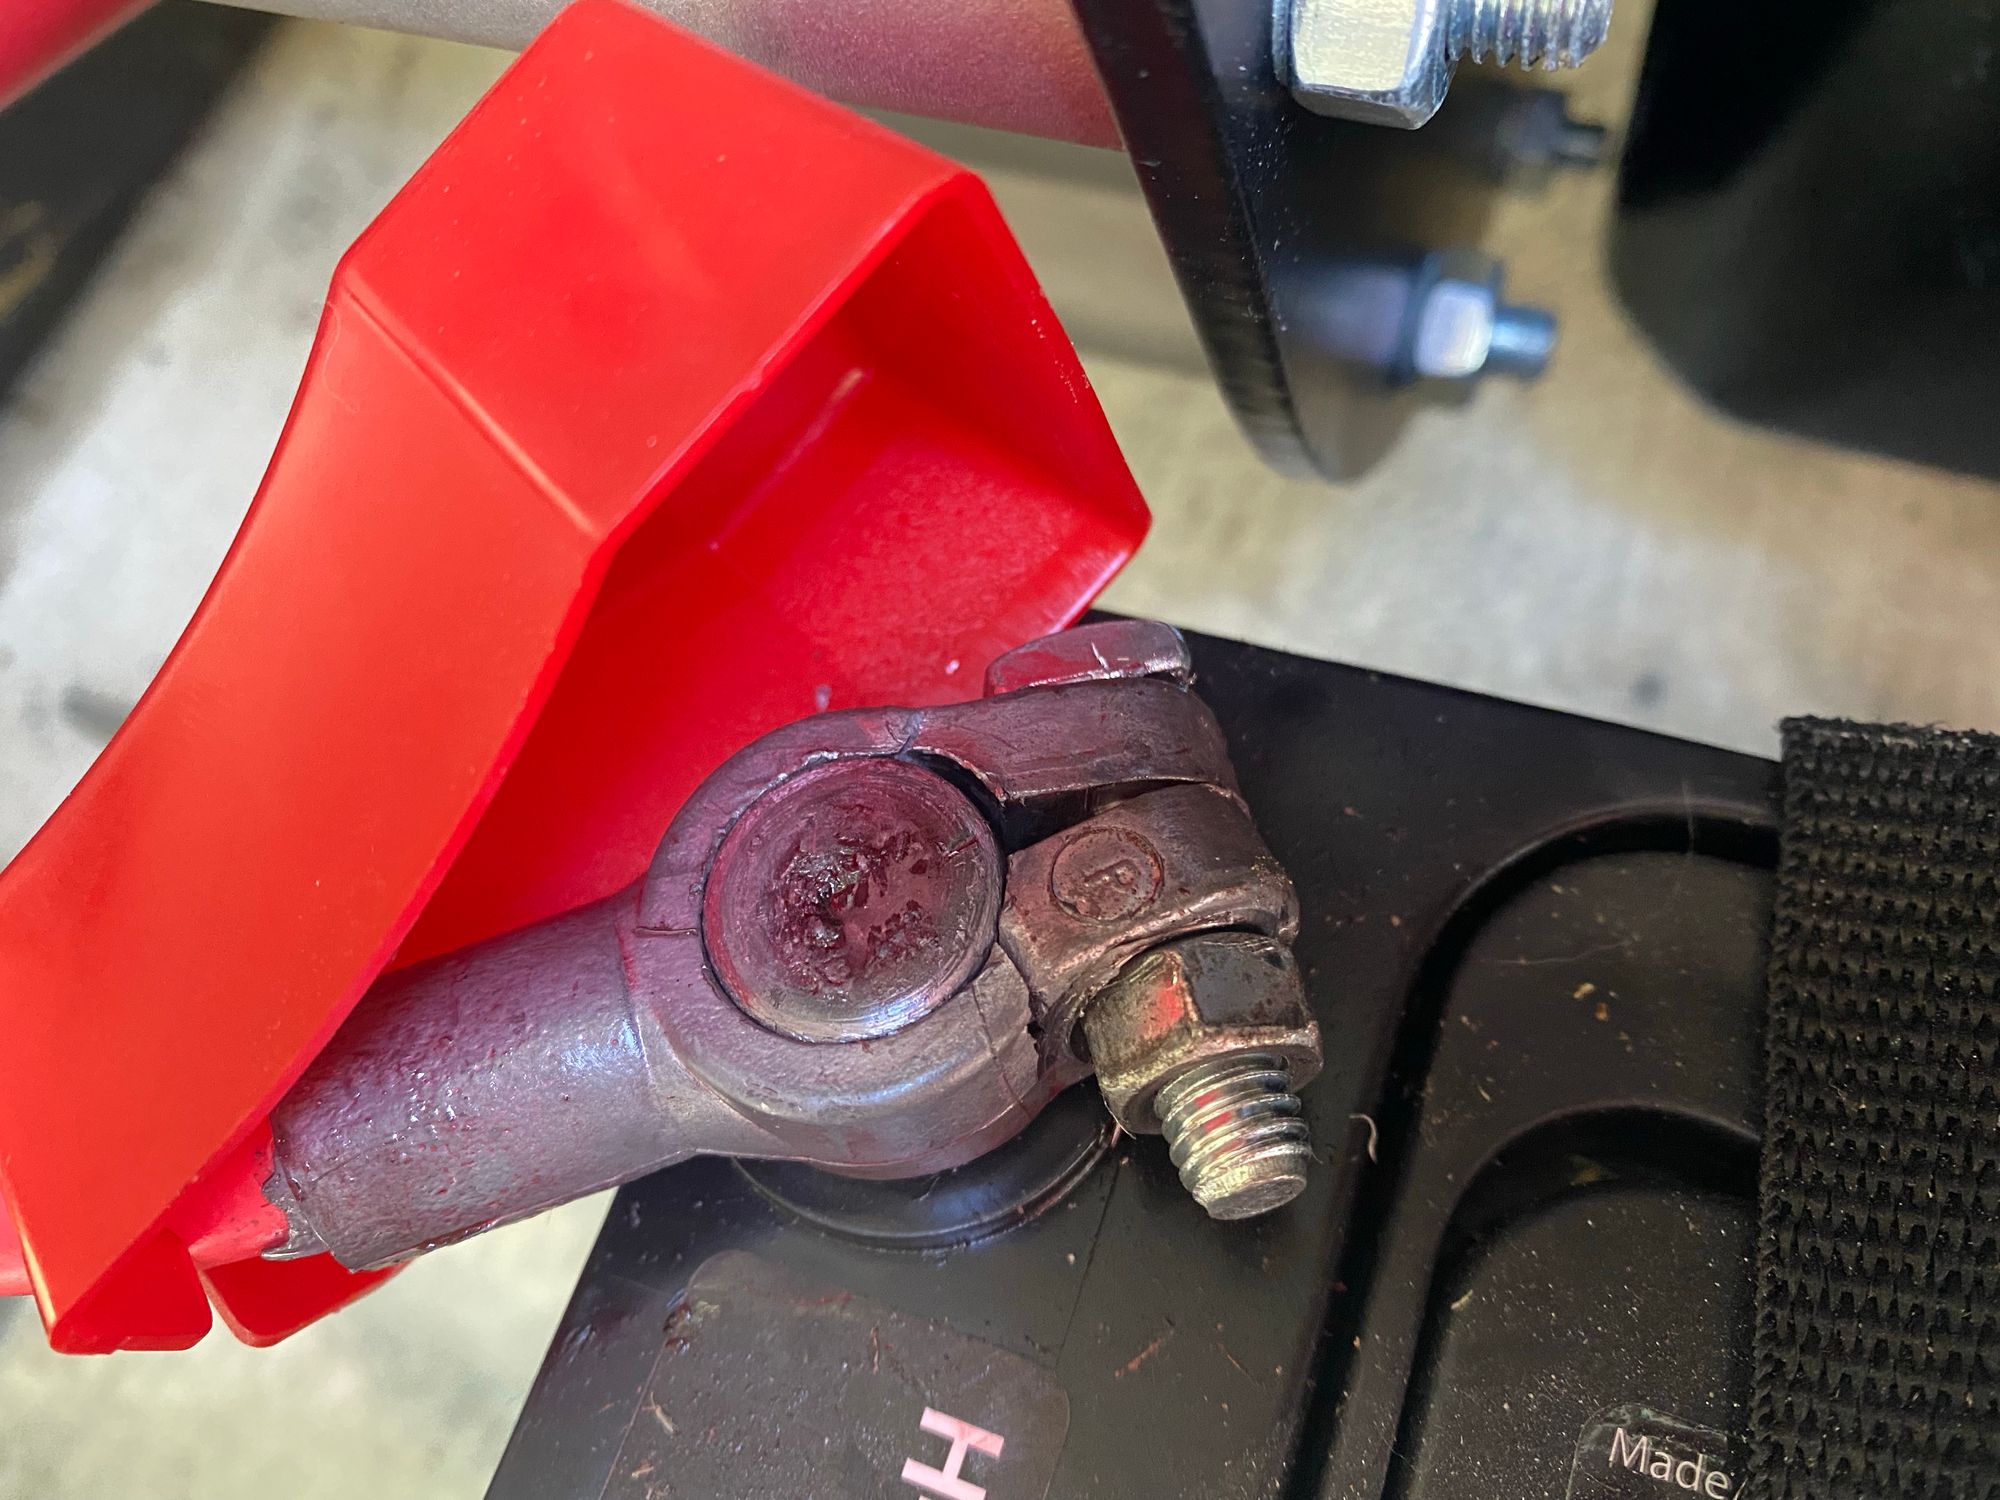
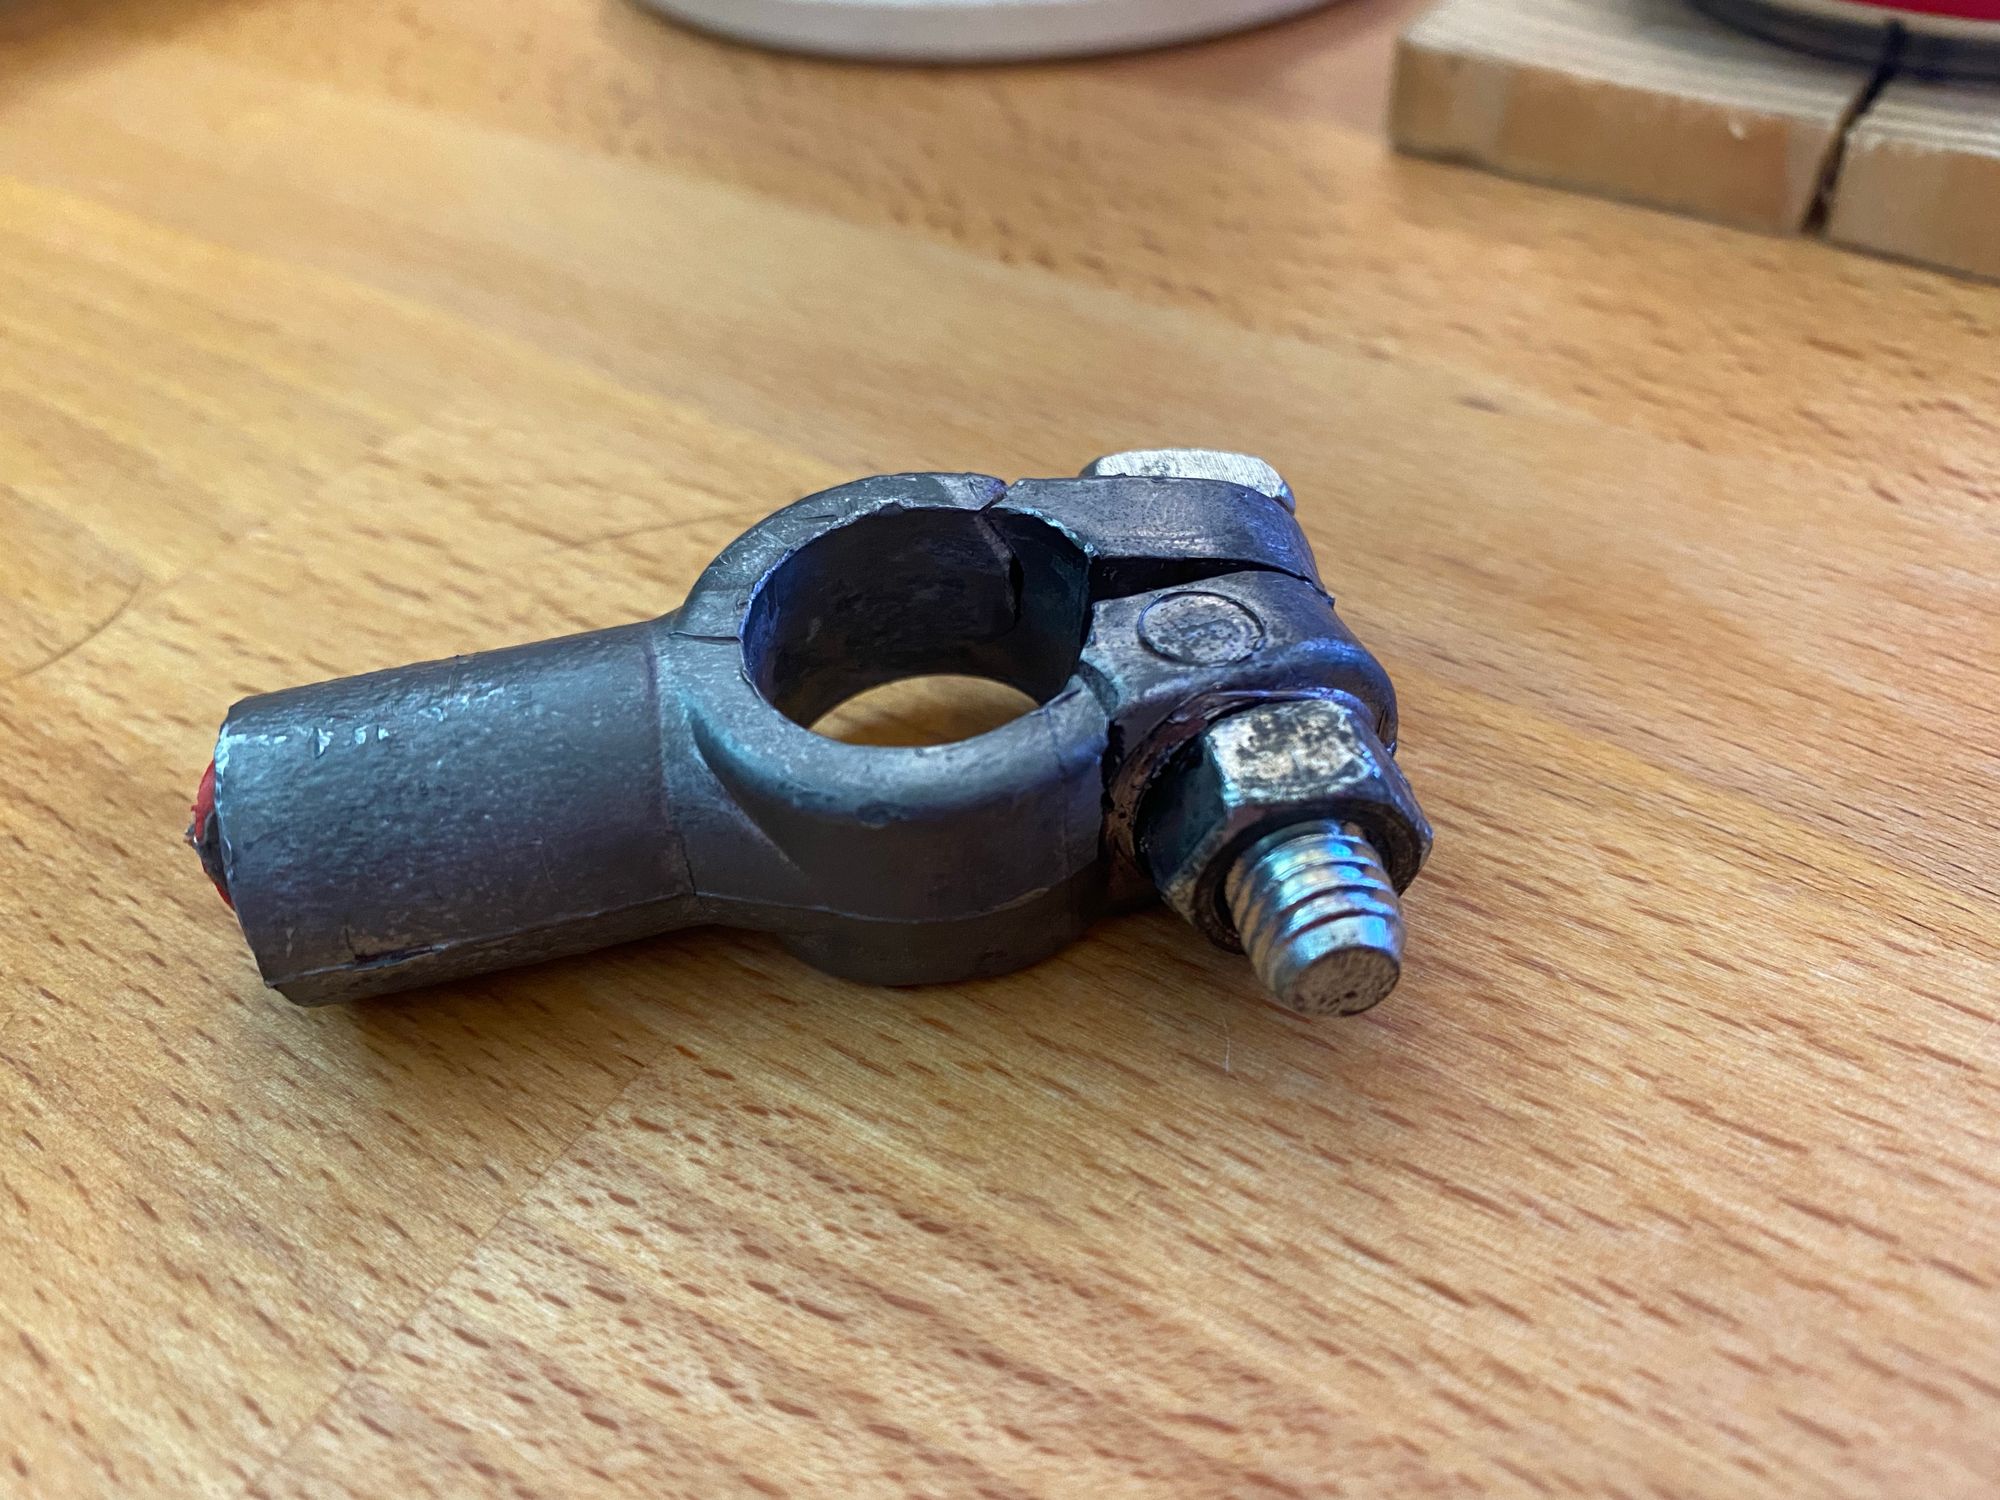
I complained to them, and they came and replaced it with this horrible cheap connector

I wanted them to supply a brand new OEM positive battery cable, but they would not. Yet more points against them.
The Parts
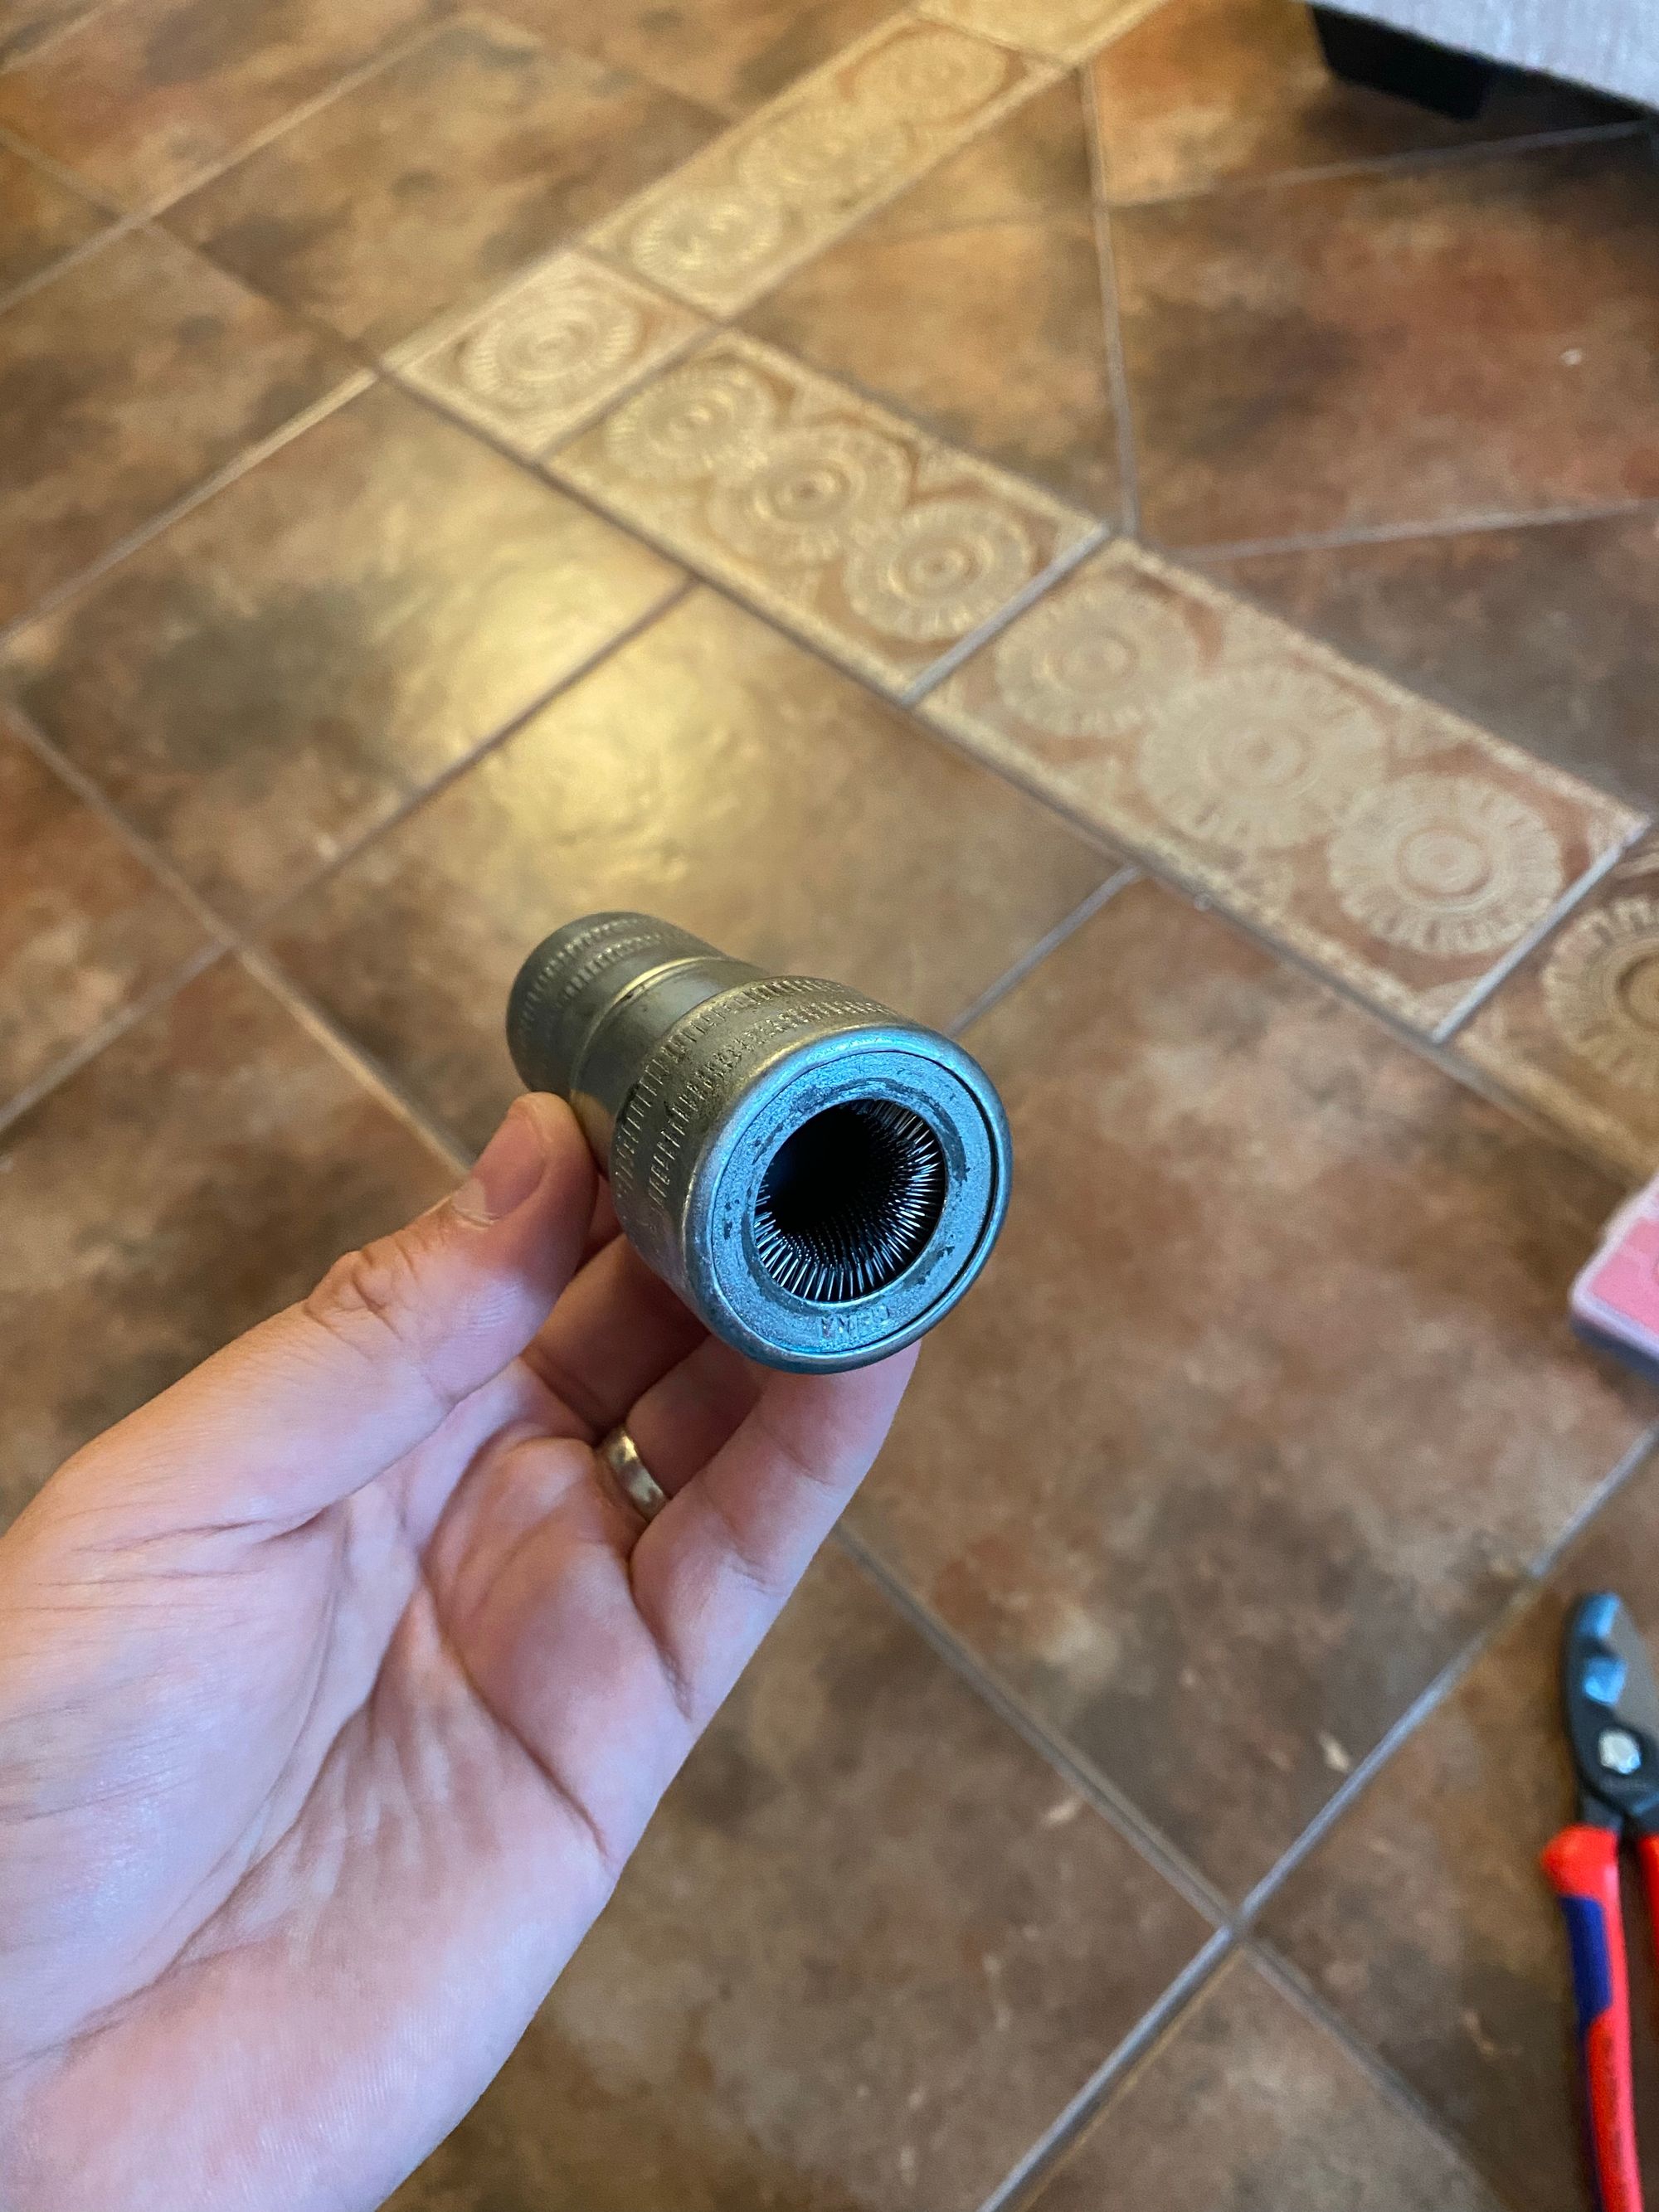
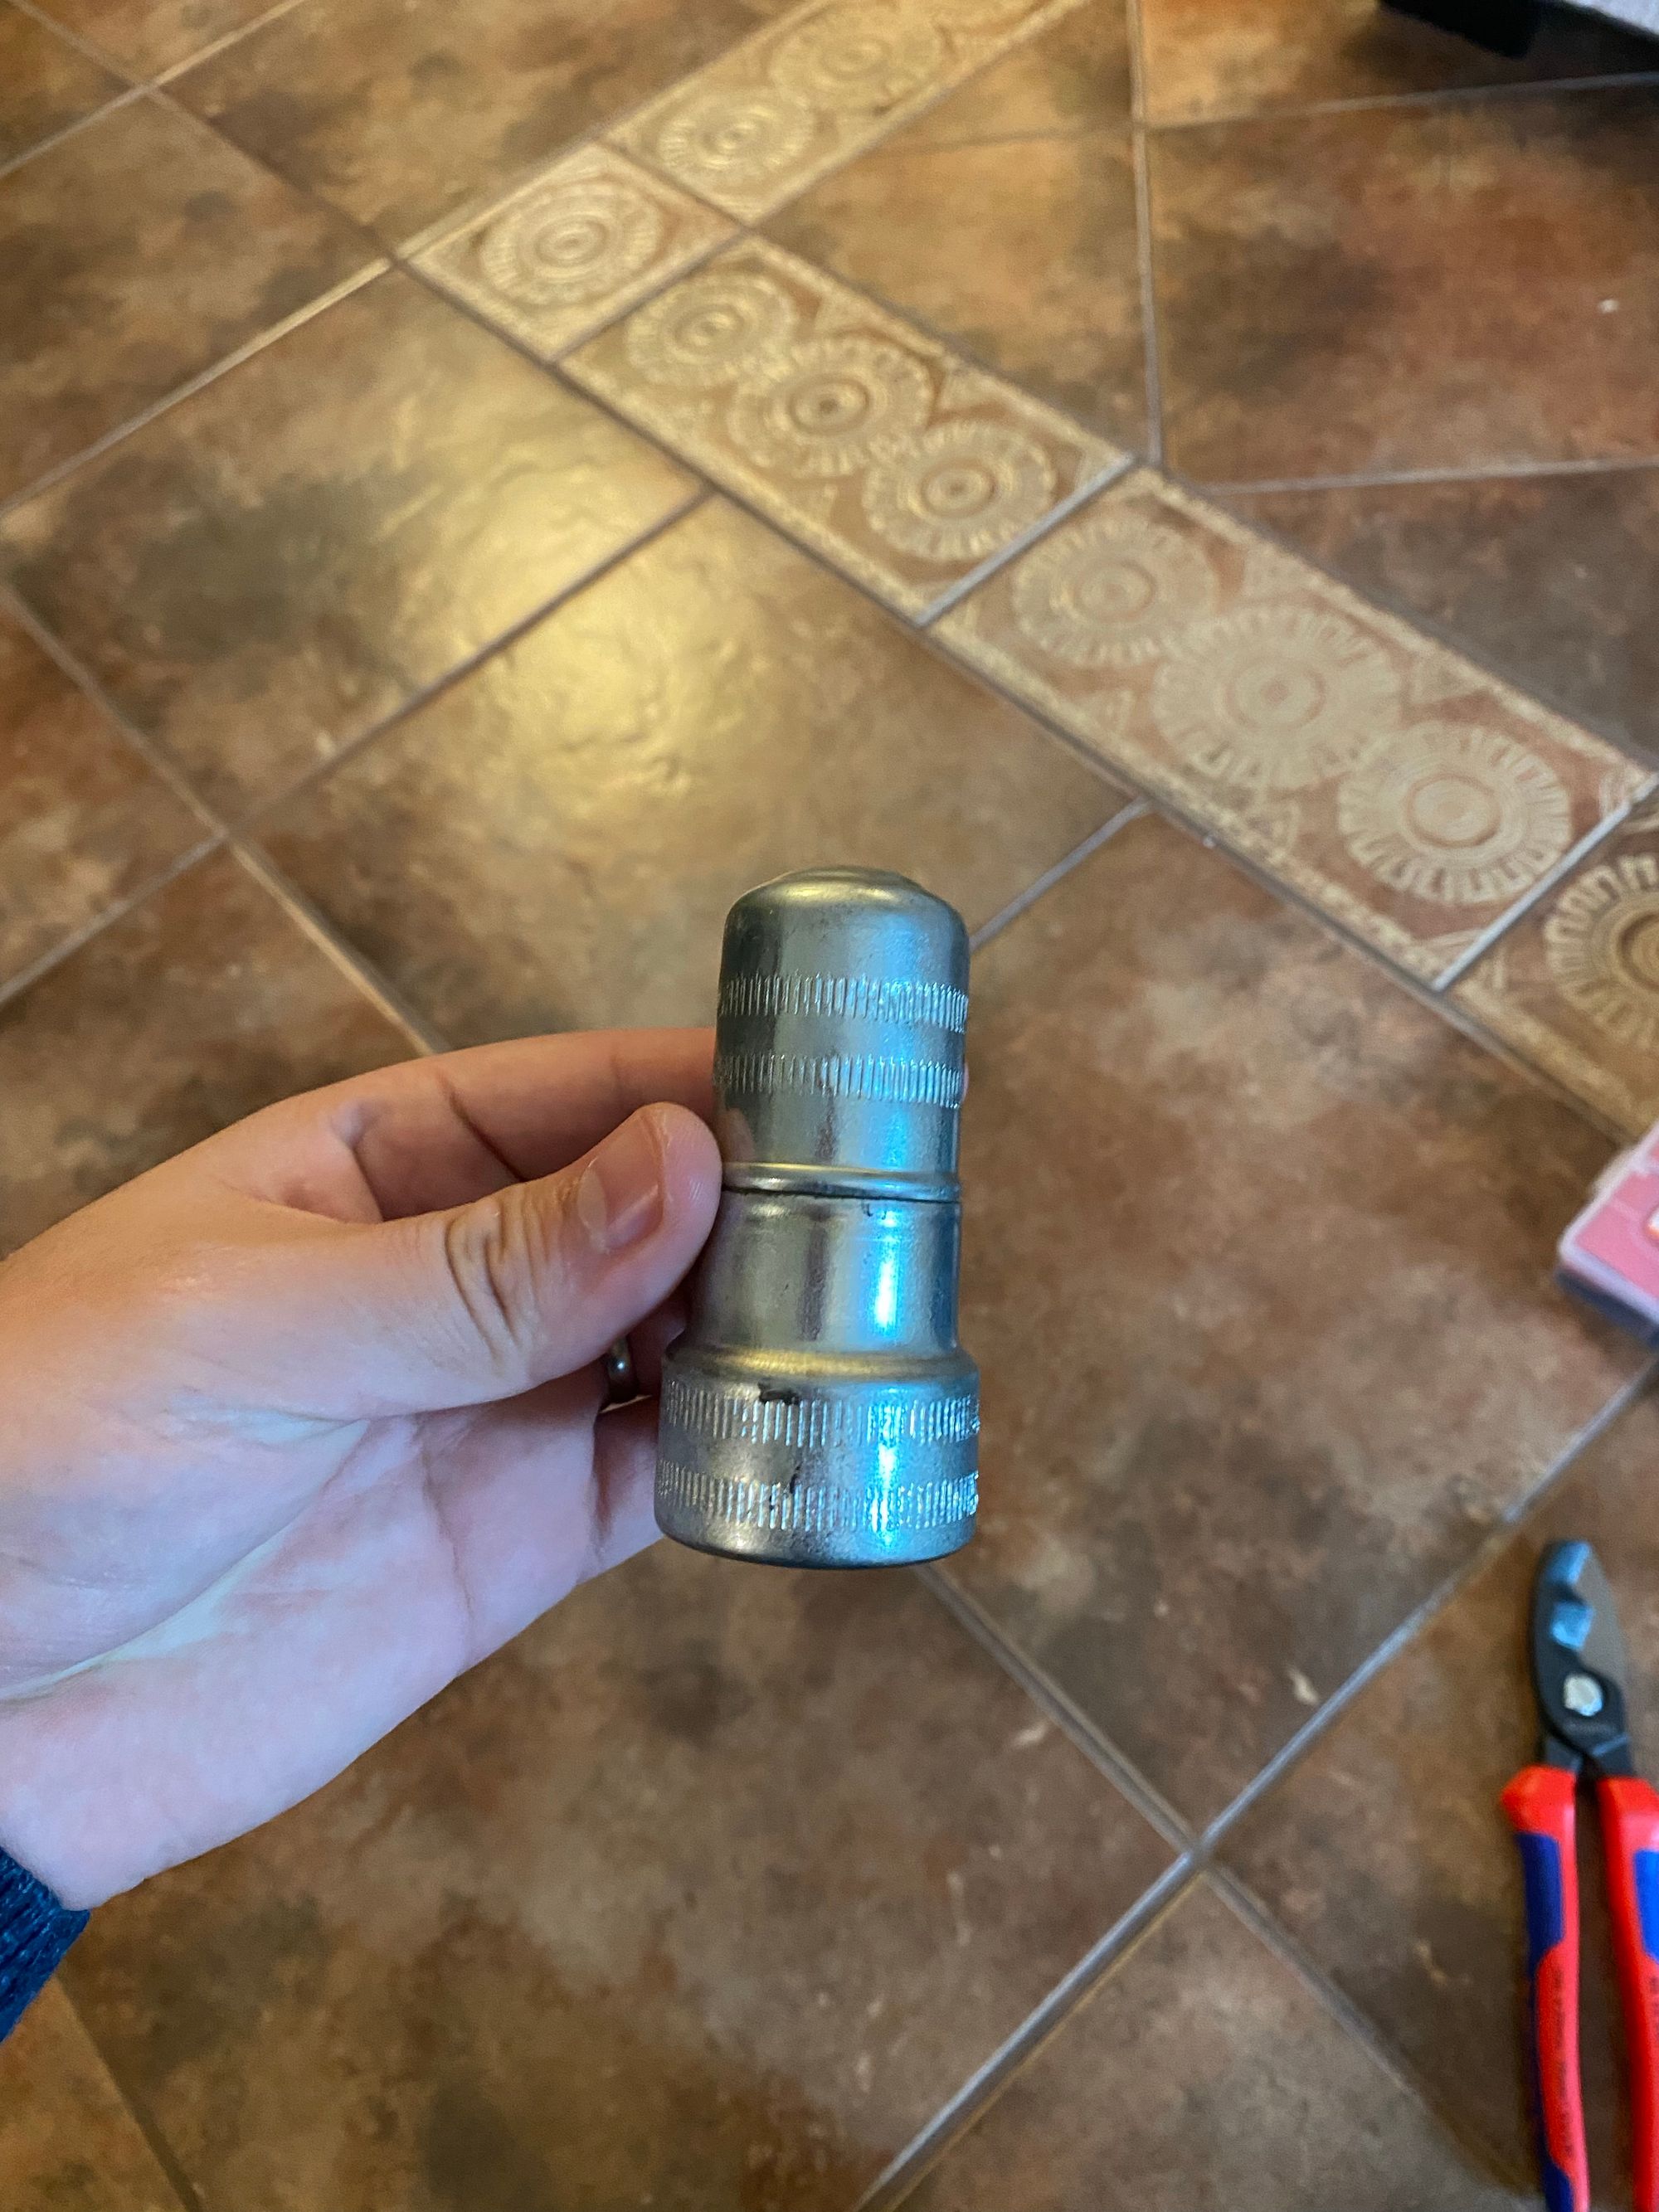
To fix this, I got the following items to crimp new connectors on the cable, and use new battery terminals.
- Fastronix Marine Battery Terminal and Cover Kit - AMAZON
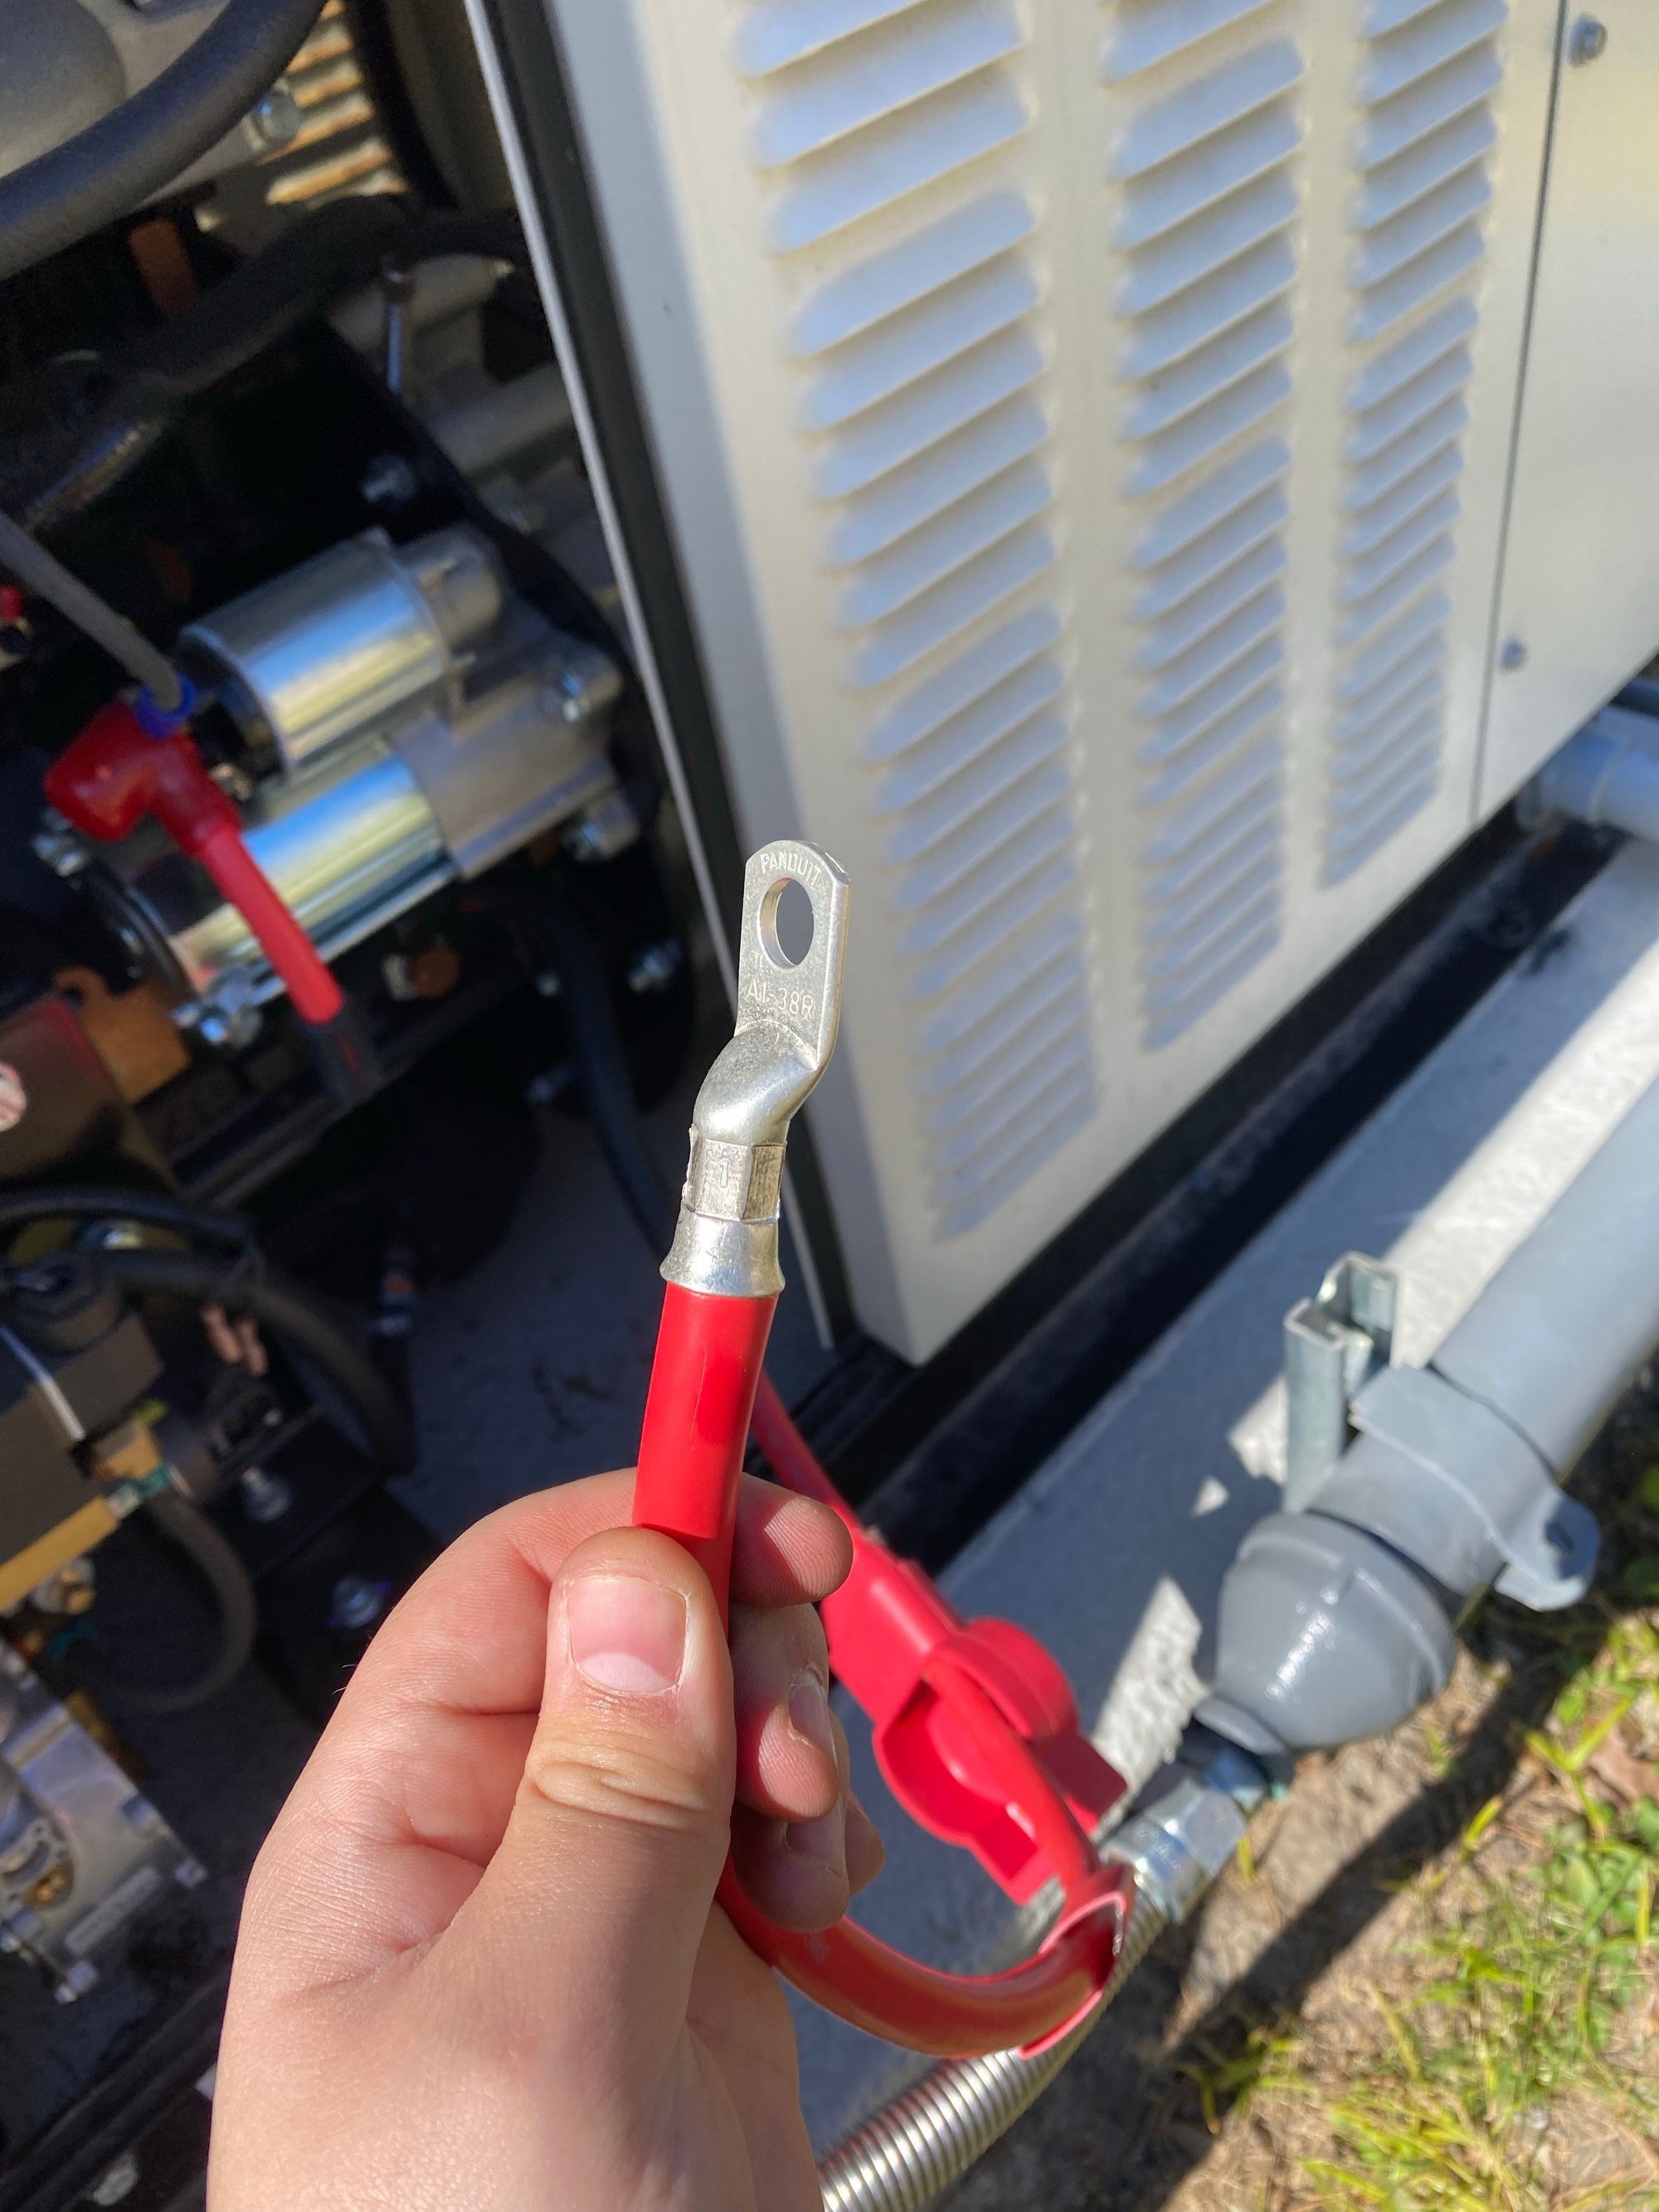
- Panduit A1-38R-C terminals - Mouser Electronics
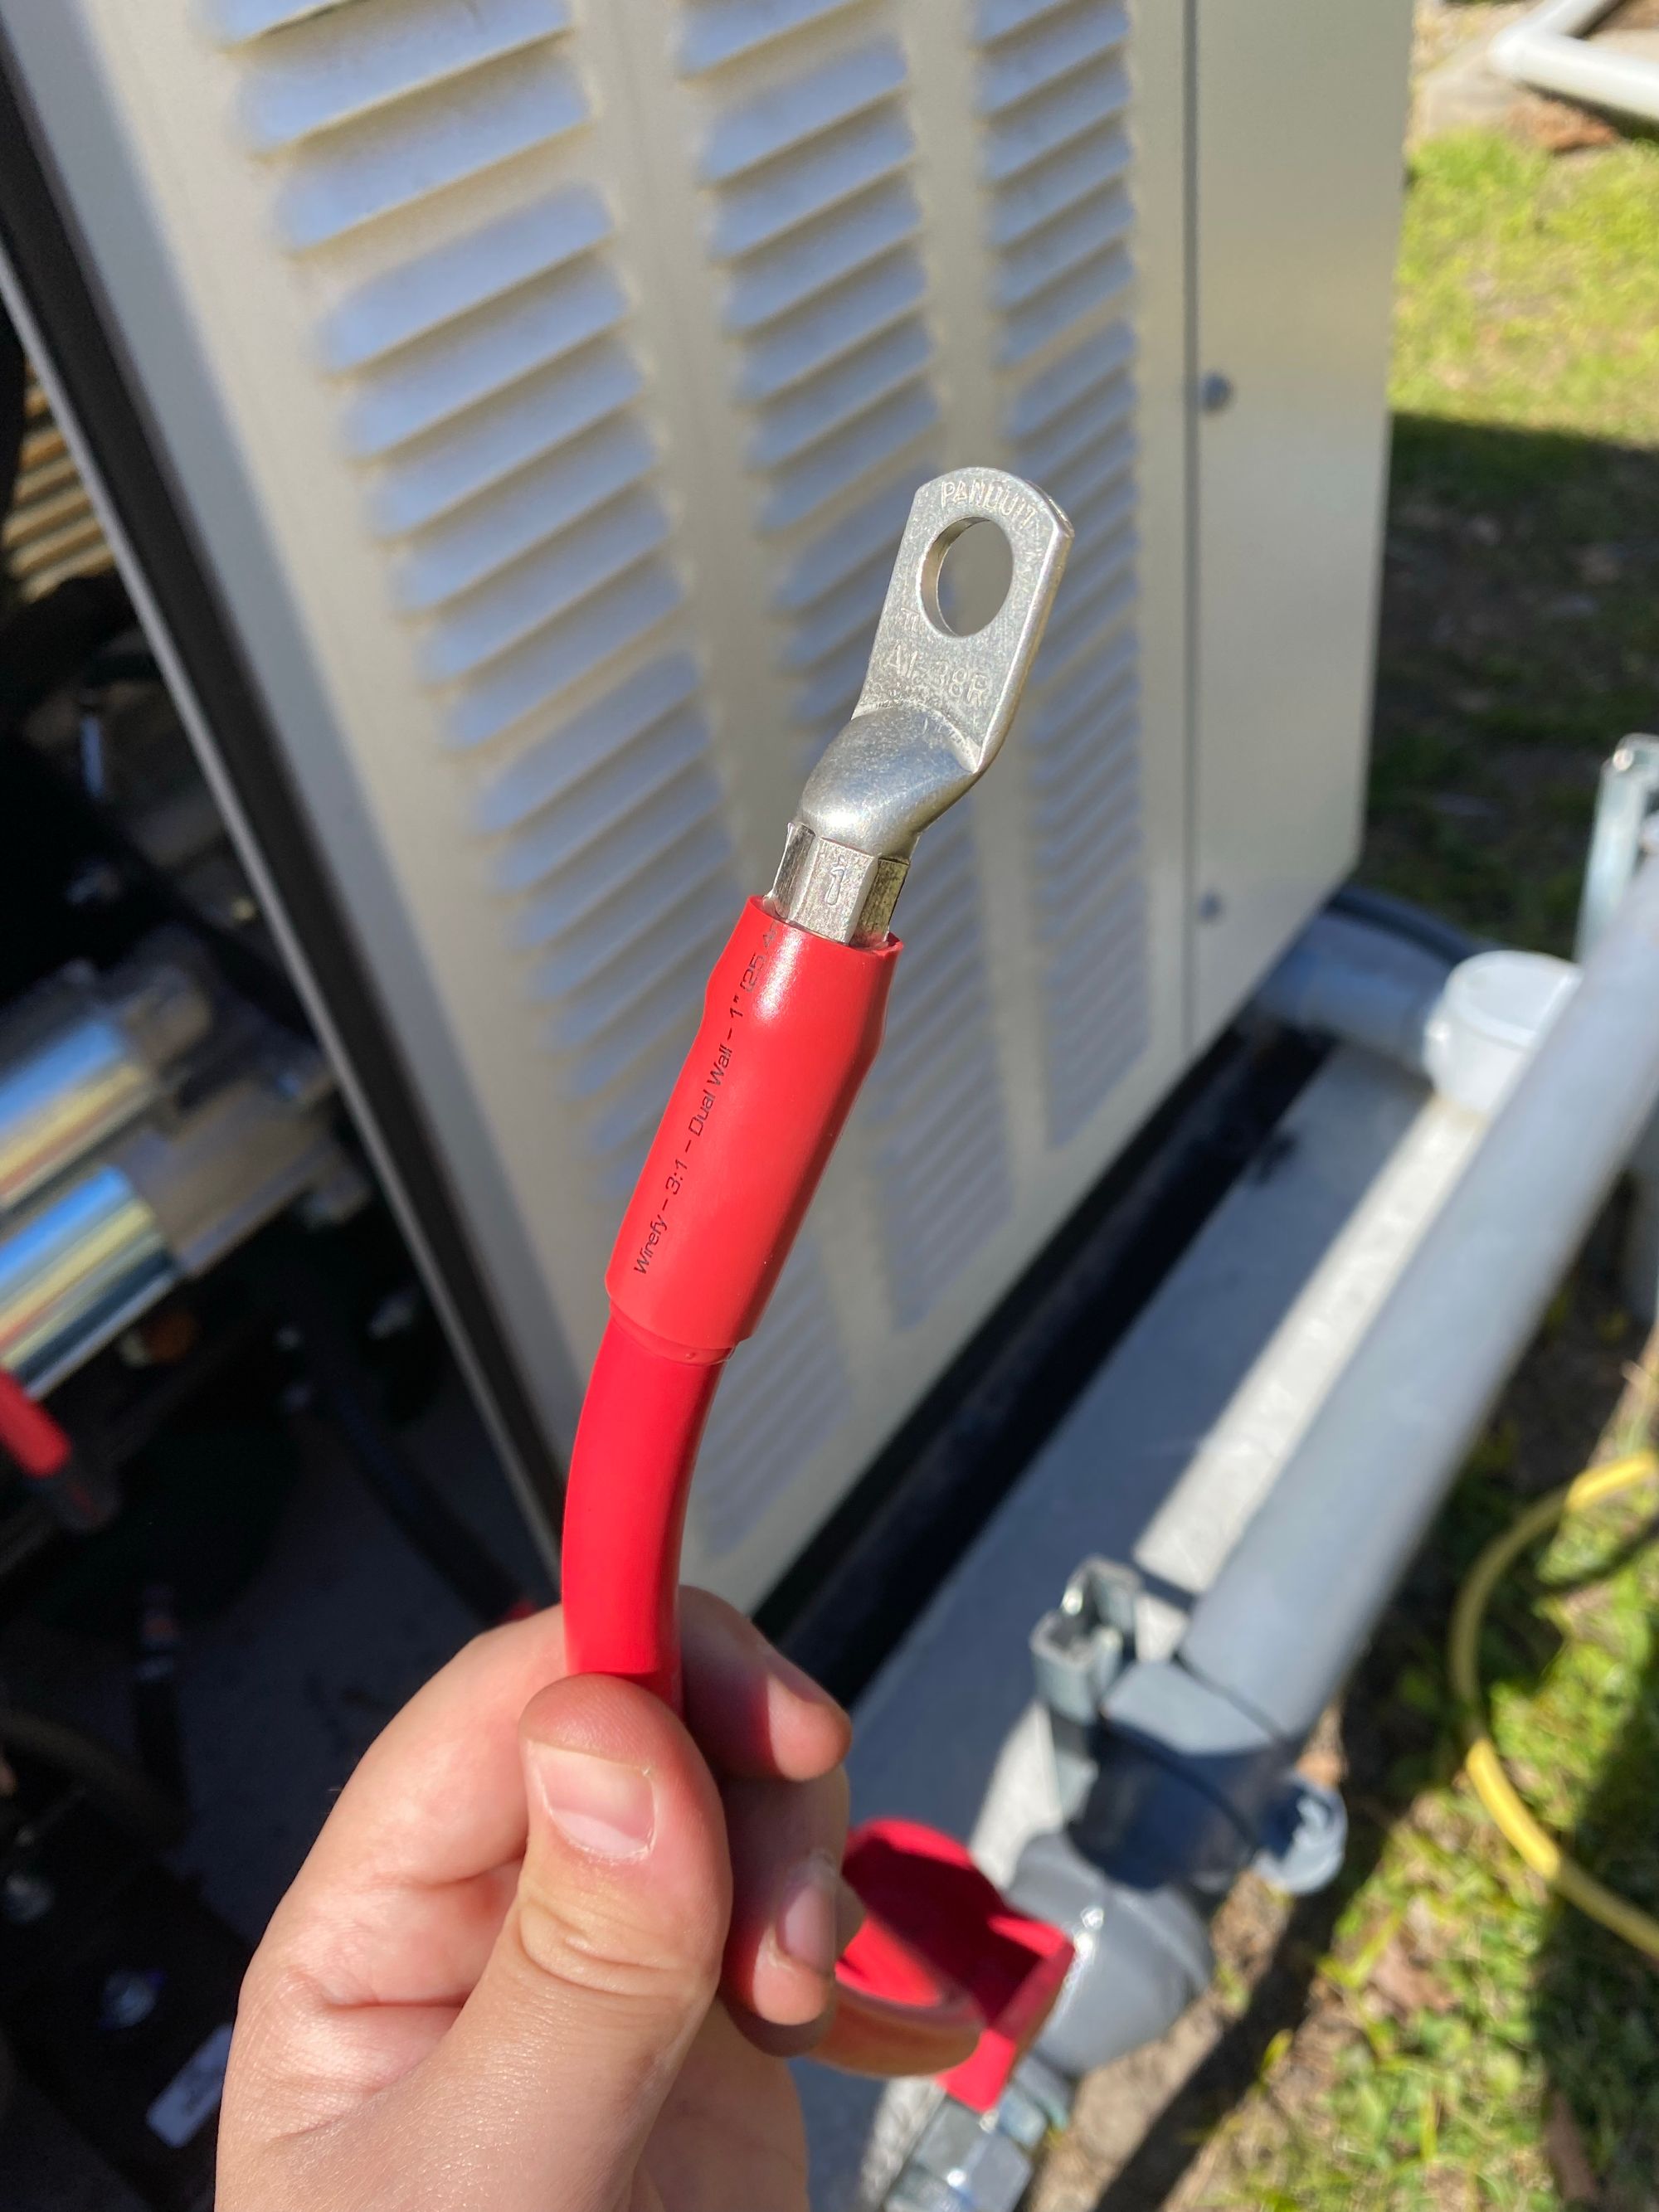
- Wirefy Adheasive Lined Heat Shrink Tubing Kit - AMAZON
The Tools
To get all this installed, I used some tools I already had:
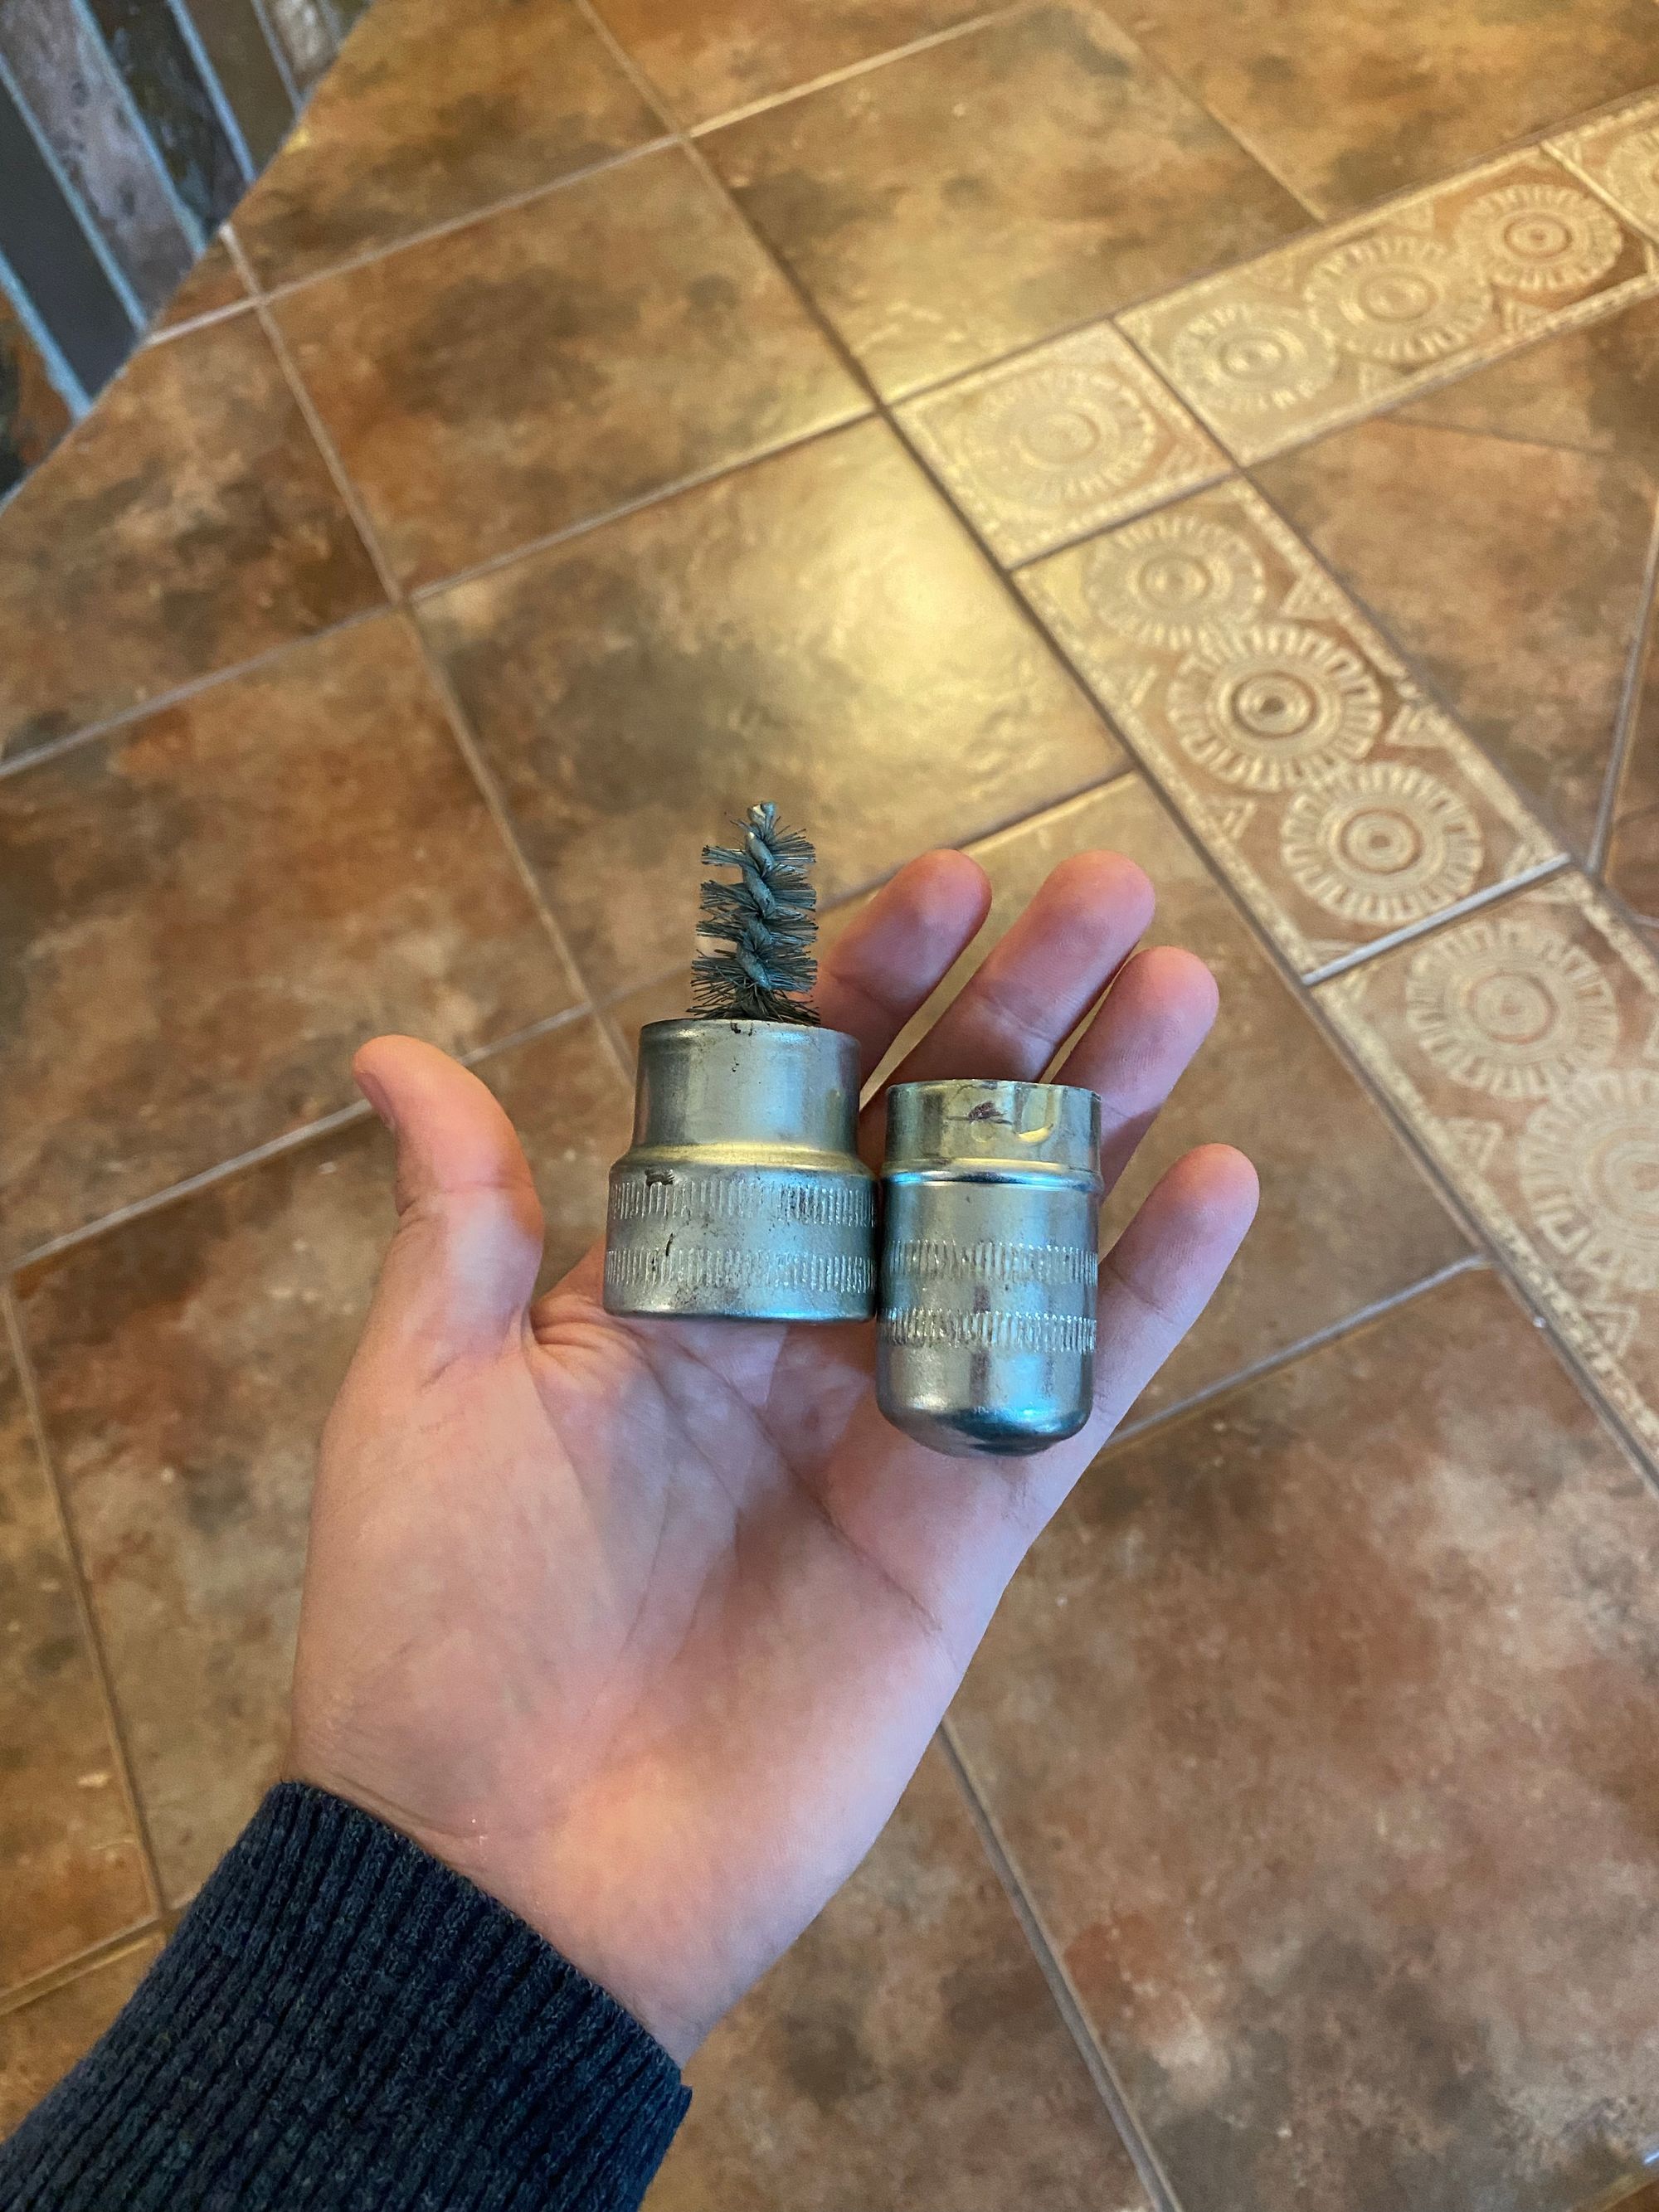
- Battery Terminal and Lug Cleaner
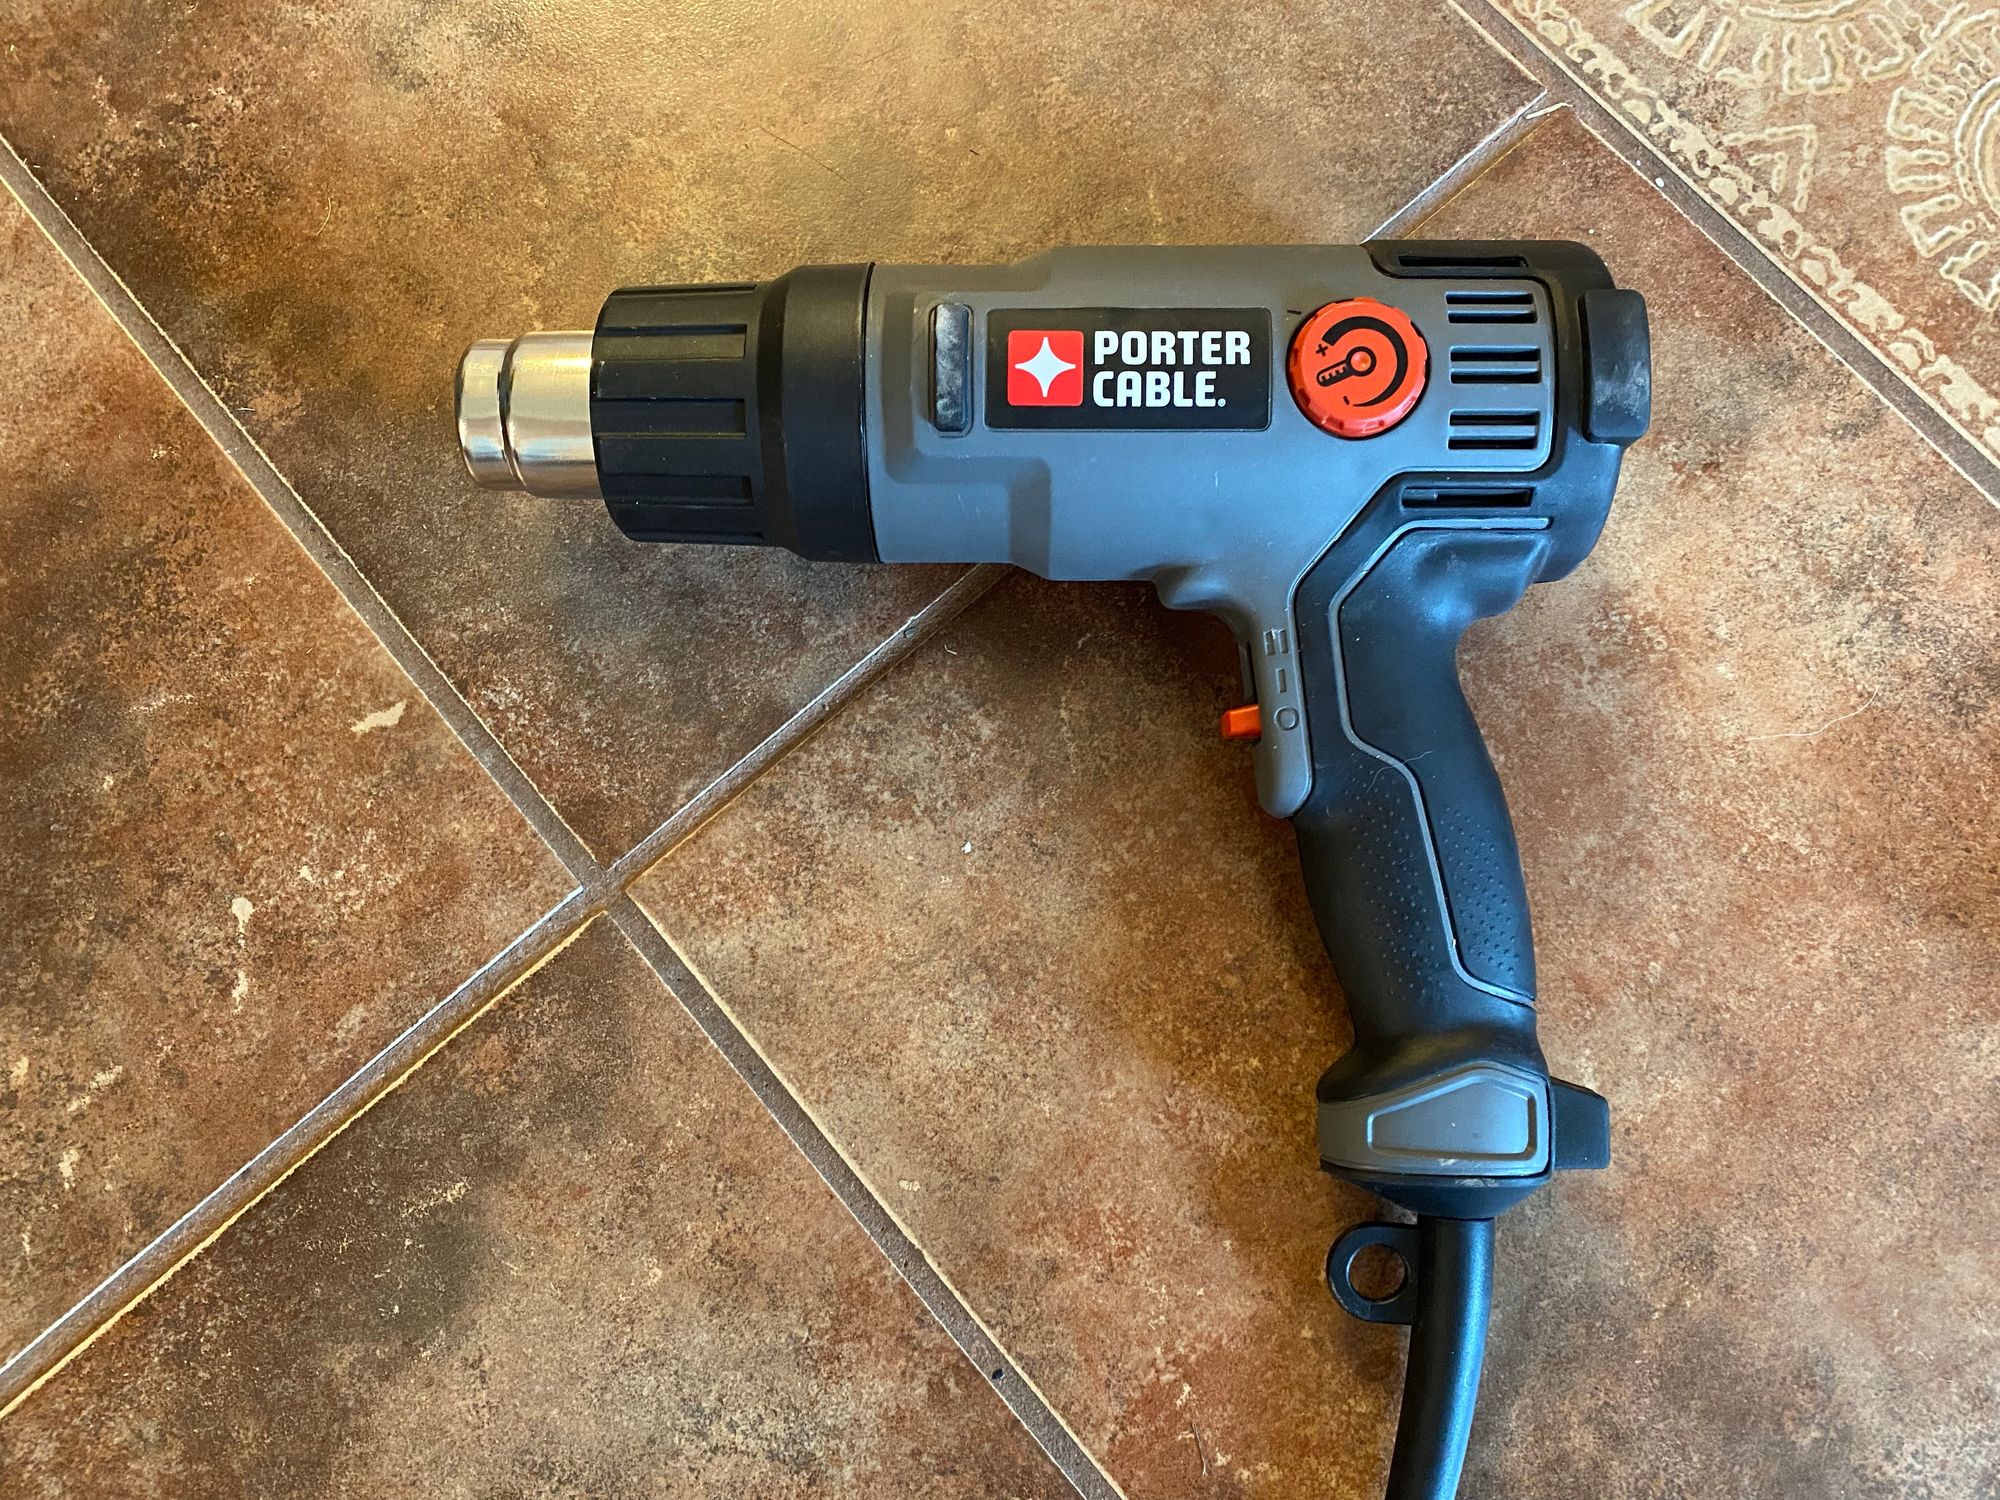
- Heat Gun
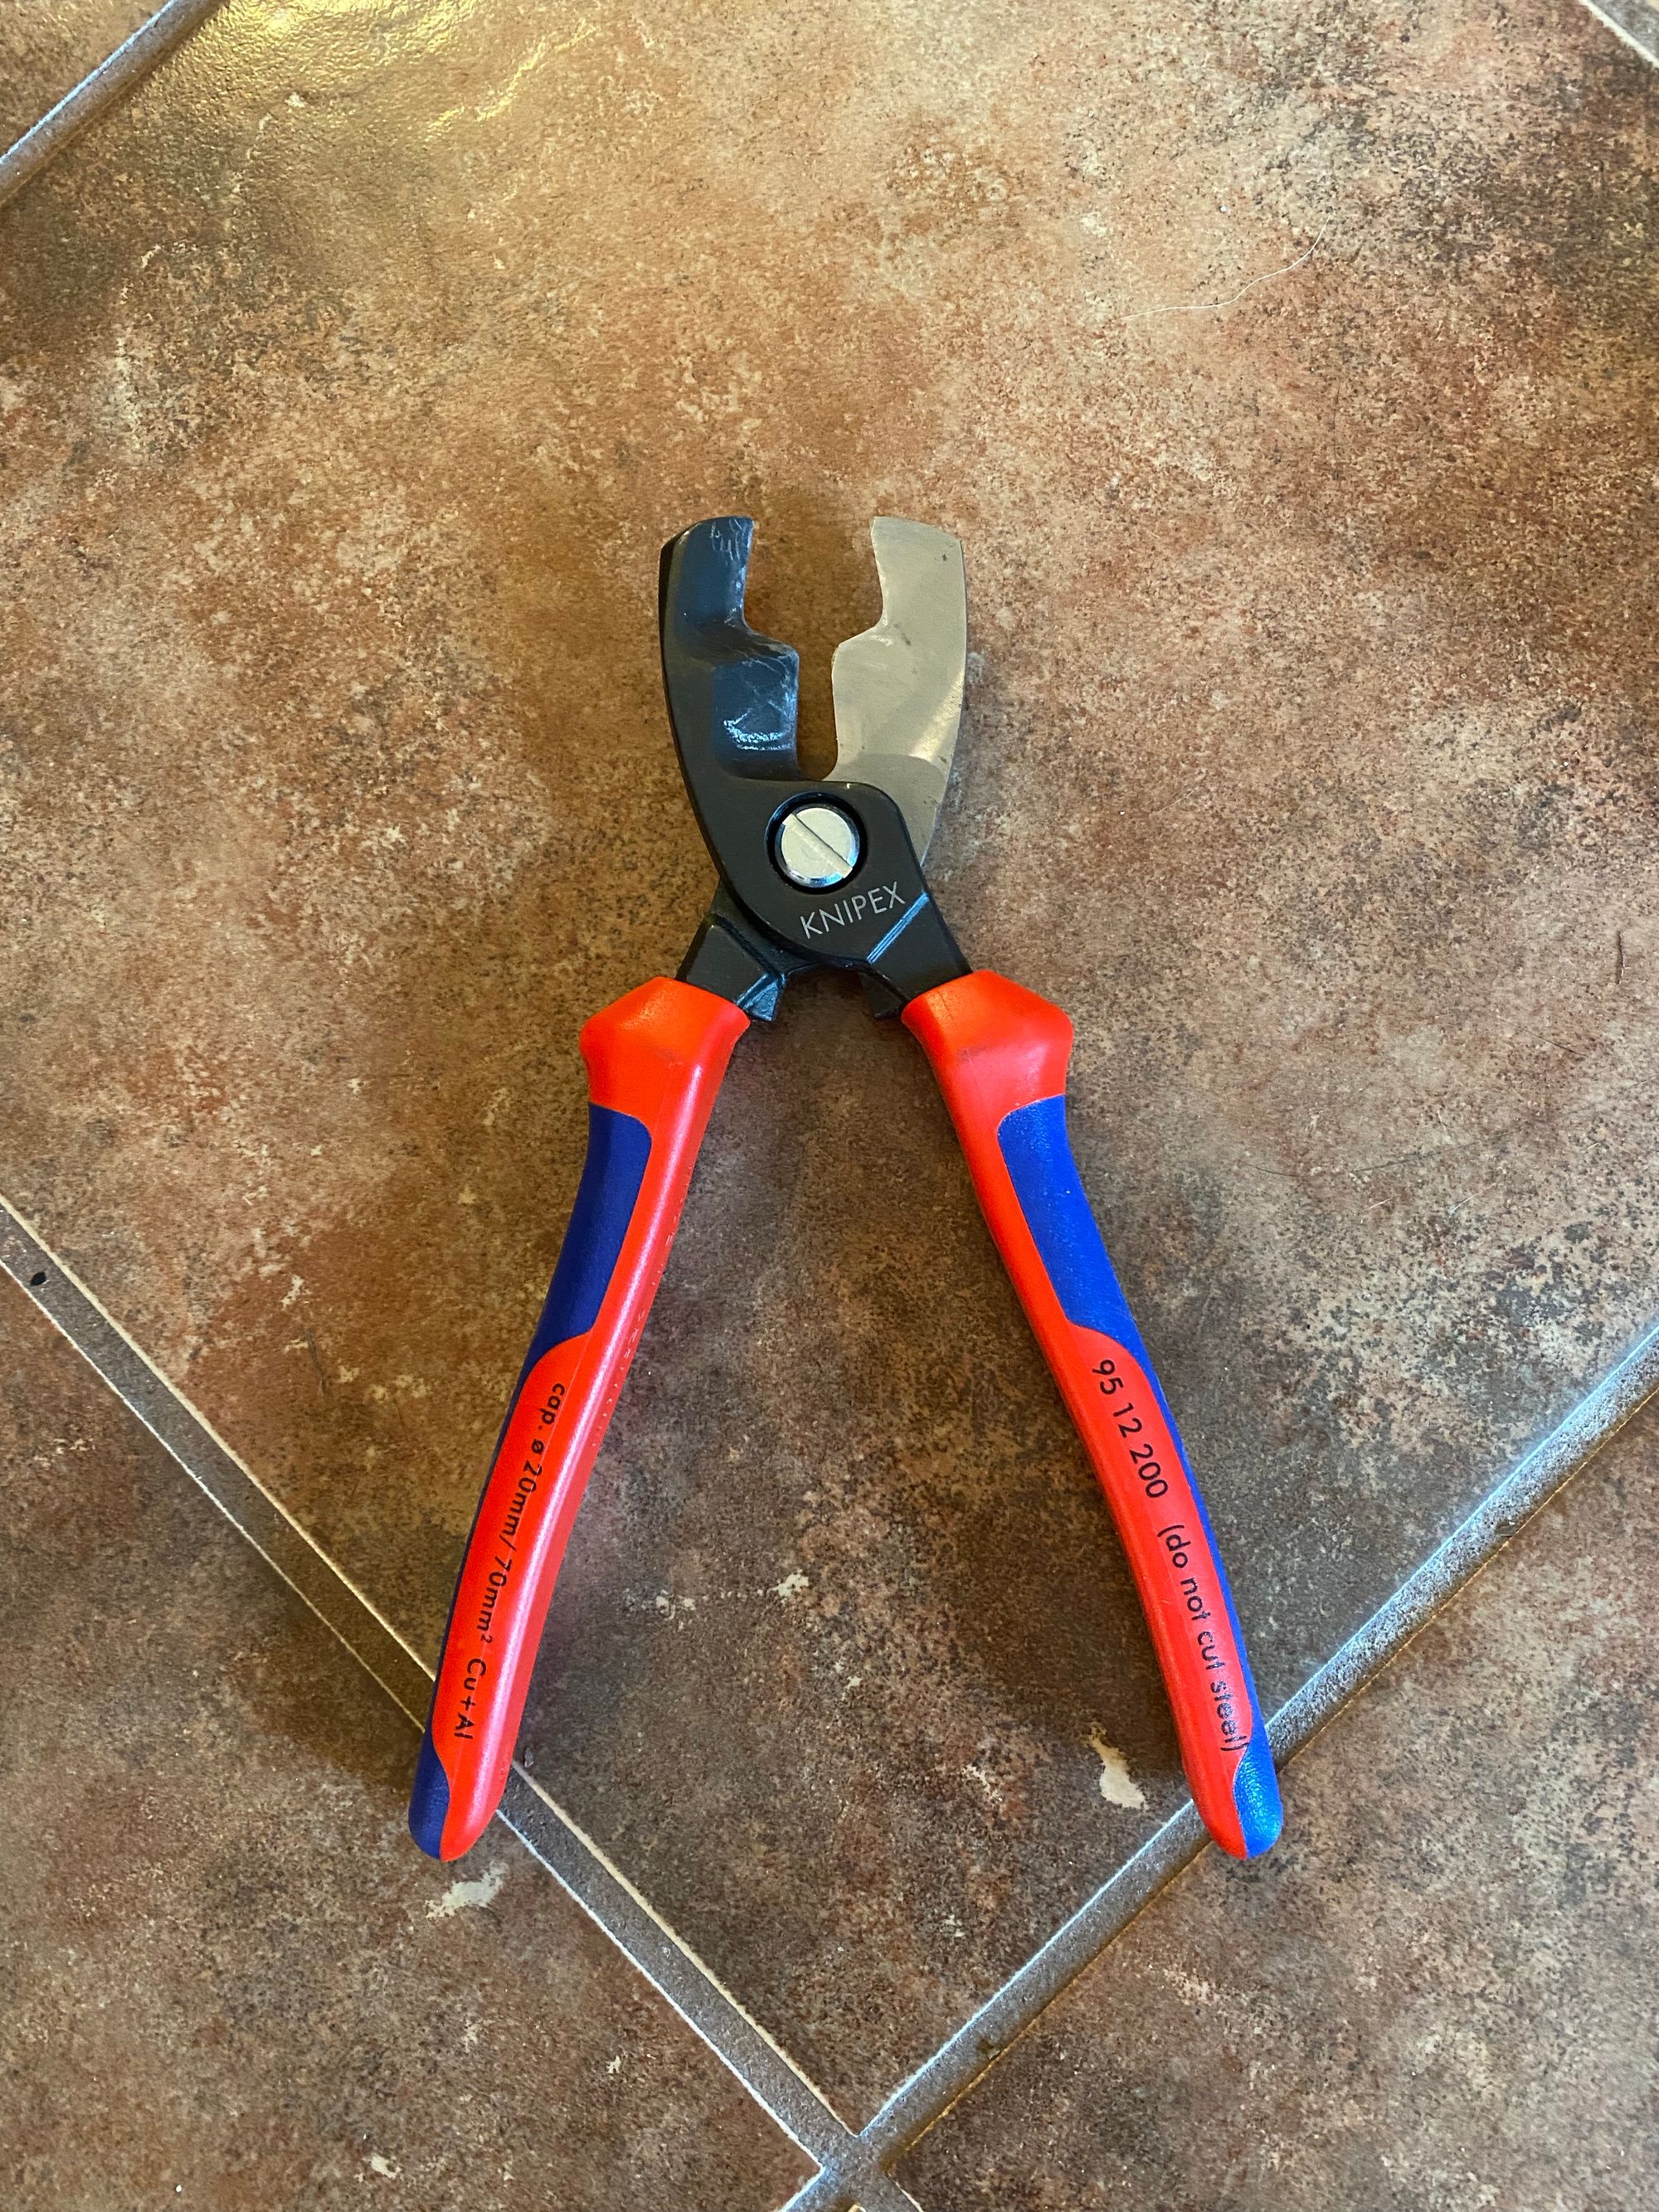
- Knipex Wire Cutters
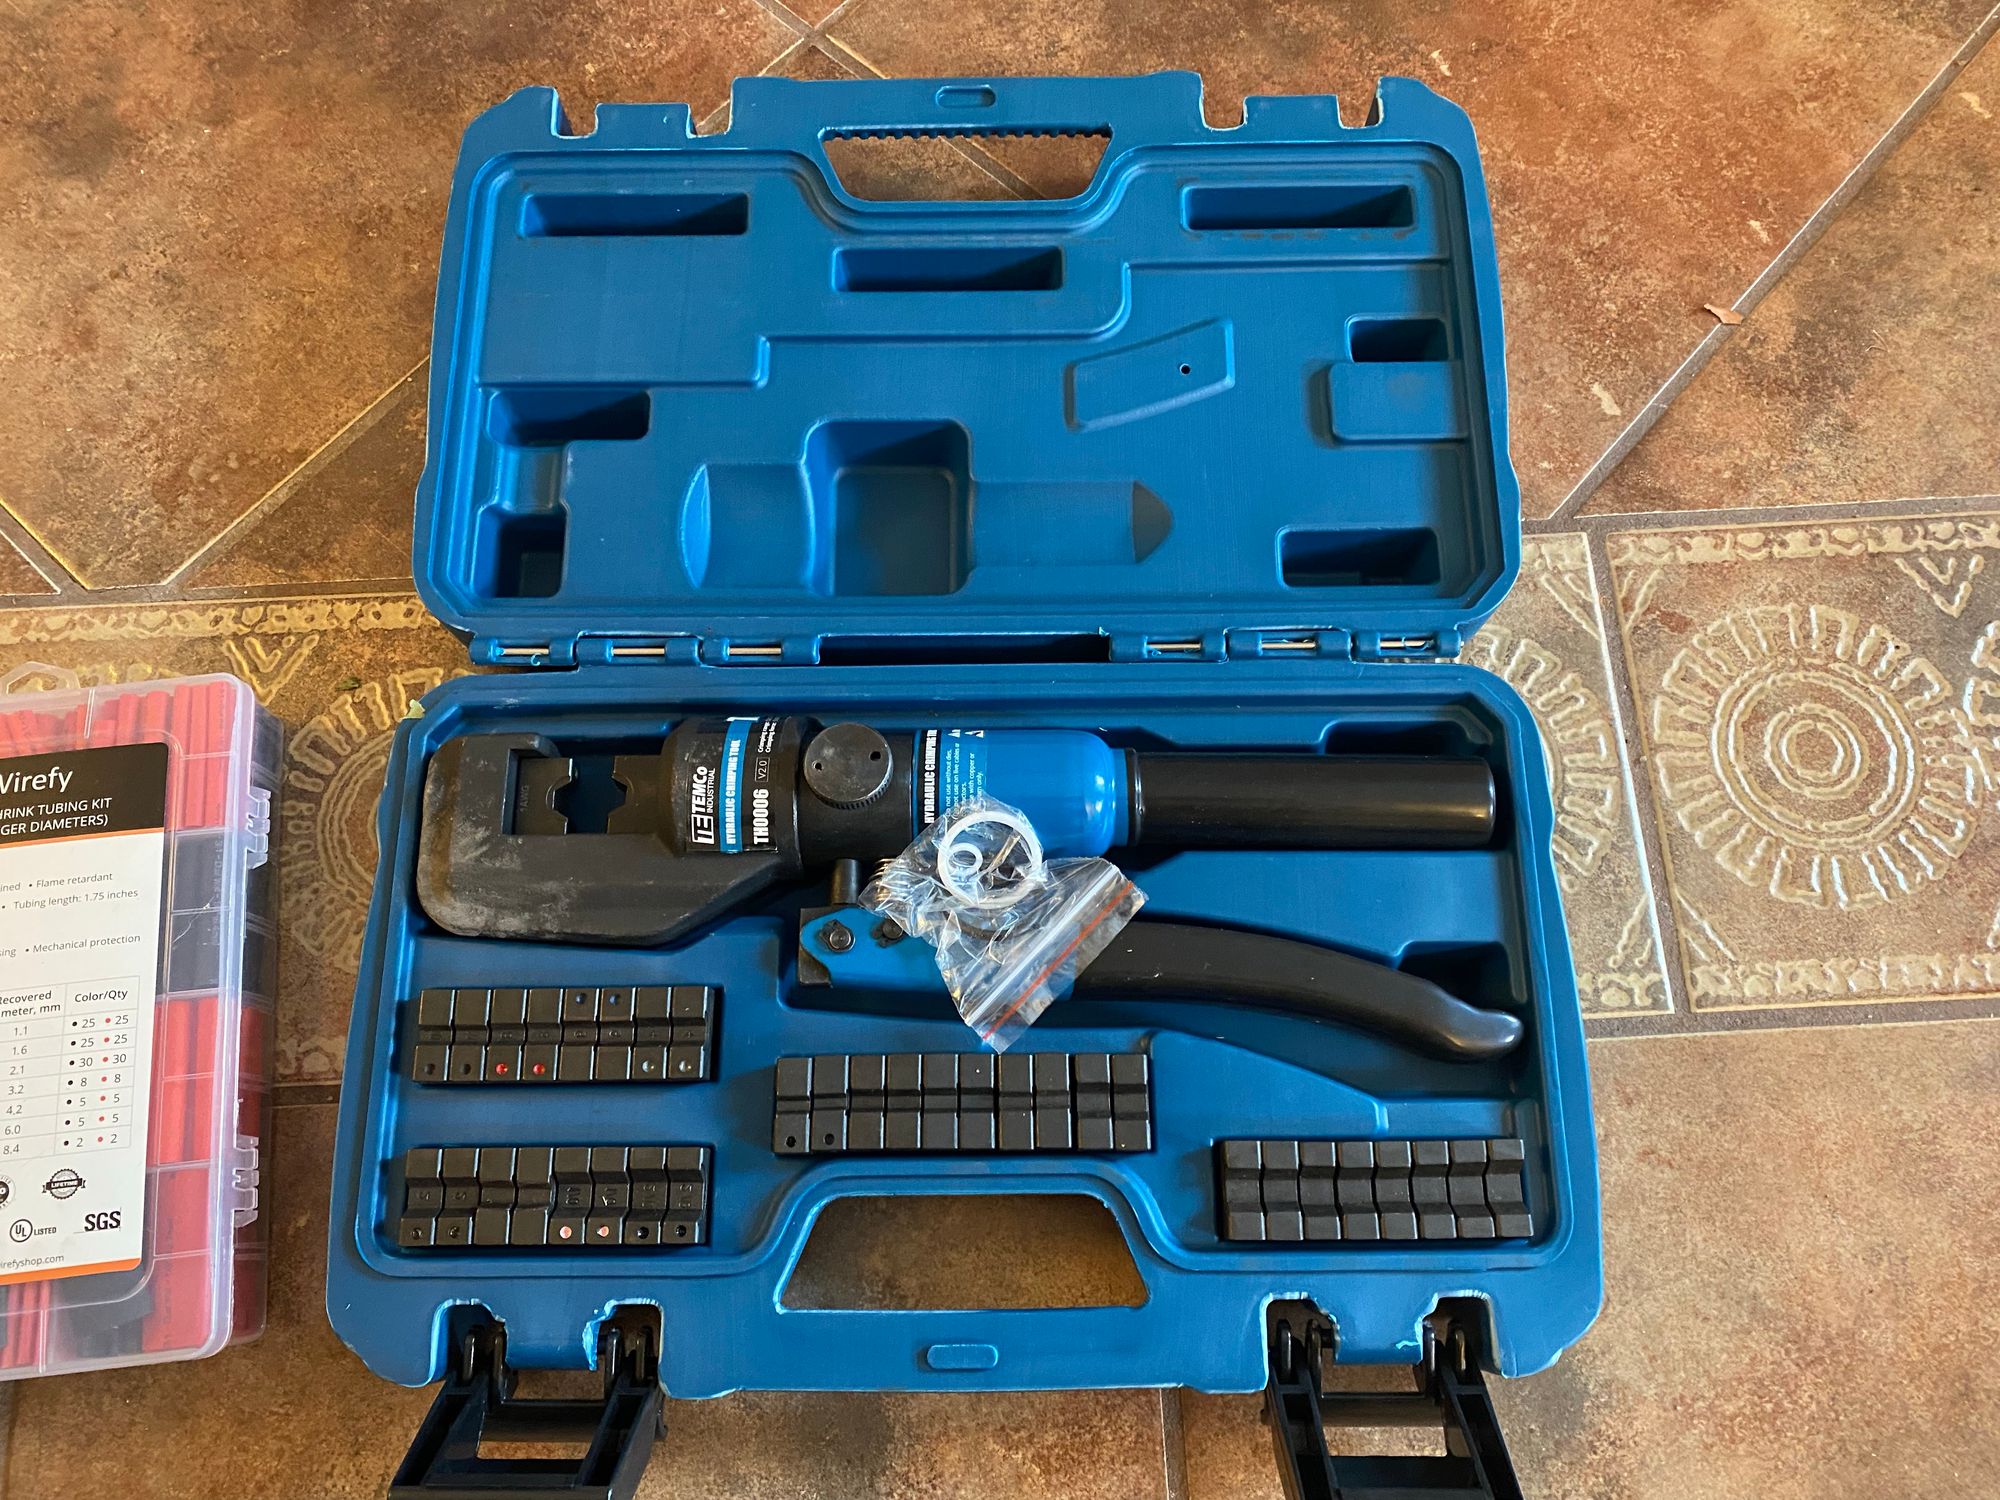
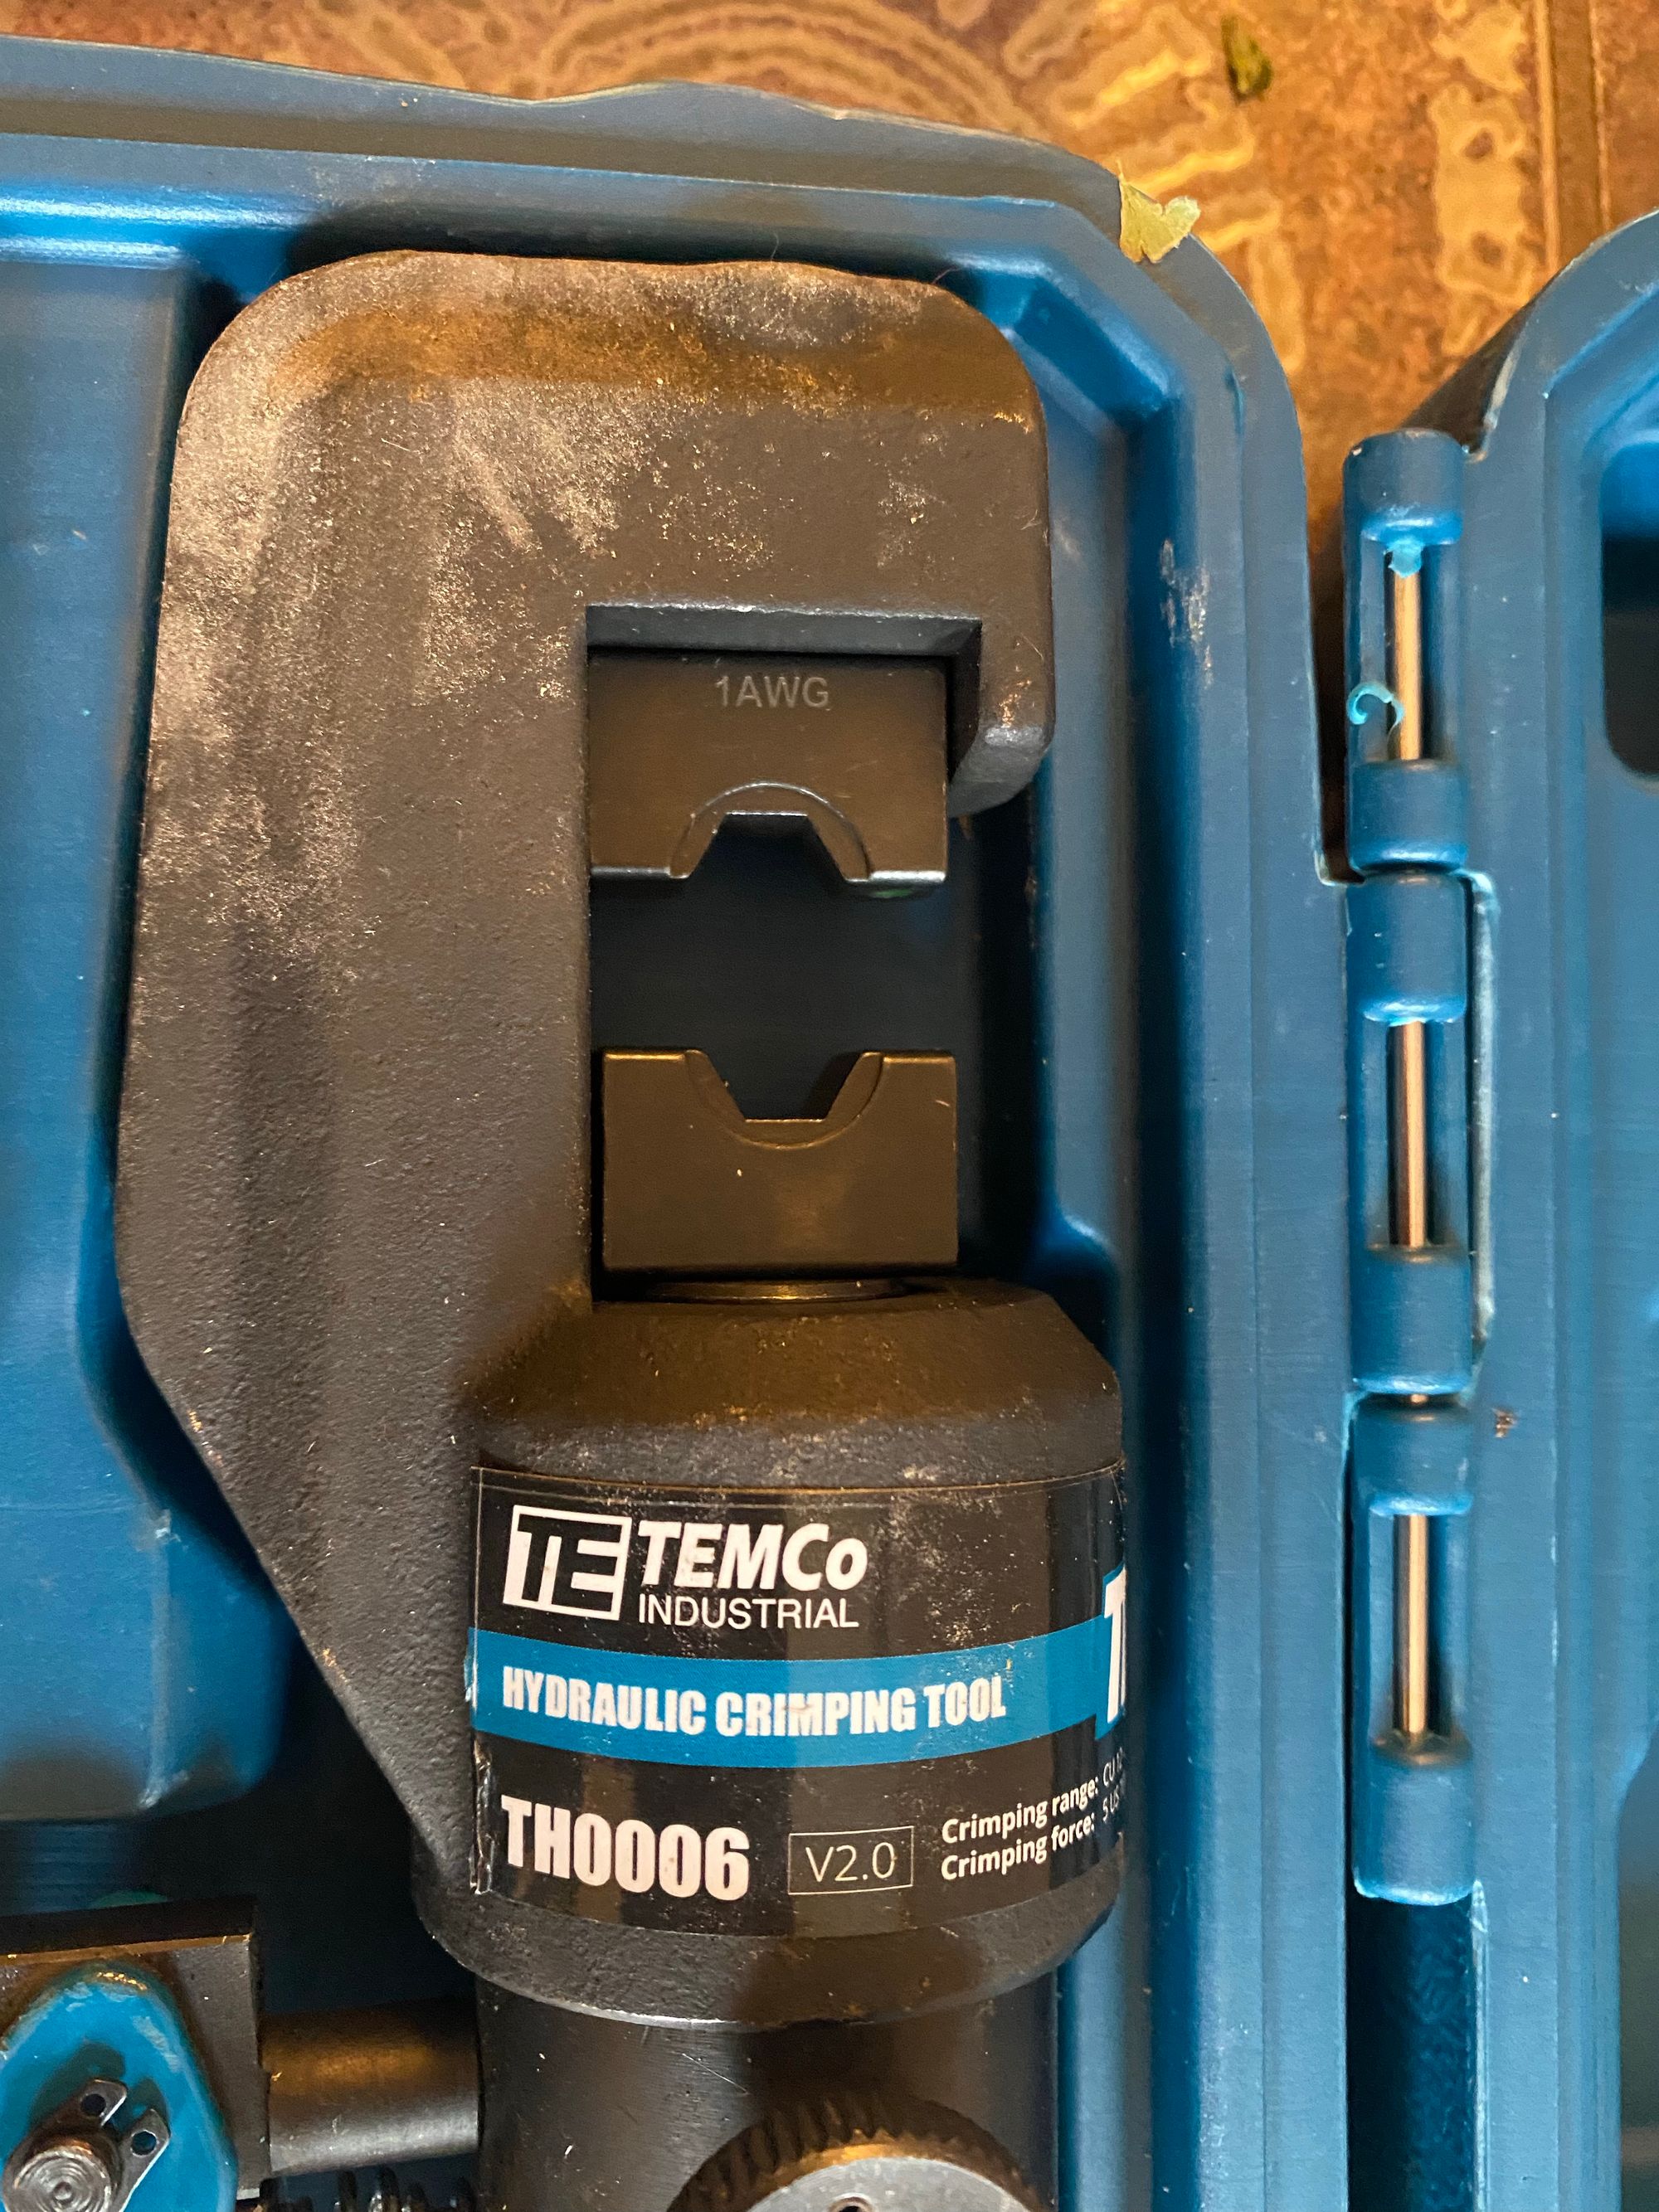
- And my Temco Crimping Tool
- Not pictured, but 10mm and 13mm sockets.
The Install
The first thing I did was set the generator off, and then cut off the old connectors. To get the positive cable done, push it under the engine and out the other side of the generator. Then you have slack to crimp the new end on.
The crimper and Panduit connectors worked great
And the Heat Shrink worked well too
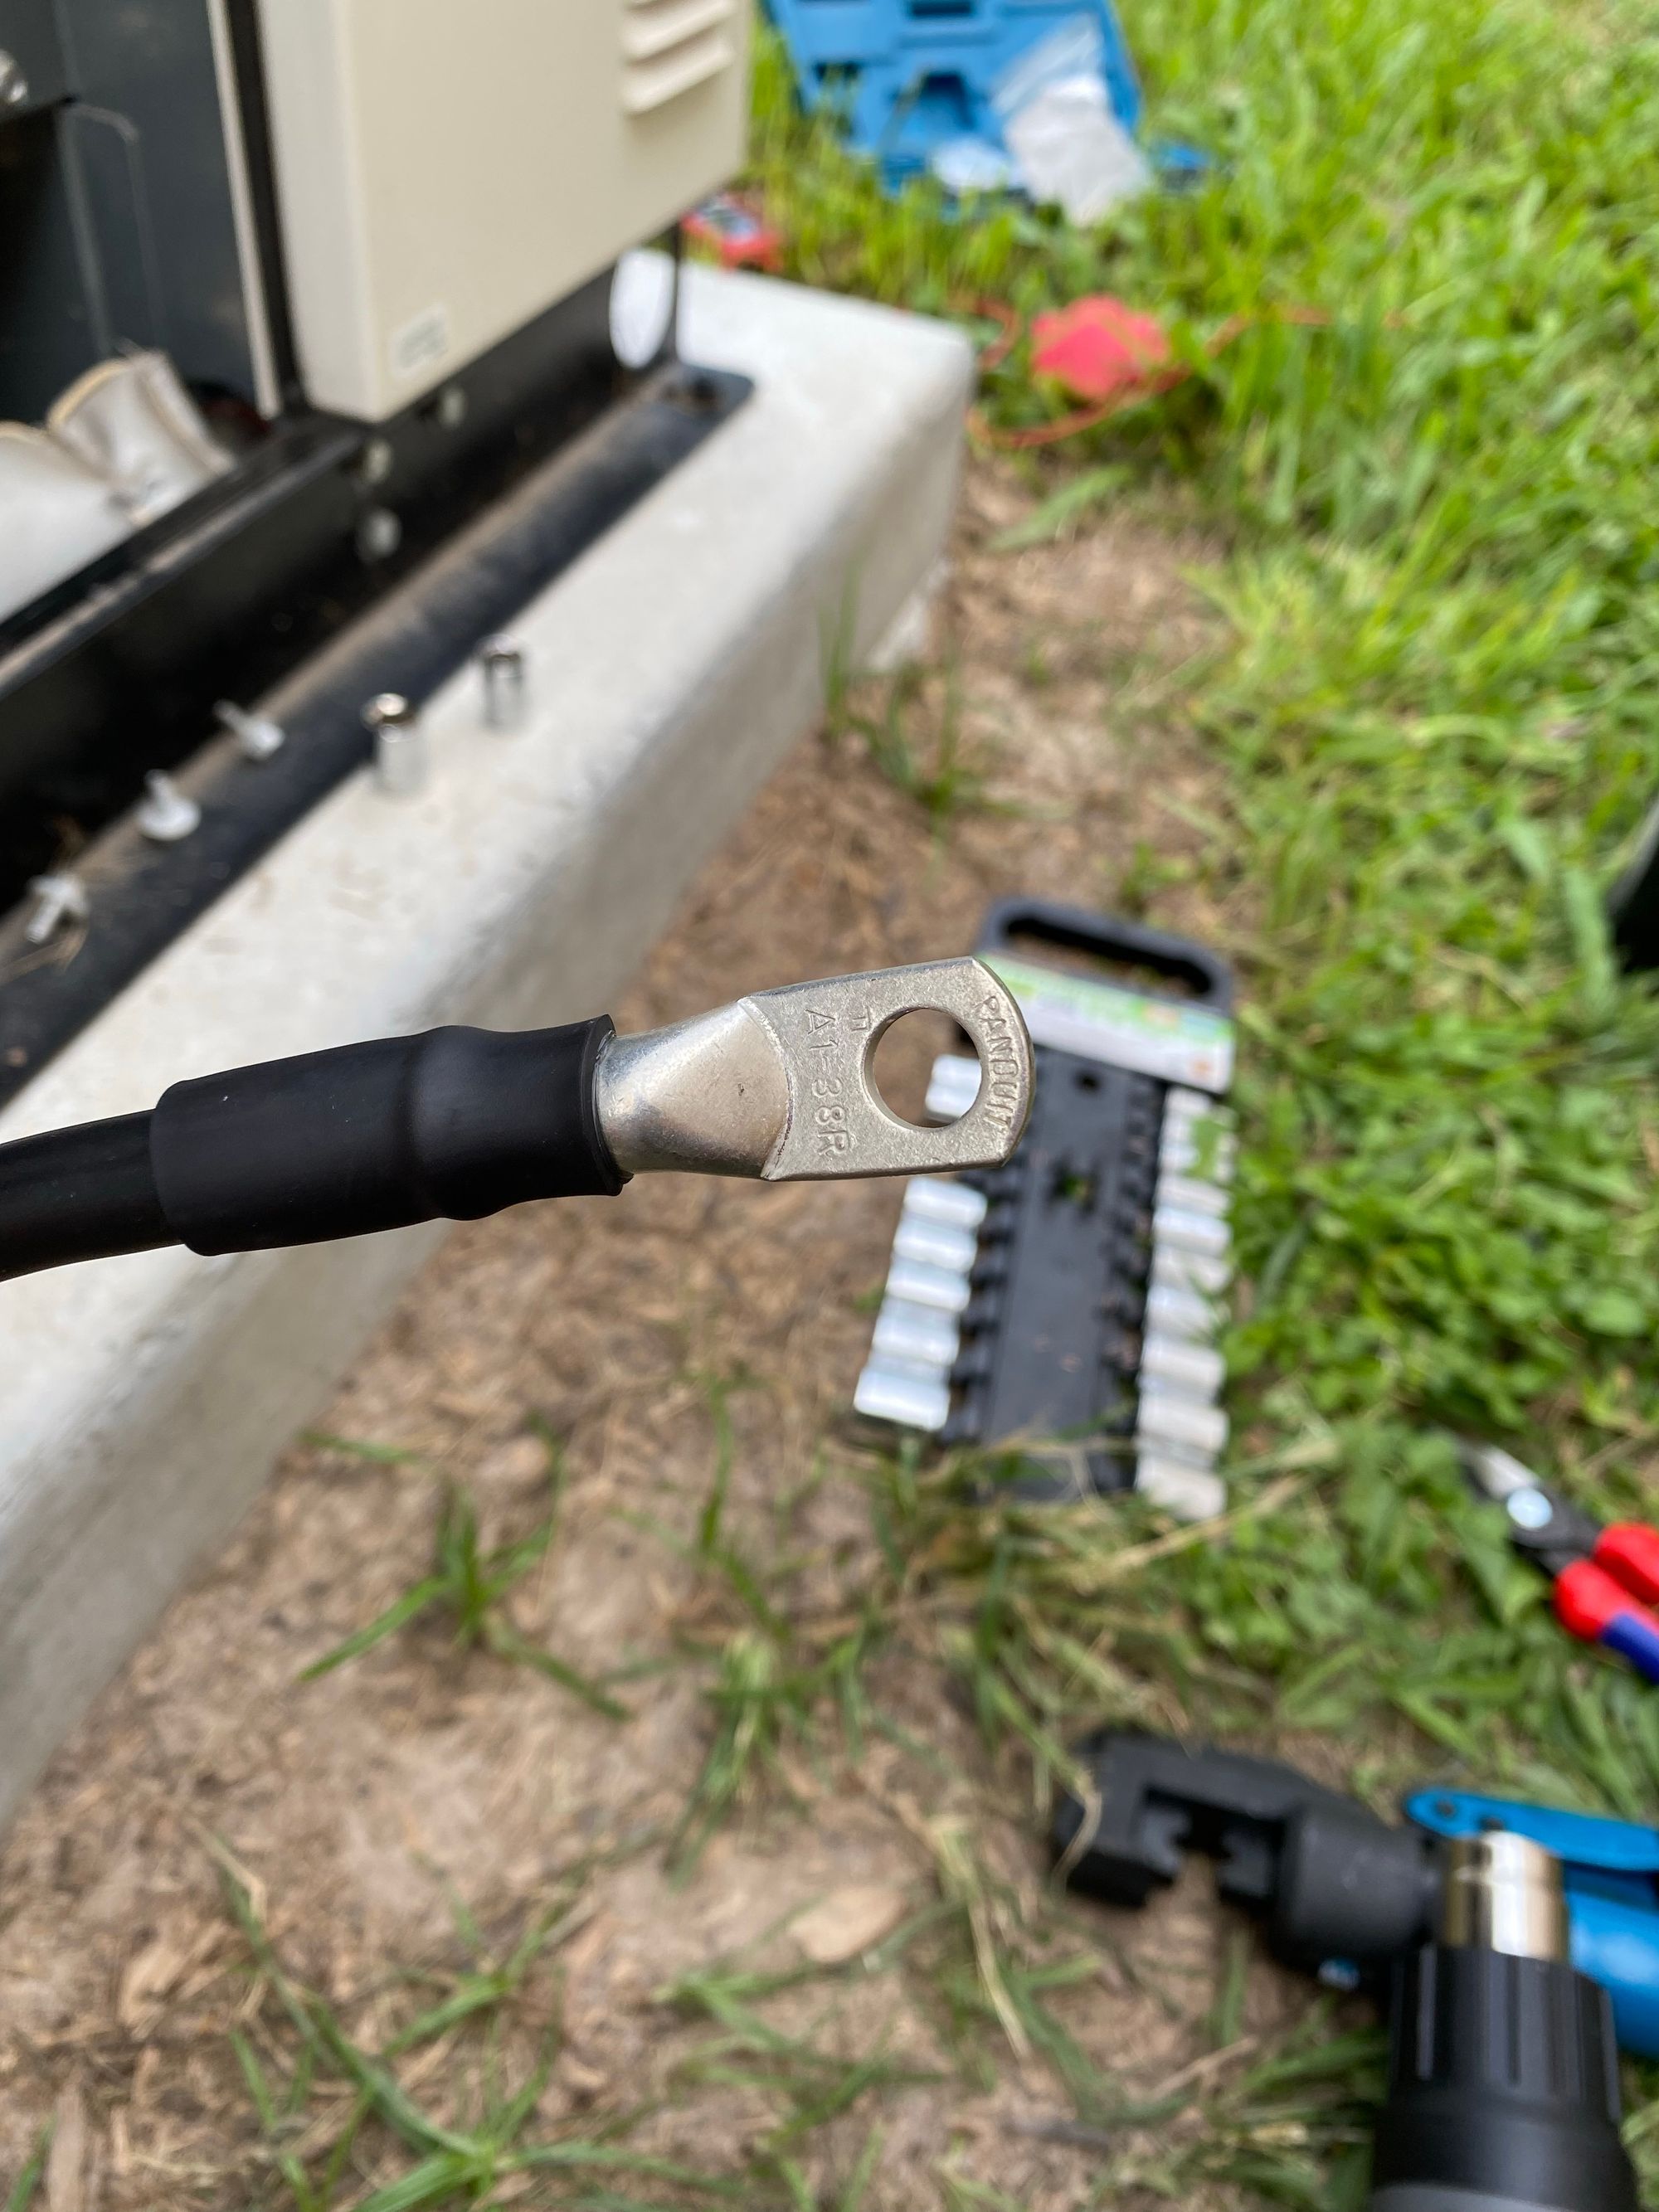
I did the same for the Negative cable
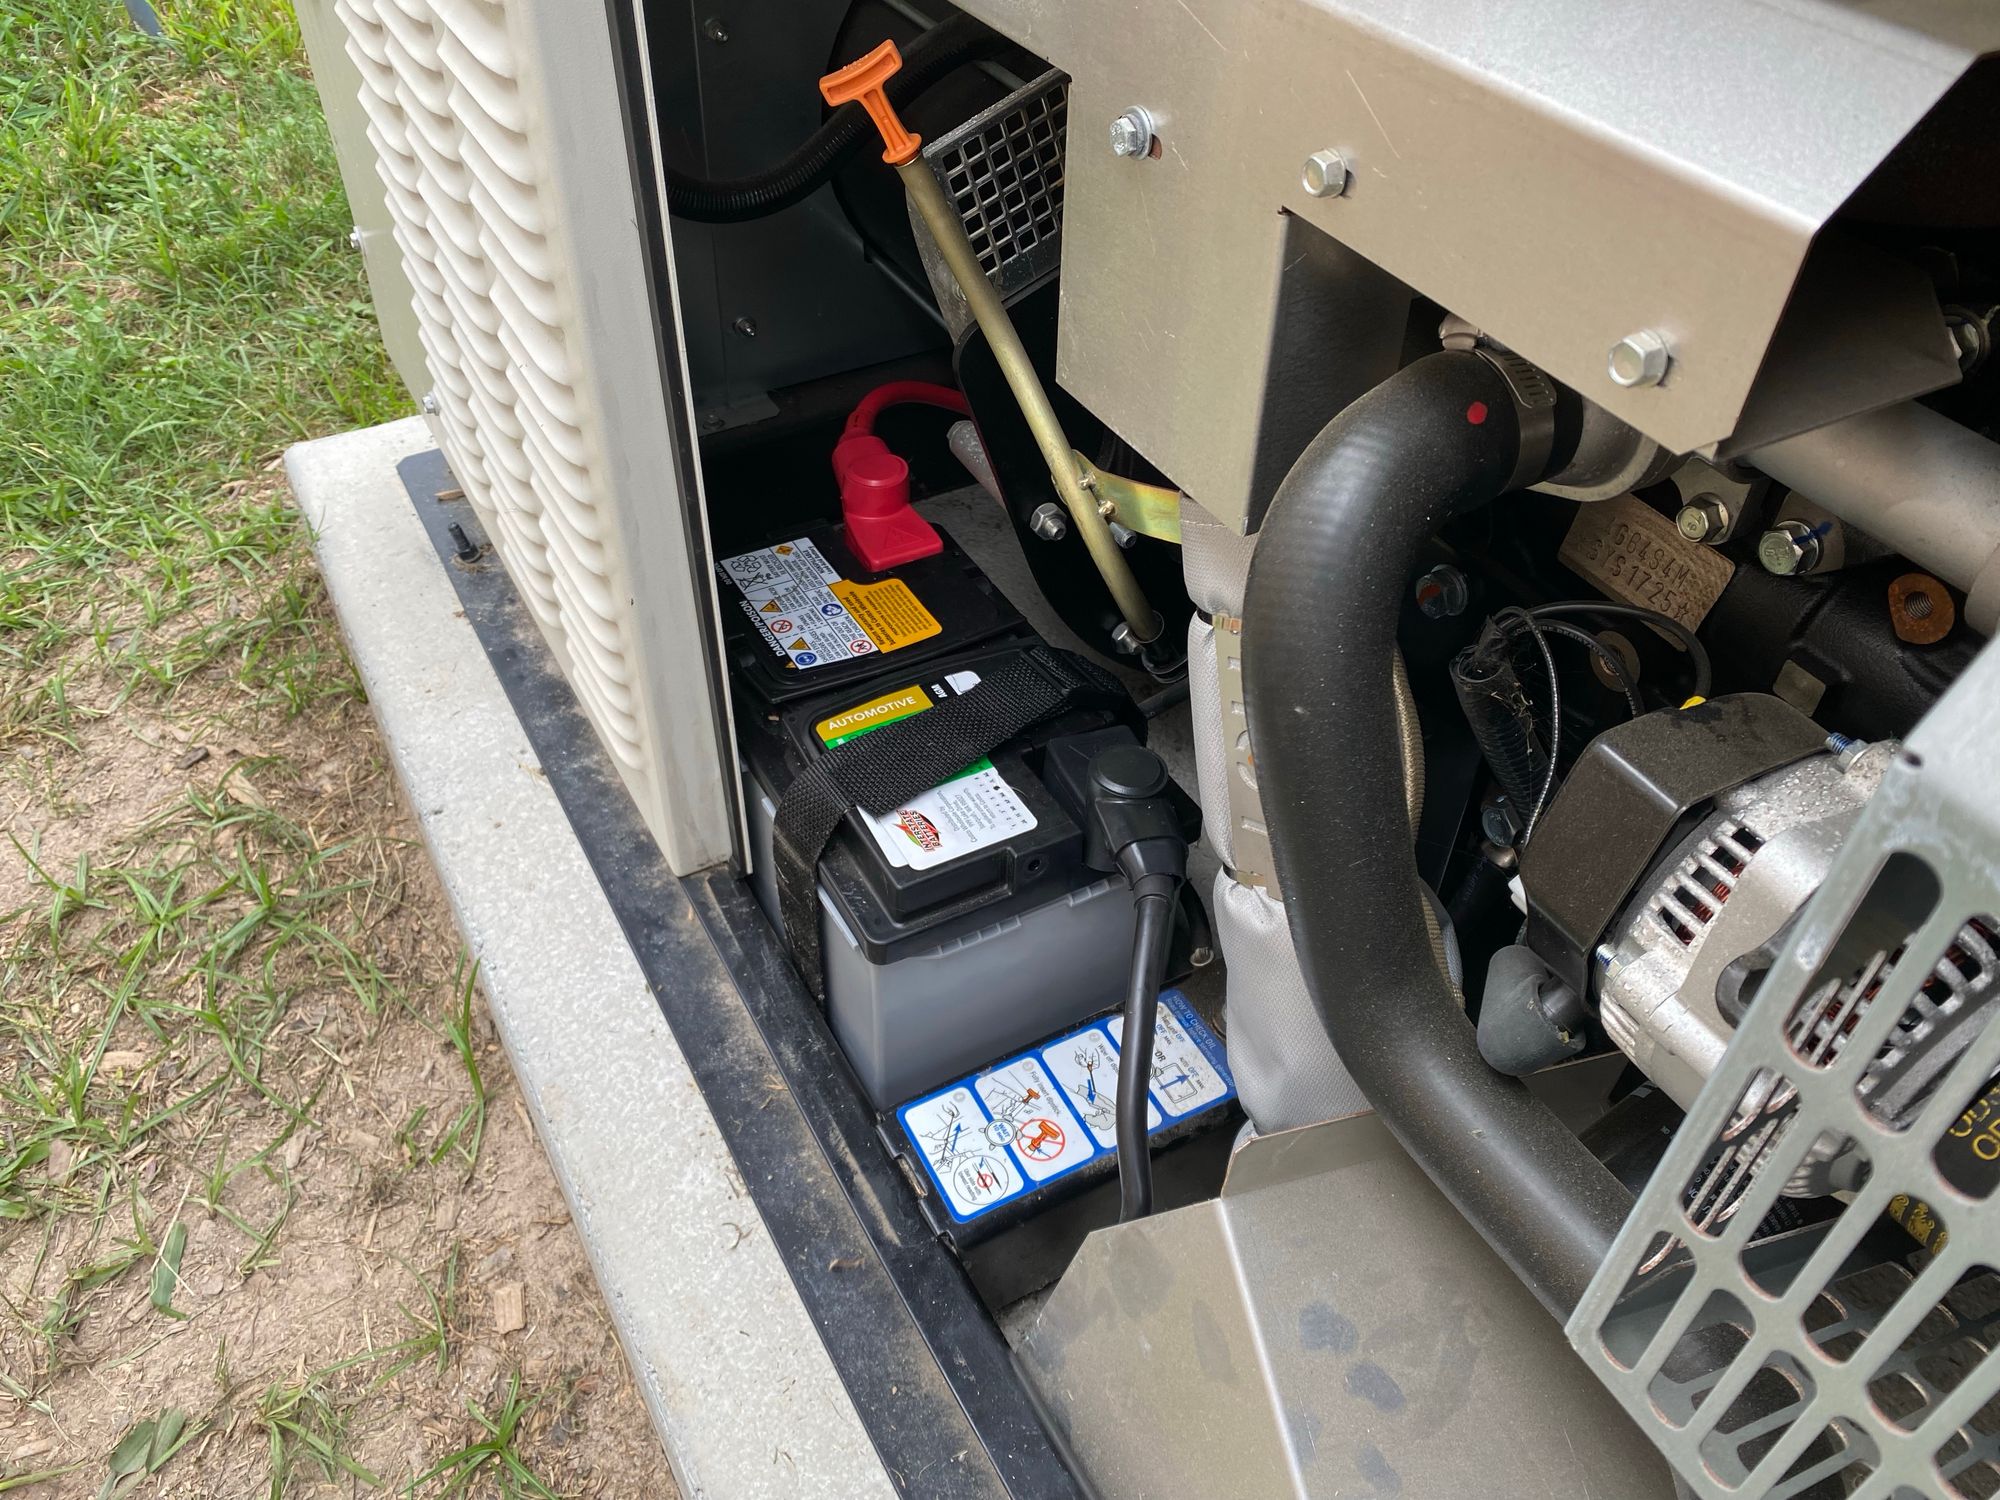
Then I went ahead and removed the old battery and got the new battery in.
The new battery is much larger than the old one, so I had remove a few bolts from the enclosure to get some more clearance to get it in the generator
First, three bolts down the side, and 2 under the edge of the enclosure.
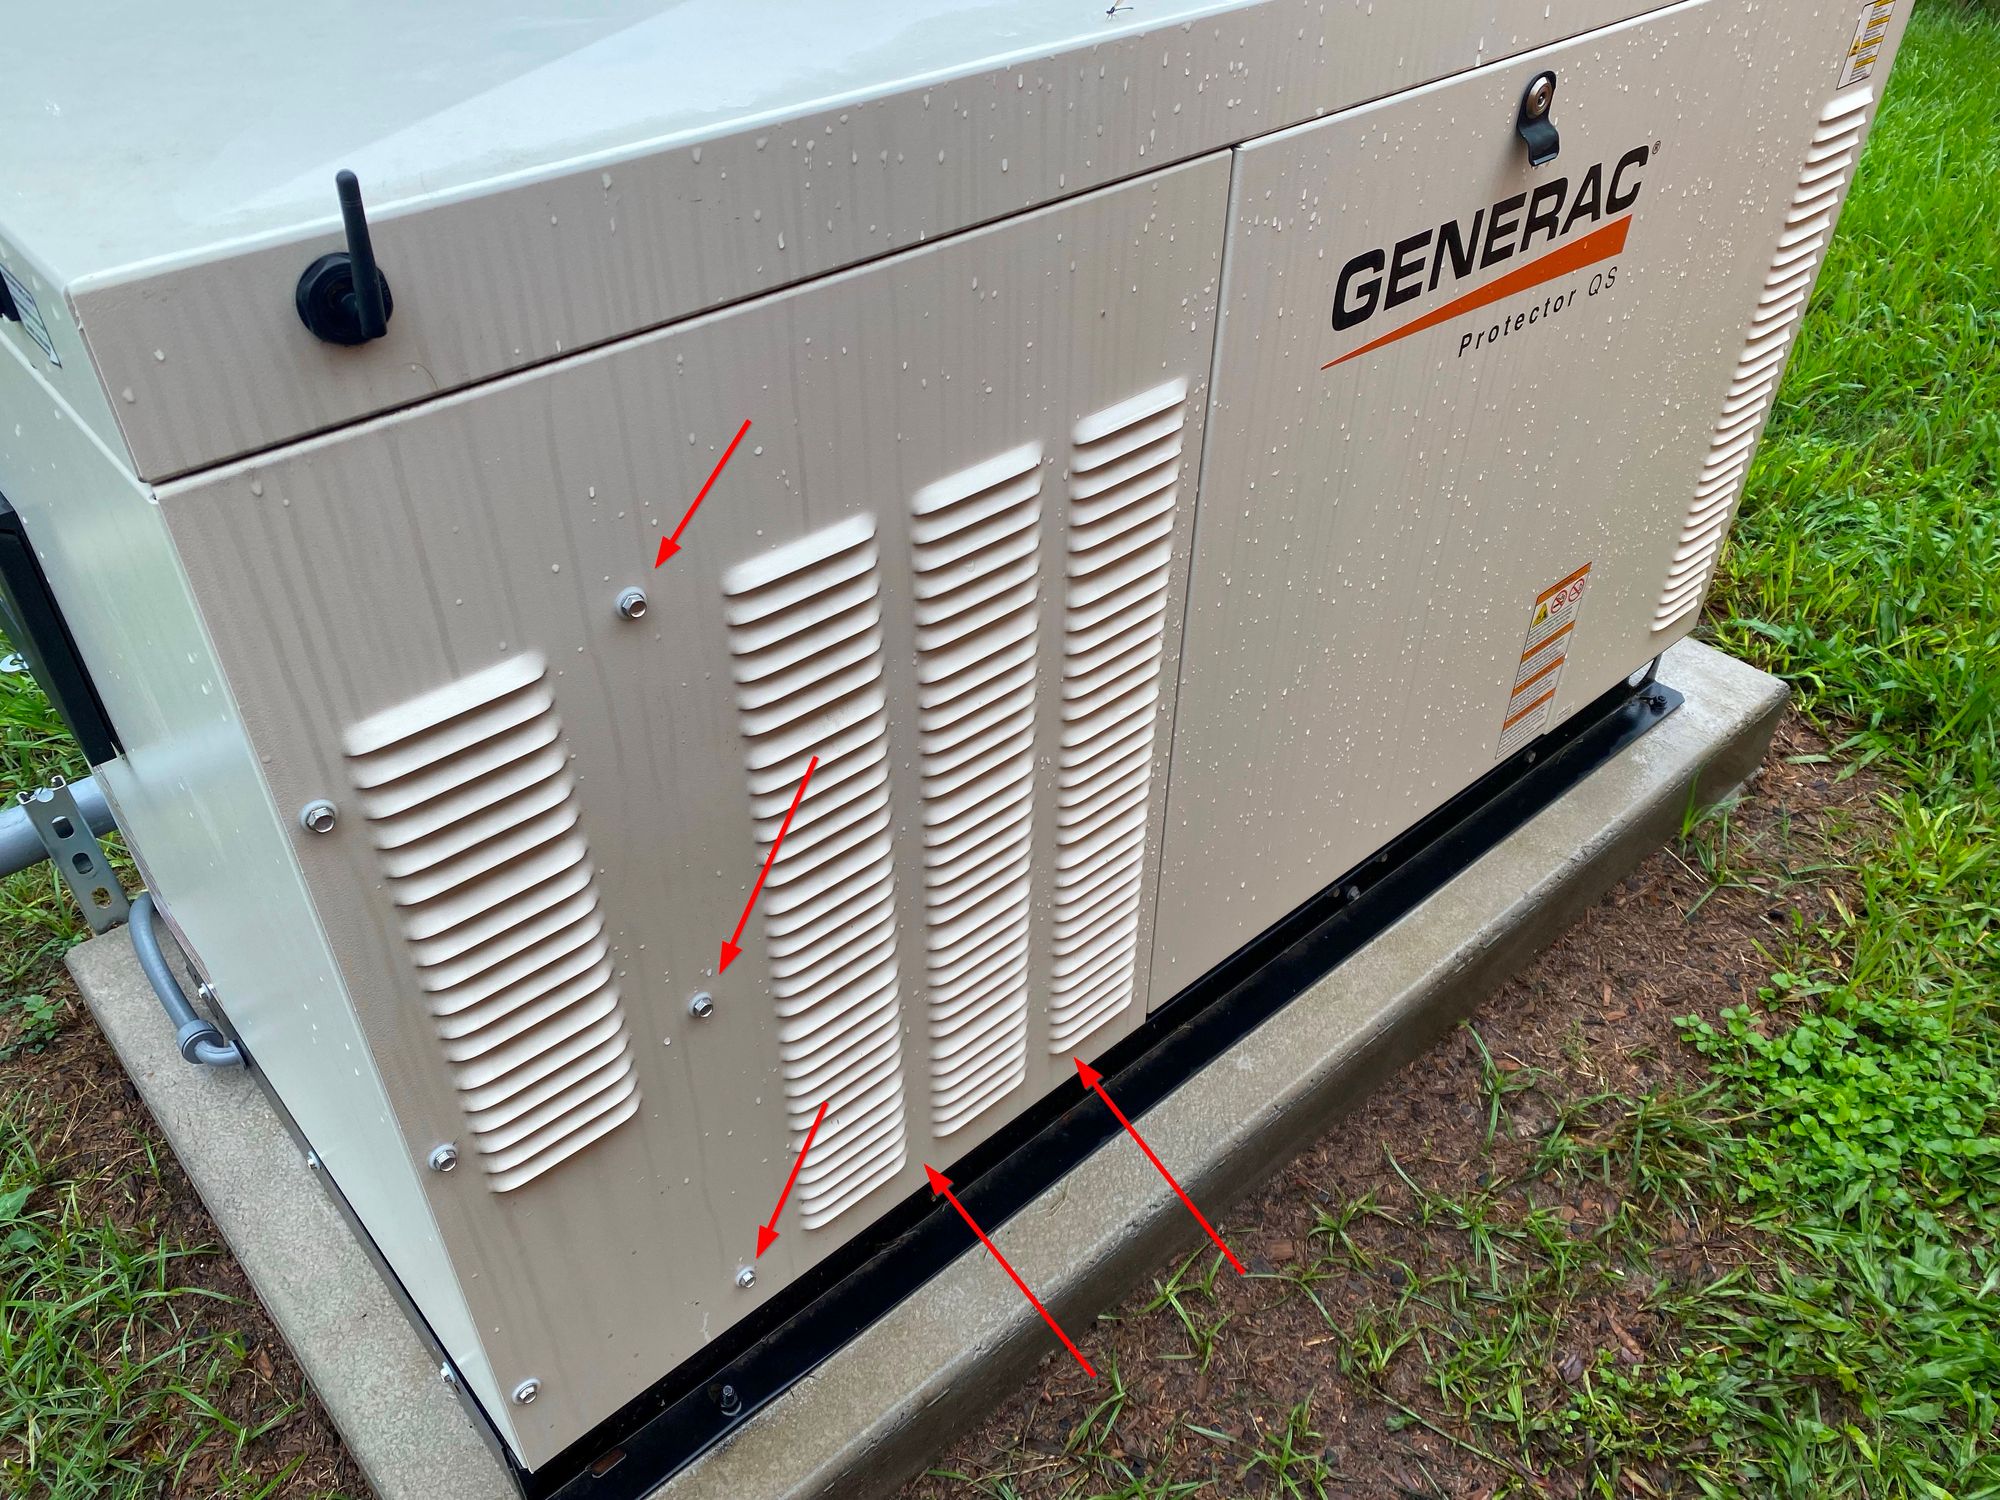
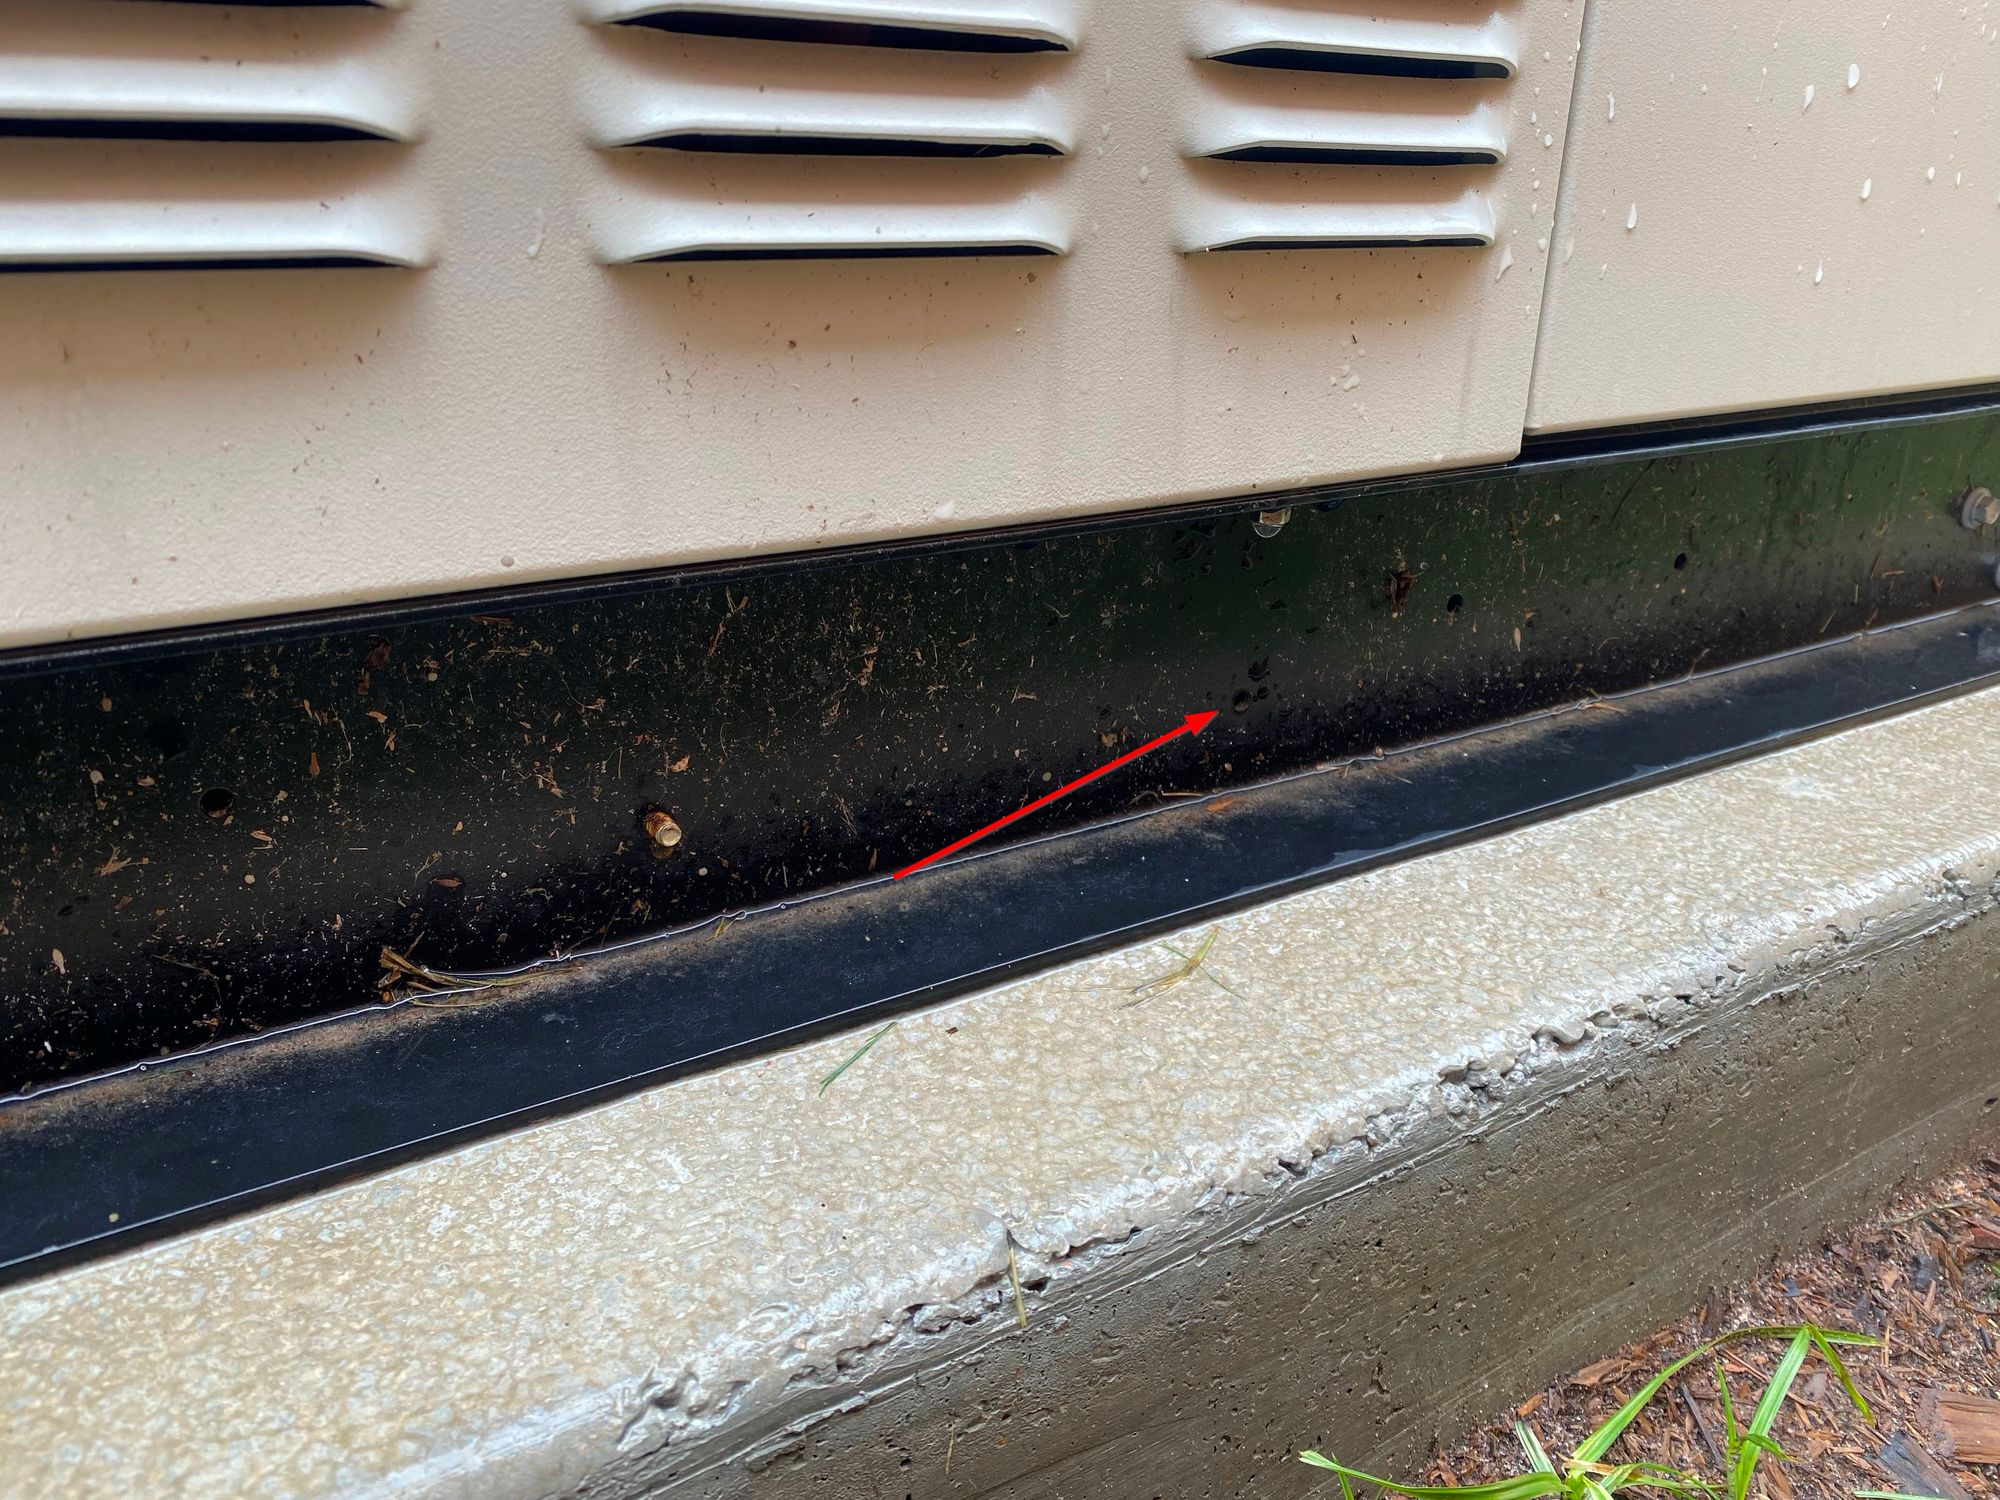
Once you get those removed, you can move the panel slightly further out to get the battery in. But you will also have to remove a 10mm bolt that holds in the battery tray. The head of the bolt gets in the way of the larger battery. Here is where it used to be, remove from the inside before you put the new battery in
With that done, I was able to put the new battery in and get it all connected up.
Here you can see how the new terminals work. They make it much easier to connect and disconnect the battery.
My one complaint is that the negative threaded post is smaller than the positive. At some point I will probably replace the wing nut with a real nut to get some extra force down on the connector. Other that, these are great.
12/24/2022 Update: I replaced the wingnuts with nuts and washers
With the covers, the install looks 100x better than it was before

I started it up a few times, and it was a night and day difference to how fast it cranks.
Here is a better shot of the old junk battery
That's all!