GPS Raspberry Pi NTP Server
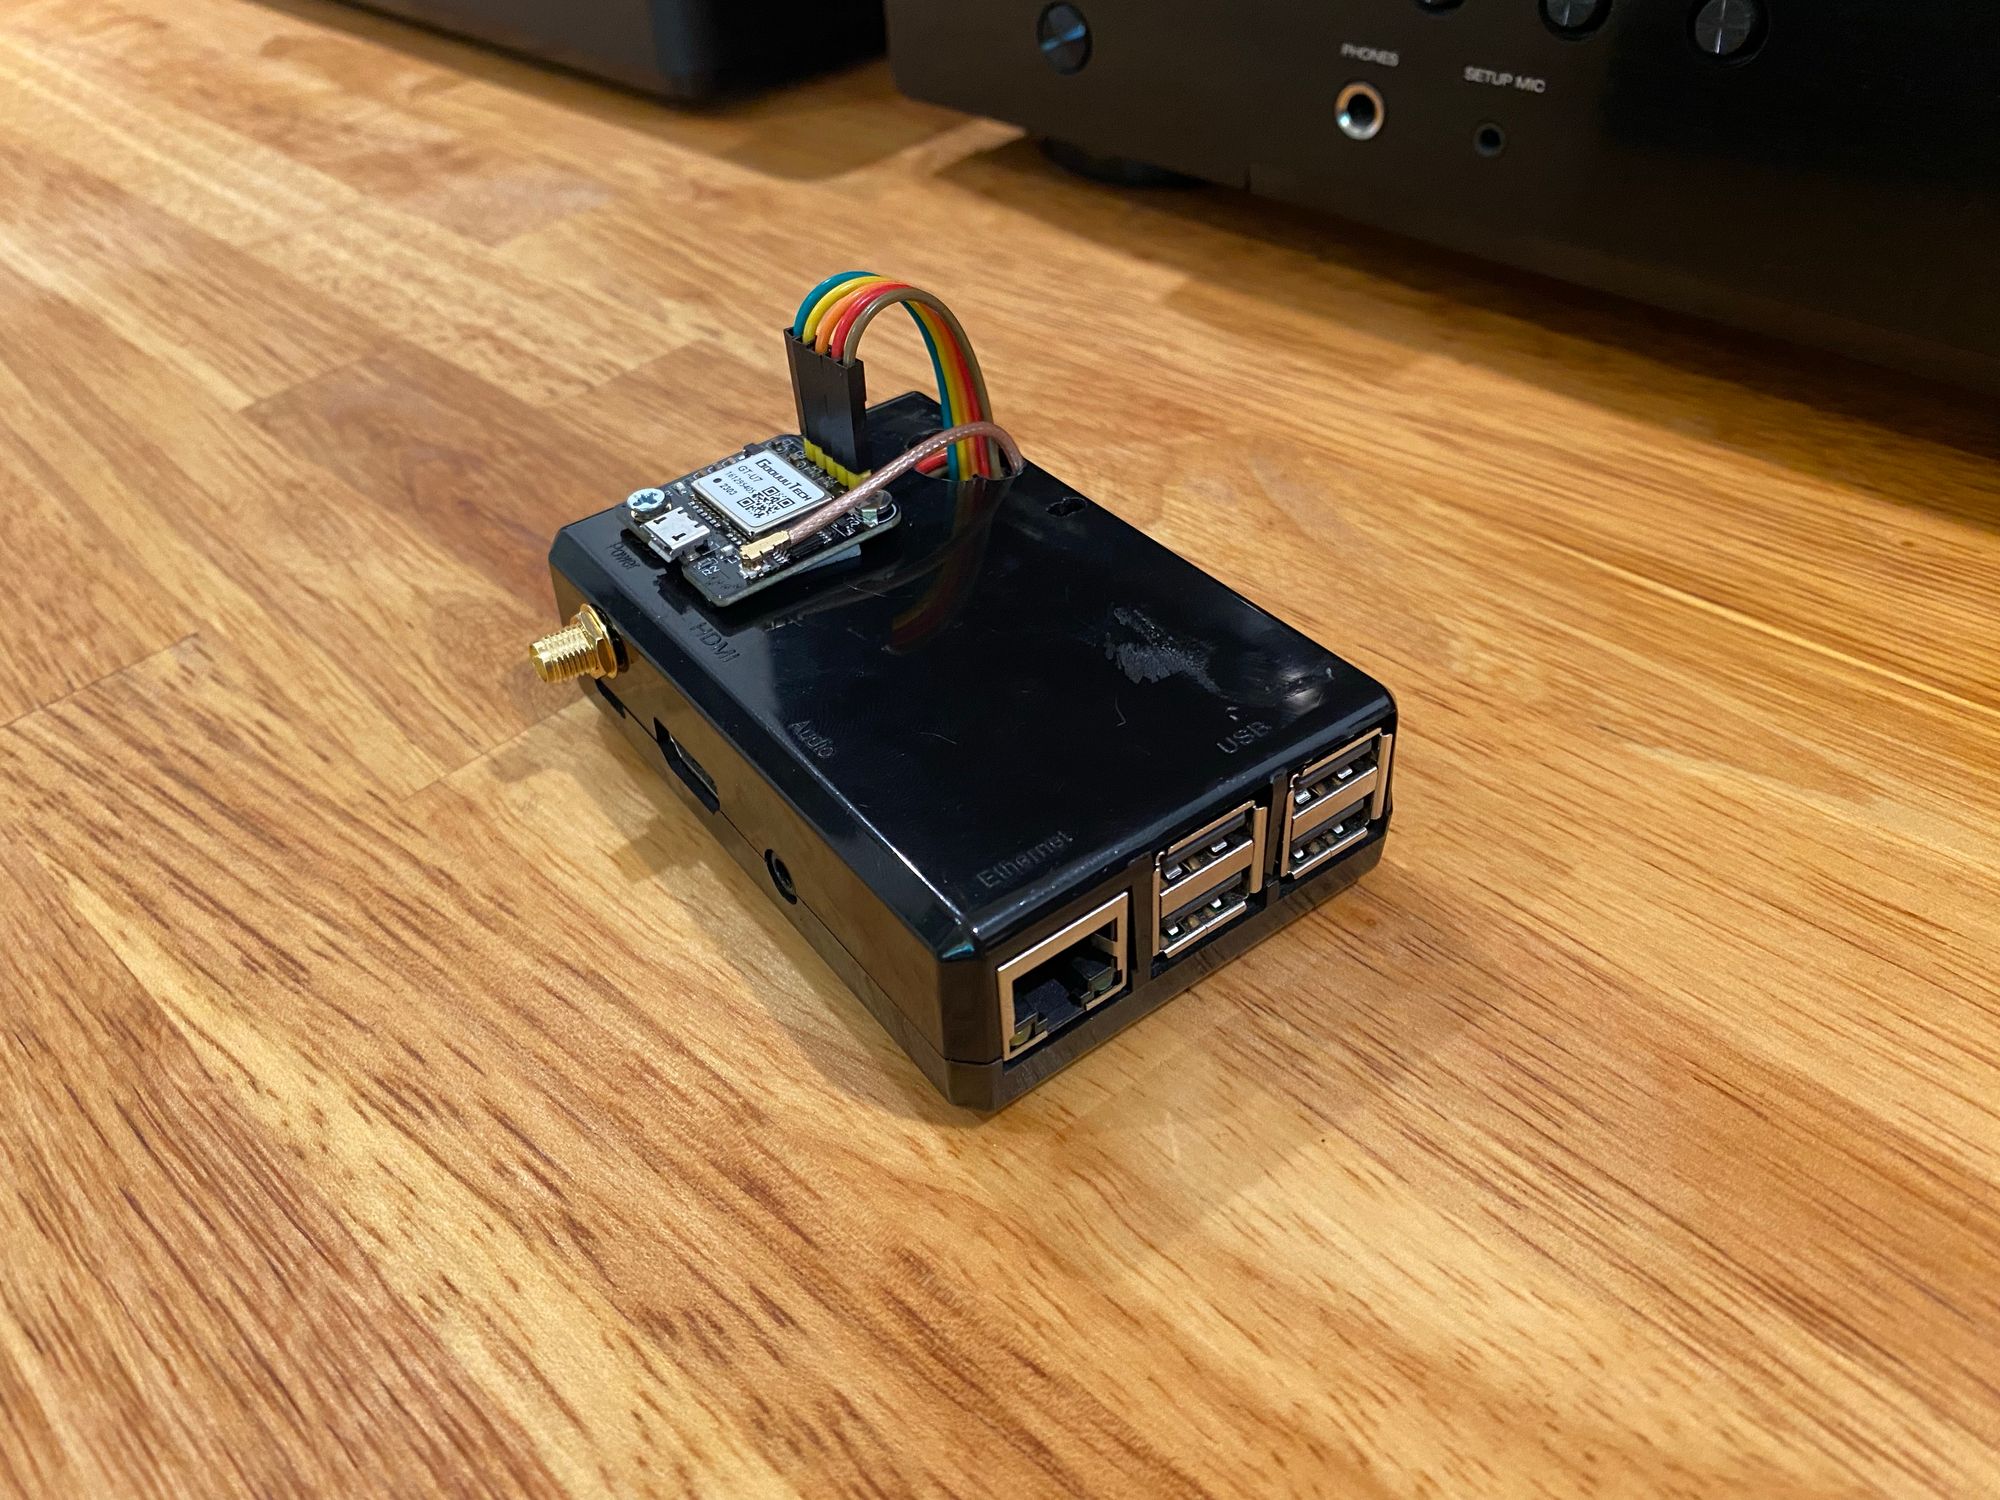
This post details how to create a stratum-1 NTP Server using a Raspberry Pi utilizing GPS and PPS, and get time within 100 nanoseconds of real time, directly from the atomic clocks located in the GPS satellites above your head. The best part about this guide is that this will work with no internet. After initial setup, you could disconnect it from the internet and they would work. All of the other guides out there that I have found do not include the configuration necessary for this.
The goal for this project for me was to limit my reliance on the internet for services. If the internet were to go out for a few weeks during a natural disaster, I don't want to have to worry about NTP not working. I also think its silly to get the time from a server across the internet, which eventually gets it from an atomic clock, when we can get it DIRECTLY from those clocks ourselves. Its also very cool to see an $11 piece of hardware get data from 12 GPS satellites that are over 12,000 miles above the earth. What a time to be alive!
In this post I will also detail how to do this same thing with USB, instead of serial. The USB config might be something to play with if you don't have a Raspberry Pi or something with GPIO pins or you don't want to solder anything. The serial config on this guide will be specific to a Raspberry Pi, however the USB config applies to pretty much any linux computer. You will be less accurate with USB though, not that it matters much for a home network. Its much more fun doing the serial config though. I actually did the USB config first, just to see how things would work out, and then I moved to the Serial config.
Inspiration, references, etc:
I got this entire idea from these 2 blog posts. However I think they are missing some crucial information (For my use case, at least), and also rely on you watching the YouTube videos, which means there is more chance of the information going missing. Thanks Austin for putting all this great information together, there is no way I would have been able to build this without the blog posts and the videos. I highly suggest you also read these, as he does go into a lot of detail.

I got a lot of information about auto starting gpsd on boot from here

And I spent way too many hours looking through the Chrony config pages, which now don't seem to go anywhere...
https://chrony.tuxfamily.org/doc/devel/chrony.conf.html
I also got some great tips and tricks on how to review the data from gpsmon from @t2mf on the Discord
My interest in NTP and time started when I watched these Jeff Geerling videos
Notes before we start:
I am not a Raspberry Pi expert, an NTP expert, a Chrony expert, a GPS expert or even a Linux expert. There is likely some stuff in here that could be improved, and there may even be some things I'm not doing correctly. If you spot something, please get in contact with me! And if you follow this guide, do check back every now and then, as I will update the guide (I will note what I update)
Hardware:
- You will need a computer. I made 2 servers, one with a Raspberry Pi 3 B+ and one with a Raspberry Pi 1B+. Even the Raspberry Pi 1B+ does fine, so if you have an old one sitting around, its PERFECT for this. If you plan on doing the USB config, then pretty much anything will work. Just make sure you have a solid network connection to your local network. There is no point setting all this up and then connecting over a slow wireless connection. Ideally your computer should have Ethernet. You will of course need everything to make your computer or Pi work, such as an SD card, power supply, case etc.
- a GT-U7 GPS module which costs between $10 and $13 USD (This guide is specific to the GT-U7)

- If you are doing USB connection, a GOOD Micro USB cable. I went through about 5 to get one that actually functioned well for data, as it seems most are designed for charging. If you plan on doing the Serial/PPS config (The best one) then you don't need a USB cable.
- If you are doing the serial config, some GPIO cables like this, you need 5 cables, so this will give you a ton spare after. I did find these were a little bit long, so you could go a bit shorter. All you need is the female-female

- Optionally, a better GPS Antenna. I got okay results with the stock one for initial setup, but once I went to place it somewhere my signal was poor. I got this, which works great and has a magnetic base, so you can just stick it wherever you need. Its an SMA connection for the antenna, but it includes the IPEX to SMA adapter.

Now you know what we are doing and what you need, lets get going. This setup assumes you are using a Raspberry Pi. If you are using something else, you may need to adjust the configuration.
Step 0: Initial Config
I'm calling this step zero, because its really up to you. Get your Pi in order with Raspbian or whatever OS you are using, connect it to the network, call it what you want, etc and then follow along. We will be configuring this completely via terminal.
Step 1: Backups
The very first thing that I am going to do is configure my Raspberry to have weekly backups. These 2 servers will critical to my network, so I suggest you do the same. It also means you can easily go back a step if you mess something up (Perhaps during initial config do hourly backups?)
I made a whole post on that, so I'll leave it here

Step 2: Software
You'll need to make sure your Pi is up to date and has the required packages installed
sudo apt update
sudo apt upgrade -y
sudo apt install gpsd gpsd-clients pps-tools chrony jq tcpdump -y
I also found there was some software I didn't need that was using up resources, so I removed them, This step is completely optional
sudo apt purge --remove lxde*; sudo apt autoremove -y
sudo apt-get remove --auto-remove lxpanel
sudo apt-get purge avahi-daemon
Step 3: Initial preparation
The first thing we want to do is enable the Serial Port on your Raspberry Pi. Enter the raspi-config by doing
sudo raspi-configand you should see this screen. Go down to number 3, interface options

From there, Serial Port

when it asks if you want a shell login over serial, select No

And then select YES to enable the serial port

Now use Tab to get to Finish, and reboot if it prompts you to.
Next we can configure the GPIO pin for PPS, and add the PPS module. If you are using USB you can skip this, but it won't hurt to do it anyway if you plan on perhaps upgrading to that setup down the line.
sudo bash -c "echo '# the next 3 lines are for GPS PPS signals' >> /boot/firmware/config.txt"
sudo bash -c "echo 'dtoverlay=pps-gpio,gpiopin=18' >> /boot/firmware/config.txt"
sudo bash -c "echo 'enable_uart=1' >> /boot/firmware/config.txt"
sudo bash -c "echo 'init_uart_baud=57600' >> /boot/firmware/config.txt"
If you are running an older version of Raspbian, the config.txt is in a different place, so run the following
sudo bash -c "echo '# the next 3 lines are for GPS PPS signals' >> /boot/config.txt"
sudo bash -c "echo 'dtoverlay=pps-gpio,gpiopin=18' >> /boot/config.txt"
sudo bash -c "echo 'enable_uart=1' >> /boot/config.txt"
sudo bash -c "echo 'init_uart_baud=57600' >> /boot/config.txt"
Note that the baud rate here is quite high, as this GPS module supports it. If you are following this guide with a different GPS module, try 9600
Now we can add the PPS module (Also skip if using USB)
sudo bash -c "echo 'pps-gpio' >> /etc/modules"Now your Pi is ready to physically connect the GPS module, which we will cover in the next step.
Step 4: Hardware Configuration
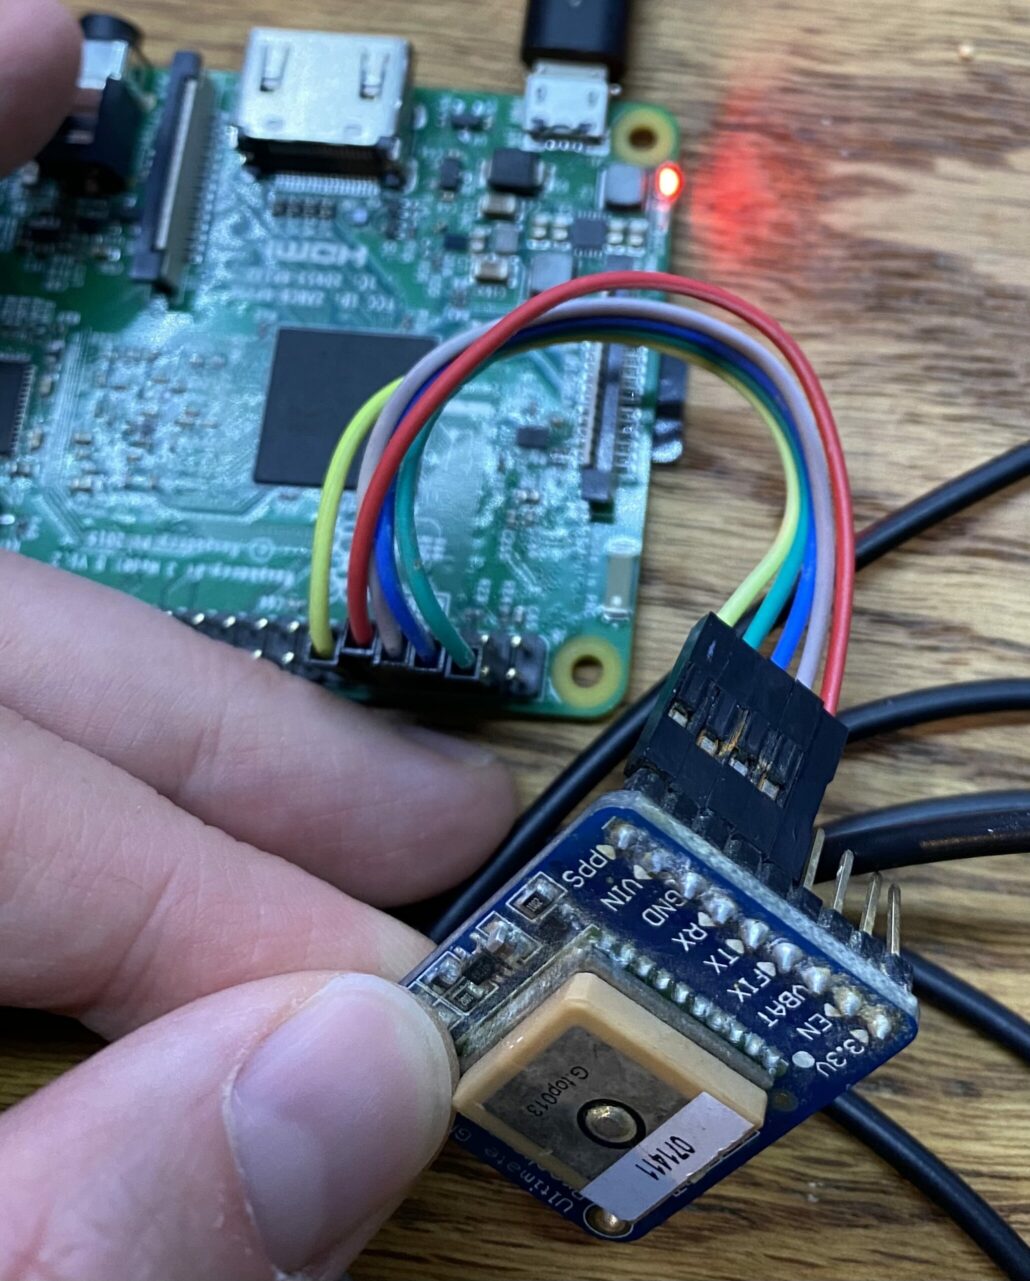
Now you can connect your GPS module to the Pi. If you are using USB, just plug it in. If you are using serial, you will have to solder the header to the GPS module, and then plug it into the Pi GPIO pins. It doesn't matter if you solder the connector on with the tall pins at the top of the module or the bottom, just do what works for you. I did it so the tall pins were on the side with the LED, so I could lay it flat on a table while testing. Make sure to turn the Pi off while plugging into the GPIO. You can shut down your pi with
sudo shutdown -h nowI will use this as a reference for the pinout to connect the wires

V-IN GPS —> RPi Pin 4
GROUND GPS —> RPi Pin 6
RX GPS —>RPi Pin 8
TX GPS —>RPi Pin 10
PPS GPS —>RPi Pin 12
As you can tell, they are all in a line which makes it easy
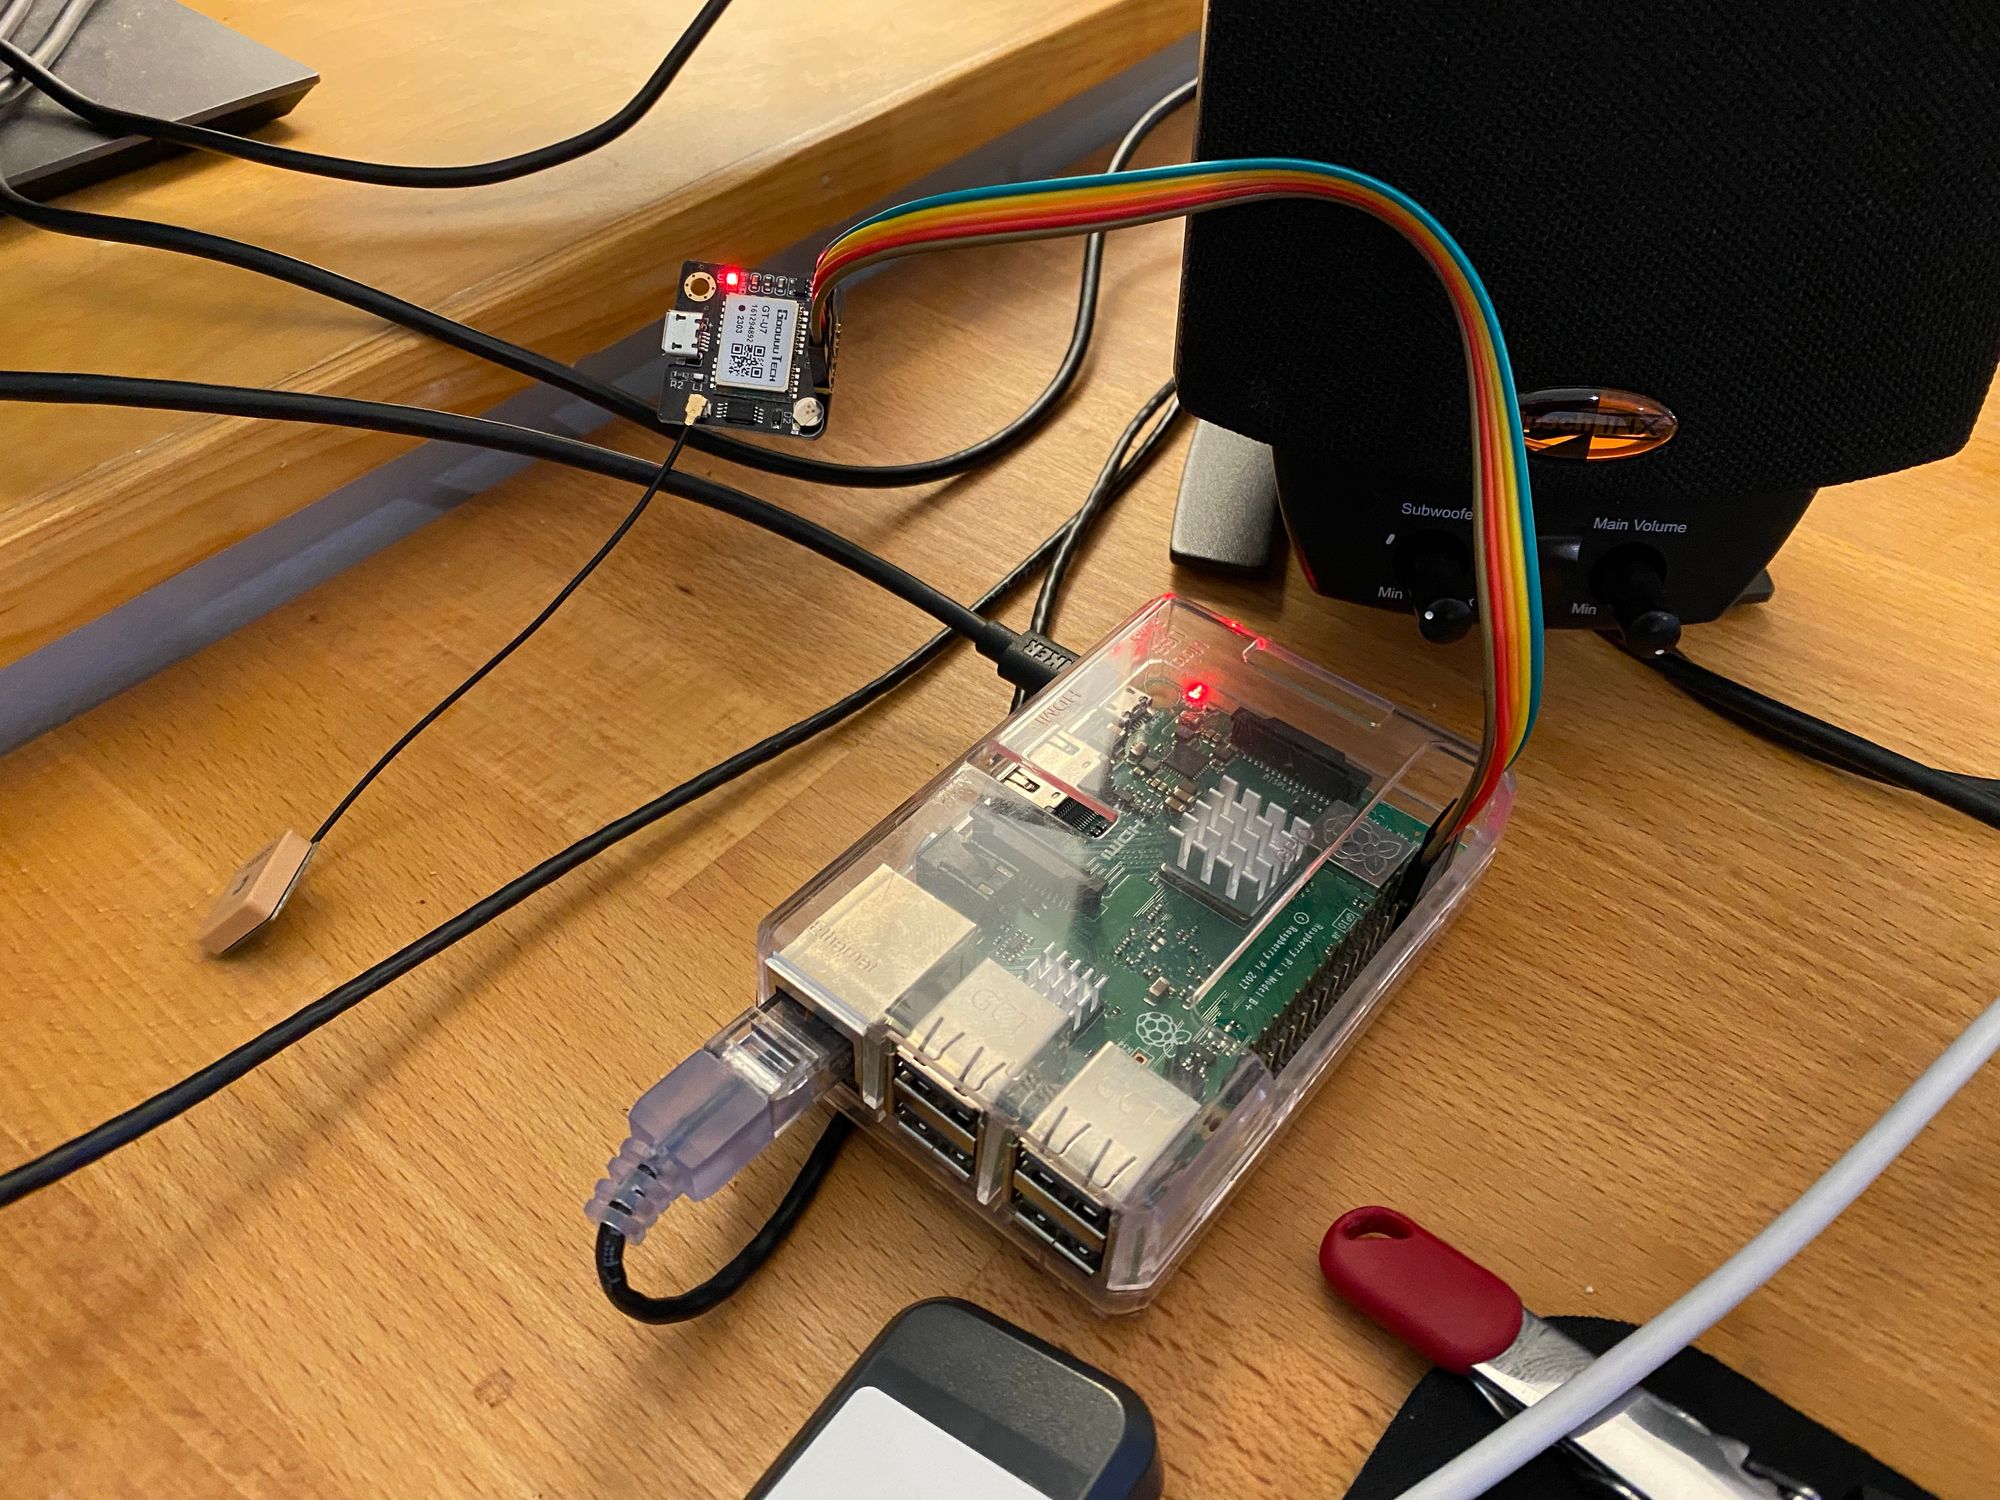
Also make sure to connect the antenna
USB is of course very easy to connect
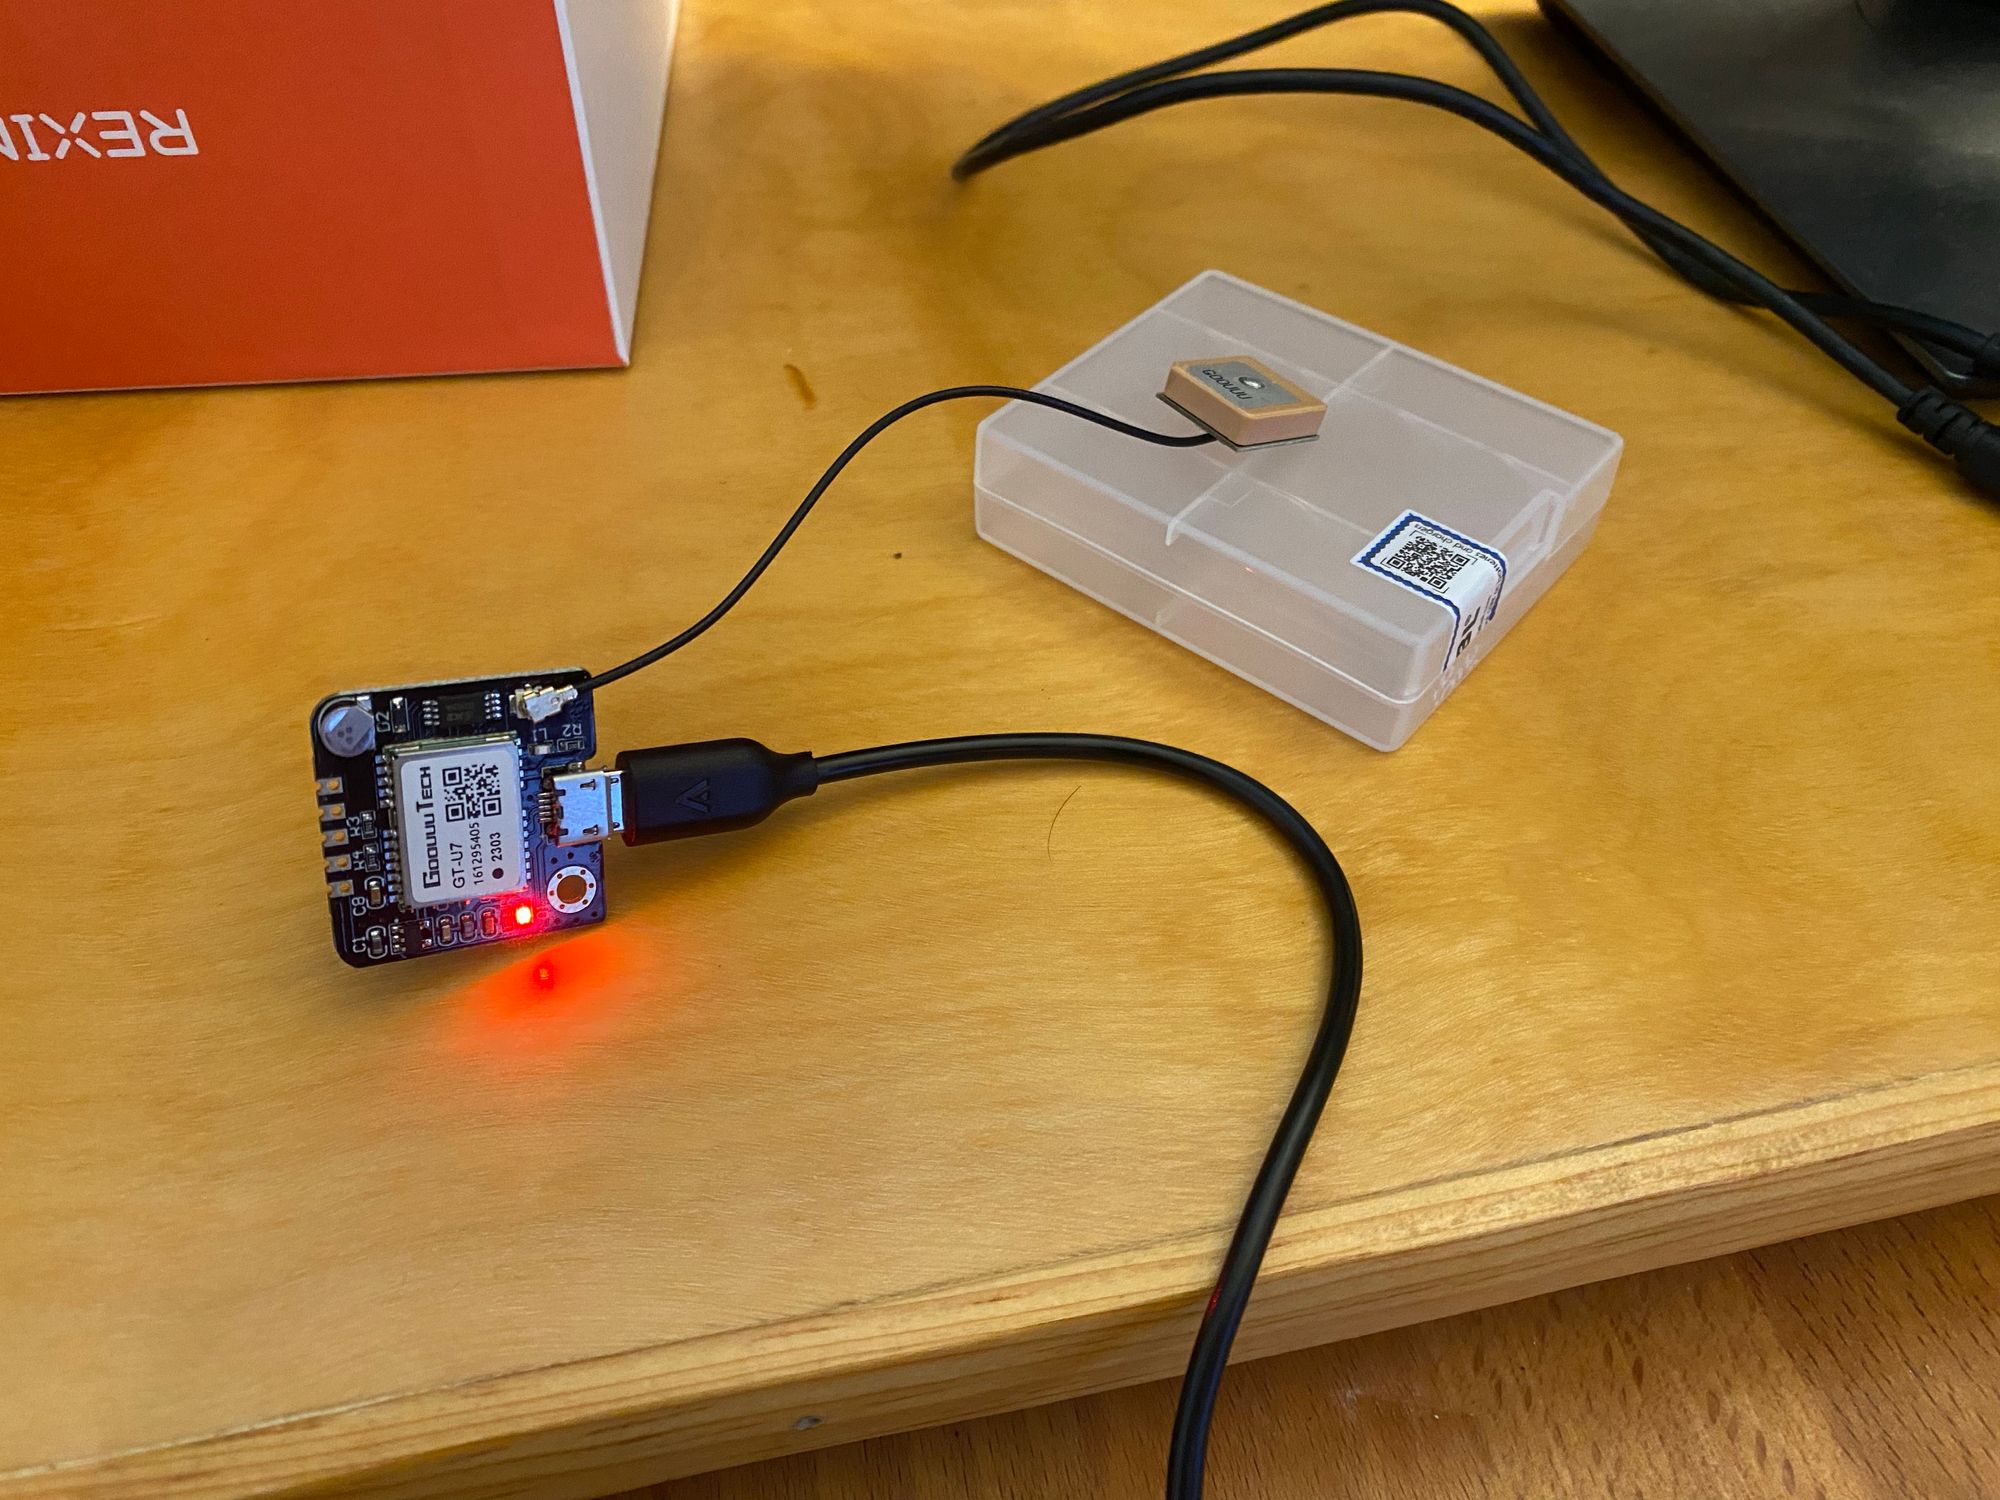
Go ahead and turn your Pi on. Note that I tried to tape the antenna directly on top of the PCB to make all in one type package, and it did not work. There is some kind of interference that completely stops the GPS lock.
Step 5: Initial Config and Tuning
Now we have all the pre-requisites setup and the hardware connected, we can start testing and configuring things.
If you have connected via serial, you can check for PPS pulses to see if the PPS config is correct by doing
sudo ppstest /dev/pps0You should see an output like this. Do Control + C to exit out
trying PPS source "/dev/pps0"
found PPS source "/dev/pps0"
ok, found 1 source(s), now start fetching data...
source 0 - assert 1689037624.000000607, sequence: 19592 - clear  0.000000000, sequence: 0
source 0 - assert 1689037625.000001413, sequence: 19593 - clear  0.000000000, sequence: 0
source 0 - assert 1689037625.999999218, sequence: 19594 - clear  0.000000000, sequence: 0
source 0 - assert 1689037627.000001023, sequence: 19595 - clear  0.000000000, sequence: 0
source 0 - assert 1689037627.999999829, sequence: 19596 - clear  0.000000000, sequence: 0
source 0 - assert 1689037629.000000634, sequence: 19597 - clear  0.000000000, sequence: 0
source 0 - assert 1689037630.000000440, sequence: 19598 - clear  0.000000000, sequence: 0
Now we need to edit the gpsd configuration file, this applies to USB and Serial configurations.
sudo nano /etc/default/gpsdIf you are using USB, this is all you need in the config file
START_DAEMON="true"
USBAUTO="true"
# this could also be /dev/ttyUSB0, it is ACM0 on raspberry pi
DEVICES="/dev/ttyACM0"
GPSD_OPTIONS="-n"
For Serial, on my Raspberry Pi 3 this is the config
START_DAEMON="true"
USBAUTO="true"
DEVICES="/dev/ttyS0 /dev/pps0"
GPSD_OPTIONS="-n"
But, I did notice that on my Pi 1, the Serial Port name was different, it was ttyAMA0. So my config looked like this
START_DAEMON="true"
USBAUTO="true"
DEVICES="/dev/ttyAMA0 /dev/pps0"
GPSD_OPTIONS="-n"
If you are usure, you can go to /dev/ and list the output, and get a clue. Trial and error is your friend here, you won't break anything. You can see below here that serial0 is mapped to ttyAMA0, which is where I got that device name from.
cd /dev/
ls -al

~snip~

brw-rw----  1 root disk      1,   8 Jul 10 14:35 ram8
brw-rw----  1 root disk      1,   9 Jul 10 14:35 ram9
crw-rw-rw-  1 root root      1,   8 Jul 10 14:35 random
crw-rw-r--  1 root netdev   10, 242 Jul 10 14:36 rfkill
lrwxrwxrwx  1 root root           7 Jul 10 14:35 serial0 -> ttyAMA0
drwxrwxrwt  2 root root          40 May 13 05:36 shm
drwxr-xr-x  3 root root         180 Jul 10 14:36 snd
lrwxrwxrwx  1 root root          15 May 13 05:36 stderr -> /proc/self/fd/2
lrwxrwxrwx  1 root root          15 May 13 05:36 stdin -> /proc/self/fd/0
lrwxrwxrwx  1 root root          15 May 13 05:36 stdout -> /proc/self/fd/1
crw-rw-rw-  1 root tty       5,   0 Jul 10 14:36 tty
crw--w----  1 root tty       4,   0 Jul 10 14:36 tty0
Once you have your config in place, execute the below command to make gpsd start on boot
sudo ln -s /lib/systemd/system/gpsd.service /etc/systemd/system/multi-user.target.wants/Now go ahead and reboot. When it comes back, launch gpsmon and you should see the output
gpsmon
If you don't see the above, you may need to adjust your serial name, or the connection is wrong. If you are connected via USB, you won't see PPS.
Your PPS offset will likely be MUCH higher than mine, as you've not yet tuned the system time which we will do later.
Note that it requires 4 satellites to get accurate time (Source below)

If you have got to this point, you now have your GPS module connected to the Pi, and should notice the LED light blinking every second. If you ever notice it go off, or not blink every second, its because you are losing the PPS signal and don't have 4 satellites or have completely lost the GPS lock. You may need to reposition your GPS module, or get a better antenna, or make sure your antenna connector is fully clipped in.
If you want to monitor the number of satellites and move around your antenna, you can use this handy command
gpspipe -w | jq ".uSat| select( . != null )"It will just keep scrolling down the screen how many you have, which can be useful. Just do Control + C to exit

Now we can configure the NTP server Chrony to use the GPS module. We will wait to configure additional options in the next step, right now we just want Chrony to see and use the GPS time. Start by opening the config file
sudo nano /etc/chrony/chrony.conf If you are using USB, add the below line below the pool.ntp.org entry
refclock SHM 0 refid NMEA offset 0.000 precision 1e-3 poll 3 noselect
This tells Chrony to add the NMEA (GPS) source, but don't use it for time (The noselect) We can dig into what the rest means later
If using Serial, add the below lines. There is an extra line to get the PPS data. Since PPS only tells you seconds, we lock it to the NMEA source to get the rest of the information.
refclock SHM 0 refid NMEA offset 0.000 precision 1e-3 poll 3 noselect
refclock PPS /dev/pps0 refid PPS lock NMEA poll 3
Scroll down (With pagedown) and find this line

Do what it says and uncomment it, which will turn on logging. With that changed and the new lines for the GPS, save and exit nano.
Restart Chrony
sudo systemctl restart chronyNow, do the following
sudo cat /var/log/chrony/statistics.log | sudo head -2; sudo cat /var/log/chrony/statistics.log | sudo grep NMEAIt will spit out some information like this. And each time you run it, you will have more data

The reason we are collecting this data is to get the "Est offset" number, so we can tune that in the chrony config, to get the time spot on. You will want to let this run for at least 10 mins, but the longer the better. Personally I got it working, and then came back at a later date and re-did the logging with 4-5 hours of data (As it turns out, it was the same...)
Once you have waited as long as you wanted to, go ahead and paste that whole table into a txt file. I did this on my Windows computer. We are going to now use Excel to get the average of the Est Offset, which will punch into chrony.
Open Excel and in the Data Tab, click From Text and select your txt file.

Now set the Delimiter to Space (I'm sure there is a better way to do this, but it works...)

Click Load. From here we can just delete A through Q to get to the data we want

Now go to the bottom, click in the next cell and click Autosum

Change it to average and note down the number.

Now go back to the chrony config
sudo nano /etc/chrony/chrony.conf
And change your offset on the NMEA line to the number we found. Personally I added a whole new line, so I can easily switch back to 0.00 for tuning in the future

If you are using Serial, leave noselect. If you are using USB, remove noselect.
Also, go back down and re-comment the line to disable logging, save and exit. We can also delete the old log files now, and also restart Chrony
sudo rm /var/log/chrony/statistics.log
sudo systemctl restart chrony
Now do the following command
watch -n 1 chronyc sourcesThis will look at the Chrony sources, and refresh every 1 seconds
If you are using Serial/PPS, your time should look something like this with the PPS now getting the primary reference, notated by the *. The internet NTP sources will probably have the ^ symbol, notating that they are ready to take over, and have valid time. The NMEA has the ? saying it will not be used, as we used the noselect option on it

If you are using GPS, the same as the above is true, but your NMEA will have the * and there will be no PPS. If your tuning was correct, it will take over. If your tuning was wrong, its possible one of the internet NTP sources will still be primary.
If you add -v to the command, you will get an explanation
watch -n 1 chronyc sources -v
From here there is not much else to do with the GPS configuration, you really just want to make sure its getting a good offset, but note that it will fluctuate.
If you are using USB, because of the overhead of USB, you may notice it fluctuating wildly. But in my testing its always still better than the internet NTP sources. And if you are using Serial, the last sample for the NMEA source may be wildy out of whack. I do not know why, but it doesn't affect the time. Here as an example it shows my NMEA as +13 milliseconds! When we are dealing with time in the nanoseconds, a millisecond is eternity.
Another very handy command is
watch -n 1 chronyc trackingWith PPS, you can get literally SPOT ON to real time. Mine is often below 100, and often time sits at exactly 0. In this screenshot we are indicated 2 nanoseconds off real time. That is an insane amount of accuracy. If you are using USB, your number will be a lot higher. (Though, there is some overhead from the Pi and controller not accounted here)

If you got to here, we have now got the GPS completely tuned, and we can move on to the NTP server configuration.
Note, if you decide now you want to re-tune your GPS and gather more data by turning on logging, you MUST revert to a 0.000 offset first in chrony.
Step 6: NTP Server Configuration
Now we can get on to the other NTP configuration, the part most other guides just skip over.
edit your chrony config file
sudo nano /etc/chrony/chrony.conf
First, if you are happy with your PPS time and its stable, add prefer to the end, so it looks like this

Somewhere in there (Anywhere, it doesn't matter), we need a line to allow clients to connect to us, if we don't enter this, nothing can connect to Chrony, and its not exactly much of an NTP SERVER. I added the following to allow connections from anywhere, as this device is only on my local network anyway, and I want any and all subnets to connect to it, even in the future.
allow 0.0.0.0/0if your home network was in the 192.168.1.0 IP space, you could enter the above, or
allow 192.168.1.0/24The CIDR /24 is probably correct. If you are on a network with something different, you most likely configured it yourself and would know.
next, we need a manual directive which enables support at run-time for the settime command in chronyc. Easy, its just one word
manualThen we need an option which took me forever to find and decide on, and its the option for orphan mode and which stratum to report. Here is some more info on stratums
The orphan mode is when the internet gets disconnected, and there are no other time servers available abd we are alone. The default configuration for Chrony is that when this happens, it marks your highly accurate GPS time source as unusable. To me, this is crazy. No other guide mentions this, as I suspect they never tested it. Why would I want clients to have no NTP time, vs a highly accurate GPS time source?
I decided to add the line below. Which tells chrony to report to clients, even when there are no other sources online, that this is a stratum 1 time server, which is correct.
local stratum 1If there is an NTP expert out there who thinks I am wrong, please let me know. All the documentation online wants you to set it to stratum 8 or something even higher. I don't understand why, as the GPS time is CORRECT and even more correct than internet NTP sources usually.
Finally, if you don't want to use pool.ntp.org, enter your own time servers and comment out that line and add your own. I decided on the following:
# Default NTP
#pool 2.debian.pool.ntp.org iburst

# Good Time Servers
server time.nist.gov
server time.cloudflare.com iburst
## DON'T USE GOOGLE## server time.google.com iburst
server utcnist.colorado.edu
IBURST sends a burst of eight packets to shorten the time until first sync. Some let you do it, and some really hate it, like time.nist.gov. I had it enabled, and ended up getting rate limited. Don't add time.facebook.com, as it was 20ms off real time (WTF???)
_________________________
EDIT July 24th 2023. Don't use time.google.com! Time servers selected here should only serve accurate time. And time.google.com does NOT, as it does time smearing for the leap second and therefore will not be giving you accurate time, and it will not be in sync with the rest of the servers.
My current recommendations for public NTP servers are the following
server time.cloudflare.com iburst
server time.apple.com iburst
server time.nist.gov
server tick.usno.navy.mil
server tock.usno.navy.mil
I've not had good luck with using iburst on the US Naval Observatory NTP servers, or NIST. Since we have a GPS clock and other servers in the list, its not really needed anyway. I added the Apple server as so far, its been extremely reliable. It pointed me to a local server in Dallas which is less than 2ms away from my home internet, and the time has stayed very stable from looking at the stats.
People asked my why I don't use pool.ntp.org, and the answer is that I ended up with a bunch of really wacky domains and addresses in my IPS logs. I guess some of the people volunteering in the NTP Pool are on blacklists which is just not something I wanted to deal with. I also read that there have been many cases of pool members using Google's servers and other smeared time servers as sources, which is something you want to avoid. Personally I don't see much of a reason to point at another stratum 2, or stratum 3 servers, when we can point at the NIST and USNO servers.
_________________________
For leap seconds, you don't have to add any extra config. Chrony uses 1 of 2 modes to handle this, by default. There are other options also, check the documentation link below the screenshot. If you want to smear the time across a full day like Google is doing, you can do it locally

Sources:


At this point you are probably a big enough time nerd you can determine the NTP servers you like (Or at least SOUND like you are a time nerd)
Here is a screenshot of how mine looks now

Go ahead and save the config and reload chrony
sudo systemctl restart chrony
Step 7: Monitoring and verification
Now our NTP server is completely configured. At this point you'll want to use some commands to verify everything is working, such as the ones we've already used
watch -n 1 chronyc sourcesand
watch -n 1 chronyc trackingNote that refreshing that every 1 seconds takes it toll on low power devices like the Pi 1, so maybe switch to 5 seconds, etc.
Its at this point you will want to button up your hardware and get it where it needs to be. Personally I got it fairly neat, but I plan on getting a better case and making it look better
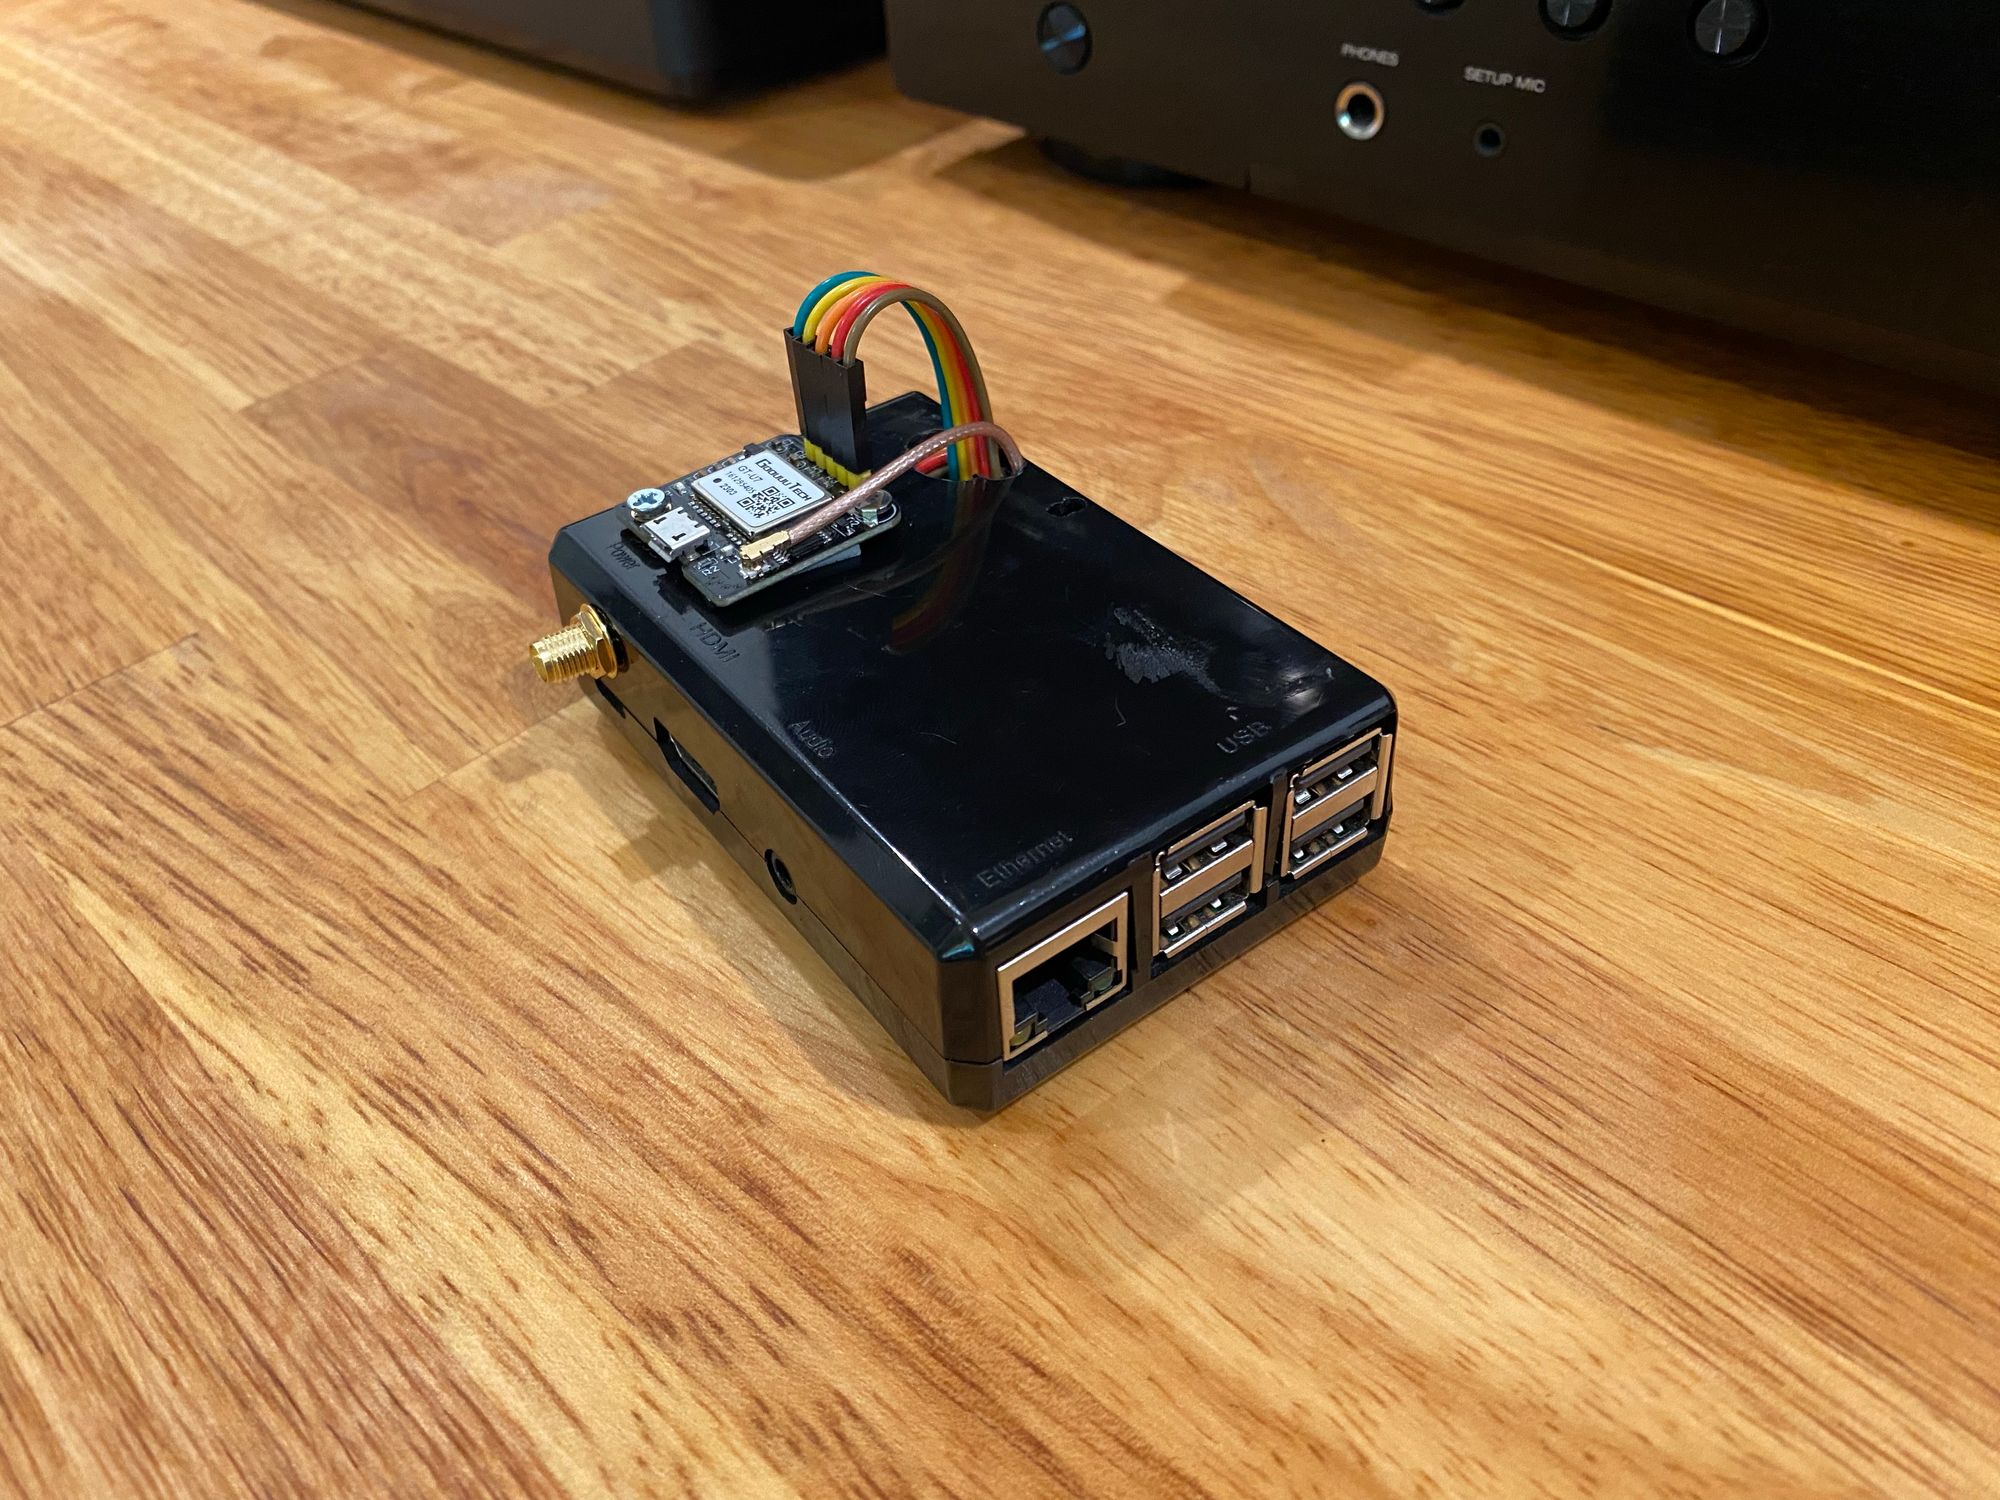
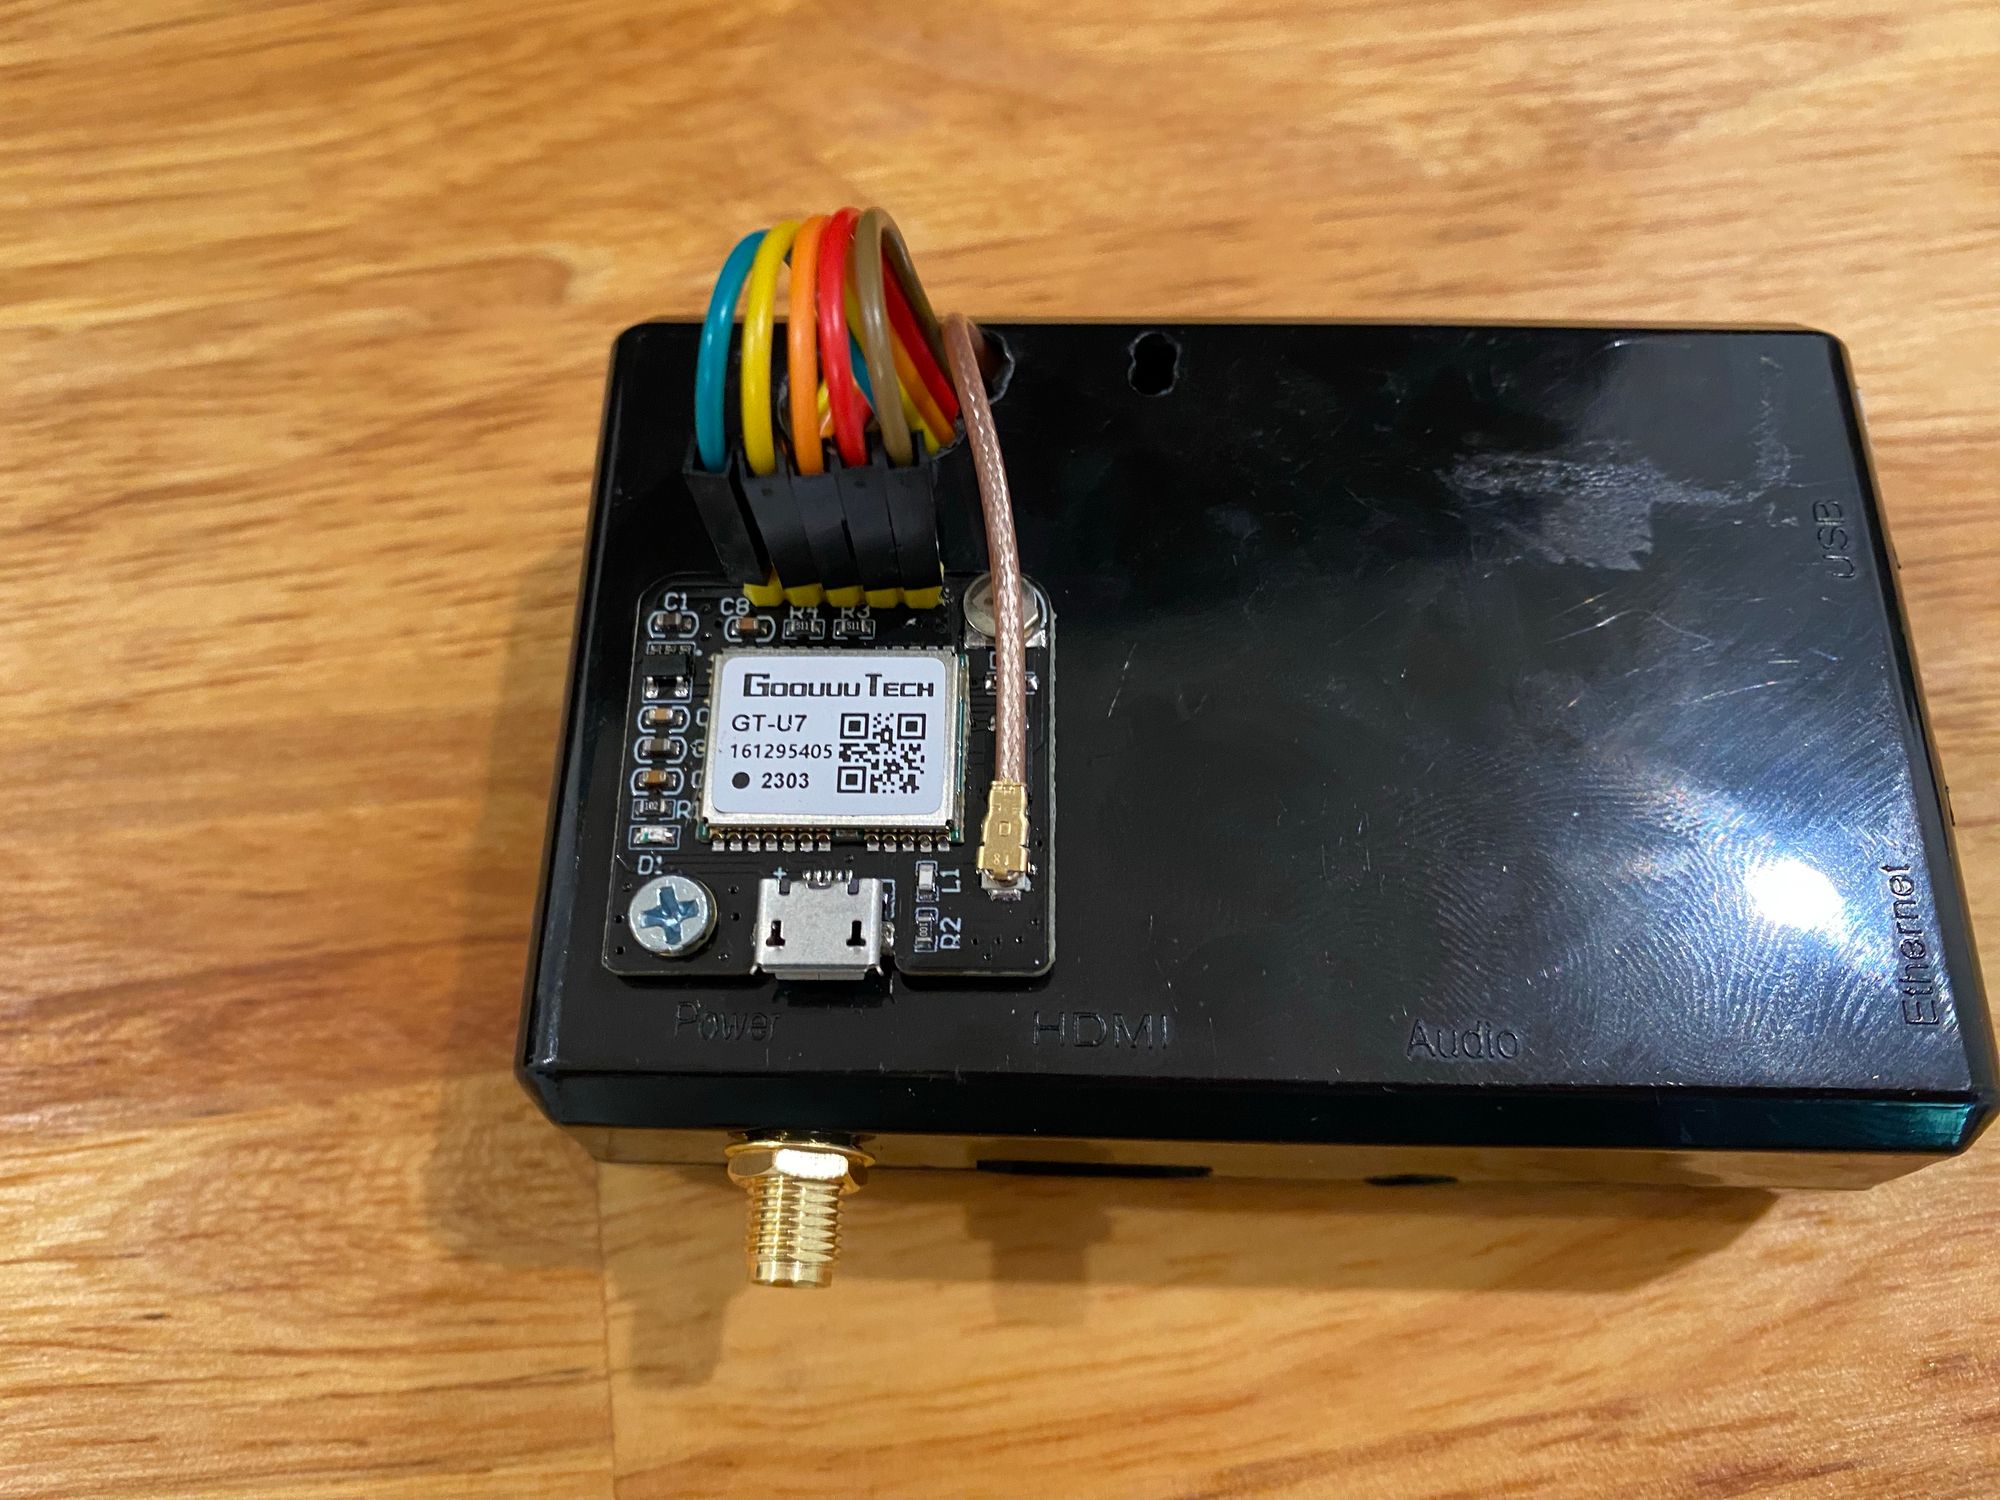
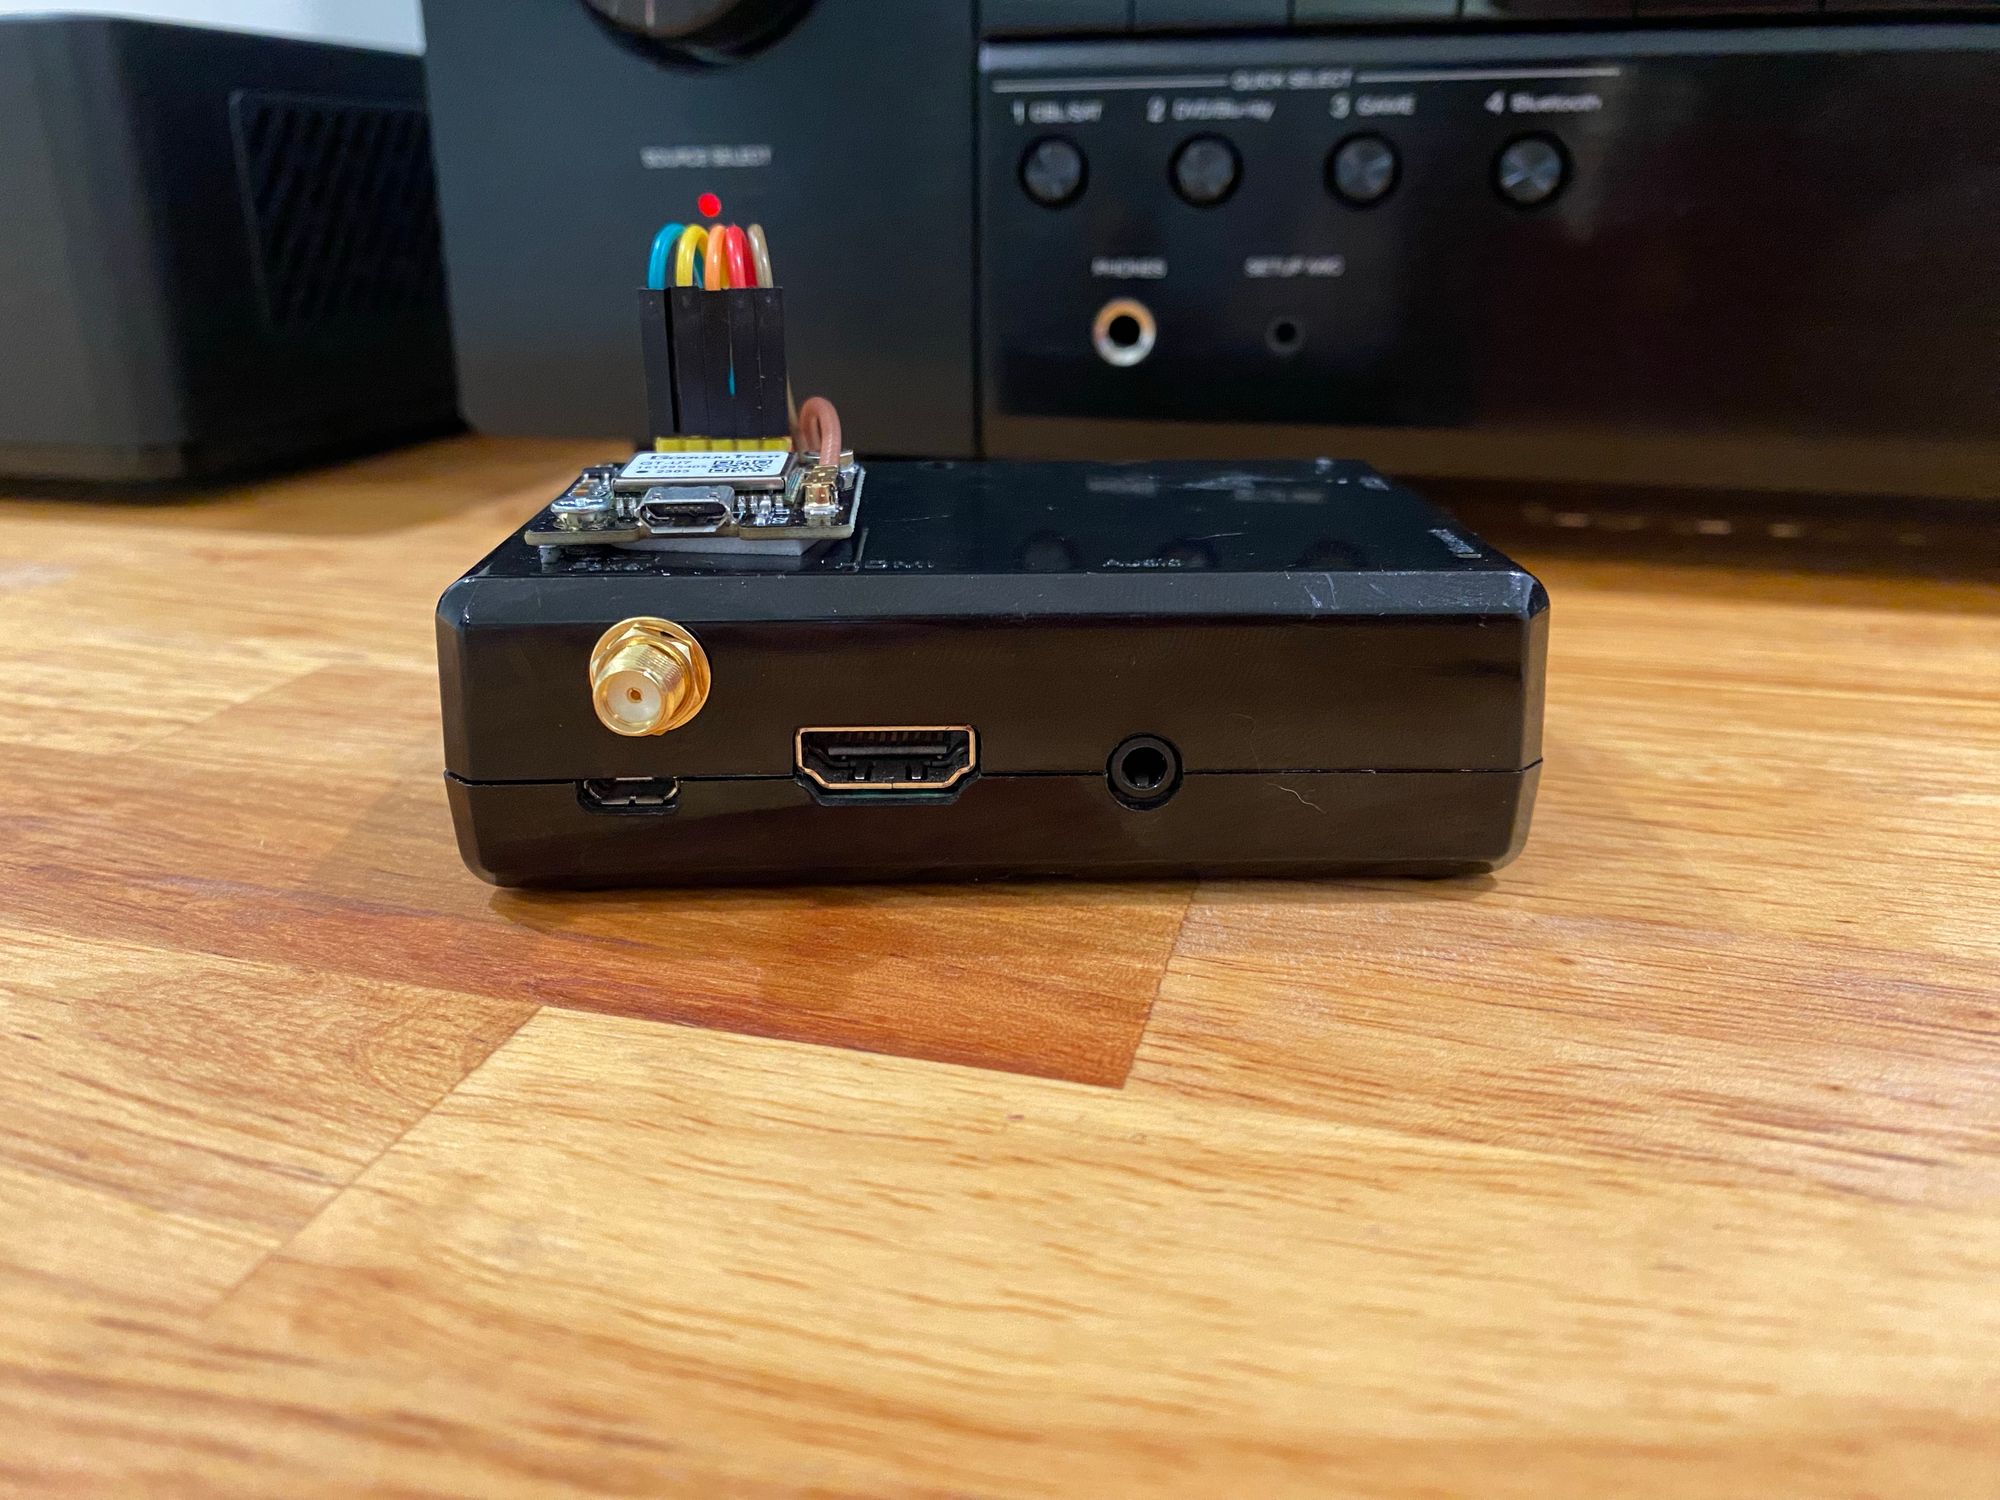
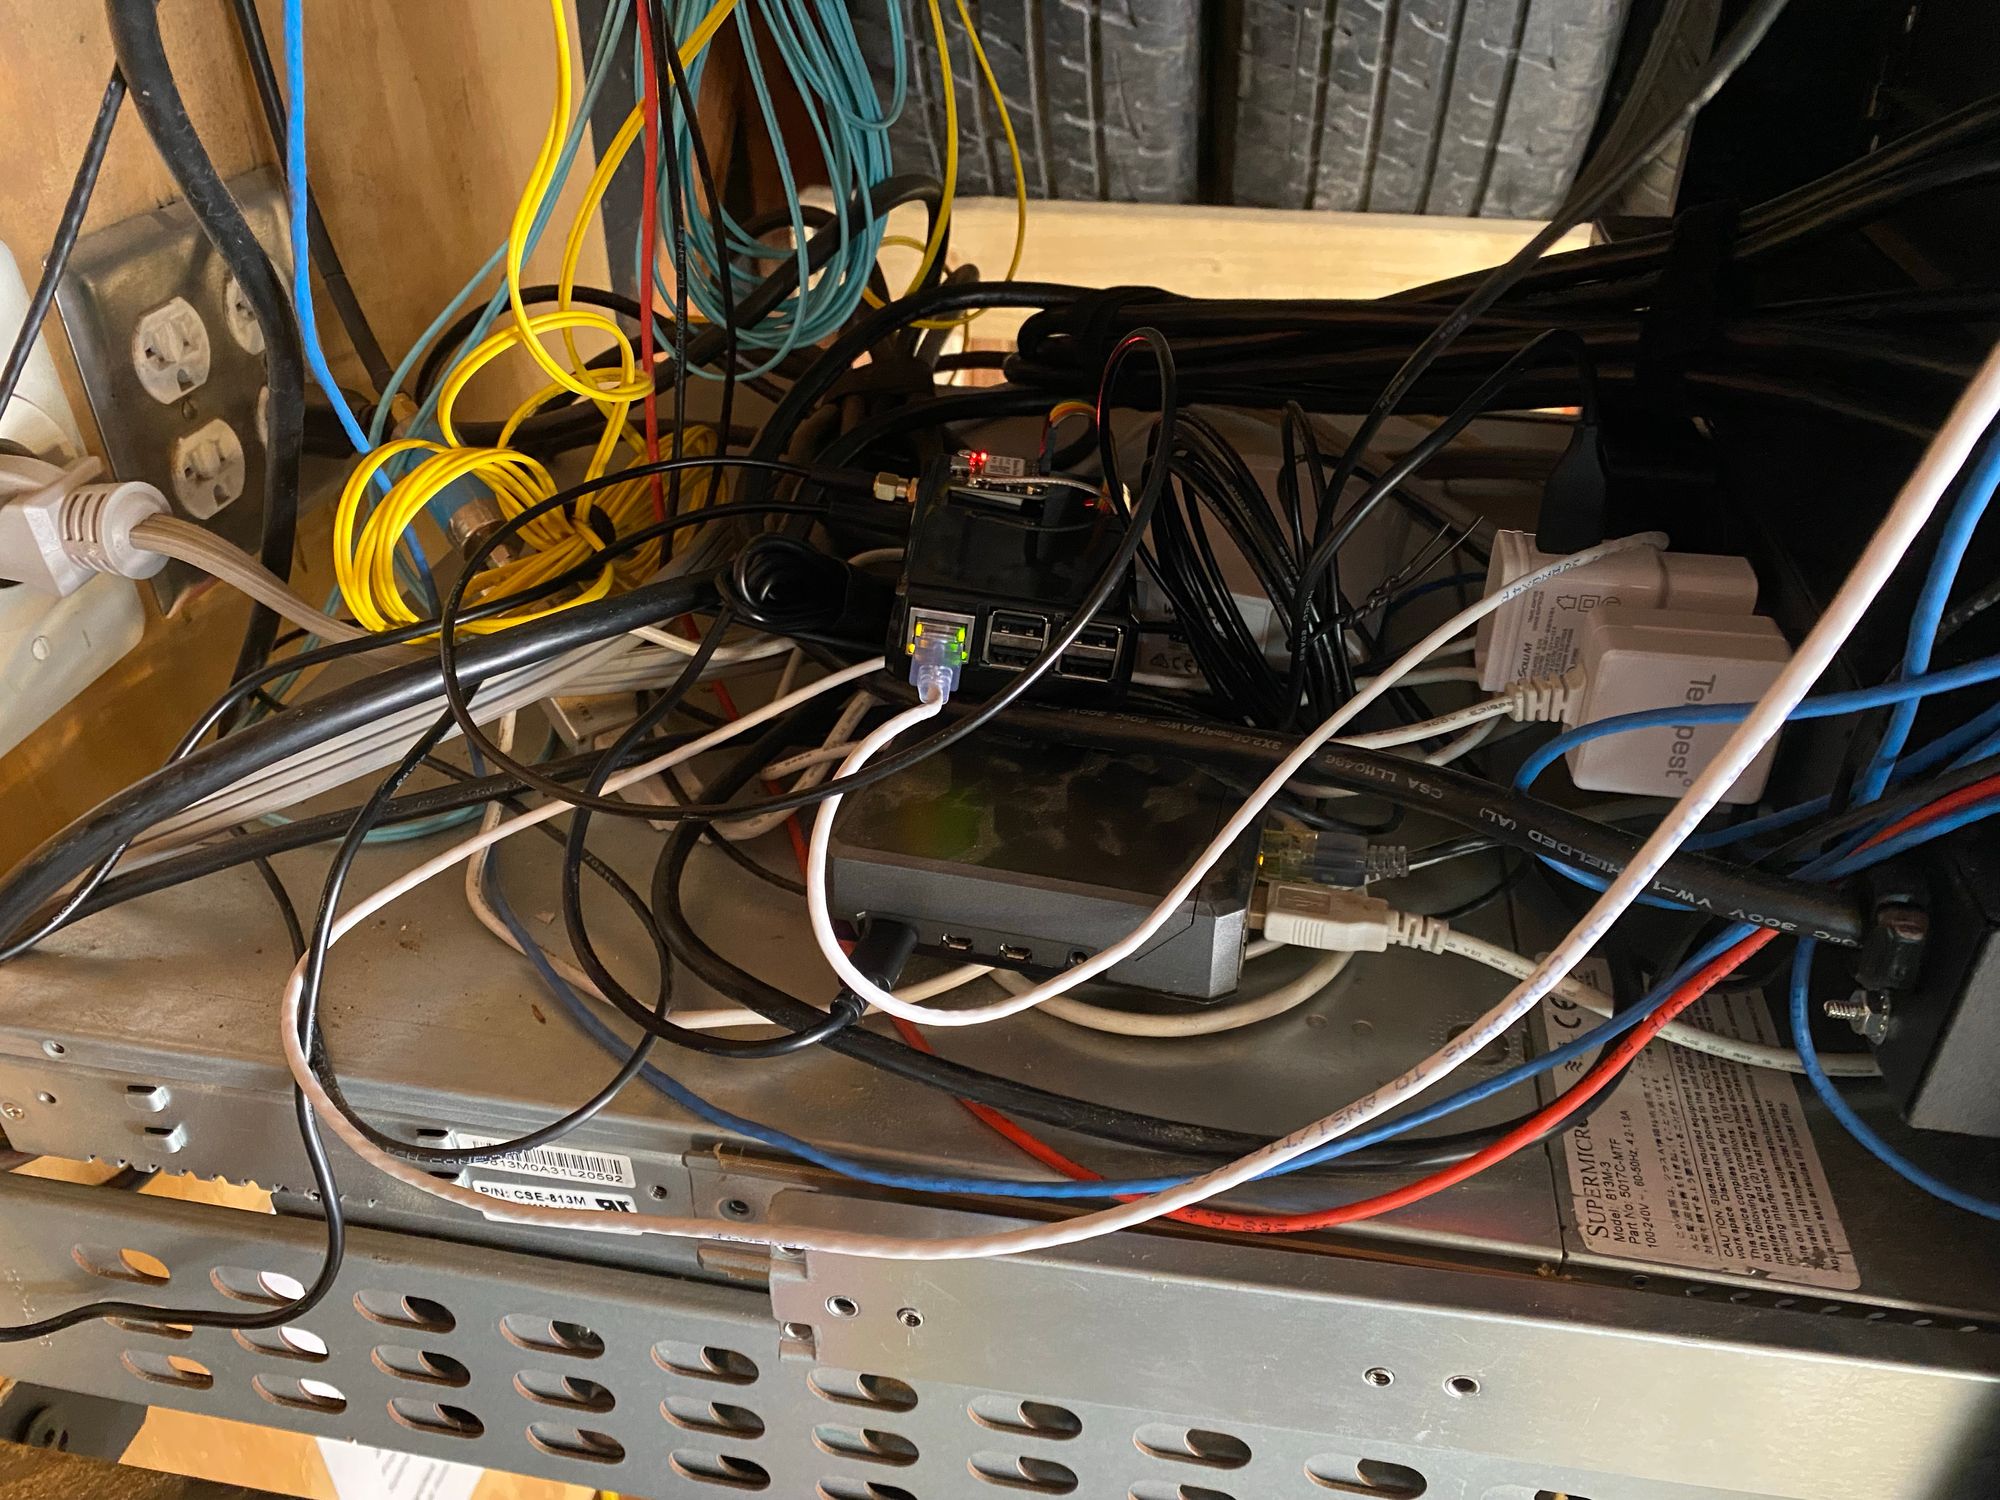
And into the mess it goes!
Here is the magnetic GPS antenna
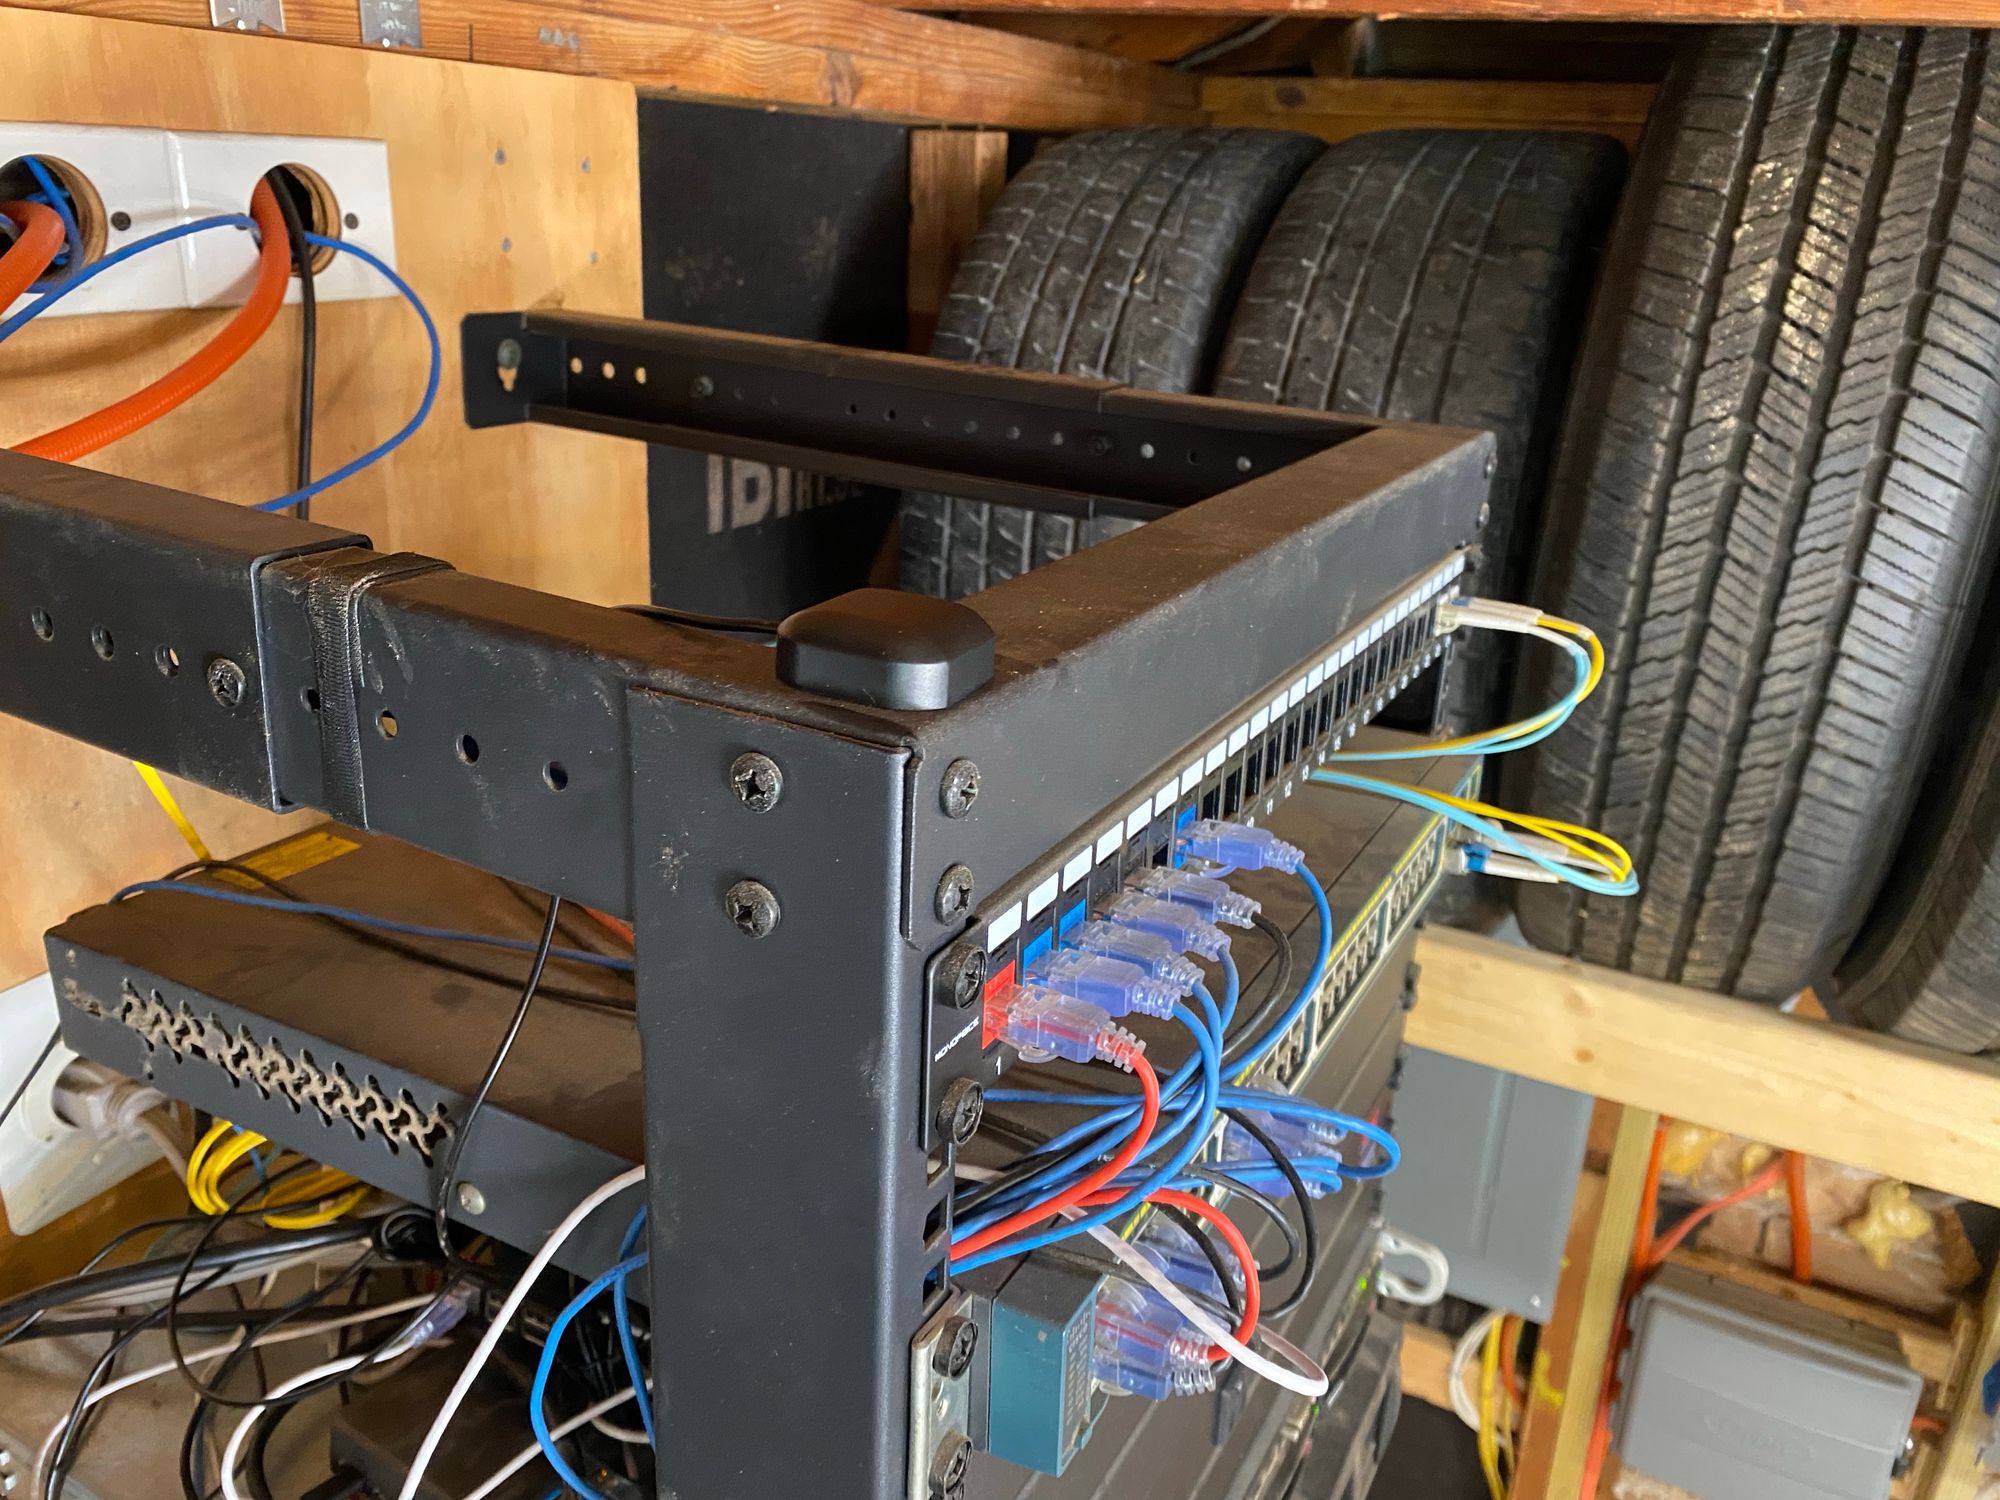
In the house its a bit better
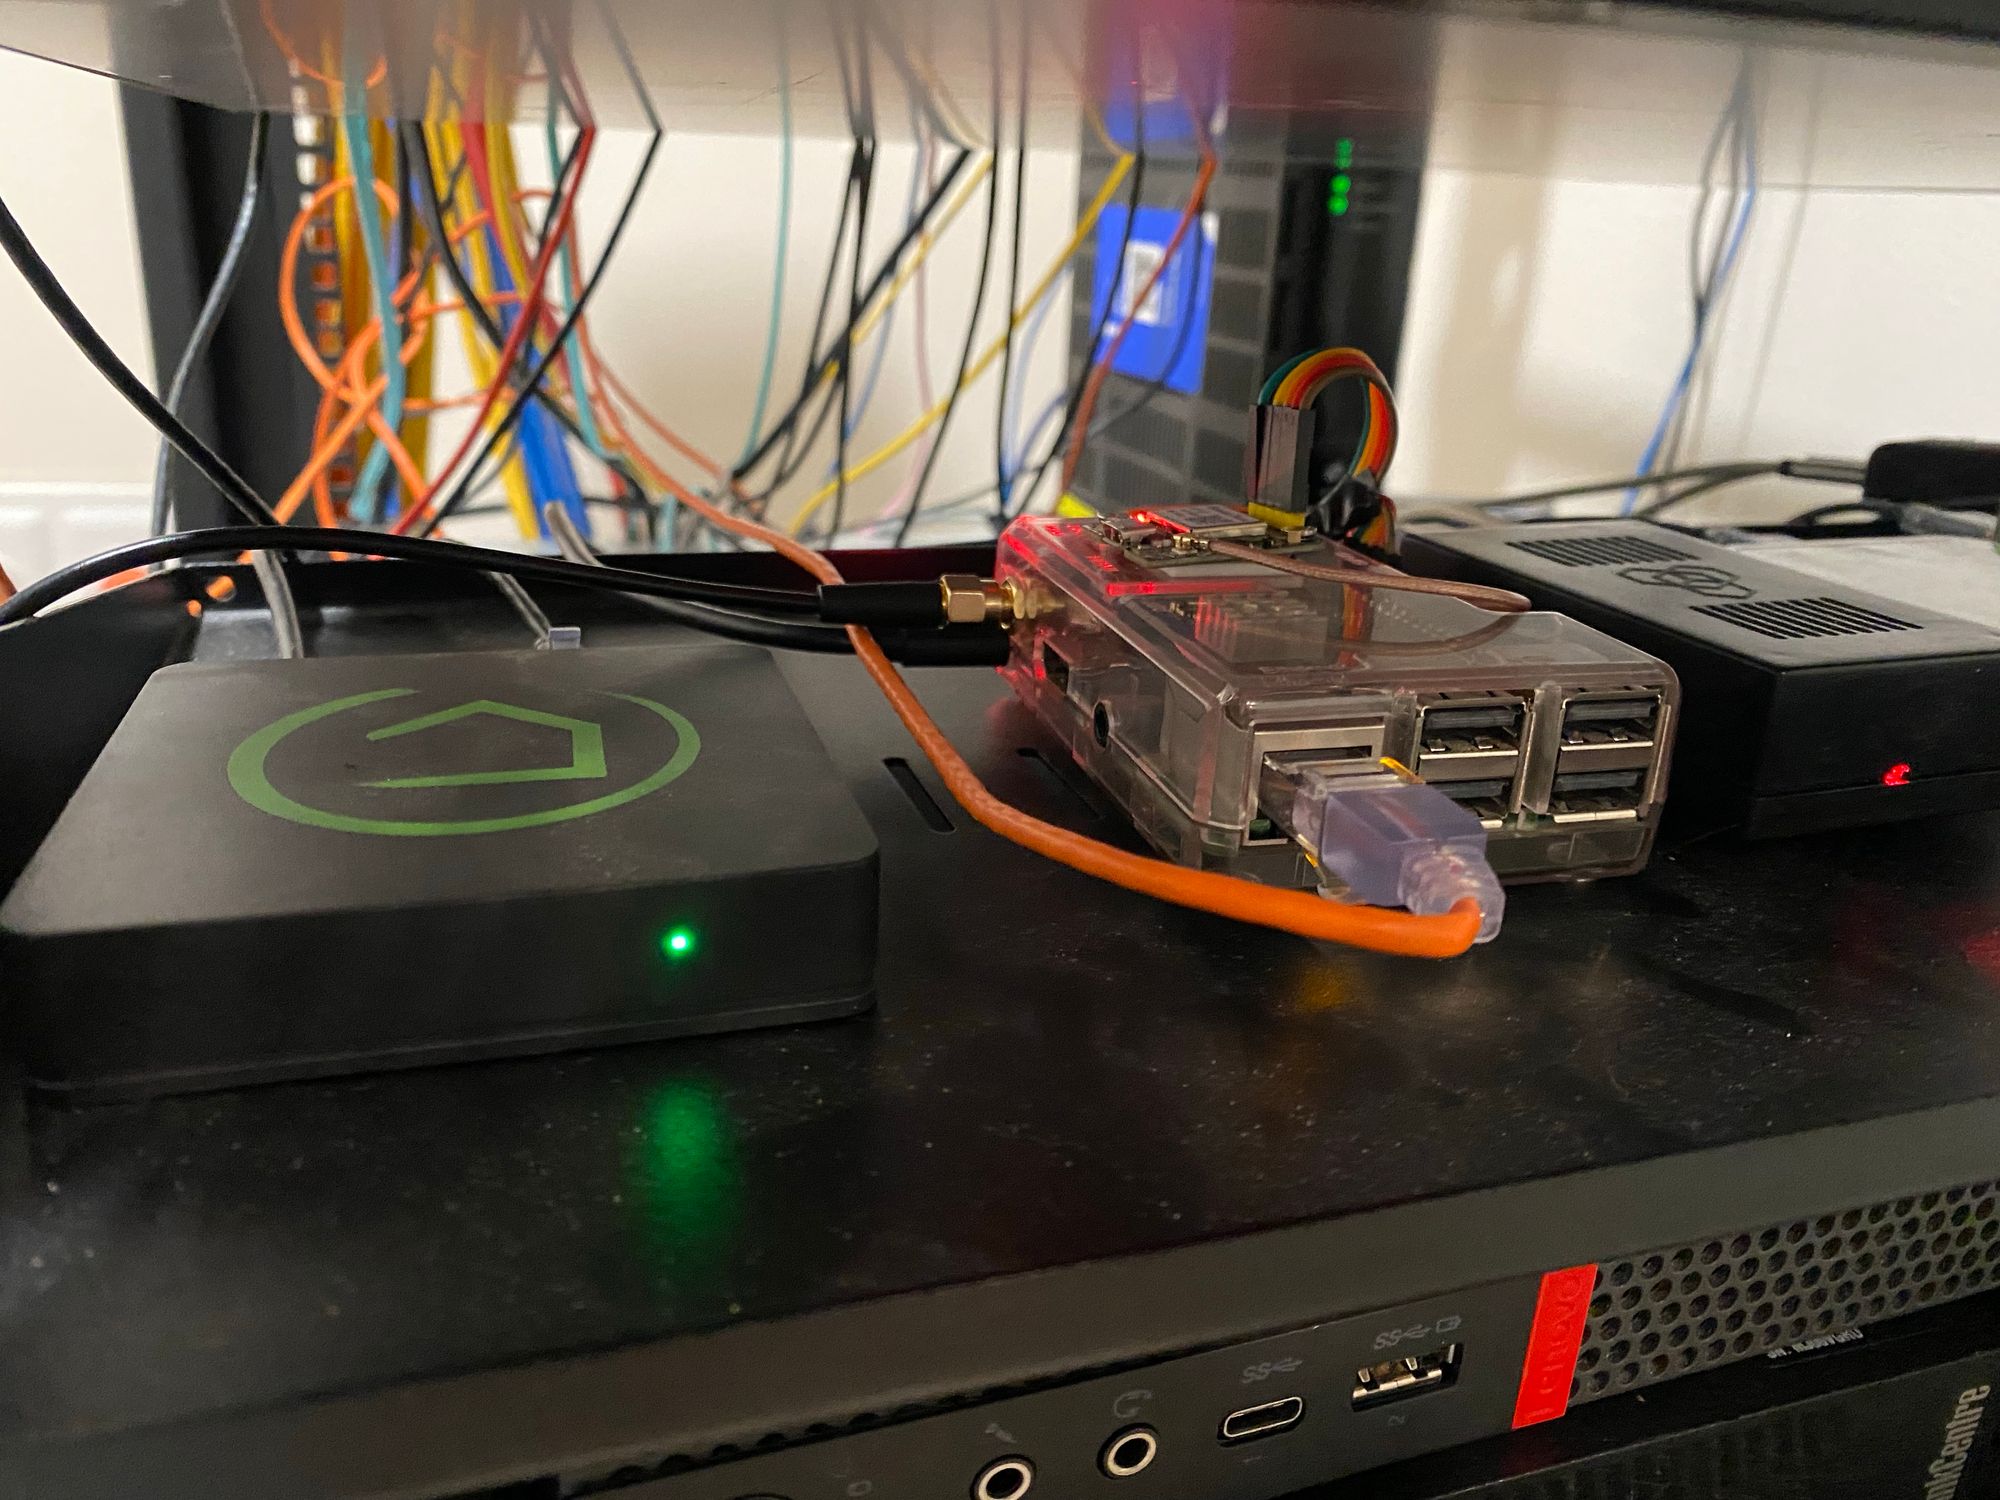
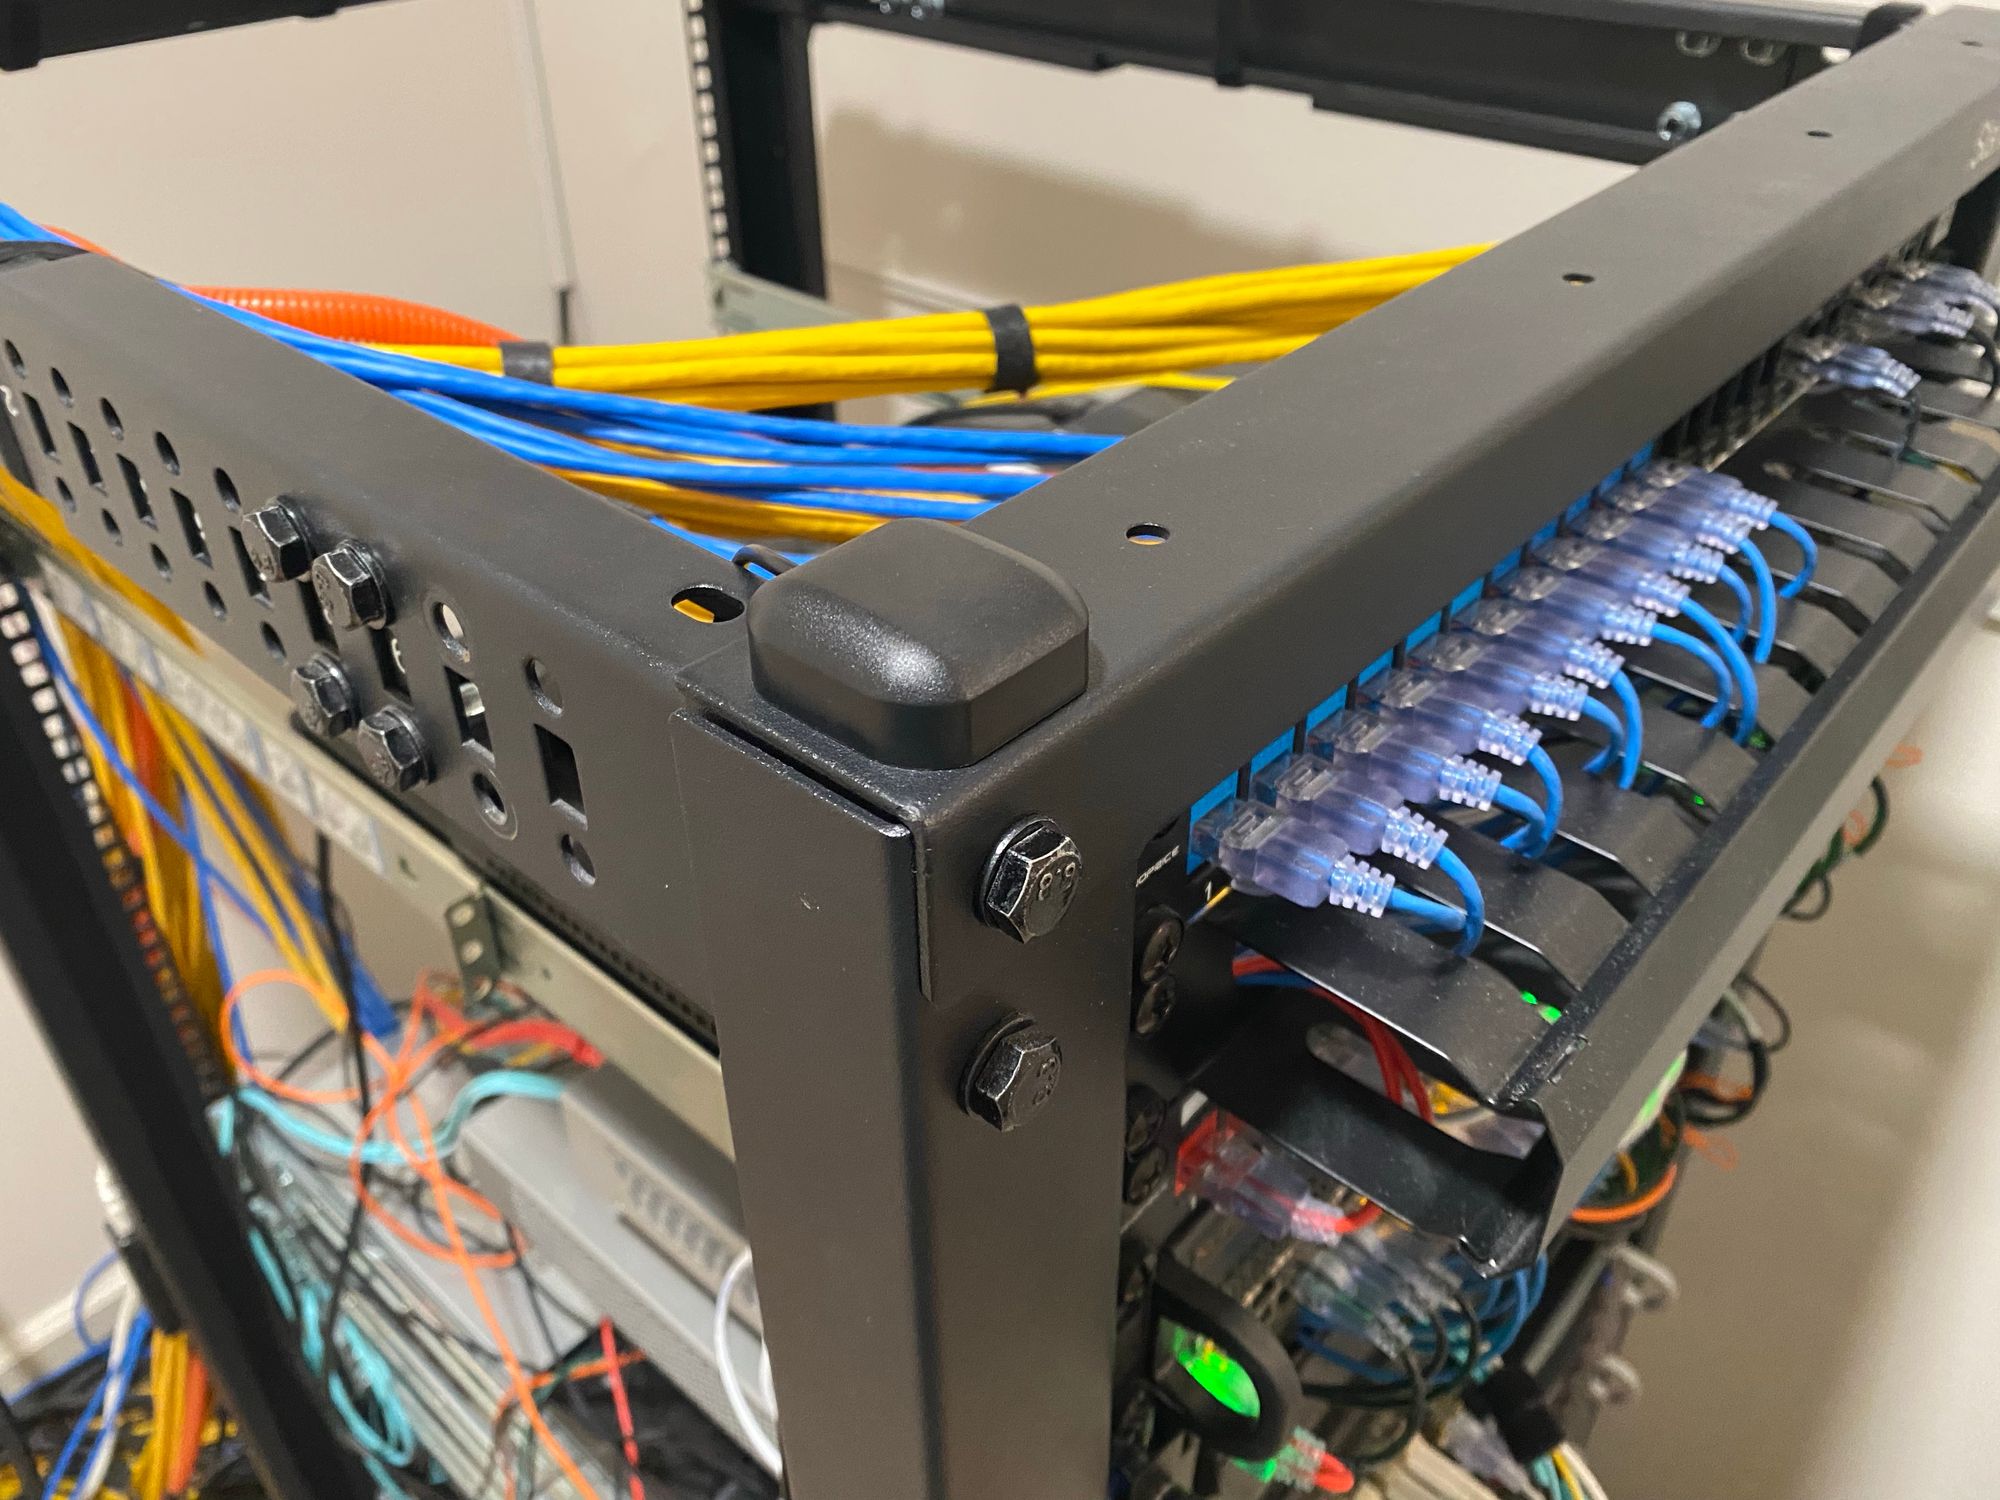
Keep monitoring your offsets and make sure nothing goes wonky, and use the command to see how many sats you are seeing now that its been moved
gpspipe -w | jq ".uSat| select( . != null )"It was at this point where I found I needed a better antenna. On my desk I was getting 8-10 sats, but where they would be located, I was hardly getting 4 on a good day.
Go ahead and set a few systems to use your NTP server, and then you can monitor that traffic with this command
sudo tcpdump -Qin -ni any port 123Here you can see that clients are actually using it

Another good tool for Windows is this Galleon NTP Check

You just enter an address and it tells you all the details

Thats all! if you've monitored it for a little while and everything is working, go ahead and point all your clients to it! I added it to my DHCP server options for all my subnets, and manually set all the static networking devices.
July 24th 2023 Update
I made the following post, where I found a great adapter to make a Pi Zero into a regular sized Pi
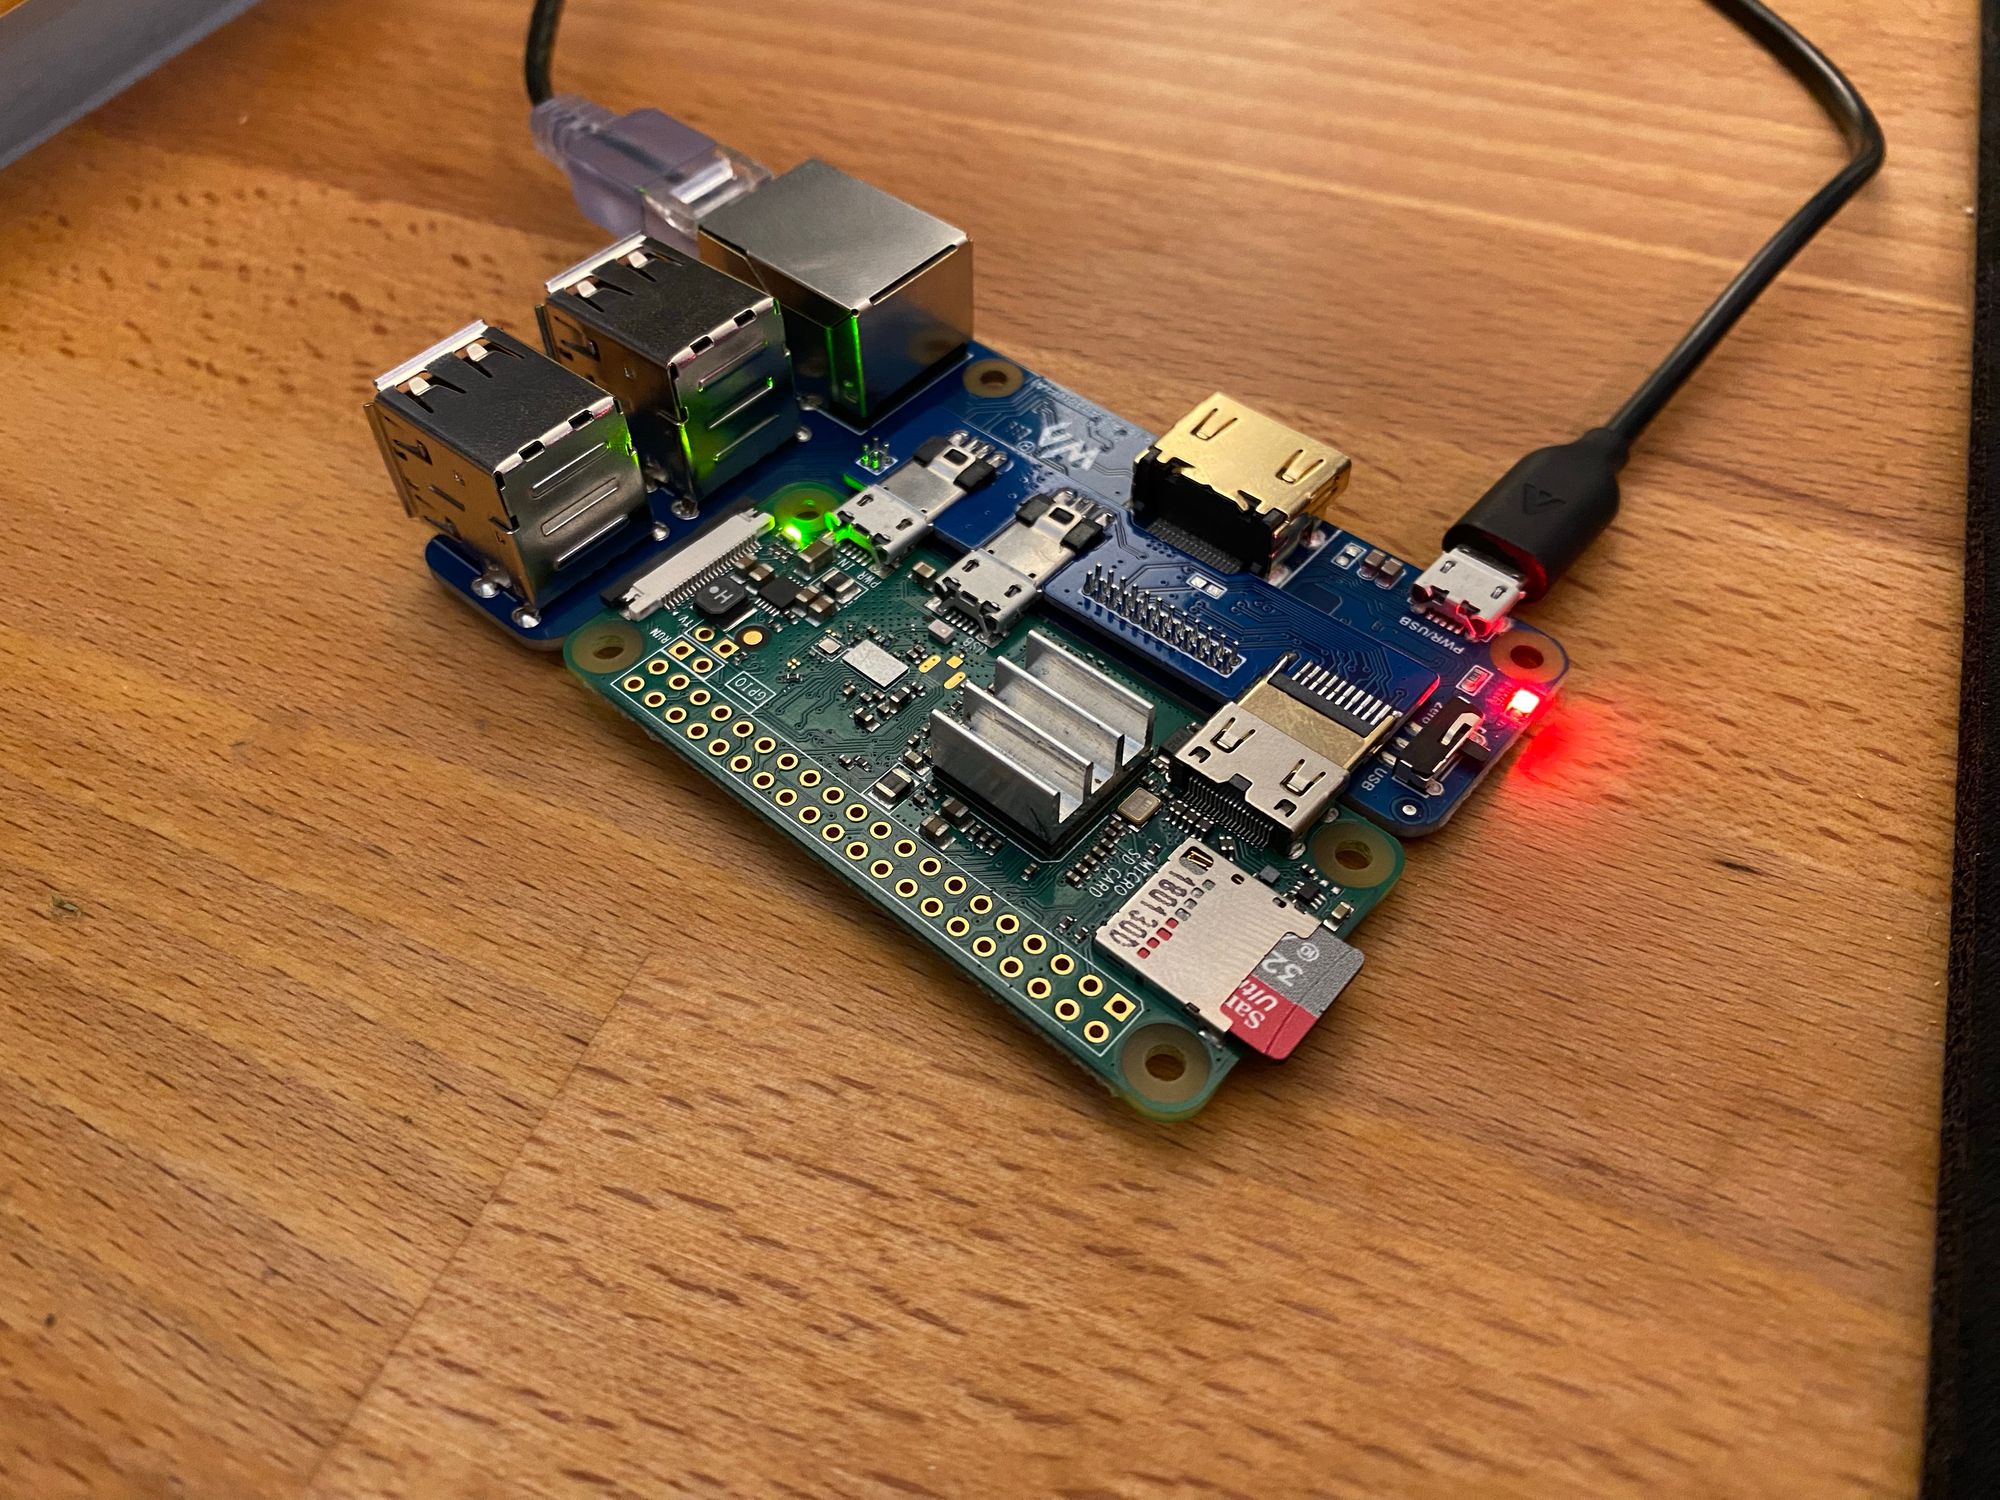
And I'm making that into the third NTP server. The mounting hole on the corner of the Pi Zero, which ends up in the middle of the Pi once you add the adapter, makes it perfect for this.
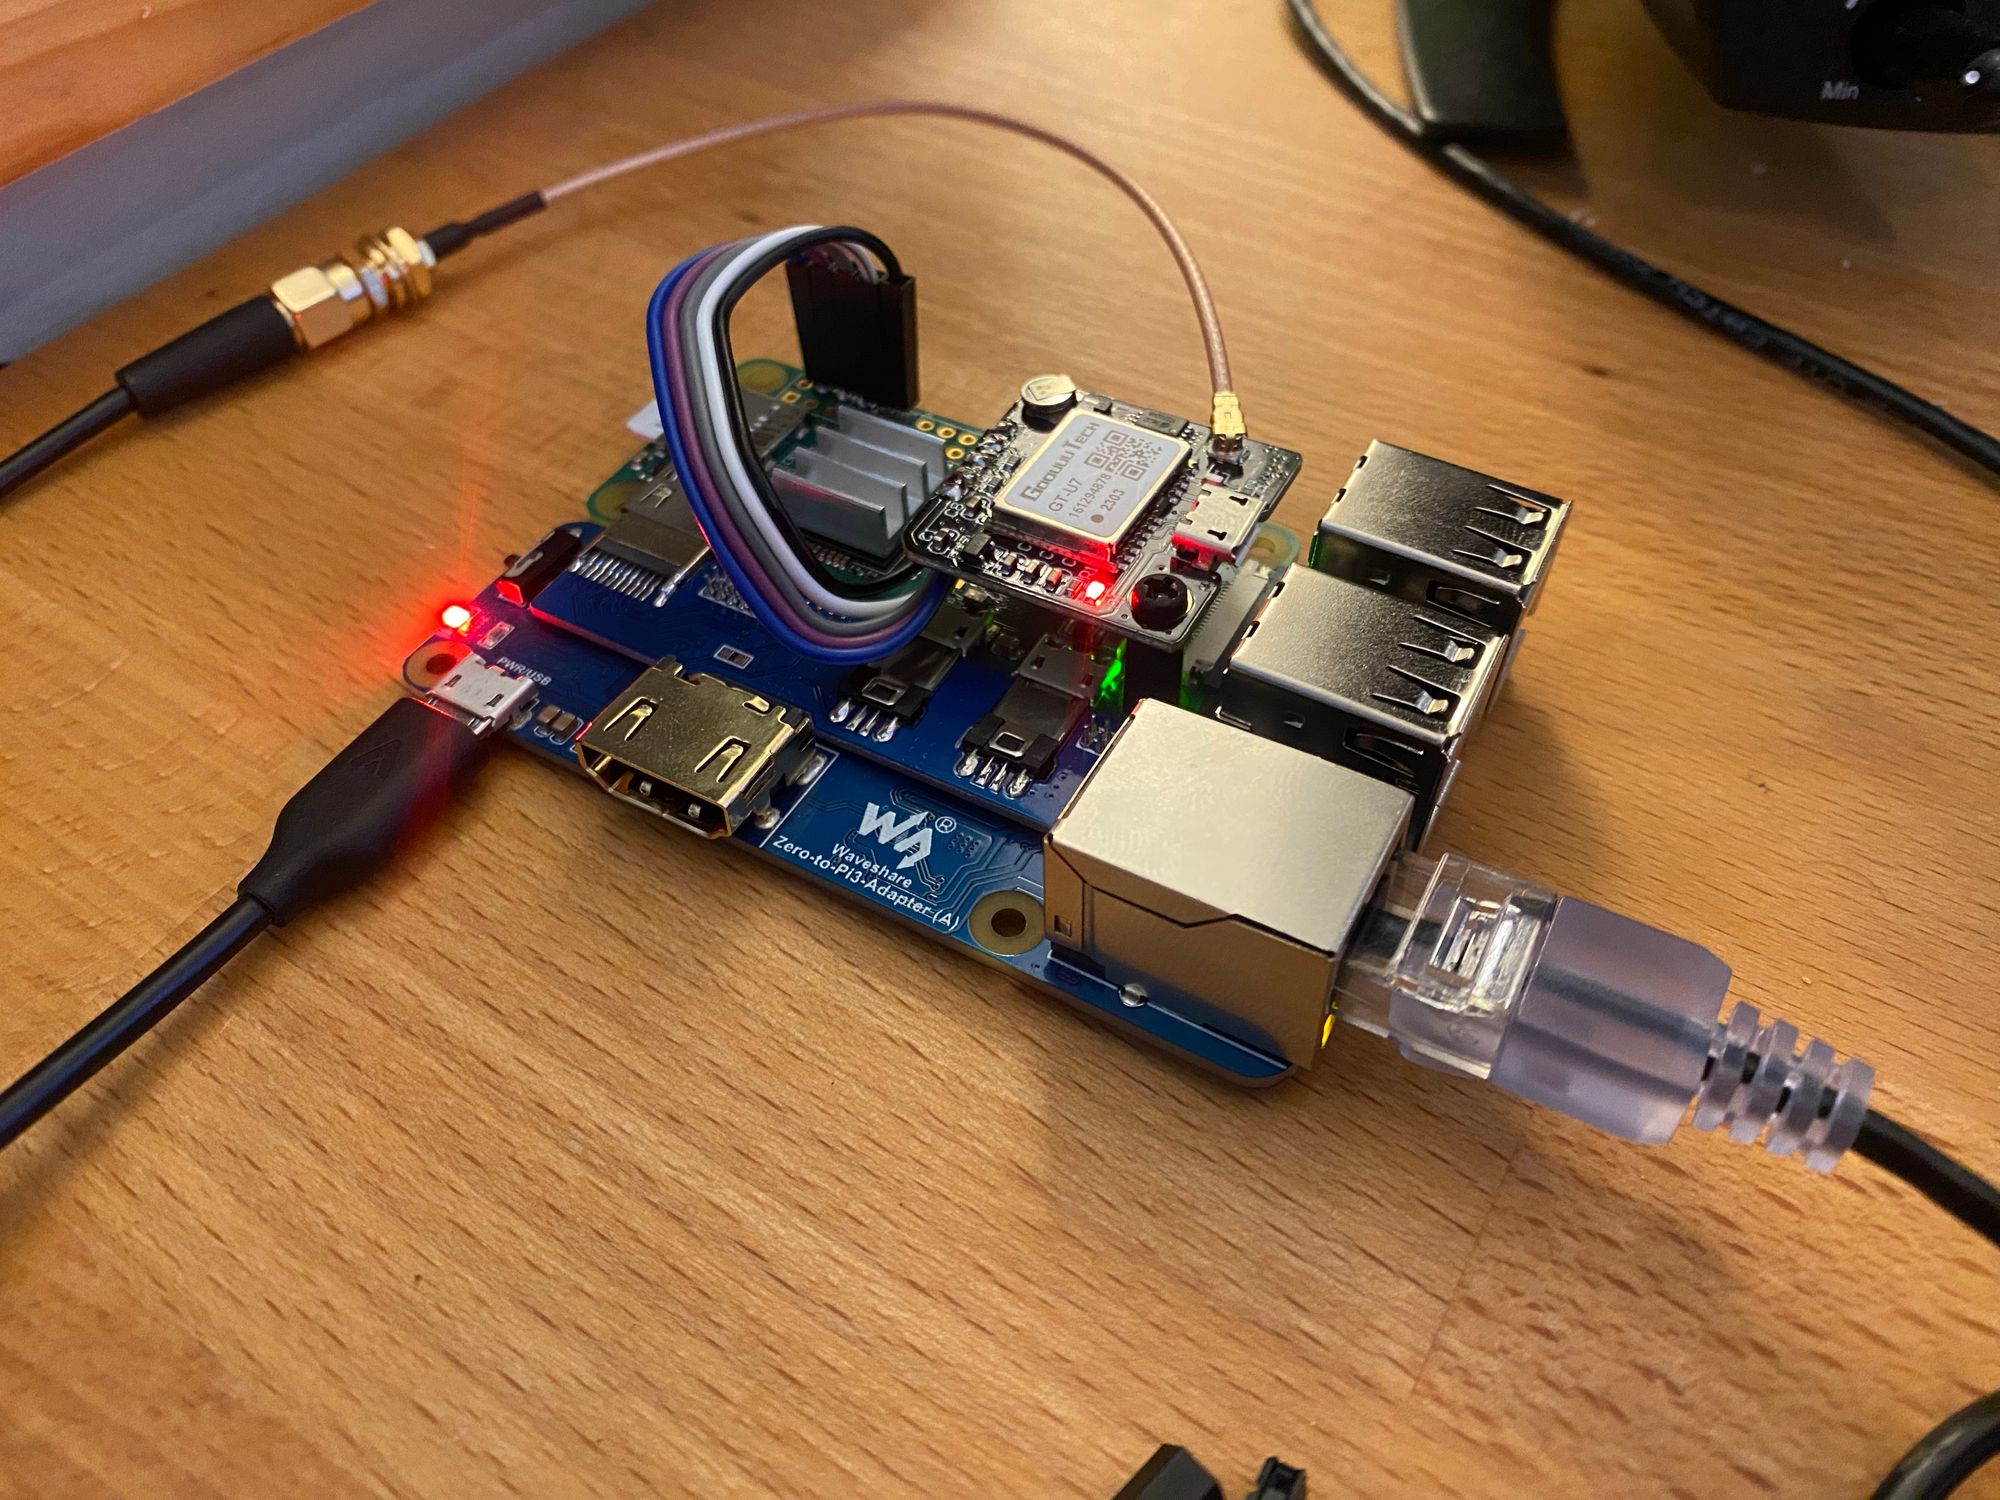
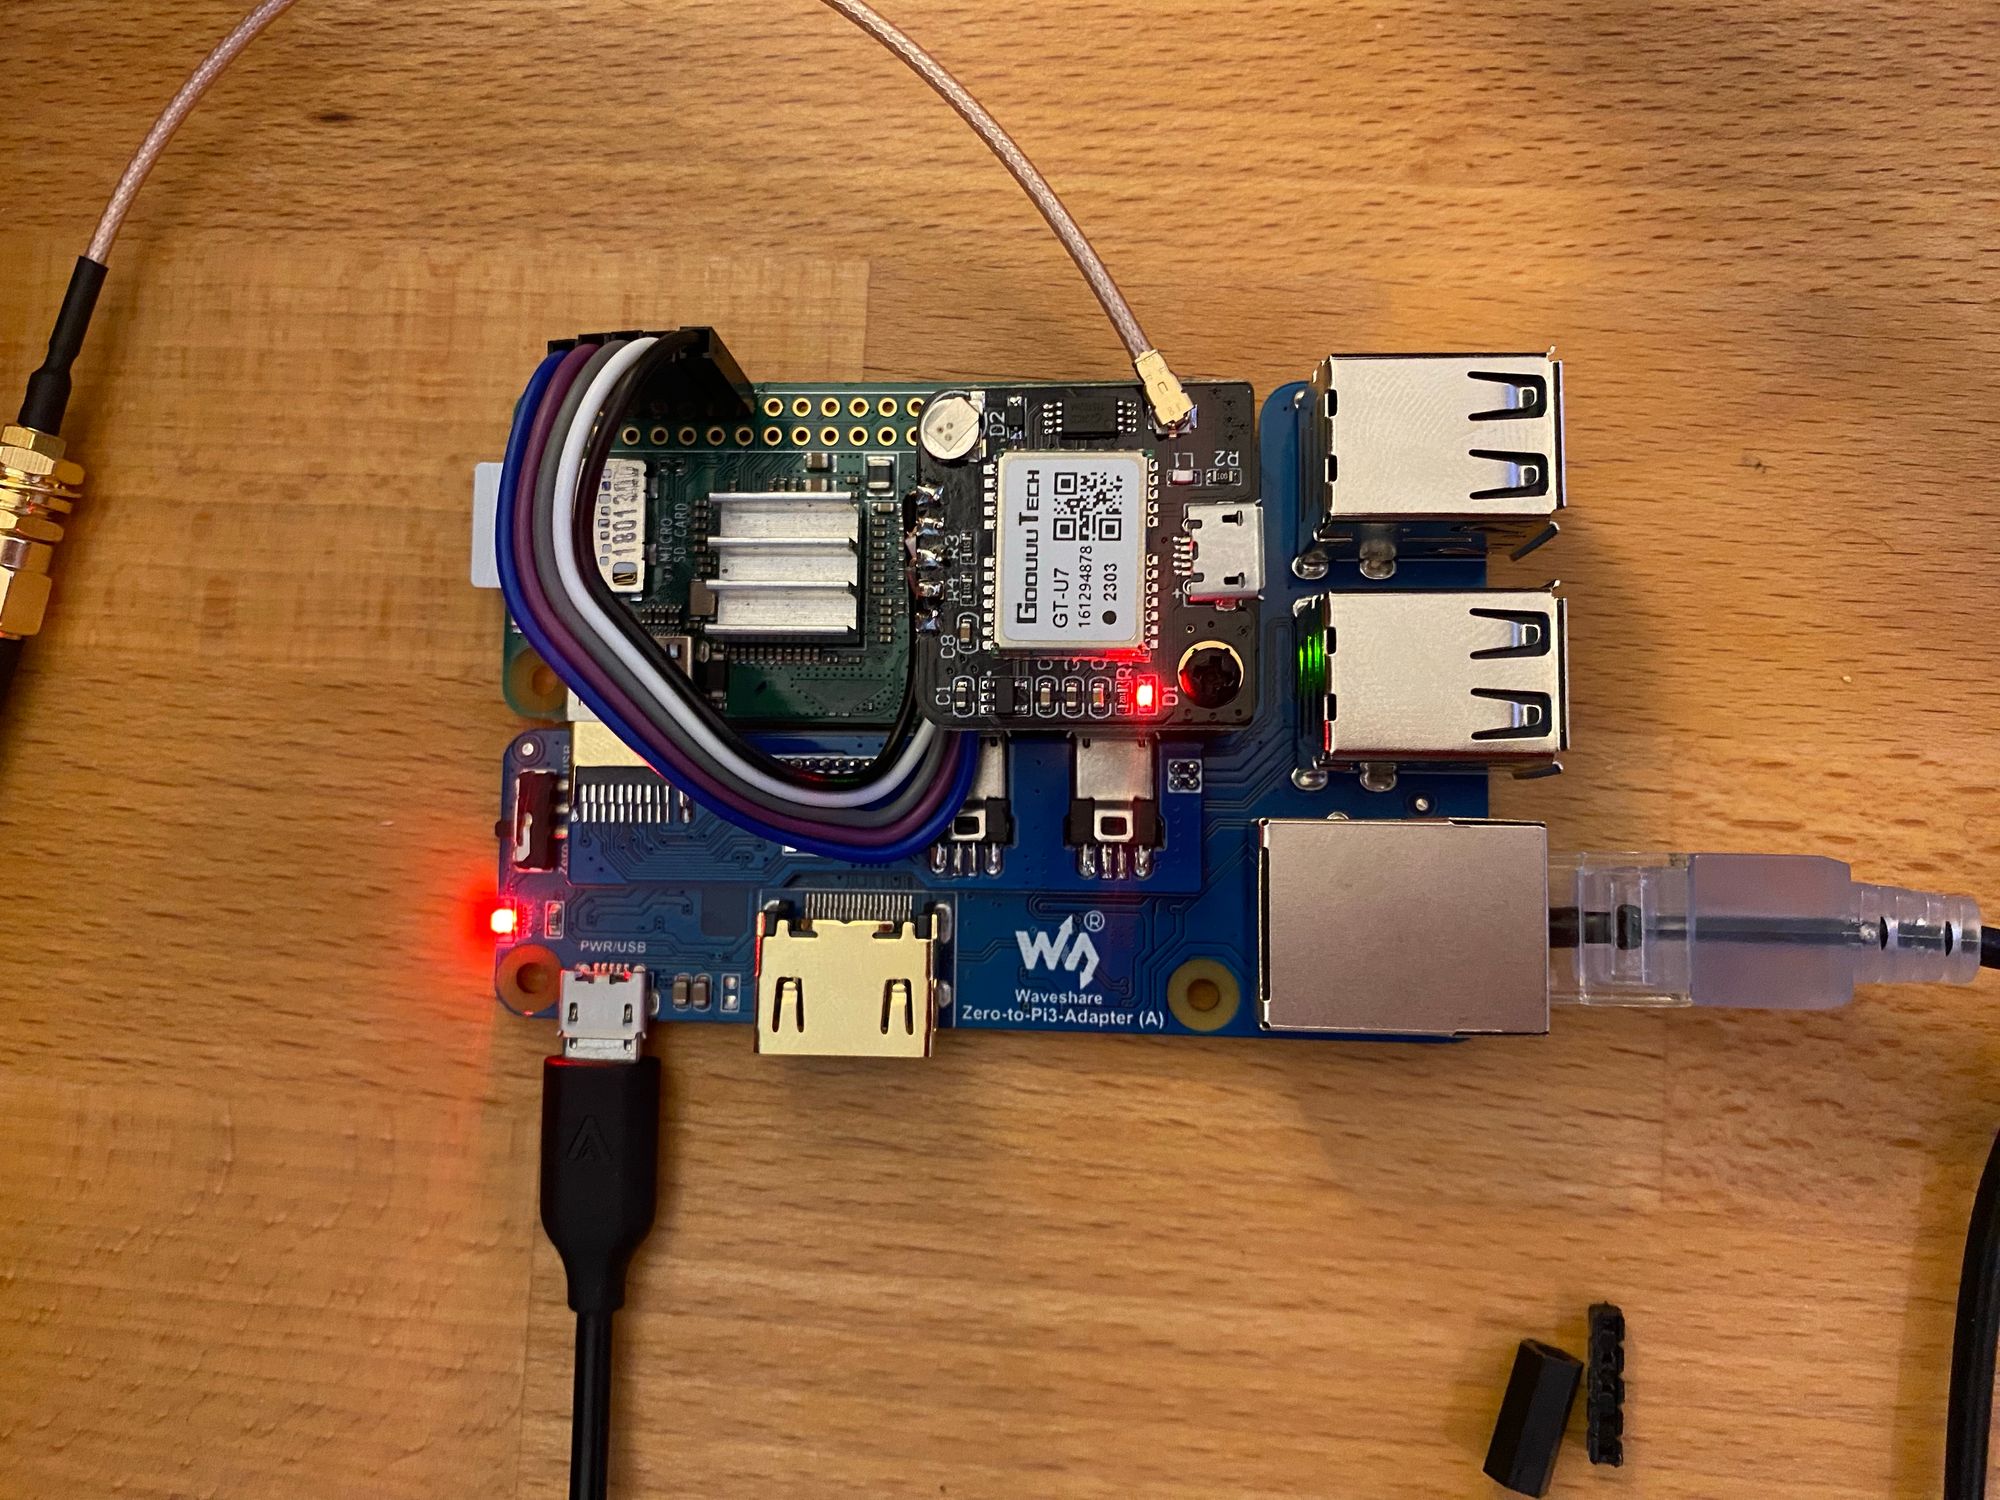
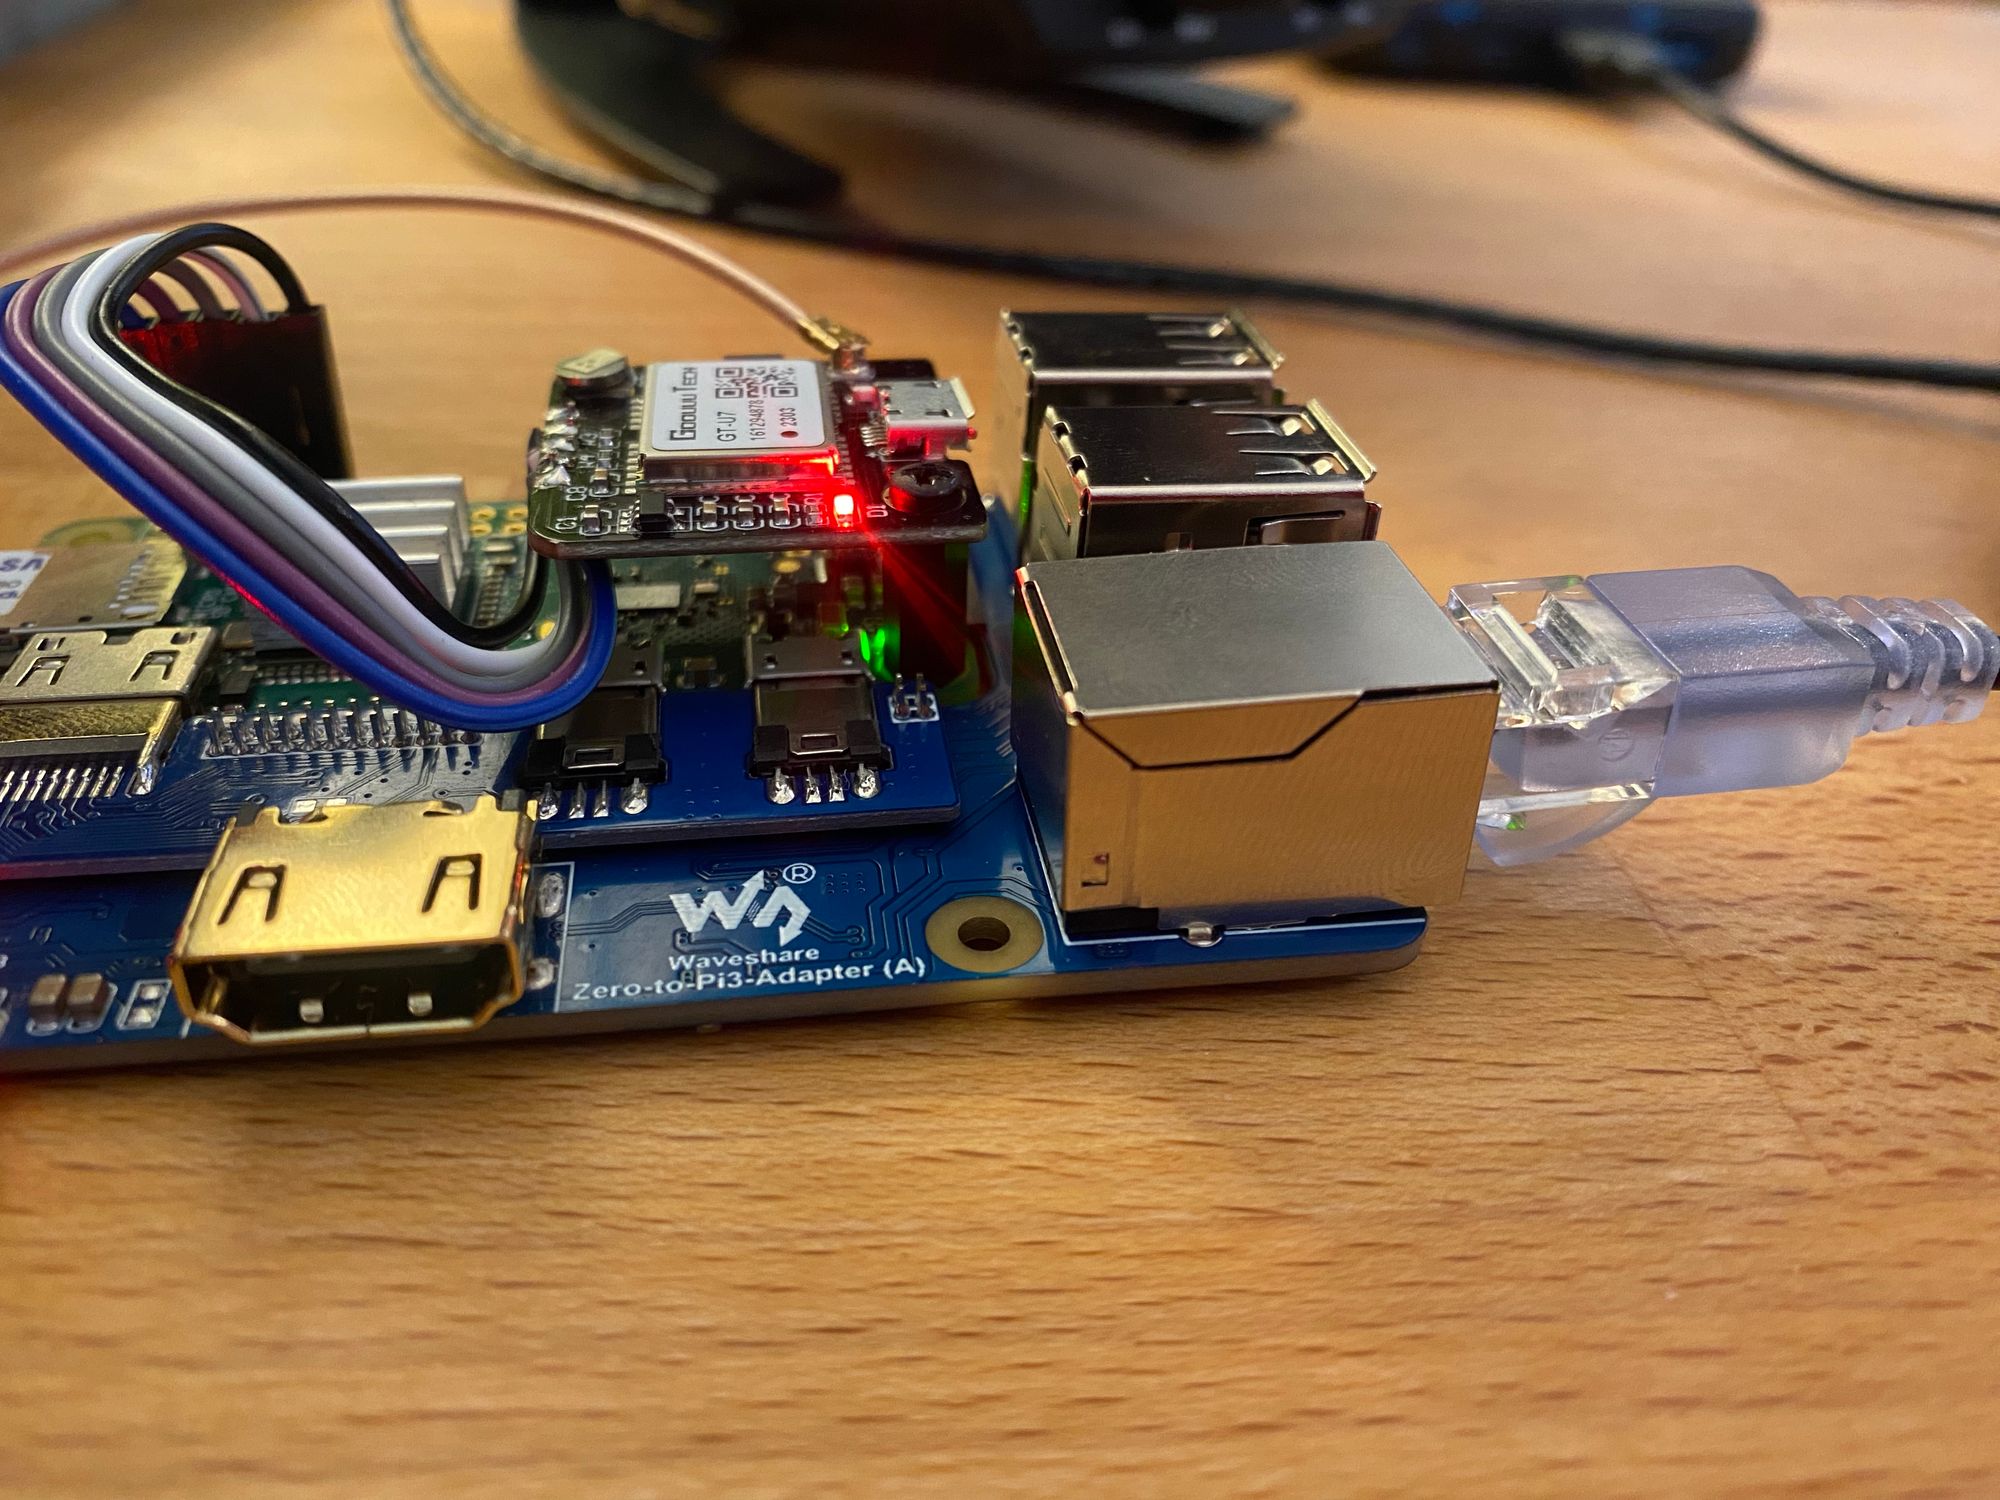
Now with 3 NTP servers on the network, I updated my DHCP server to servce all 3, and went through all my clients to add all 3, but I found a few that only have 2 spaces for NTP servers. So I made some DNS entries
- time.home.mydomain.com (10.0.0.6, 10.0.0.7, 10.0.0.8)
- time2.home.mydomain.com (10.0.0.7, 10.0.0.8)
Now, if it only has 1 field for servers, I can enter time.* and if it has 2, I enter 10.0.0.6 as the first, and time2.* as the second. Leaving me with all clients accessing all 3 severs
always welcome, please let me know of any mistakes!


